Tuesday 4 June 2019

'Keepsake' Mini Journal for LIndy's

Hello Lindy's Fans. Have you used Lindy's Moon Shadow Mists? They are perfect for giving papers a unique aged look with a bit of awesome Lindy's shimmer. All of the Moon Shadow's have a vintage brown base with a fabulous color shimmer. Today I will show you just a few of these awesome products as we make a mini journal with some 'aged' papers.
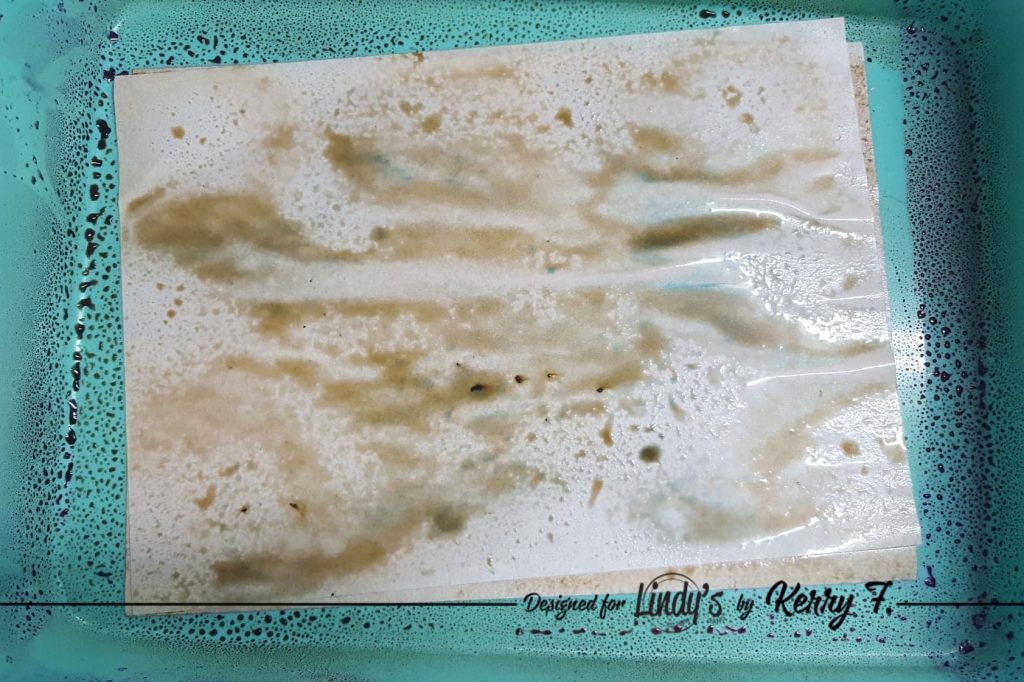
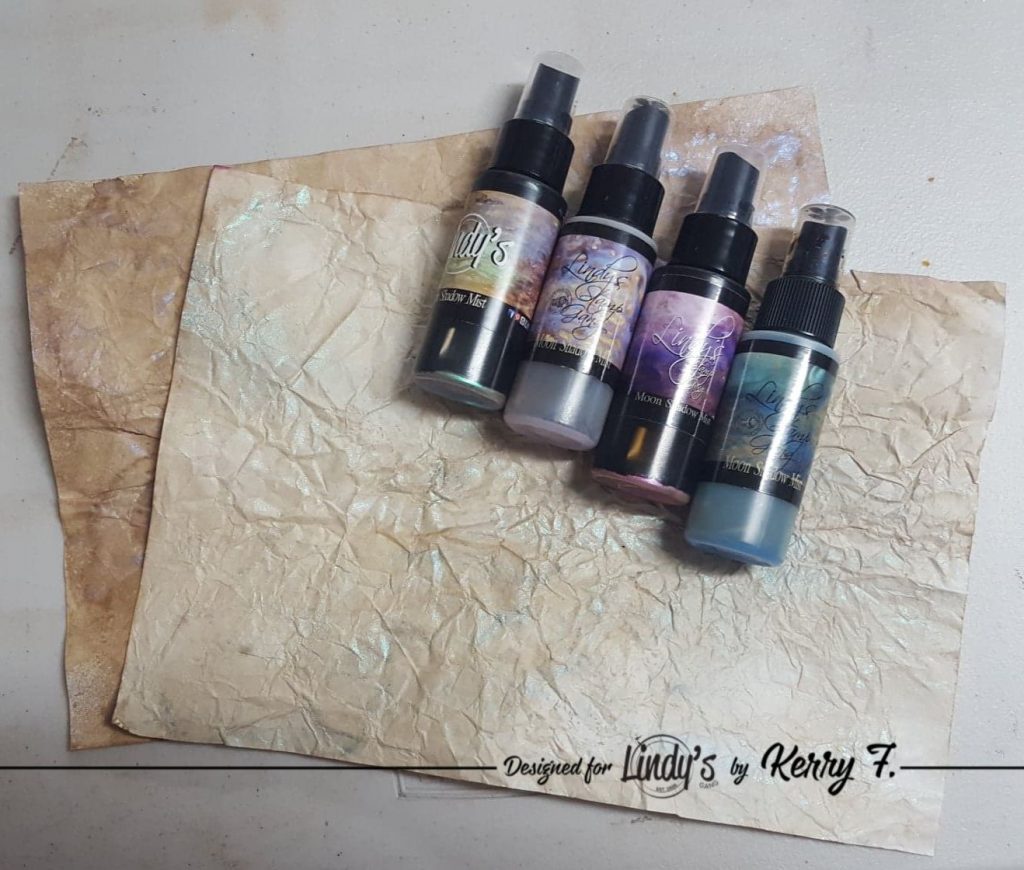
To begin, grab a couple of sheets of plain copy paper and spritz both sides with water. In a 'spray tray', liberally spray the Moonshadow mists of your choice to cover the back and front of both pages, I am using Smokey Sapphire, Treasure Island Aqua, Violaceous Violet and Buccaneer Bay Blue.
10(1)

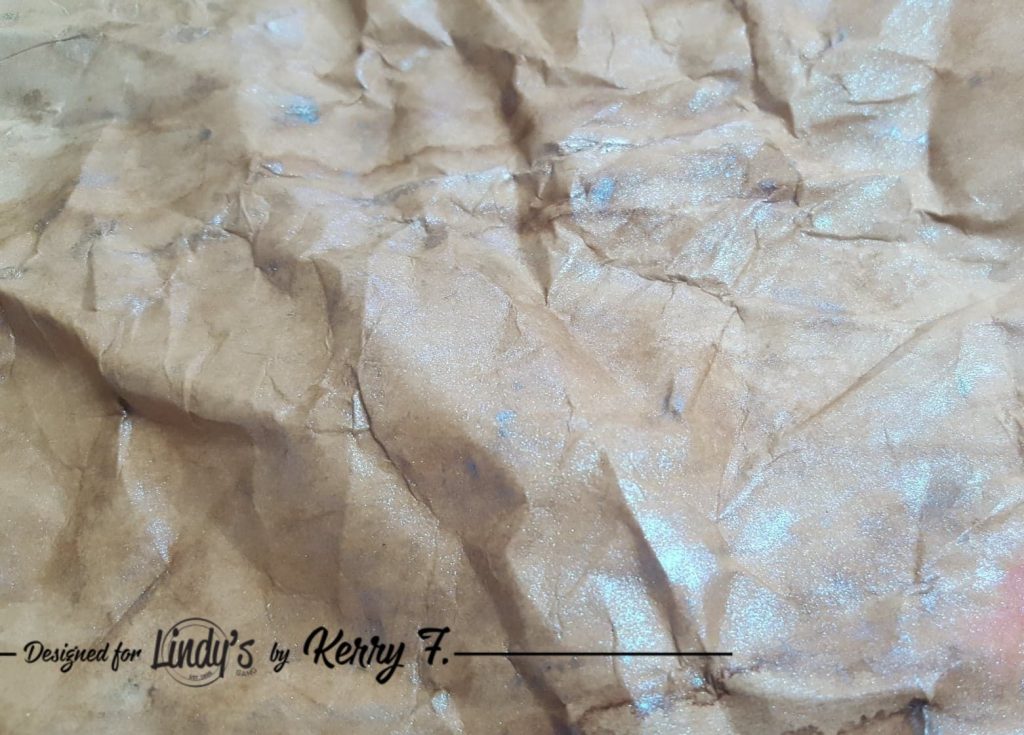
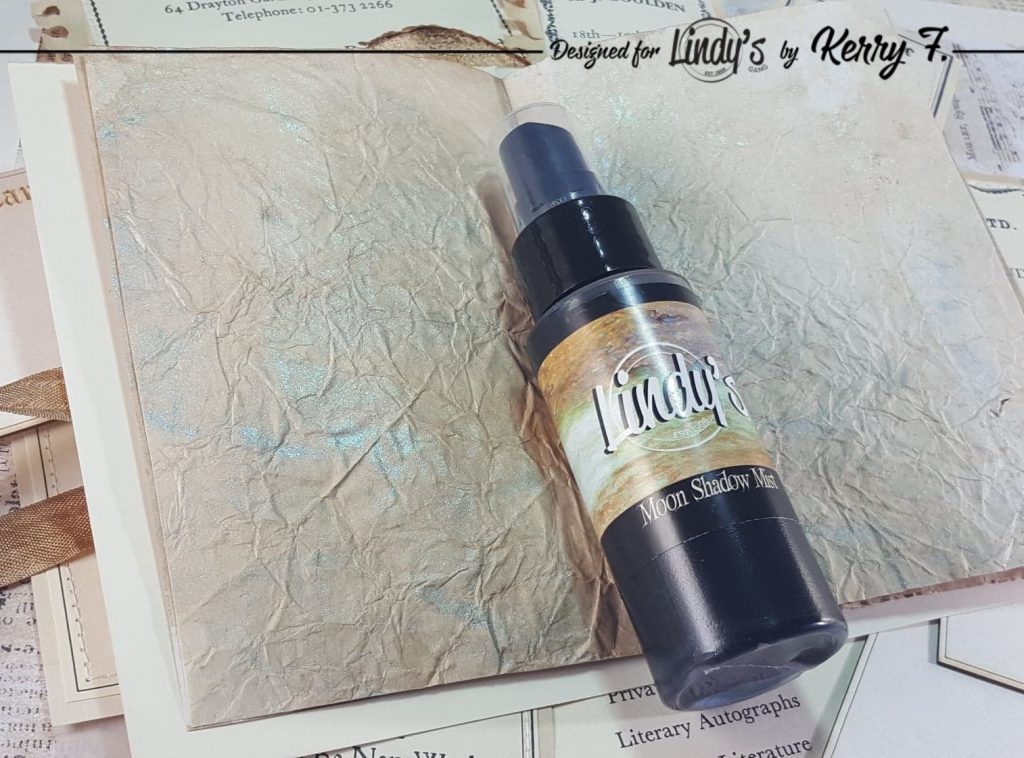
I have scrunched the pages as I dried them with the heat tool to give them a little more of an aged look, the scrunching also gives a bit more of an uneven surface to the paper and the shimmer catches the light more.
61326608_2346306802318968_4368522008263131136_n

Once fully dried i have ironed the pages flat again.
60970480_617445502071631_8766553366722510848_n

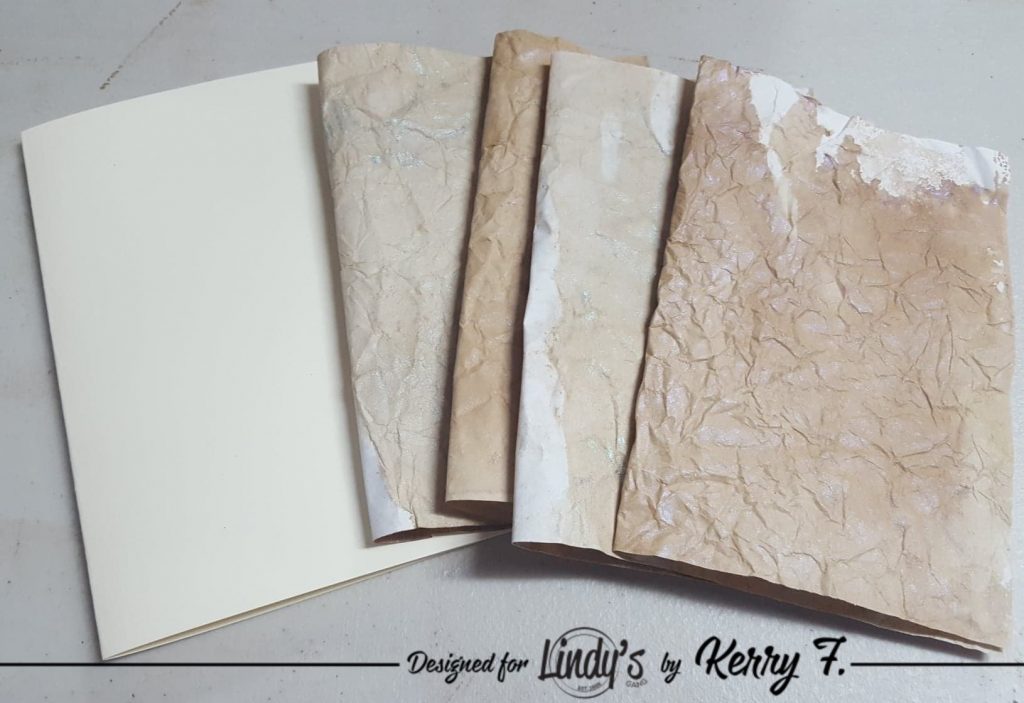
Take a plain cream piece of cardstock, this will be our cover. I have used an A5 sized sheet. I have cut my colored pages in half and then folded them in half again and trimmed them to be slightly smaller than my cover.
6(1)

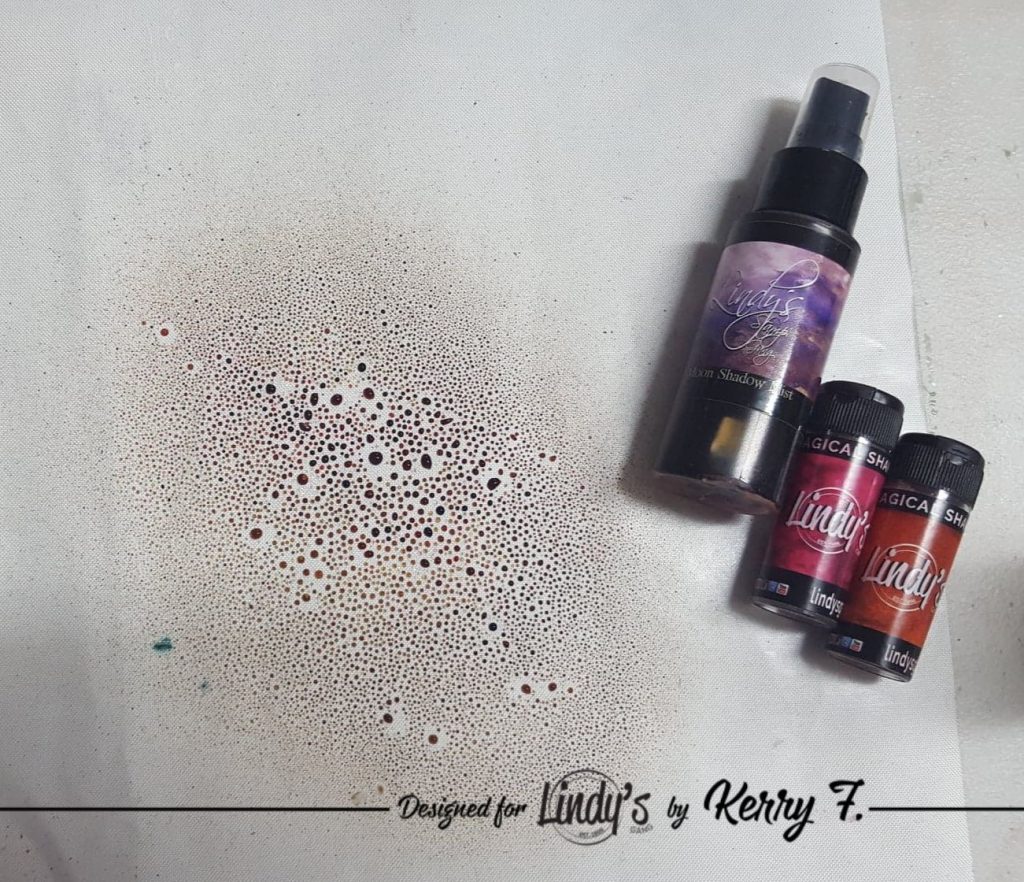
Next I have popped a very small amount of Autumn Maple Crimson and Cowabunga Copper Magical Shaker powder on to my mat and sprayed a few sprays of Violaceous Violet to begin activating the powder. Add a few good sprays of water to this to dilute the color a little.
2(1)

Take a couple of book pages and randomly dip into the color leaving a little white space on the pages and dry them off.
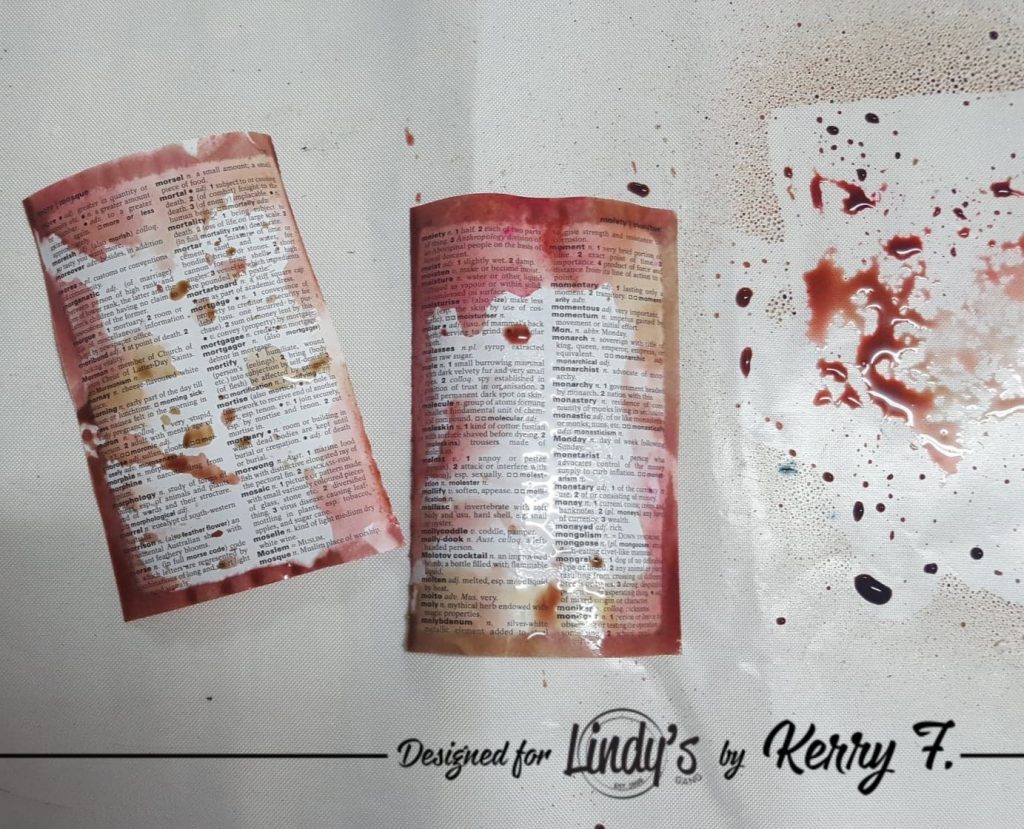
8(1)

Add the dried base to some card, I am using white chipboard as i love the 'tear' on the torn edge.
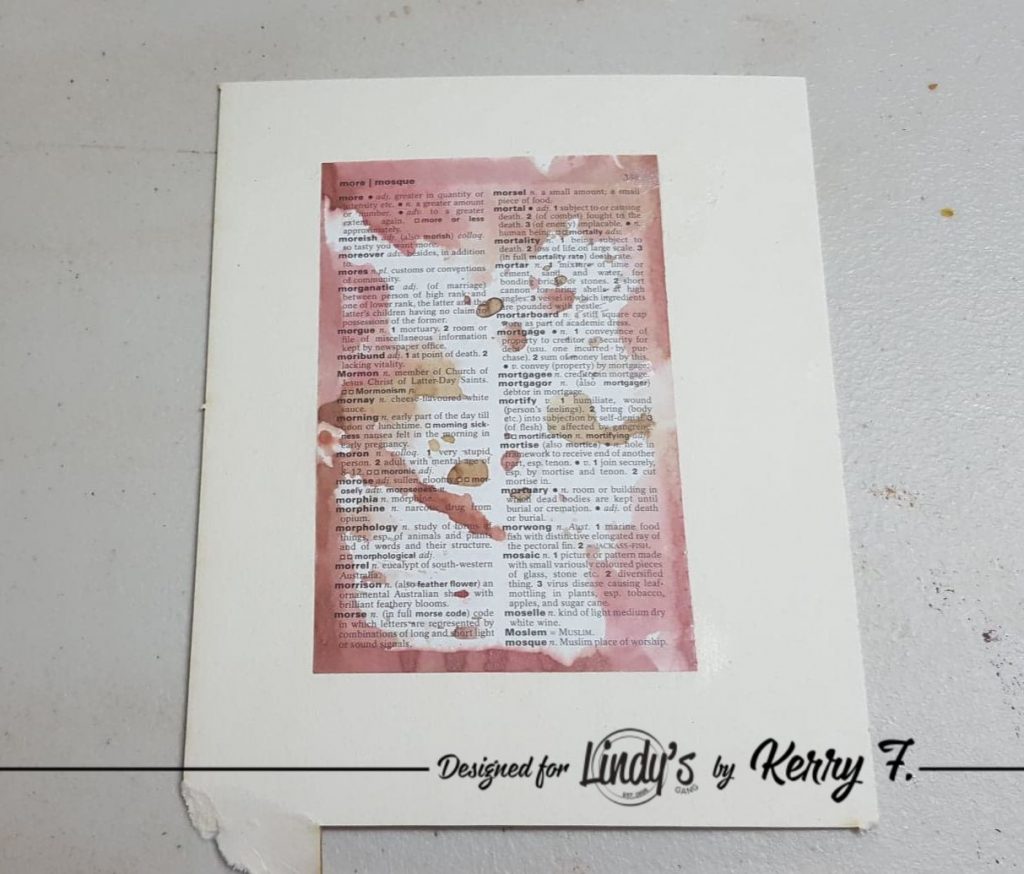
4(1)

Tear around the edge of page to give an organic looking border. Spray a small amount of Steampunk Sepia on to your mat and dip a baby wipe into the spray to apply to the torn edge.
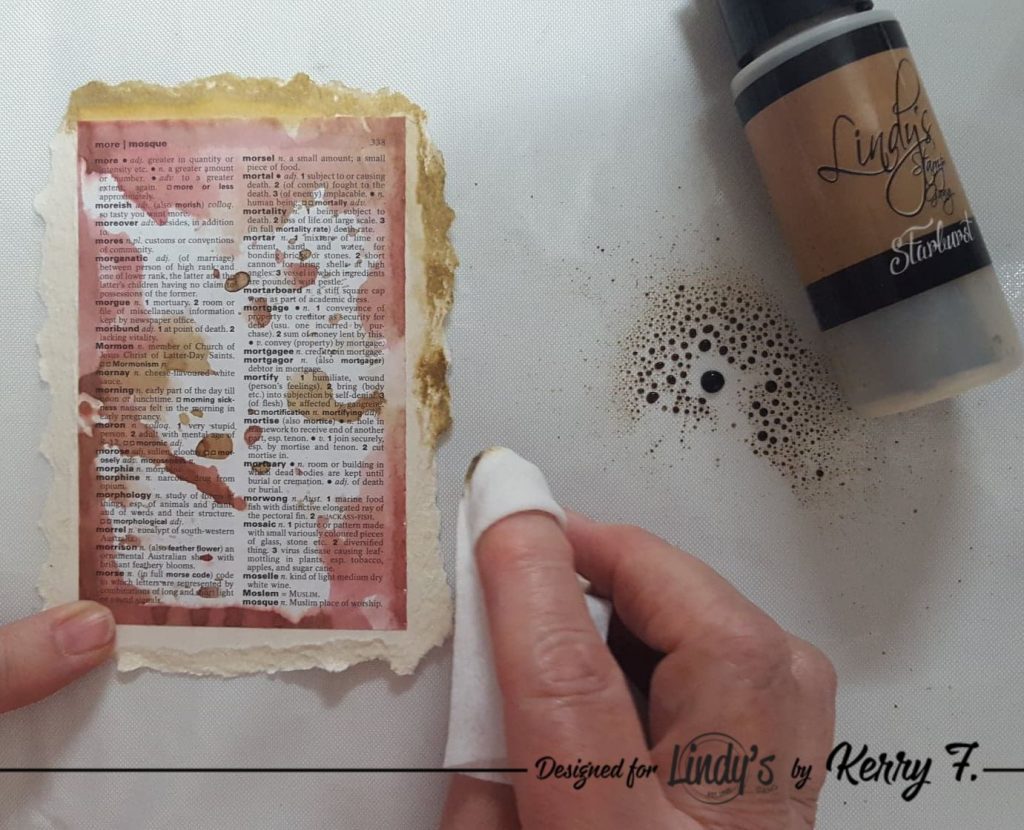
60801540_436675870445029_3210391940981850112_n

I want to add a decoupage napkin image, so to prepare the area use a small amount of white gesso to 'block out' the area, this will allow the image to be more visible from the background as the napkin image is very transparent. Dry the gesso and then add the image. Water down the remaining gesso and add a few splashes.
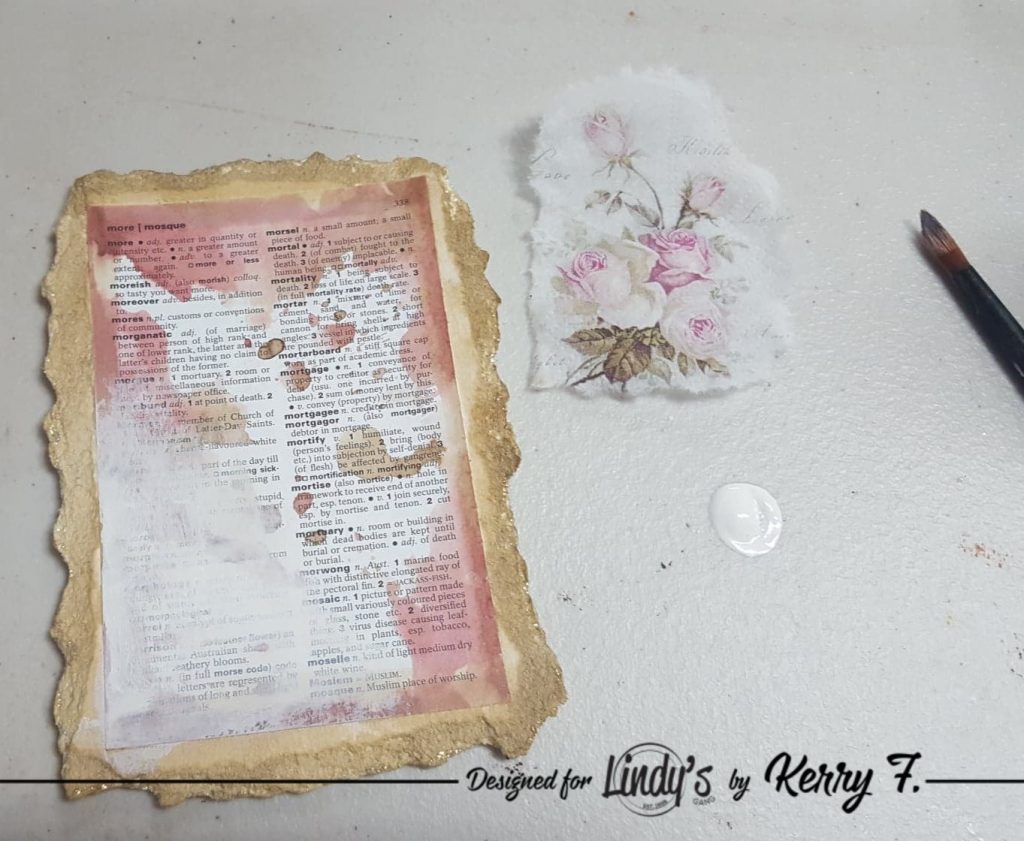
9(1)

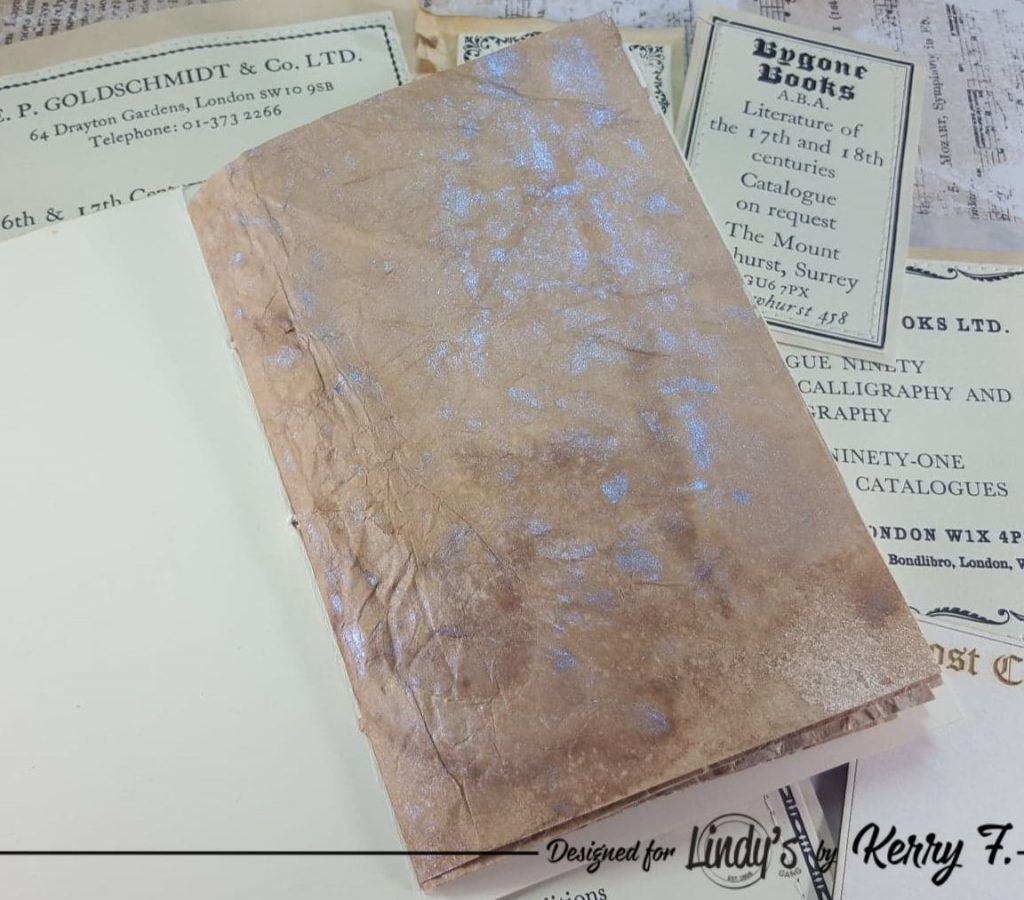
To construct the book, either sew or staple the pages inside the cover, you can really see that amazing shimmer!!!

5(1)

I love the vintage look with that awesome violet shimmer...
61165811_480985299309513_890131911966457856_n

...And this green shimmer is soooo pretty.
7(1)

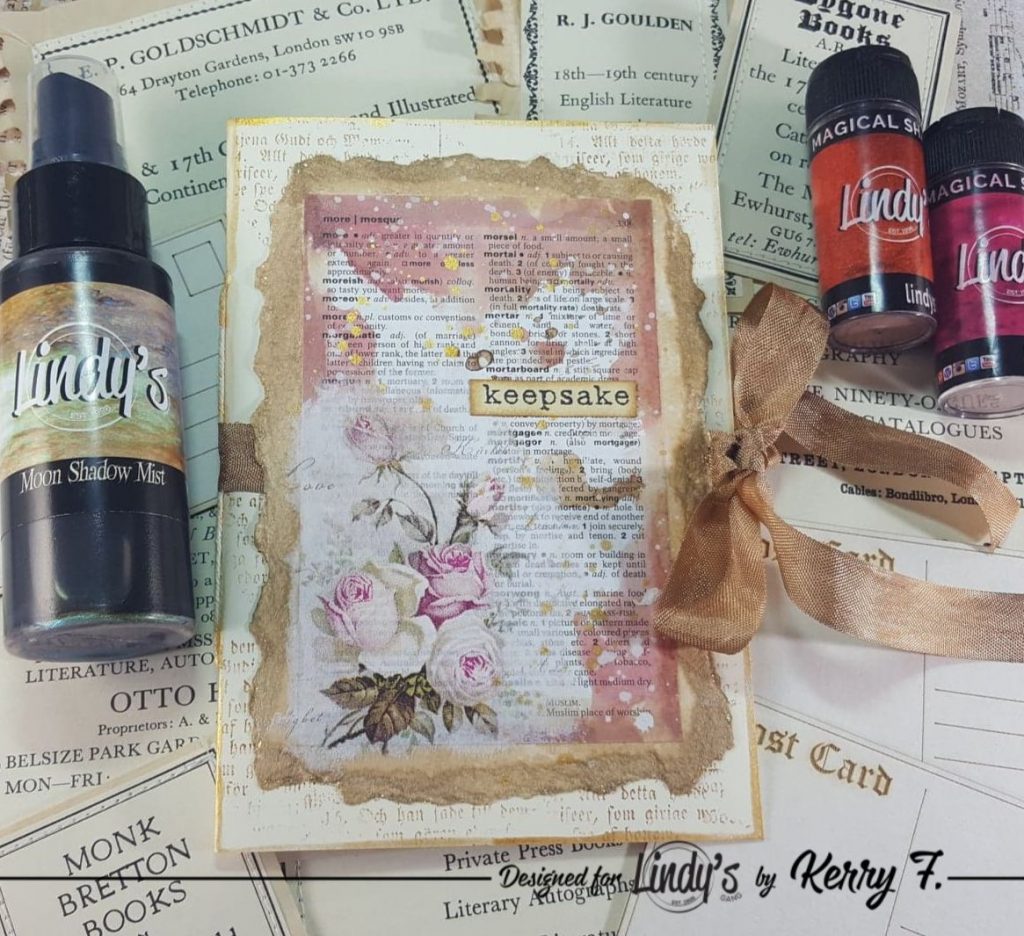
To complete the book, add a little background stamping to the front cover. Place a length of seam binding to the back of the panel and then glue the panel onto the cover. I have also added a sticker quote to finish my little 'Keepsake' journal. From brand new to 'vintage' in just a few squirts...LOL
3(1)

Thanks for dropping by and have a Magical Day xx

Lindy's Products:

Other Products: Copy paper, cardstock, white chipboard, gesso, stamp, ink pad, seam binding, sticker, decoupage napkin

Tuesday 7 May 2019

Faux Wax Seals - for Lindy's


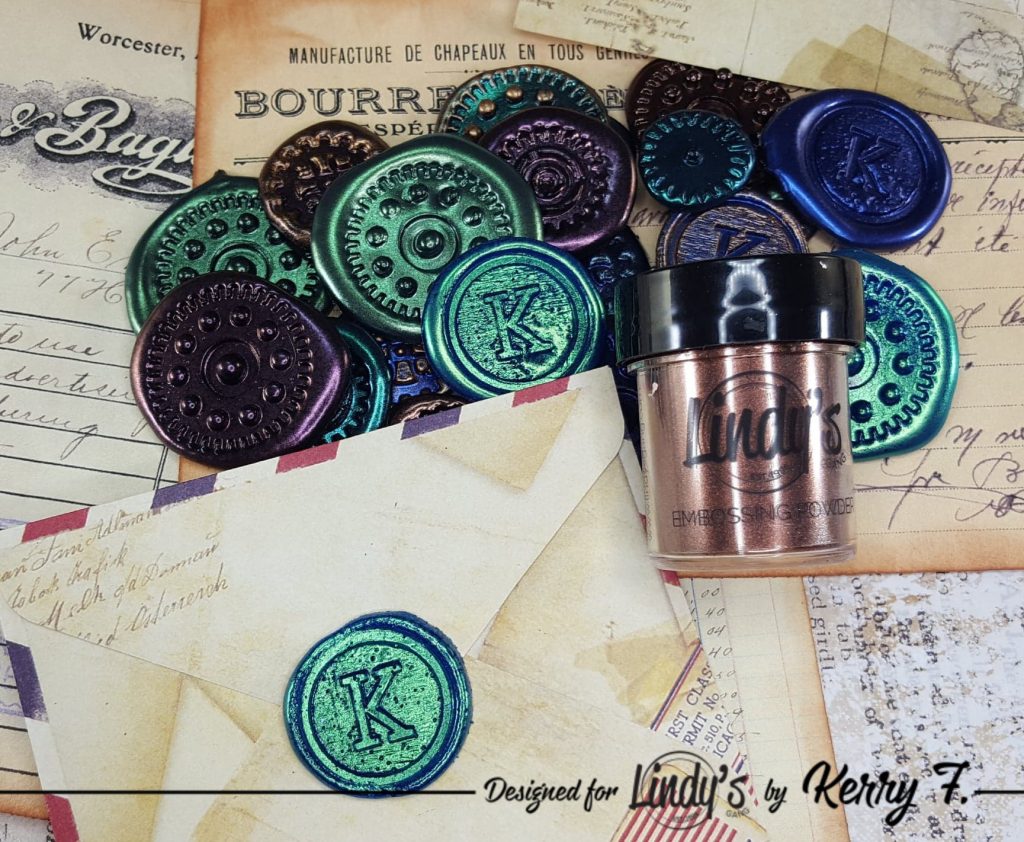
Hello Lindy's fans! Junk Journalling is massive in the crafting community and Lindy's products are perfect for all your junk journalling needs, whether you are using Lindy's to give your pages that aged look or adding some gorgeous watercolor accents, Lindy's can help with it all....including faux wax seals!! AND...the beauty of these seals is, you can make a bunch in advance and use them as you need them, they are alot more robust than a regular wax seal too. For this project you don't even need the metal wax stamps, you can use your regular stamps, or some metal gears for example and you can make them in about a billion different colors...well at least with every Lindy's embossing powder you own. You will also need a hot glue gun, so grab your favorite Lindy's Embossing Powders and lets get started.9(1)
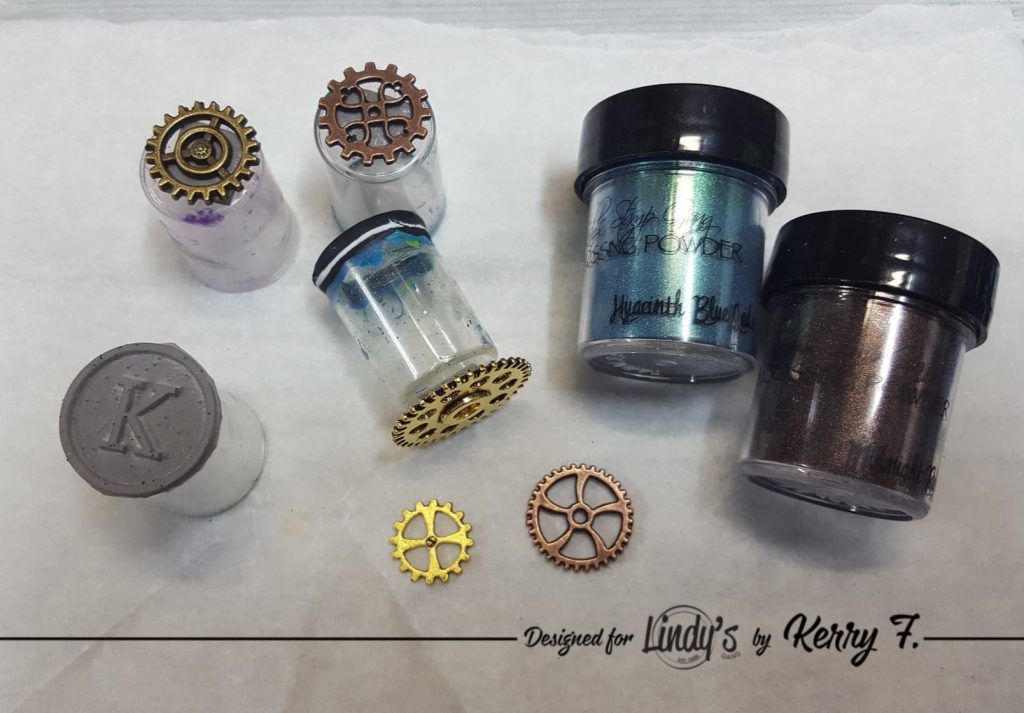
To begin, I have fashioned some 'wax seal stamps' from some metal gear charms using the lid from one of my Lindy's spray bottles and a piece of double sided tape and I have also added a rubber stamp in the same way to another spray bottle lid.8320130_2852983291097645056_n
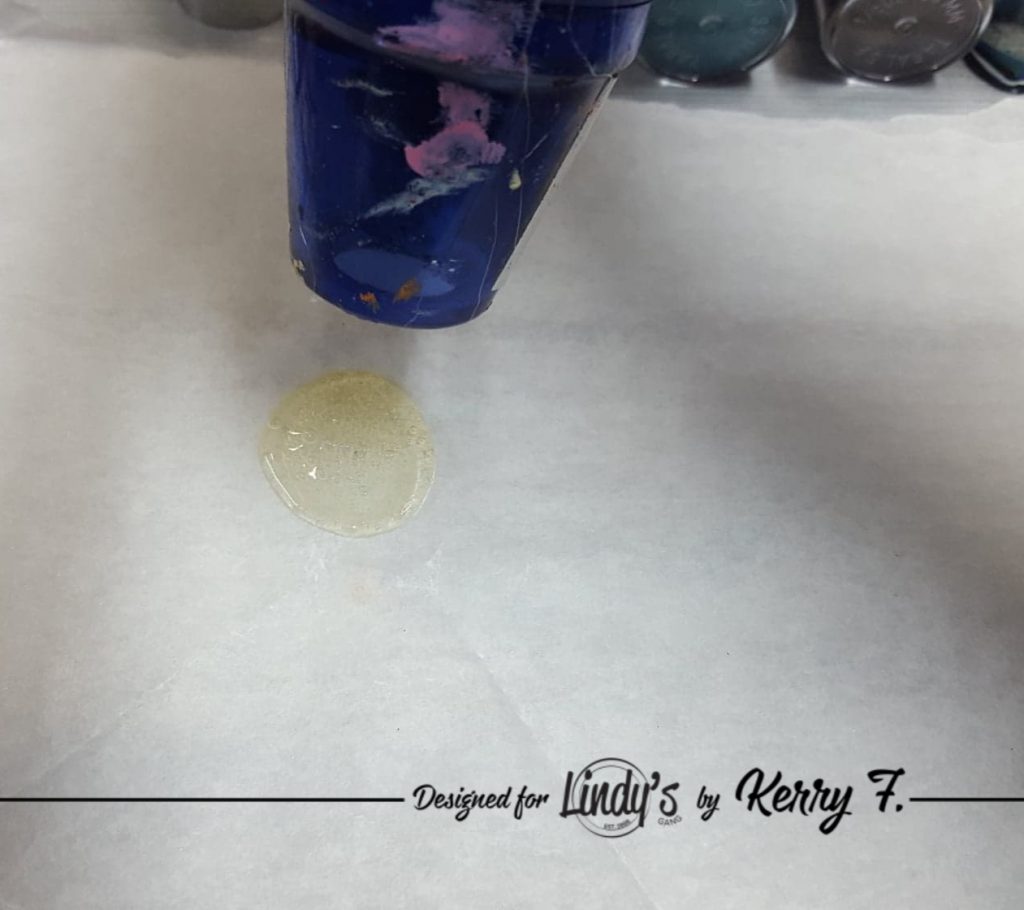
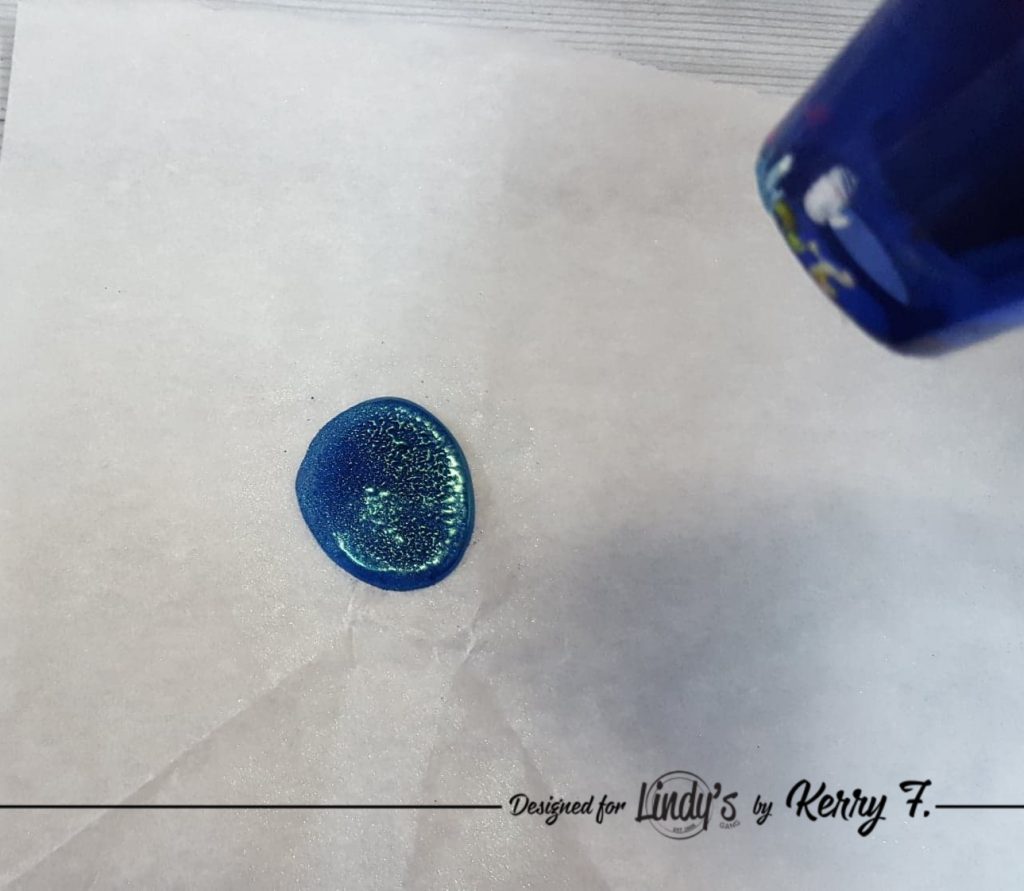
Heat up your hot glue gun and squeeze a small dollop of hot glue onto a piece of baking paper, it might take you a time or two to figure out how much glue you need for the size of 'stamps' you are using. Once you have the small dollop of glue on the baking paper, take your heat tool and blow it directly down on top of the glue, this will flatten the glue a little. 11(2)
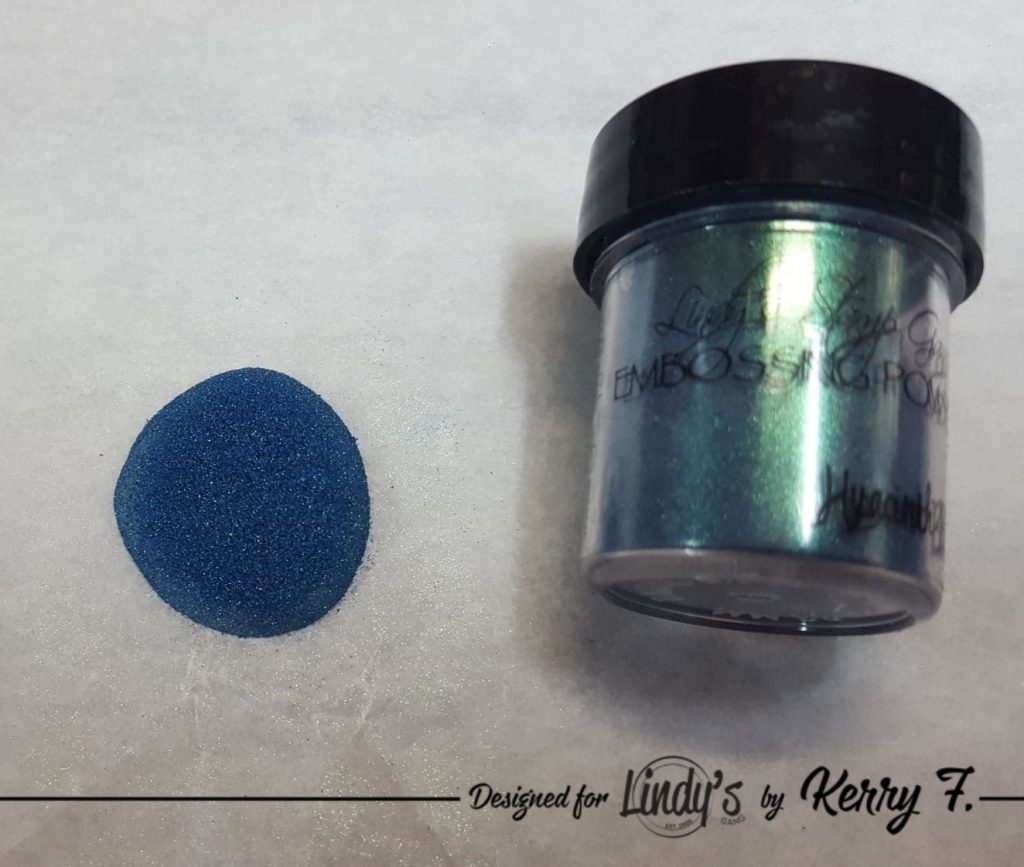
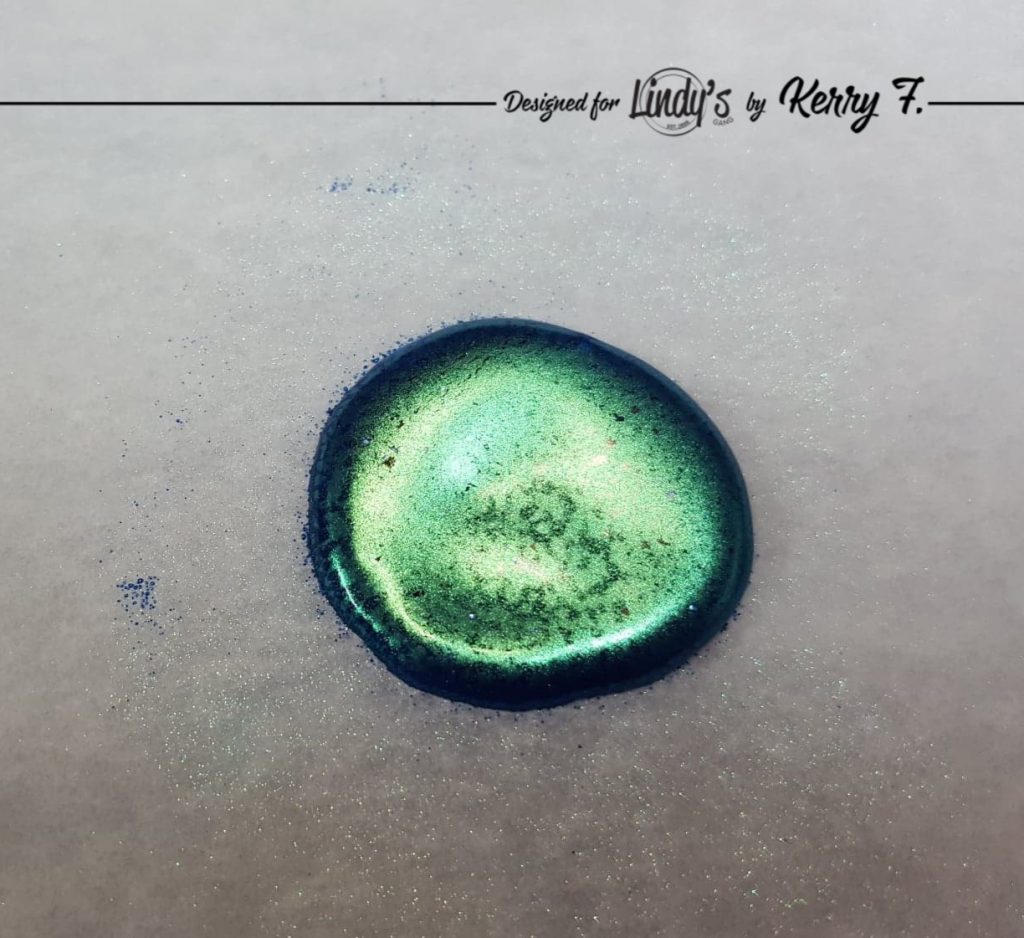
Quickly take your chosen embossing powder, I am using  Hyacinth Blue Jade and completely cover the glue  making sure you have the sides as well as the top. Shake off the excess powder and return to the jar.12(2)
Take your heat tool again and melt the embossing powder, make sure you are not too close to the glue.3(1)
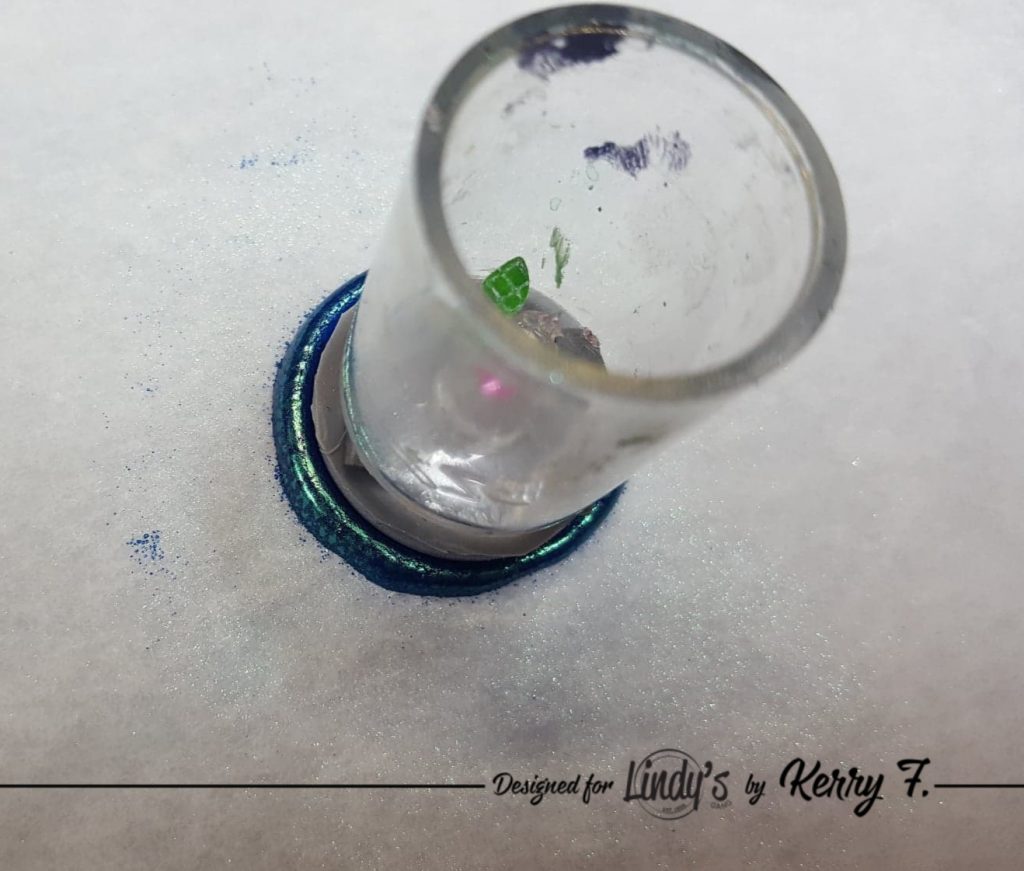
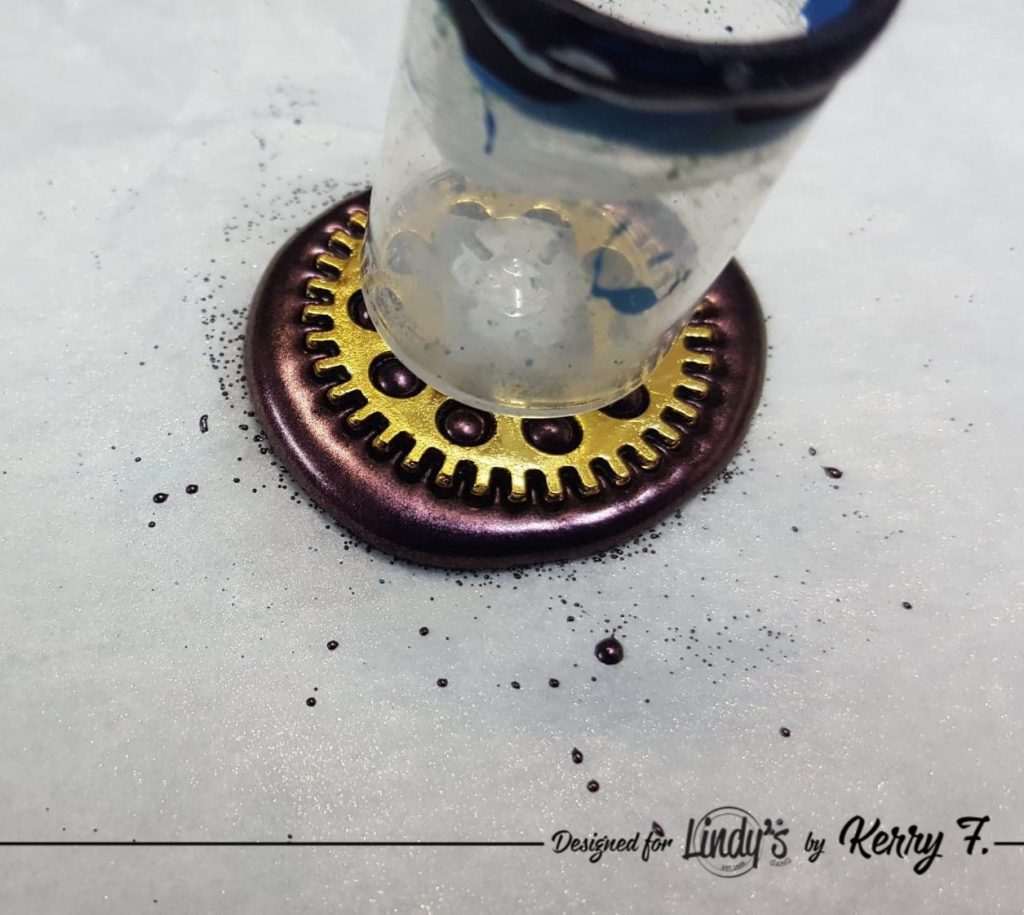
Once the embossing powder has completely melted, take your 'stamp' and gently press into the glue being mindful not to push the stamp all the way down, we just want to leave an impression.
1(2)
Leave the stamp on the glue and wait a minute or 2 before removing, this will allow the glue to start to set and the impression will remain crisp.
6(1)
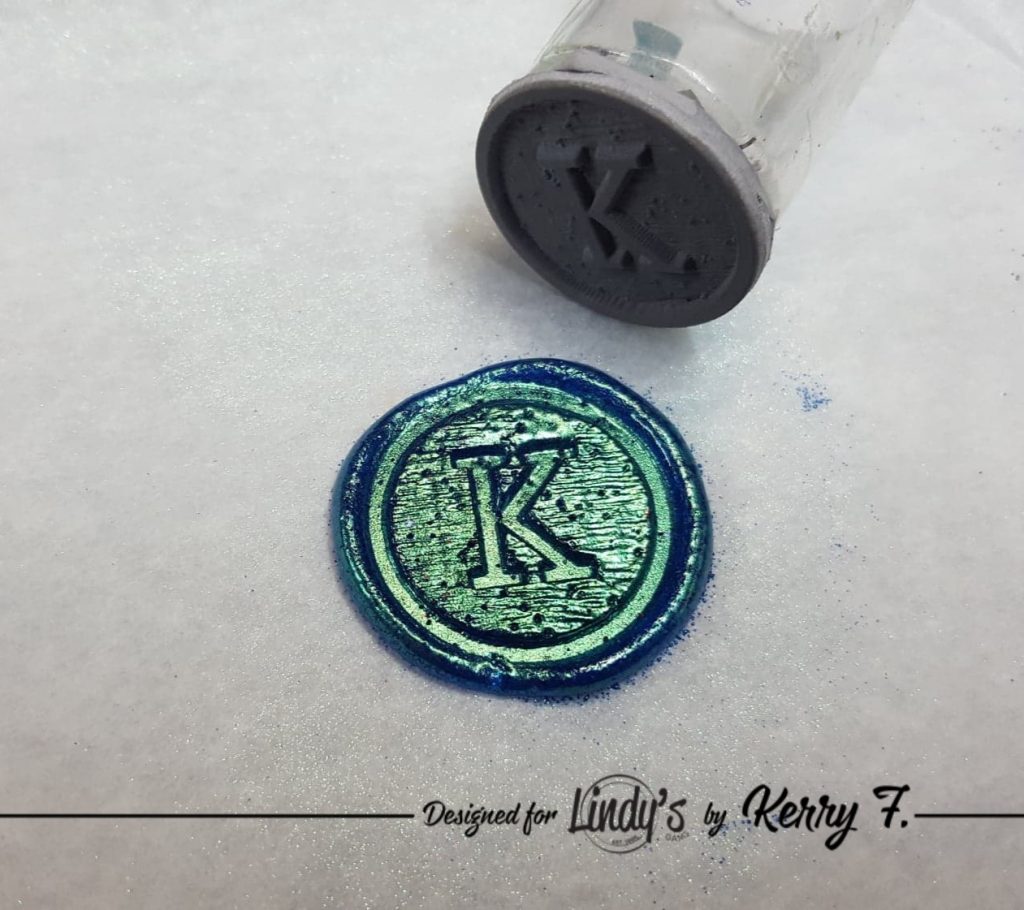
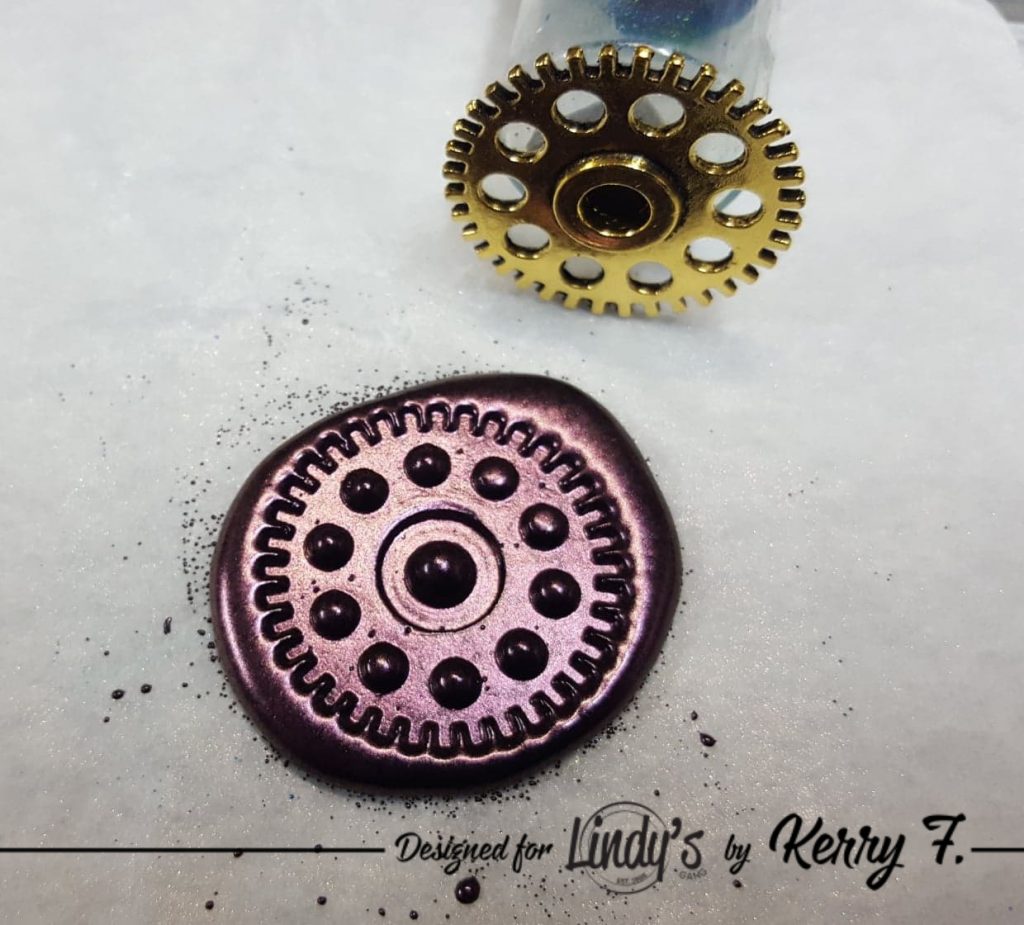
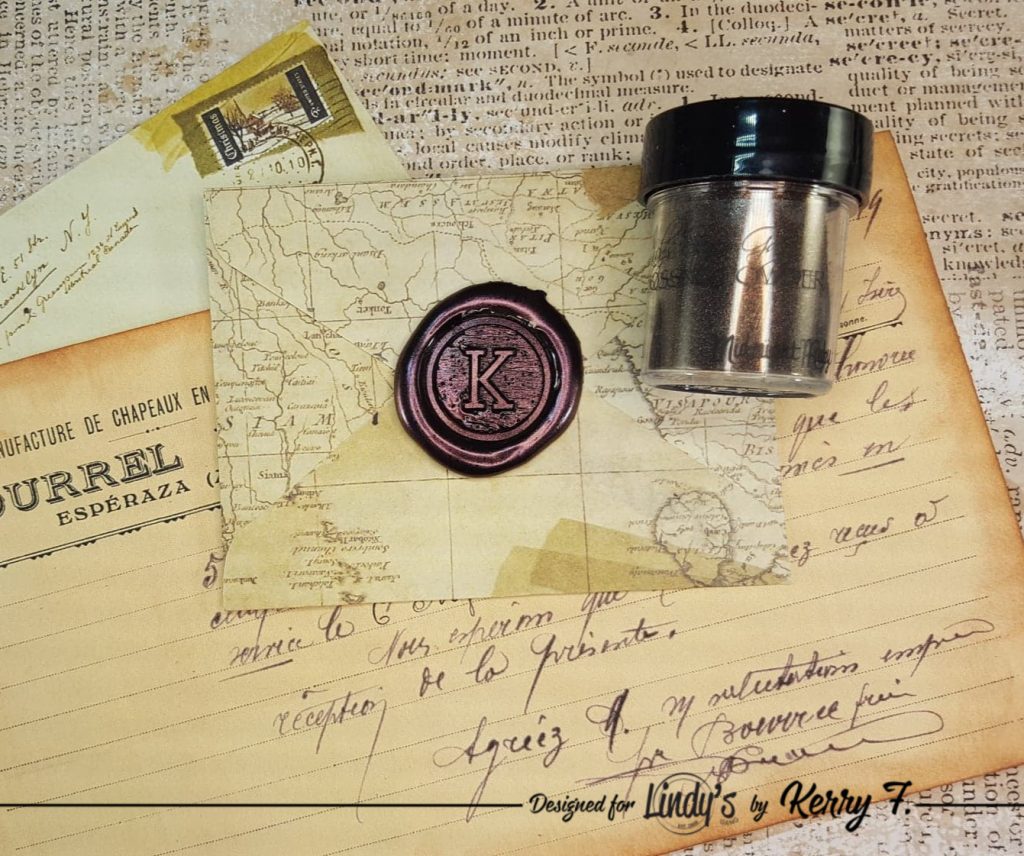
After a moment, remove the stamp and you will have an awesome looking faux wax seal!! Leave the seal on the baking paper to cool completely. Once cooled you can peel of and store until you want to use it. To attach it to your envelope you can just use a small amount of hot glue on the back of the seal.
10(1)
To use the 'metal gear stamp' the procedure is exactly the same, making sure to leave the stamp inplace for a few moments before lifting from the seal...2(1)
....soooo cool, This one was created with Midnight Ruby Embossing Powder. I cannot tell you how much I love creating these.7(1)
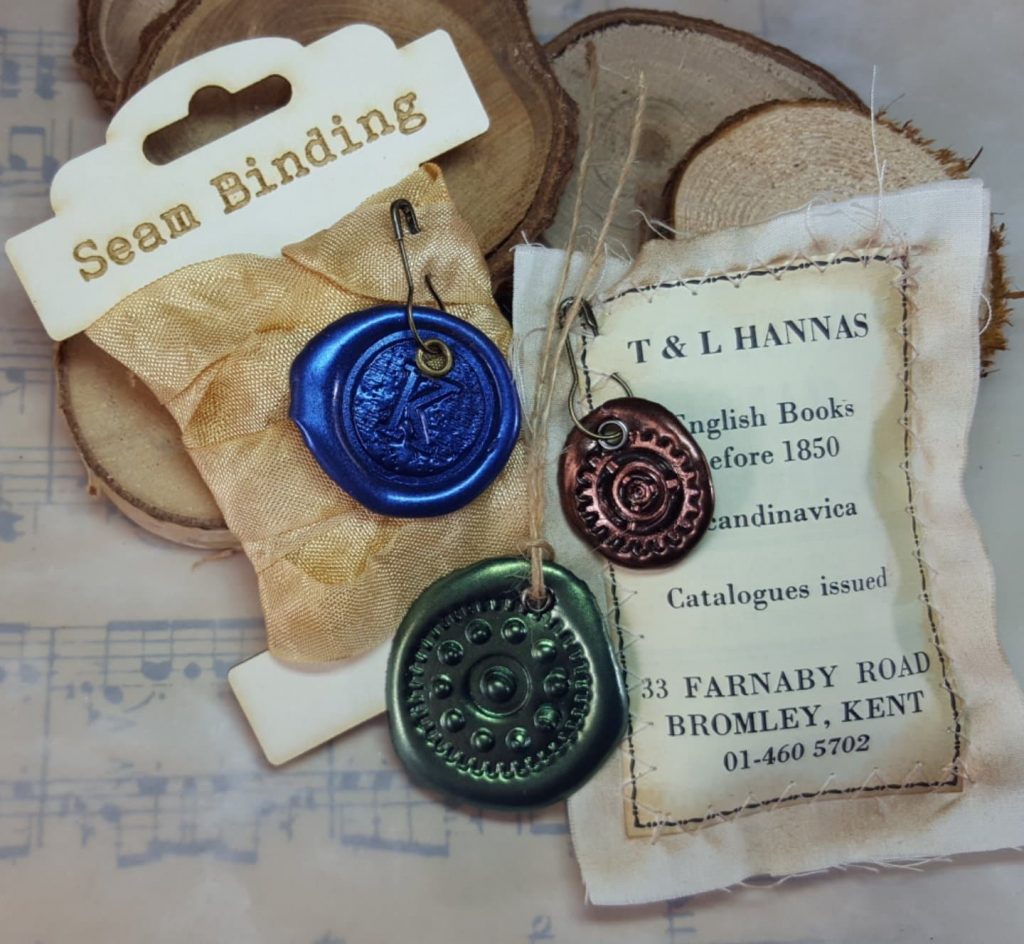
You can color coordinate them to ANY project... and then...5(1)
...you can even punch a hole in them when they are cool and use them like a charm!!!!! Ahhhhh, these just make me happy!!! I hope you will have a go at making some too.58460966_454660511970768_4149386562003533824_n

Thanks for dropping by and have a magical day xx

Lindy's Products:

Other products: Hot glue gun, hot glue sticks, heat tool, baking paper, stamps, metal gear charms.

Lindys Blog Designer badge 2019 Kerry

Tuesday 9 April 2019

Whichcraft Layered Eggs featuring Lindy's

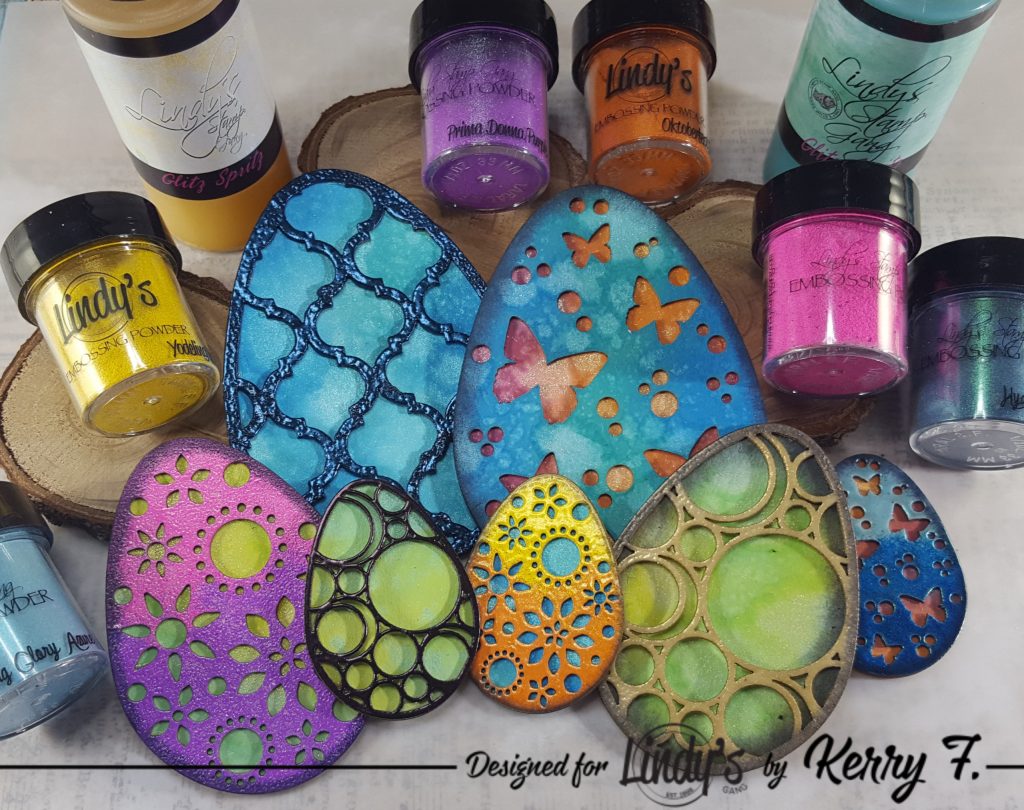
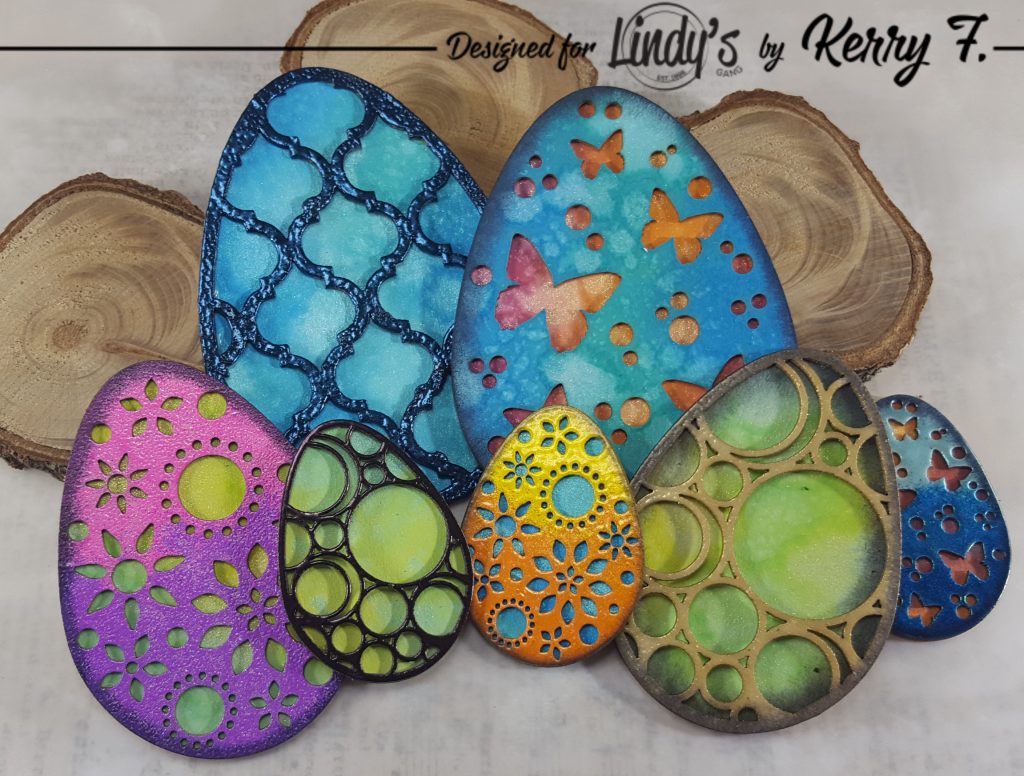
Hello Lindy's fans. Today I am sharing a fun Easter project, you could, however, adapt this project to any shapes you like.  We will use some of the Lindy's Glitz Spritz sprays, have you used them before? These amazing sprays are so versatile, they provide a gorgeous shimmer with out the additional color so you can spray them over anything you like, to add a fabulous shimmer!!! You can even use them in place of water for activating distress inks, which is how we will use them today. We will also be using some embossing powders, This is a great project to use all those bright colors, so grab them all and lets get started!

11(2)

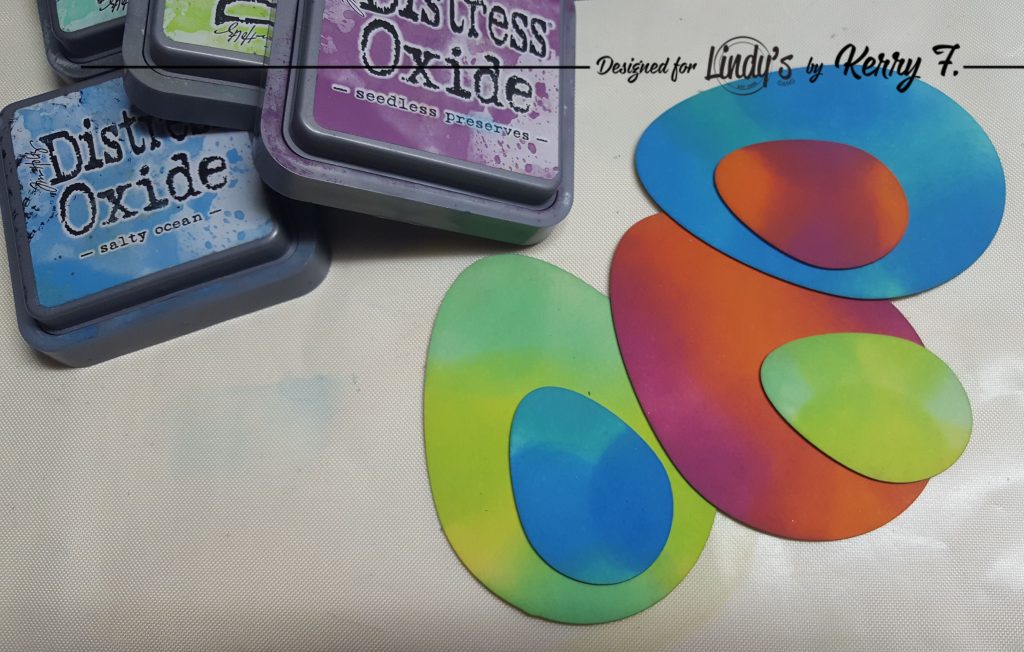
To begin, blend some distress ink onto the back piece of chipboard or cardstock. ( I am using Whichcraft layered chipboard eggs which have a blank back and a detailed front. If you are using your own shapes or dies, cut out a matching back layer to match your detailed layer).

2(1)

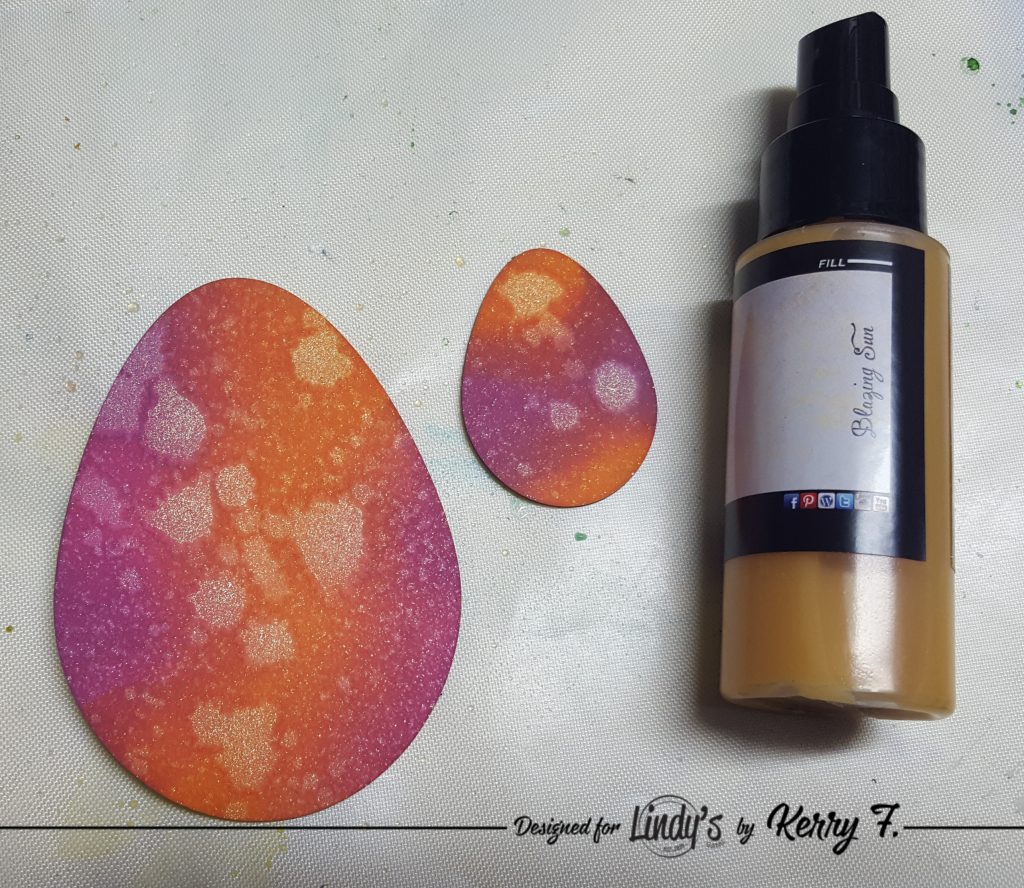
Spritz the Blazing Sun glitz spritz onto the egg to activate the ink and get some gorgeous golden shimmer splashes.

3(1)

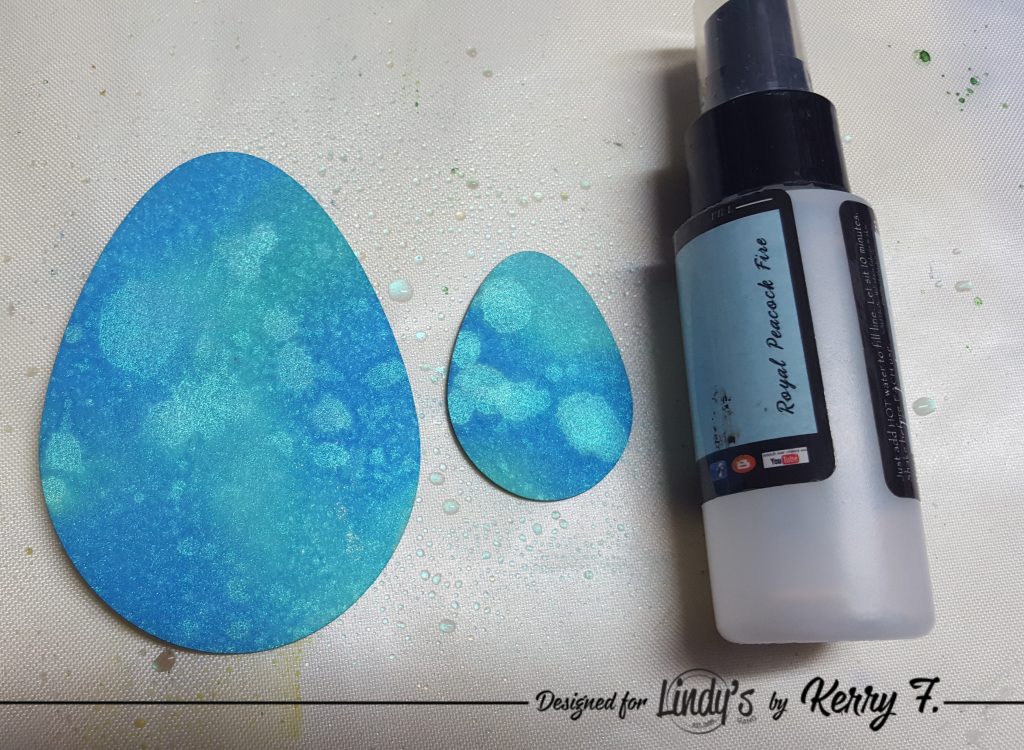
Royal peacock fire glitz spritz has the most amazing green blue shimmer, I think it is my favorite...LOL

4(1)

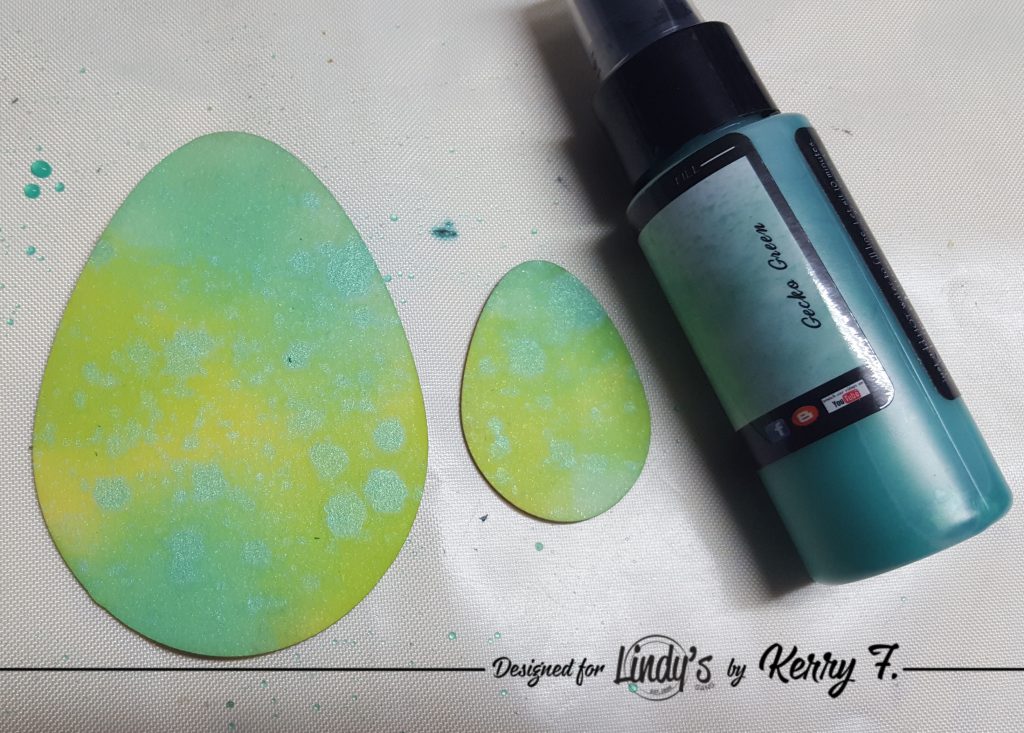
Gecko Green has a fabulous green shimmer. Continue to color as many backgrounds as you would like using the same simple method, don't be afraid to experiment and try new color combinations.

5(1)

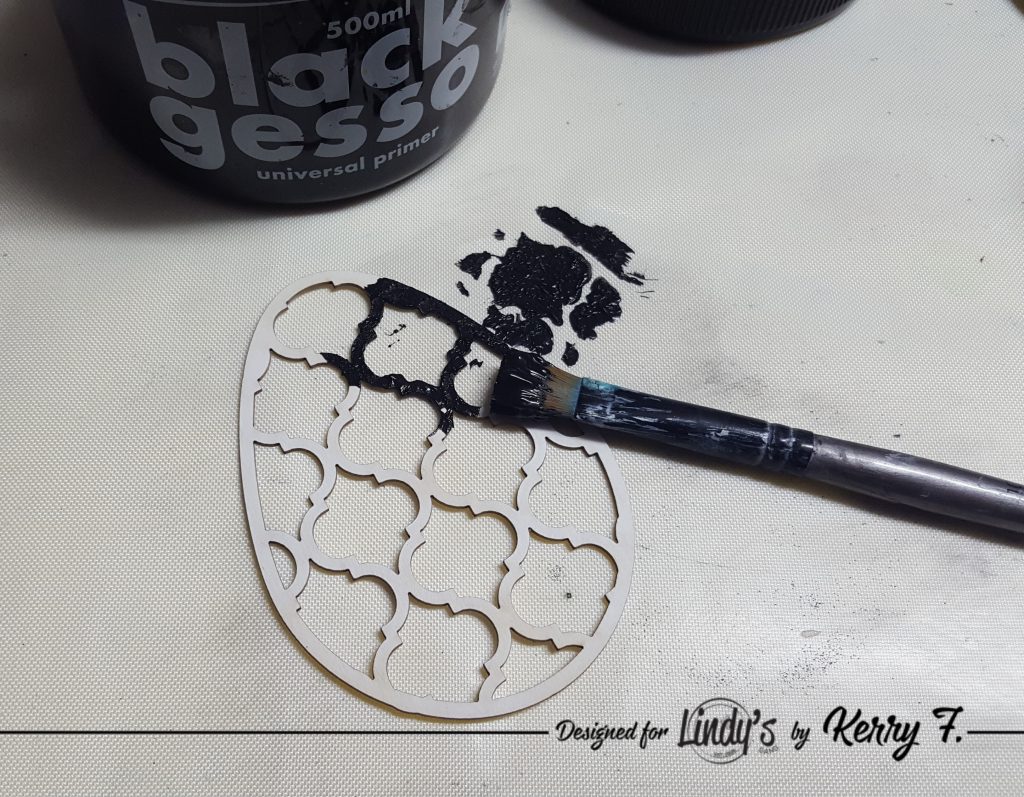
For the top, or detailed layer of the eggs, I have used a couple of different methods. Firstly, take some black gesso and 'pounce' it onto the detail leaving the paint thicker in some places, this will add some texture.

7(1)

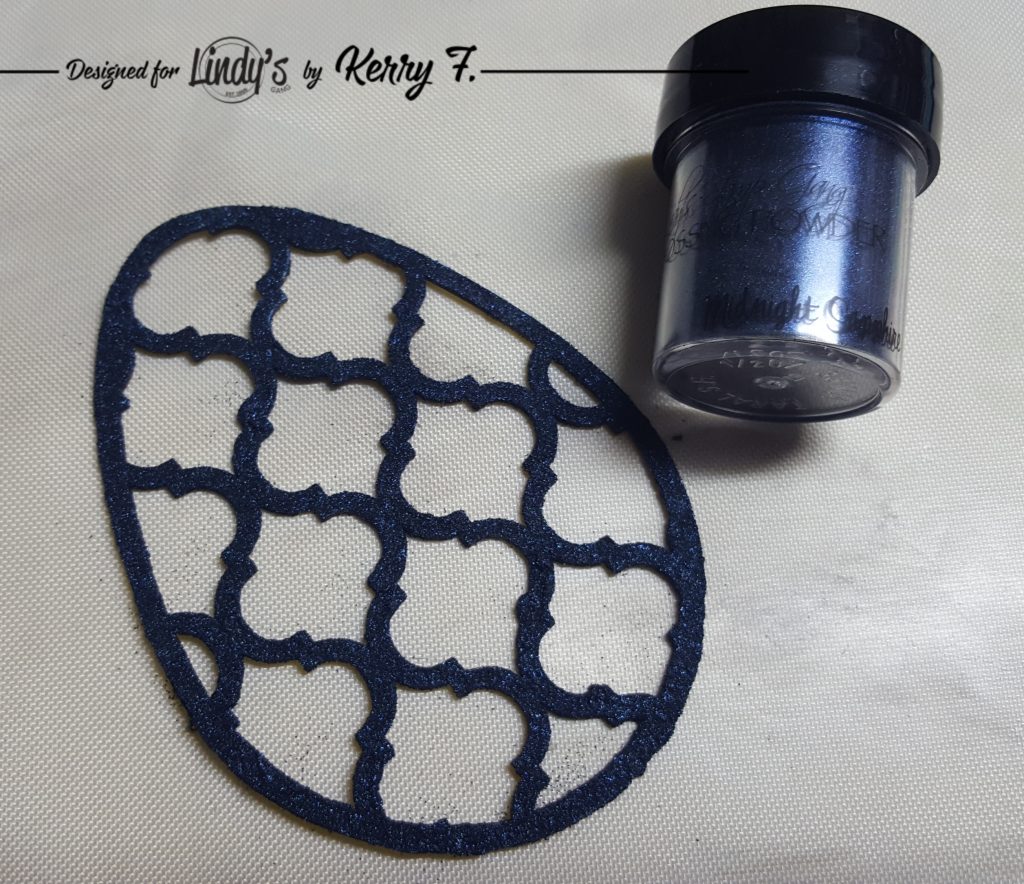
Then, while the gesso is still wet, sprinkle your chosen embossing powder onto the detail. I have chosen Midnight Sapphire embossing powder. Heat set the embossing powder, you will see it bubble up as the gesso dries too.

6(1)

The next method gives a two toned look to our detailed layer. Apply versamark to the detailed layer...

8(1)

...then carefully sprinkle the embossing powder onto half of the egg, try to make the 'edge' of the embossing powder a little organic looking so you don't have a perfect line where the 2 colors meet. Shake off the excess powder back into the jar and then apply the second color of embossing powder and heat set both colors at the same time.

9(1)

Repeat the above steps until you have all your pieces colored, then simply attach the detailed front's to the backs and volia, cute colorful Easter decorations or embellishments.

12(2)

Lindy's Products

Other products:
  • Whichcraft chipboard, versamark ink, distress oxide ink.

Tuesday 12 March 2019

Not all who wander are lost for Lindy's

Hello! Its Kerry with you today with an art journal page.  Using some of the NEW and totally AMAZING Squirts - did I mention they are AMAZING?? I have also used some flat fabio Sprays. Lets get started!

8(1)

To begin, spritz a piece of watercolor paper liberally with water, then spray Summer Lovin' Sun and Tears on my pillow tangerine randomly on the card and let the colors mingle and then dry off.

1(1)

Take another piece of watercolor paper and the Banff Blue squirts. Squeeze a small amount of the color onto an acrylic block and then using a lid from one of the sprays and the empty roll from inside a roll of tape 'stamp' some circles onto the paper. The squirts are super intense and you only need a small amount.


2(1)

Repeat the process with the Loonie Toonie Teal squirts and then spritz the 'stamped' images with water and allow the color to bleed out, and then dry off.

3(1)

Using a stencil and some black Archival ink, add some additional marks to the background and set aside.

4(1)

Take the original piece of colored watercolor paper and add some stamping for interest.

5(1)

Take some circle punches and punch out some circles from the paper in random sizes and ink around the edges to give the circles a defined edge.

6(1)

Arrange the circles on the page as you like them and then add a focal point, I have chosen a Tim Holtz paper doll but any image can be used as a focal point on a page like this.

7(1)

Before adhering the circles I have added a few circle stamps to the background.

10(1)

To finish off, adhere the circles to the background, Pop a small piece of cheesecloth underneath the main focal point add a quote and some white splashes of ink. Use a fine liner to add a scribbly border and mount onto some black card, all done!!

11(2)

Thanks for dropping by and have a magical day xx

Lindy's Products: 
Other Products:
  • Watercolor paper, archival ink, mark making tools, stamps, paper doll, fineliner, quote sticker, white liquid ink

Tuesday 12 February 2019

Vintage mini 'Junk Journal' for Lindy's


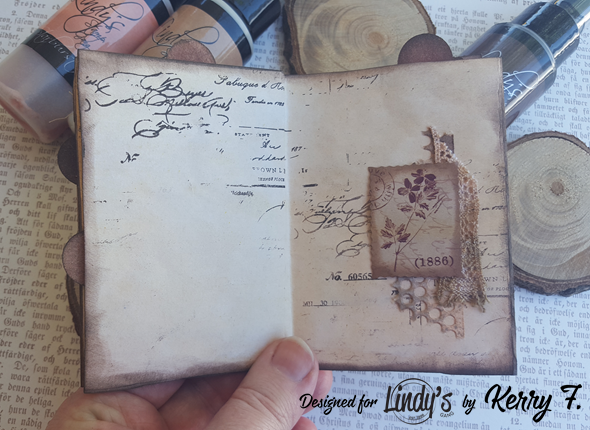
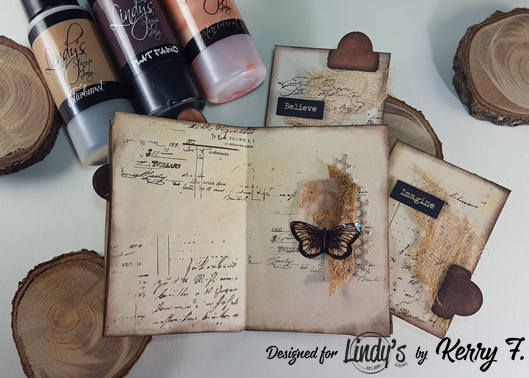
Hello Lindy's fans!! It's Kerry with you today. I have always loved Vintage style and mini books and journals are also on my 'favorites' list, so today's project features both of those things rolled in to one super cute project. If vintage isn't your thing, you can still make this little book in any style you like. Grab some of your favorite Lindy's sprays or magicals, today I am using Cape Coral Cod, Steampunk Sepia and Sandra Dee Sepia and a couple of sheets of standard copy paper, and lets get started.

26

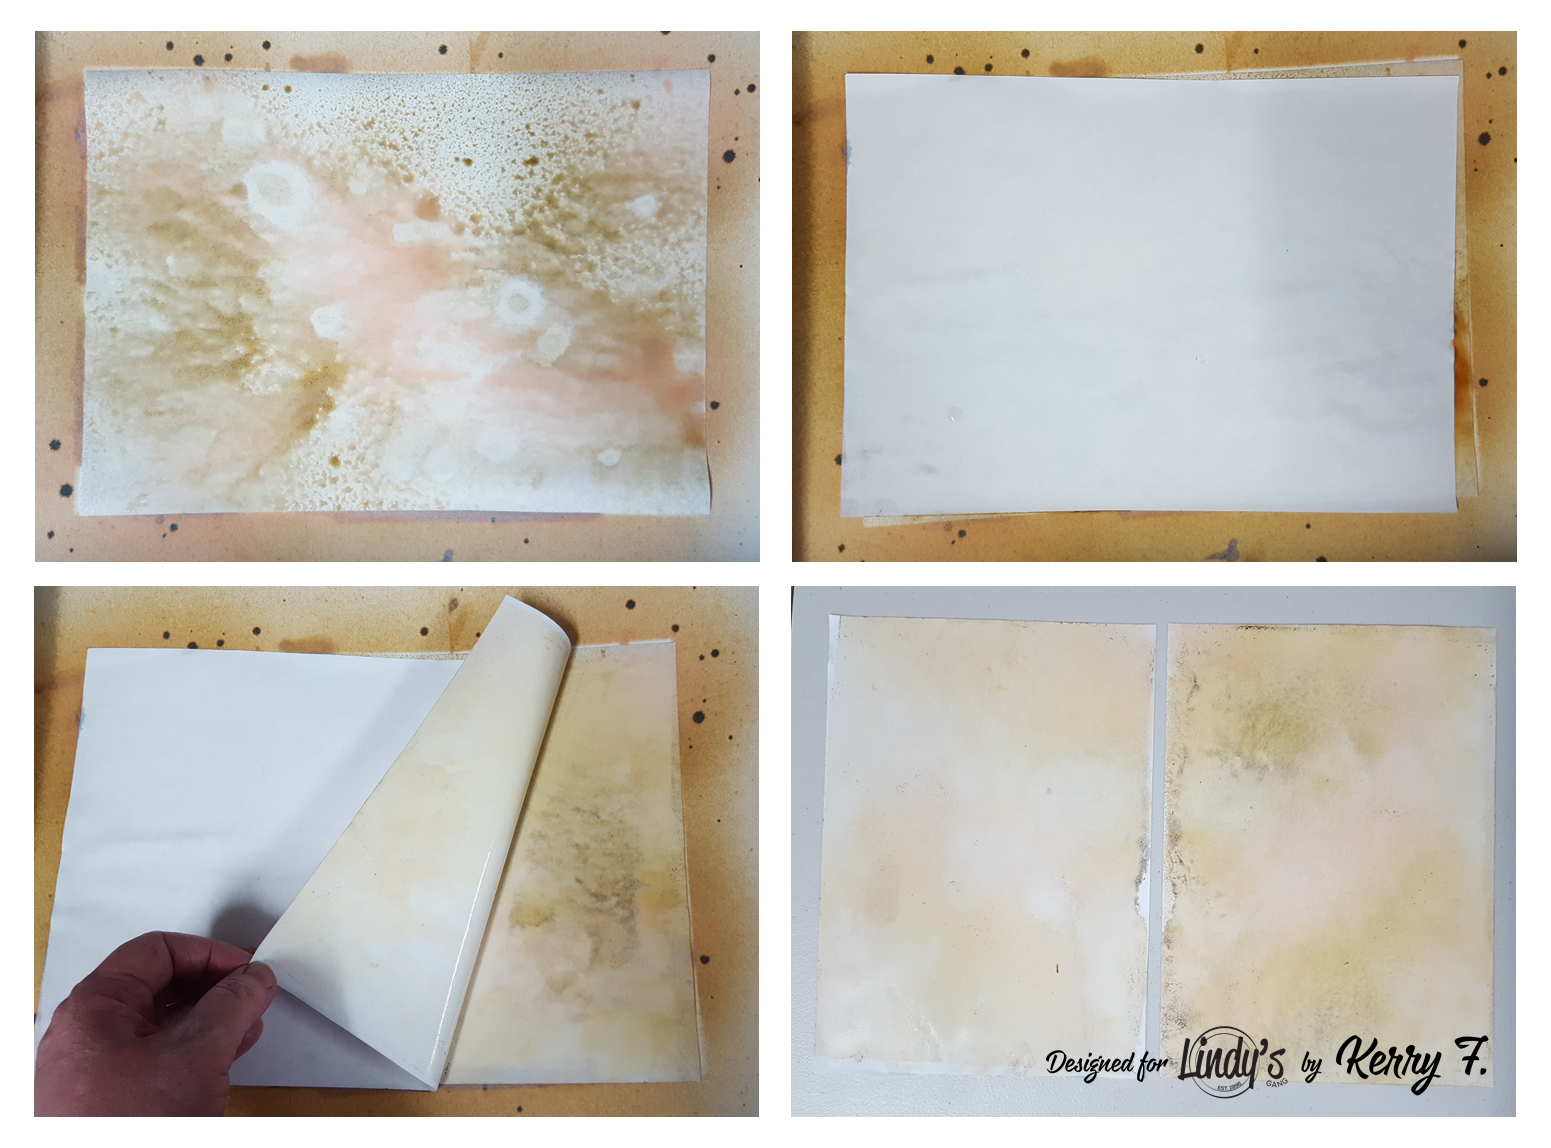
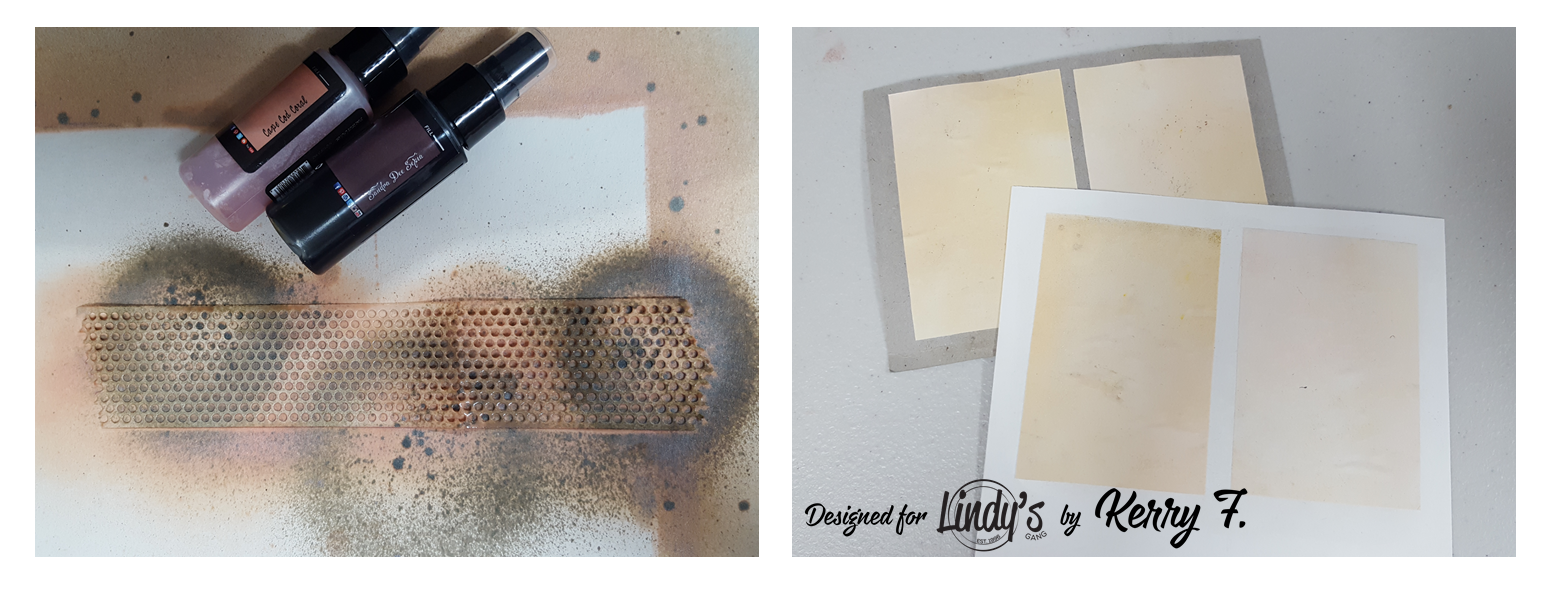
 To begin, grab a sheet of regular copy paper, spritz with water and then add your color. I have sprayed Cape Coral Cod and Steampunk Sepia to give me a lovely vintage background. Lay a second sheet of dampened copy paper over the top, let it sit for a moment to transfer some of the gorgeous spray, then gently separate the two pages and dry off. Repeat this method on the back side of the paper, so you have color to both sides of the sheet.

Lindys 1 
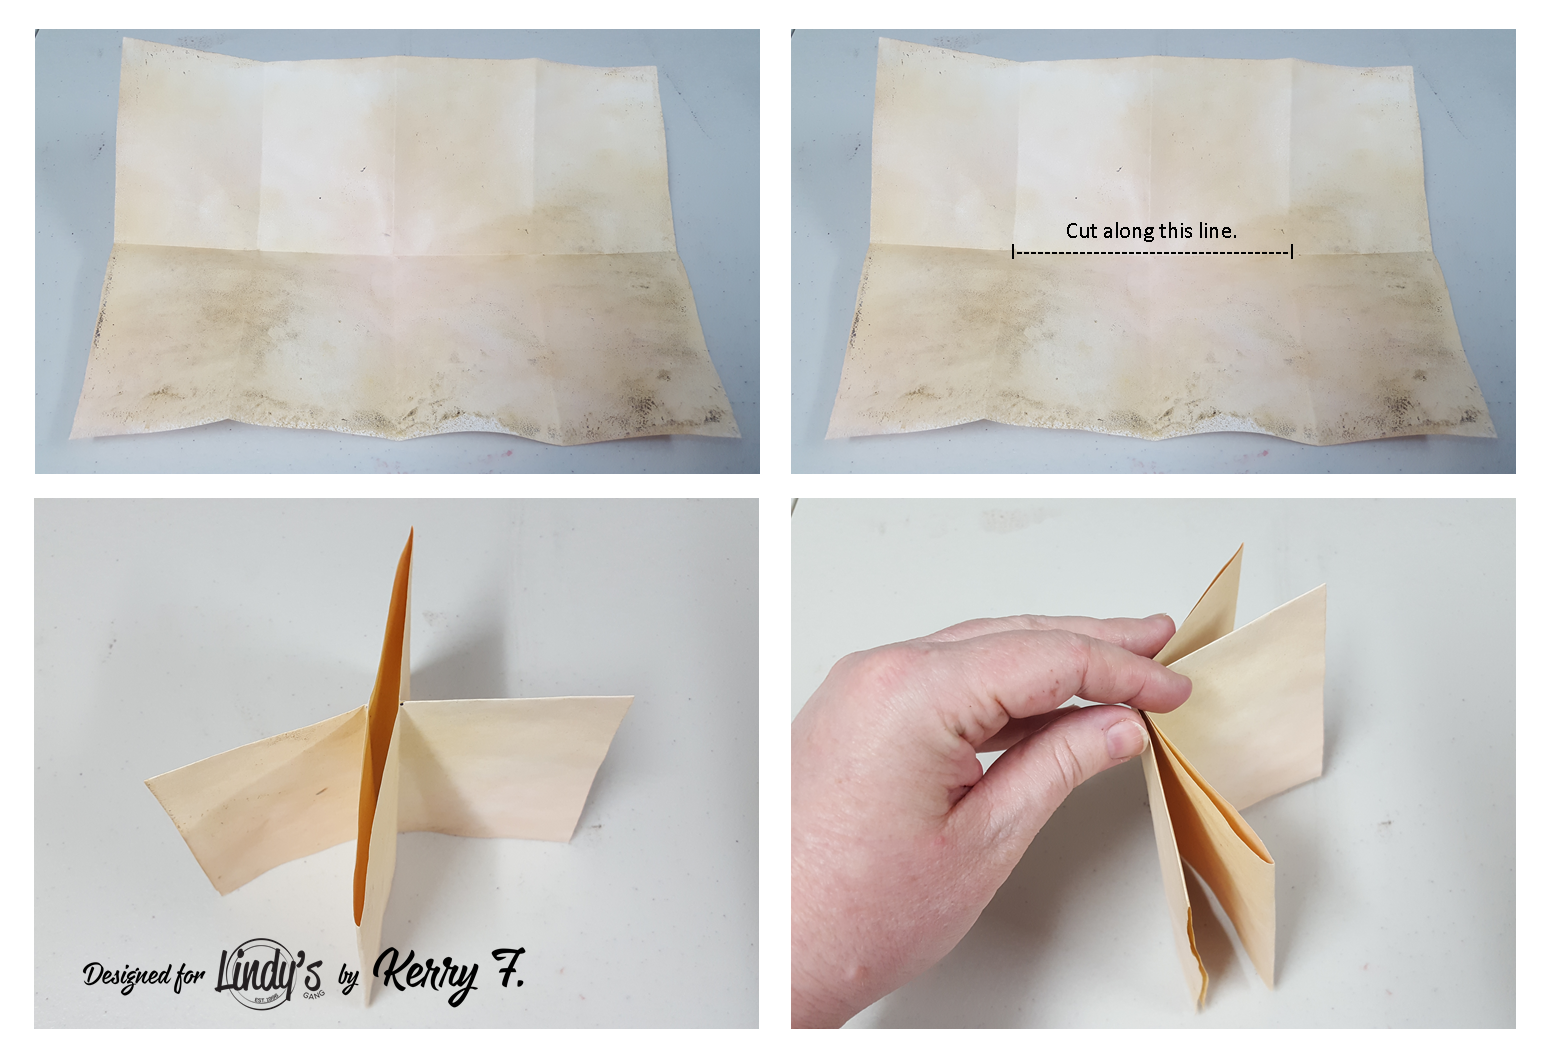
Once you have your sheet colored on both sides and dry, you will need to fold the sheet into 8 even panels as shown below. Then take a craft knife and cut along the crease right in the middle of the page. Fold the page in half again with the cut section facing upward, when you push the ends of the paper toward each other, you should see a cross or 'x' shape. Push all the pages around in the same direction to create a mini book.

Lindys 2 

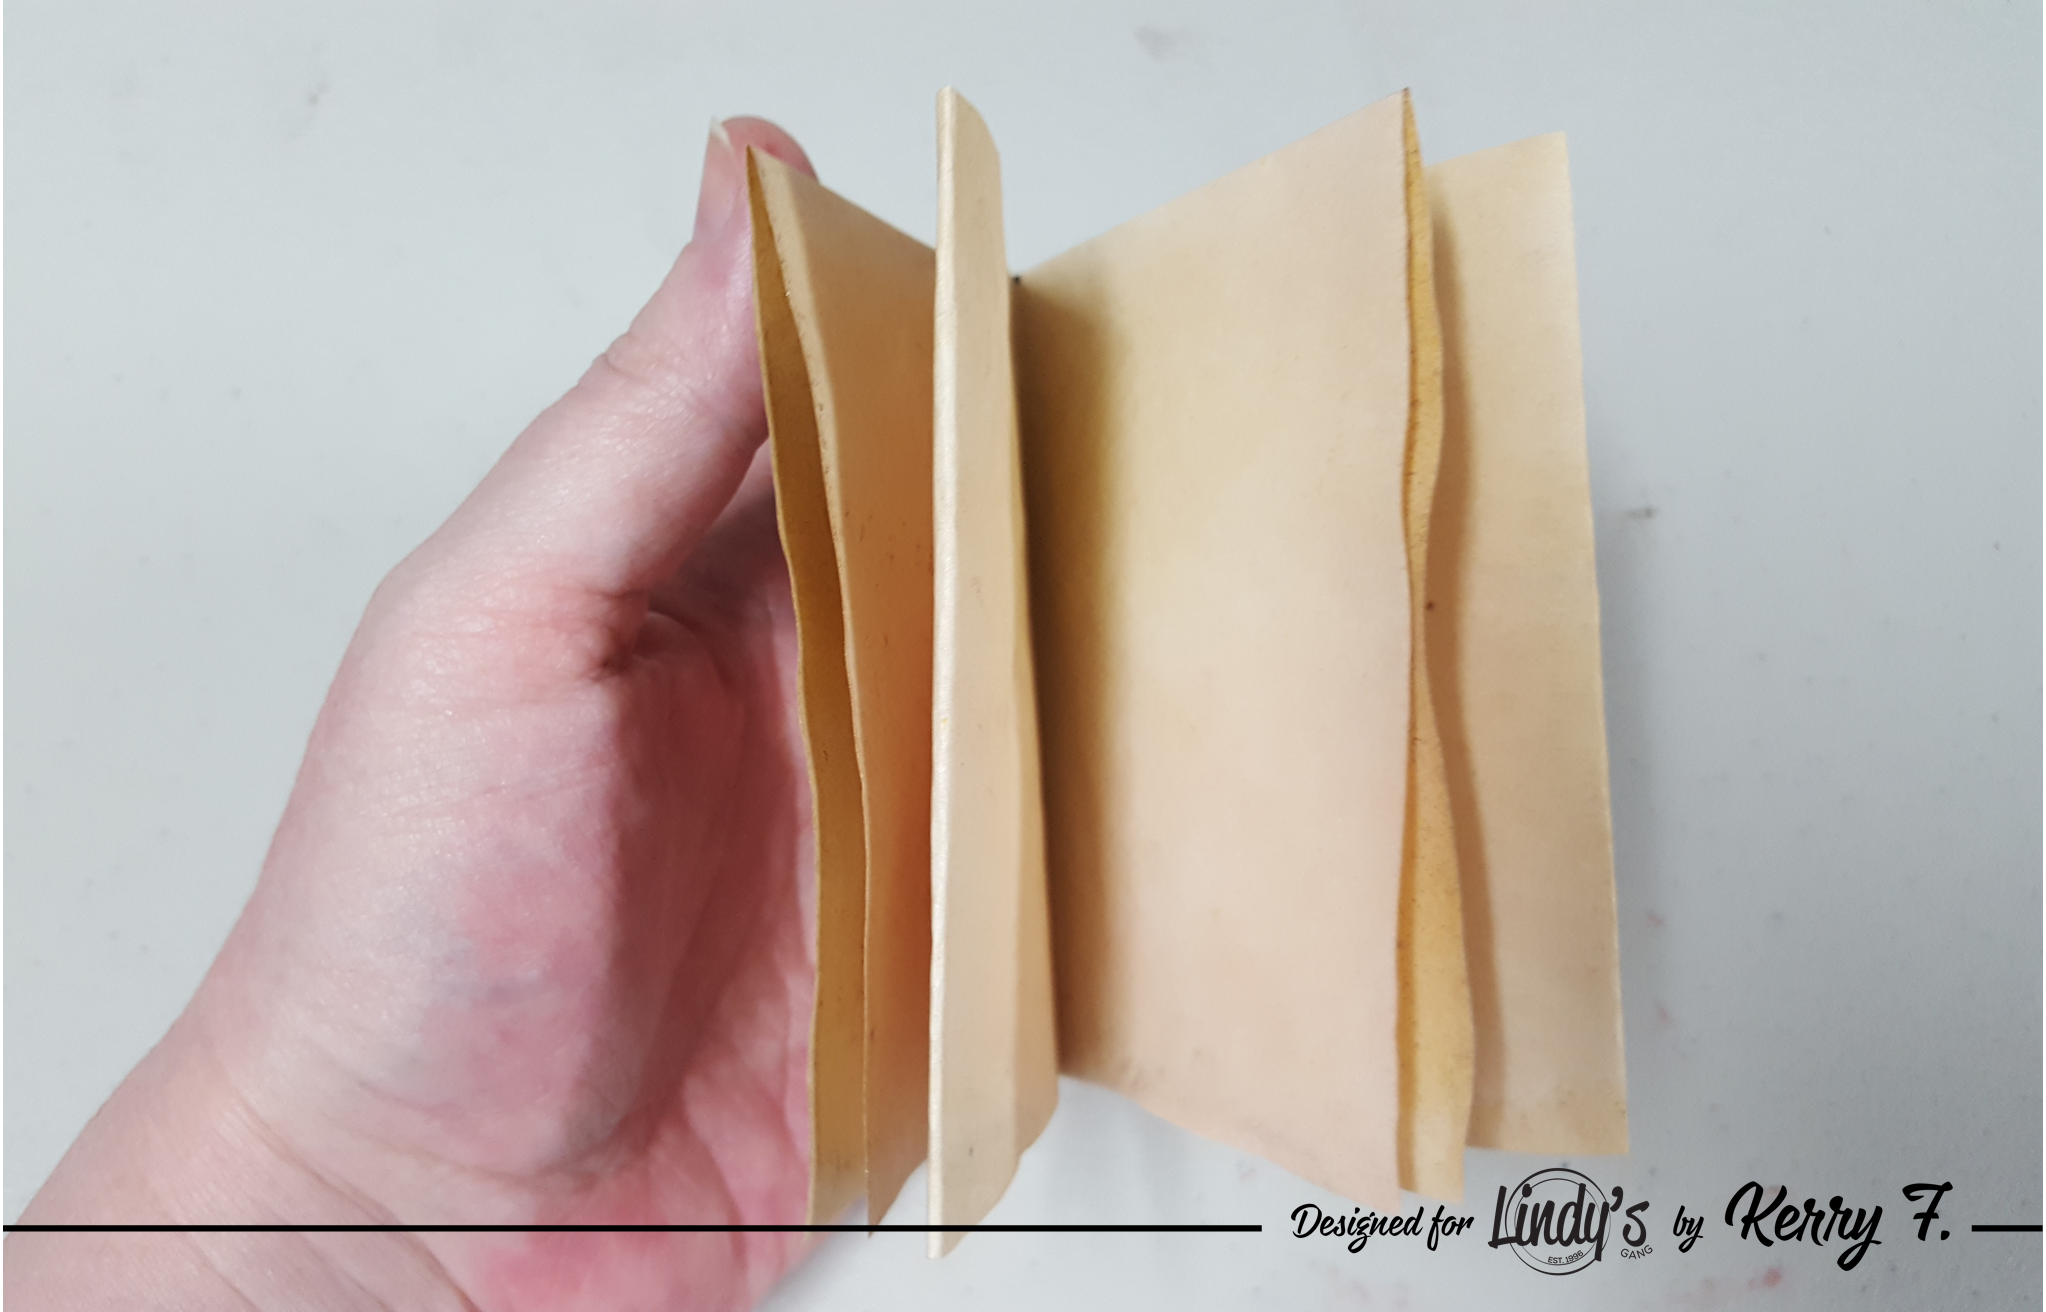
You should end up with something like this...


Lindys 3

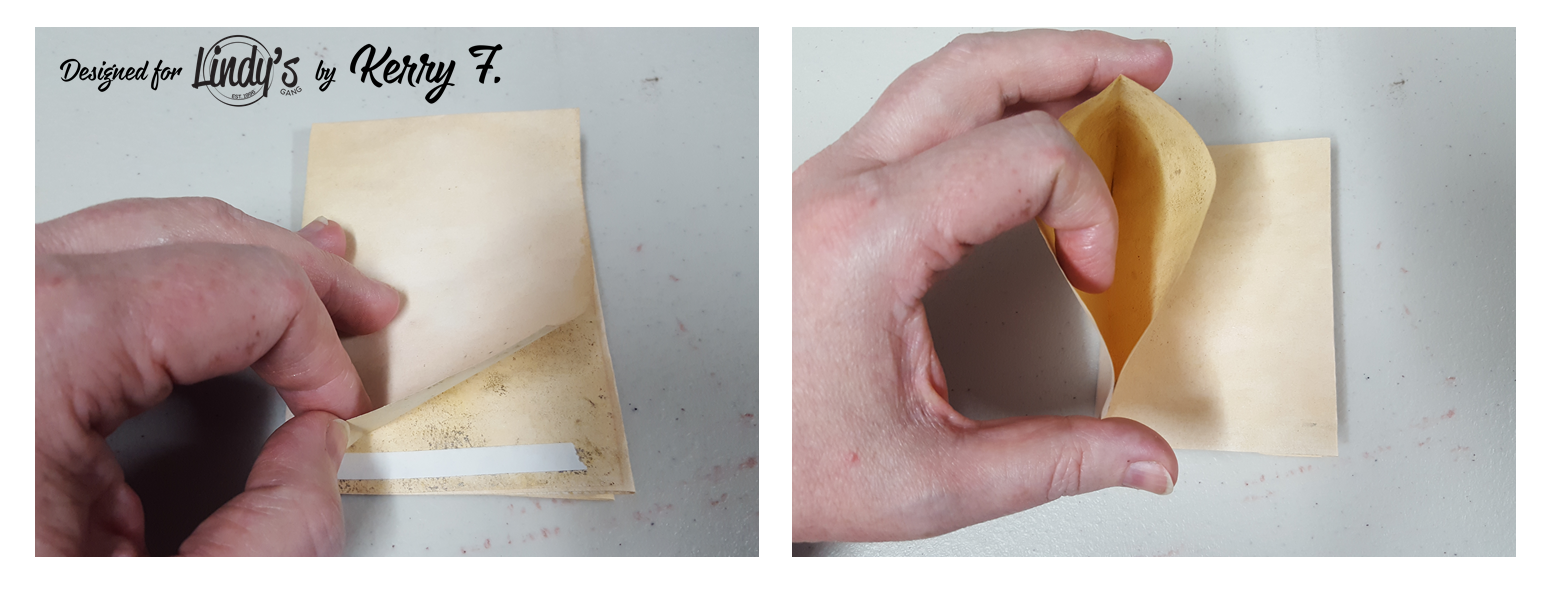
 Our book now has four pages, each page is actually made up of two pages, these will make our pockets. Two pages will be open on the sides, they will be our side loading pockets so we need to place a small piece of double sided tape along the bottom edge. The other two pages will be our top loading pockets, so we need to seal the bottom edge in the same fashion. I know it sounds a bit tricky but it will make sense when you see it in your hand....

Lindys 4 
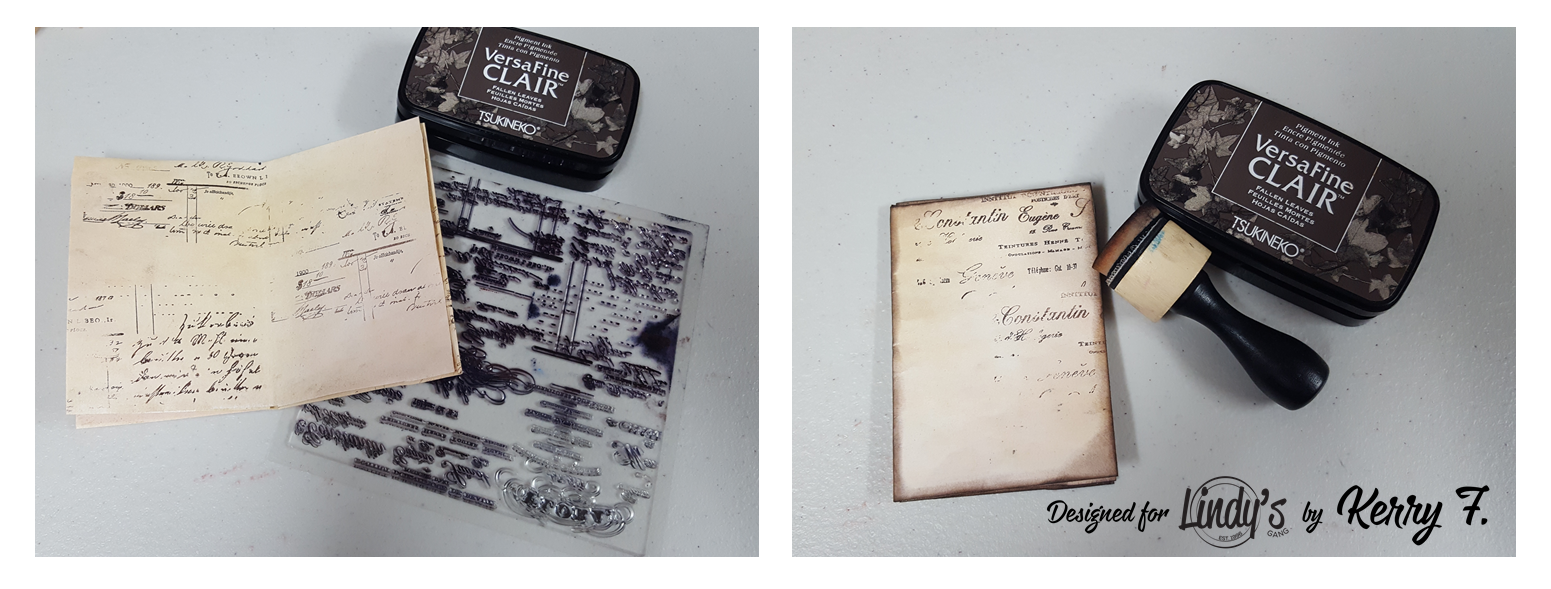
 PHEW all the hard parts are done now.... time for the fun part. Using a stamp add some interest to the background of each of your pages and ink around the edge of each page.

Lindys 5 
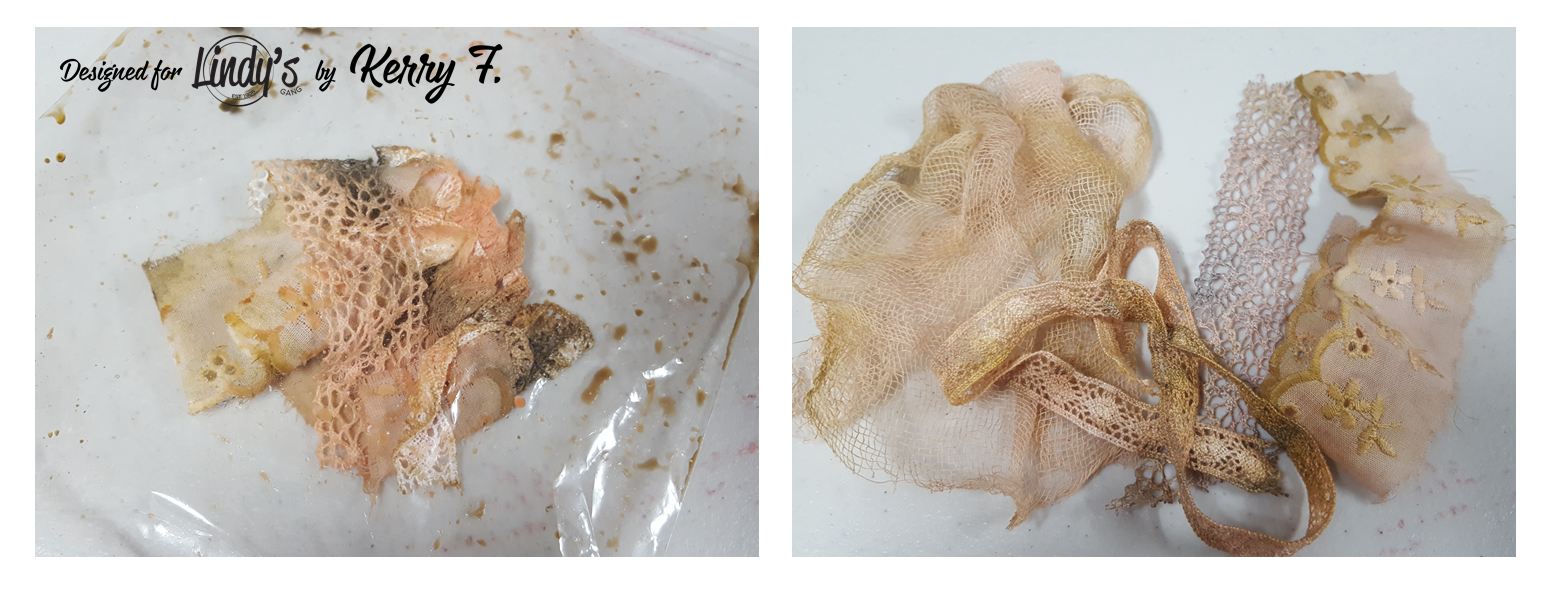
Take some scrappy bits of lace, cheesecloth, ribbon or fabric and pop them in a small cello bag and add a few sprays of the colors you have used in the background. I have also added a small amount of Sandra Dee Sepia spray to give me a little more depth. I love how the different fabrics all take on the color a little differently, such great variation from the same beautiful colors. Dry off your textile pieces and set aside.
Lindys 6 
 For additional texture, I have sprayed some texture tape with Cape Coral Cod and Sandra Dee Sepia. For our inserts, take the second piece of copy paper and trim four pieces. These will need to be a little smaller than each book page to be able to fit into the pocket. I have backed mine on to some left over card and packaging to make them a little more sturdy. 

Lindys 7 
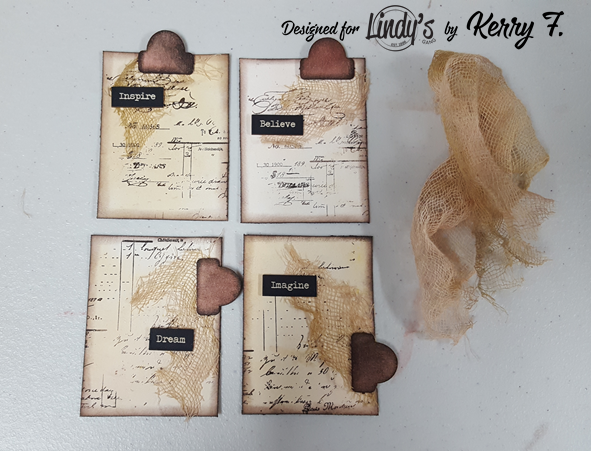
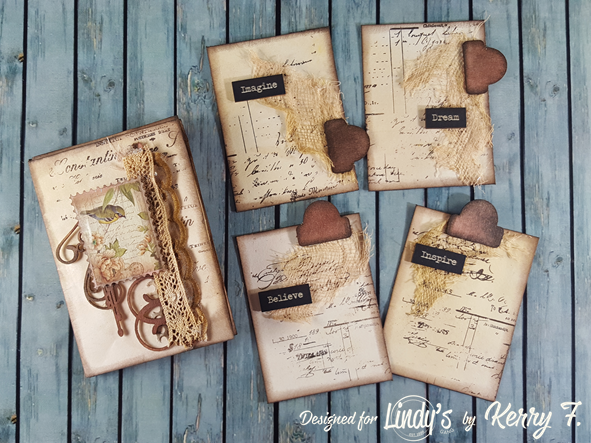
 Using the same method from above, apply some background stamping and ink around the edge of each page, pop a small piece of cheesecloth under each tab and a sentiment or another simple element to finish off.

Lindys 8
 
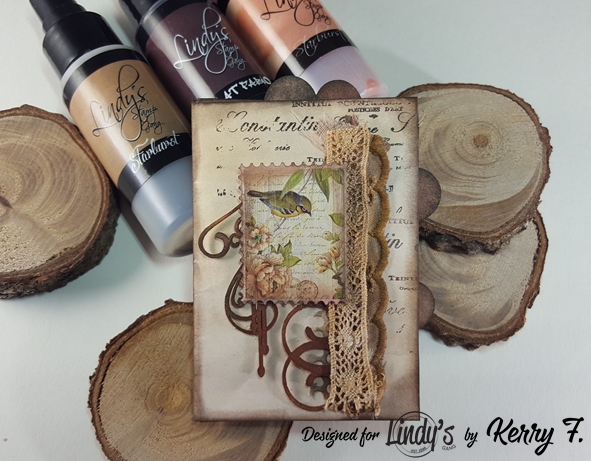
Decorate the front cover by layering some of our colored fabric, add some chipboard or a die cut and a small image for a focal point.

Lindys 10

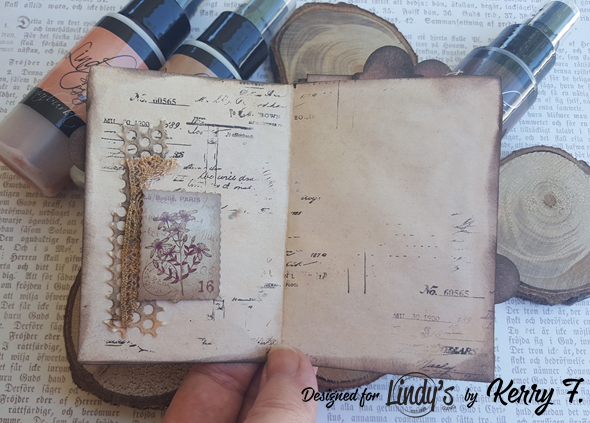
 Add a similar cluster on each page to decorate the book.

Lindys 11 

Lindys 12


Lindys 13

And there we go, such a cute little book, complete with pockets and inserts :)

Lindys 9

Lindy’s Products

Other Products
  • Copy paper, Whichcraft Chipboard, fabric and lace, stamps, archival ink
Thanks for dropping by and have a magical day