
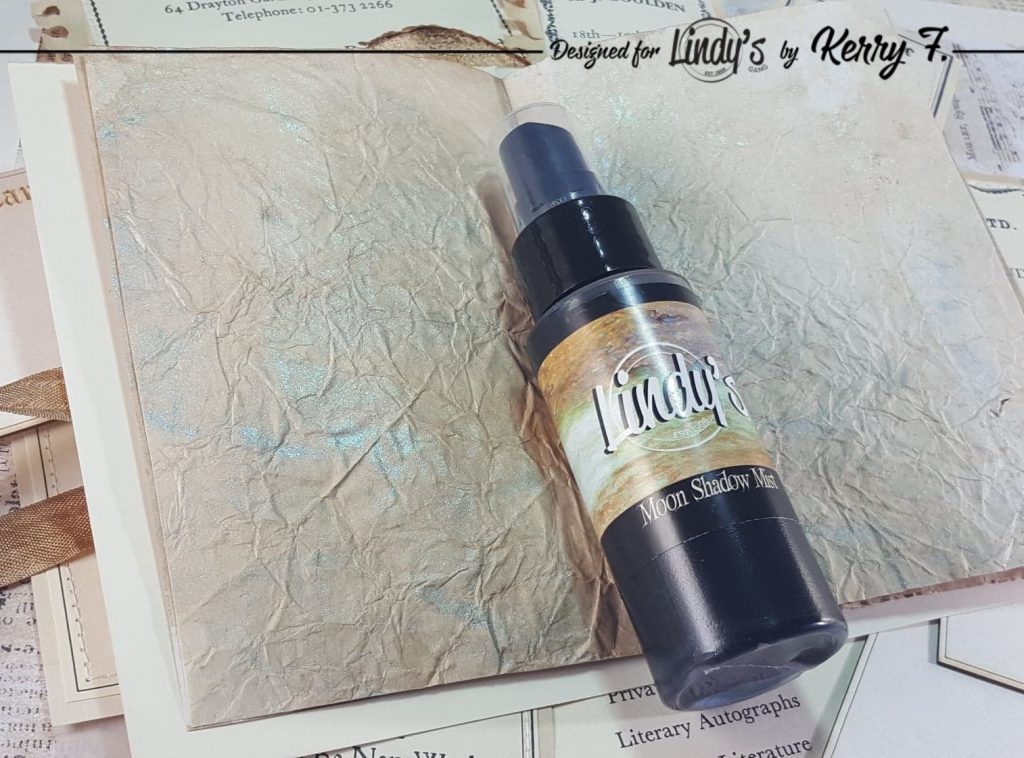
Hello Lindy's Fans. Have you used Lindy's Moon Shadow Mists? They are perfect for giving papers a unique aged look with a bit of awesome Lindy's shimmer. All of the Moon Shadow's have a vintage brown base with a fabulous color shimmer. Today I will show you just a few of these awesome products as we make a mini journal with some 'aged' papers.
To begin, grab a couple of sheets of plain copy paper and spritz both sides with water. In a 'spray tray', liberally spray the Moonshadow mists of your choice to cover the back and front of both pages, I am using Smokey Sapphire, Treasure Island Aqua, Violaceous Violet and Buccaneer Bay Blue.
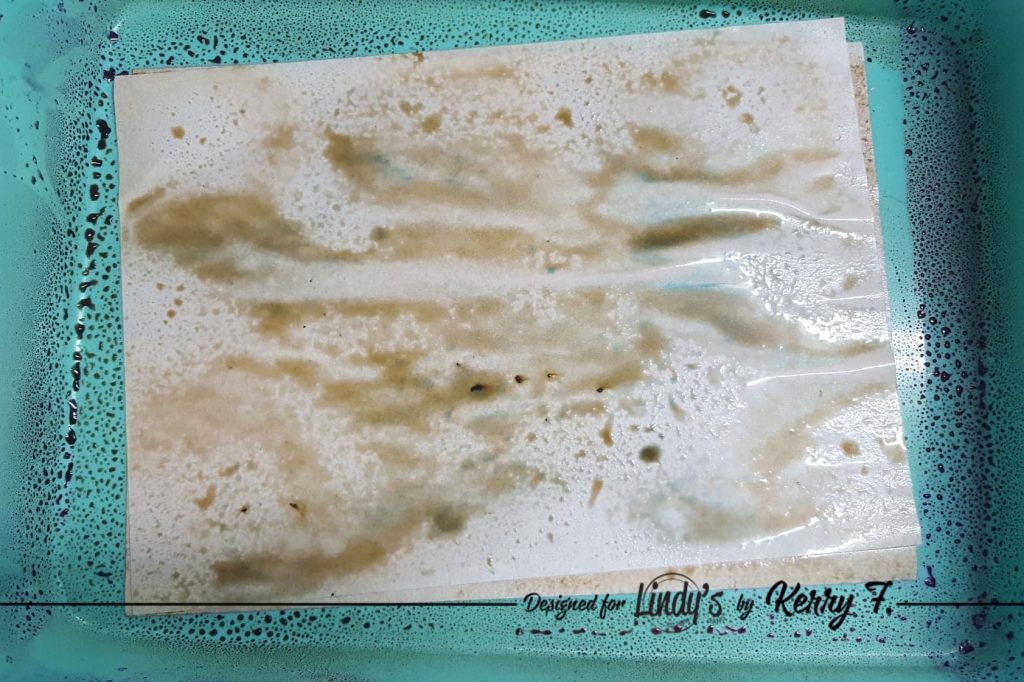
I have scrunched the pages as I dried them with the heat tool to give them a little more of an aged look, the scrunching also gives a bit more of an uneven surface to the paper and the shimmer catches the light more.
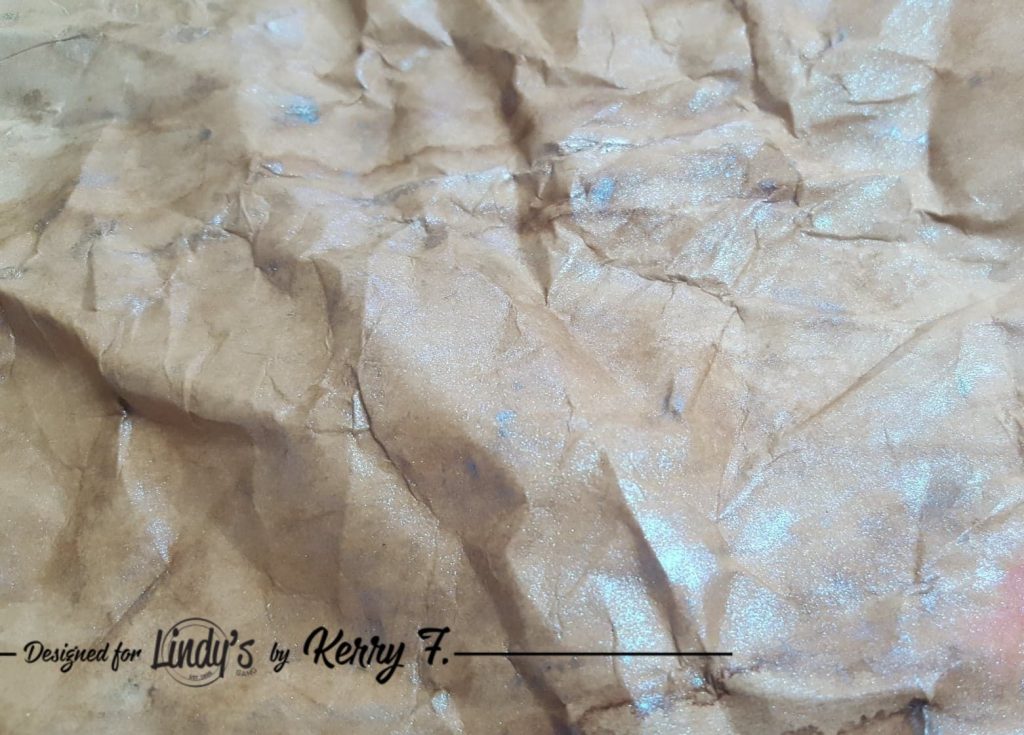
Once fully dried i have ironed the pages flat again.
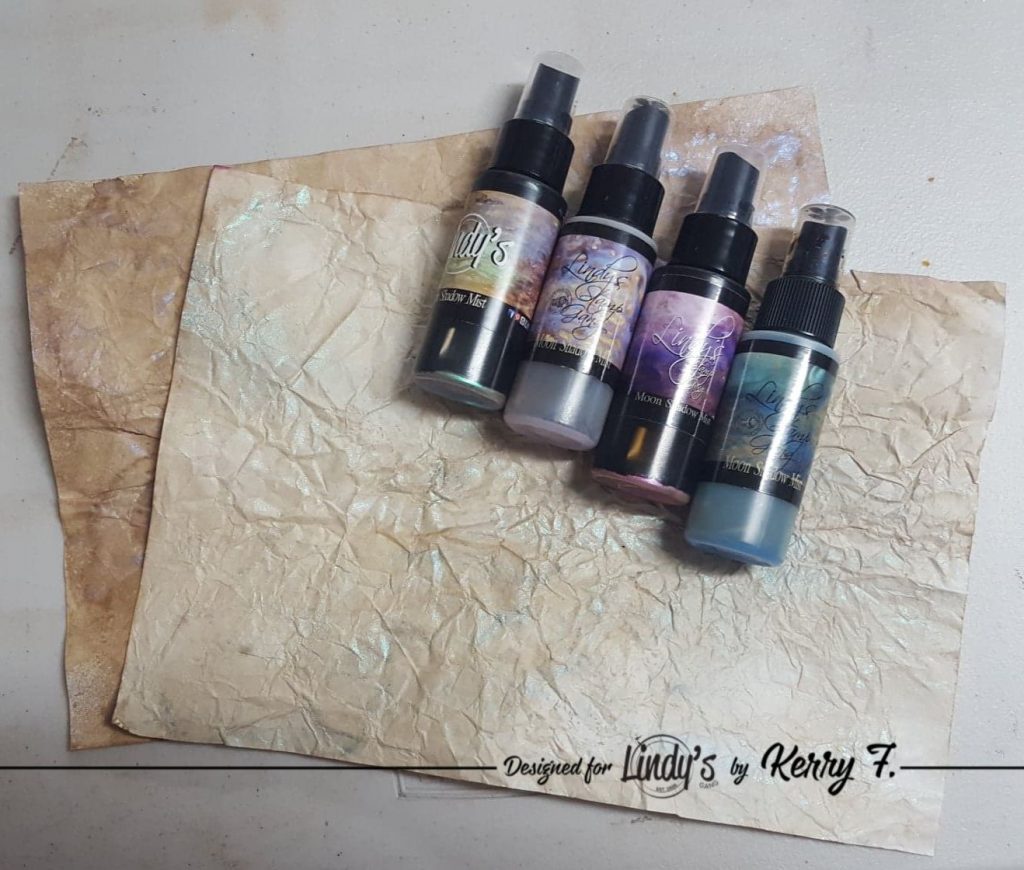
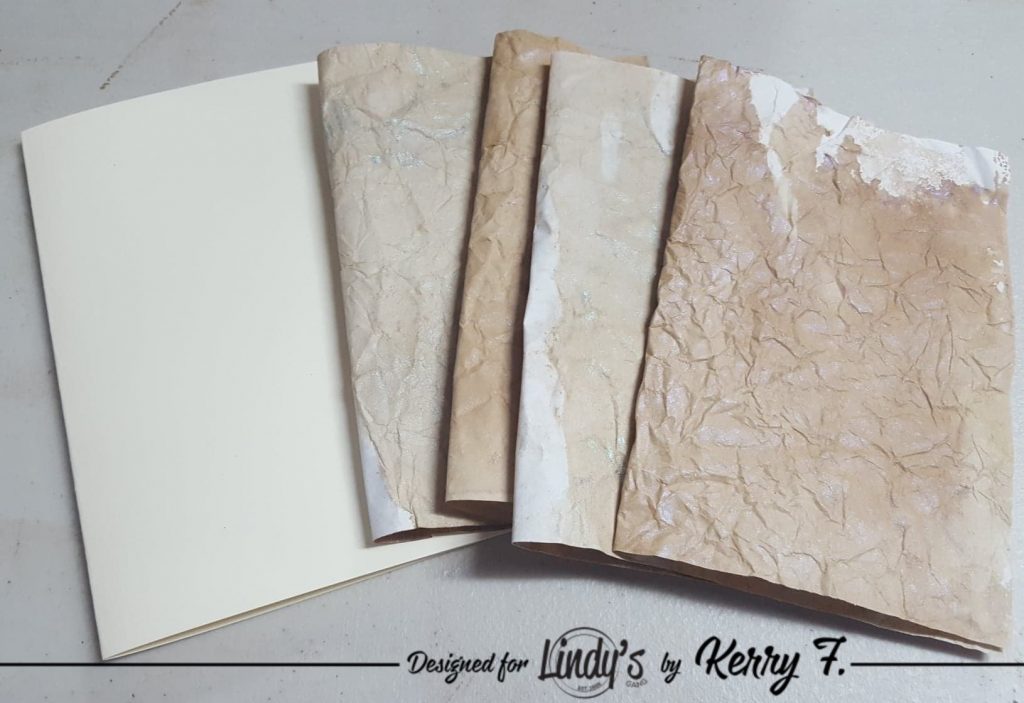
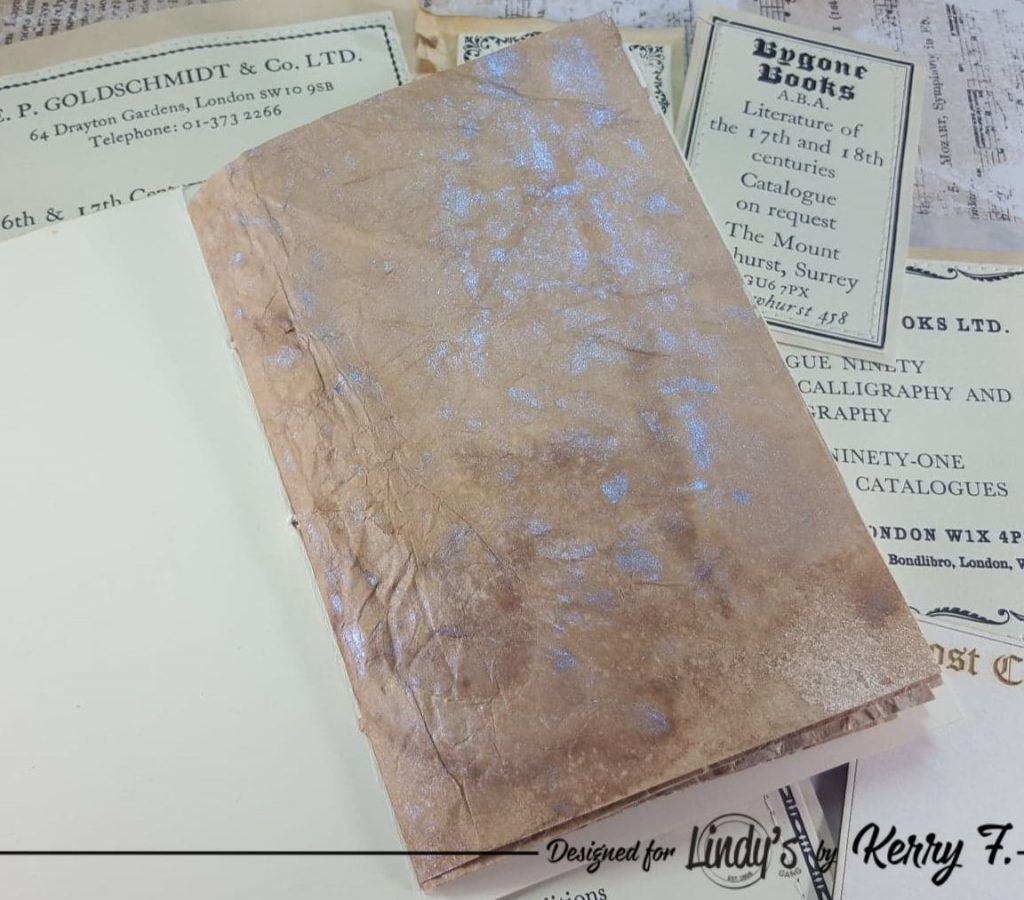
Take a plain cream piece of cardstock, this will be our cover. I have used an A5 sized sheet. I have cut my colored pages in half and then folded them in half again and trimmed them to be slightly smaller than my cover.
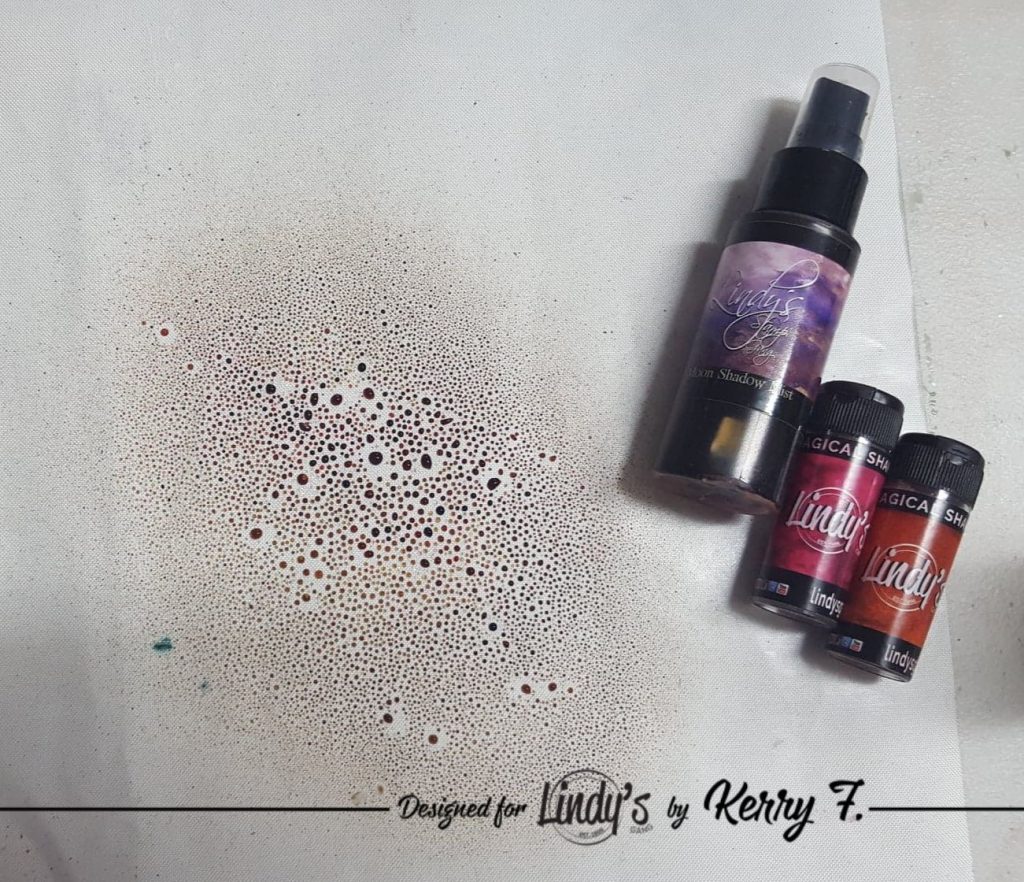
Next I have popped a very small amount of Autumn Maple Crimson and Cowabunga Copper Magical Shaker powder on to my mat and sprayed a few sprays of Violaceous Violet to begin activating the powder. Add a few good sprays of water to this to dilute the color a little.
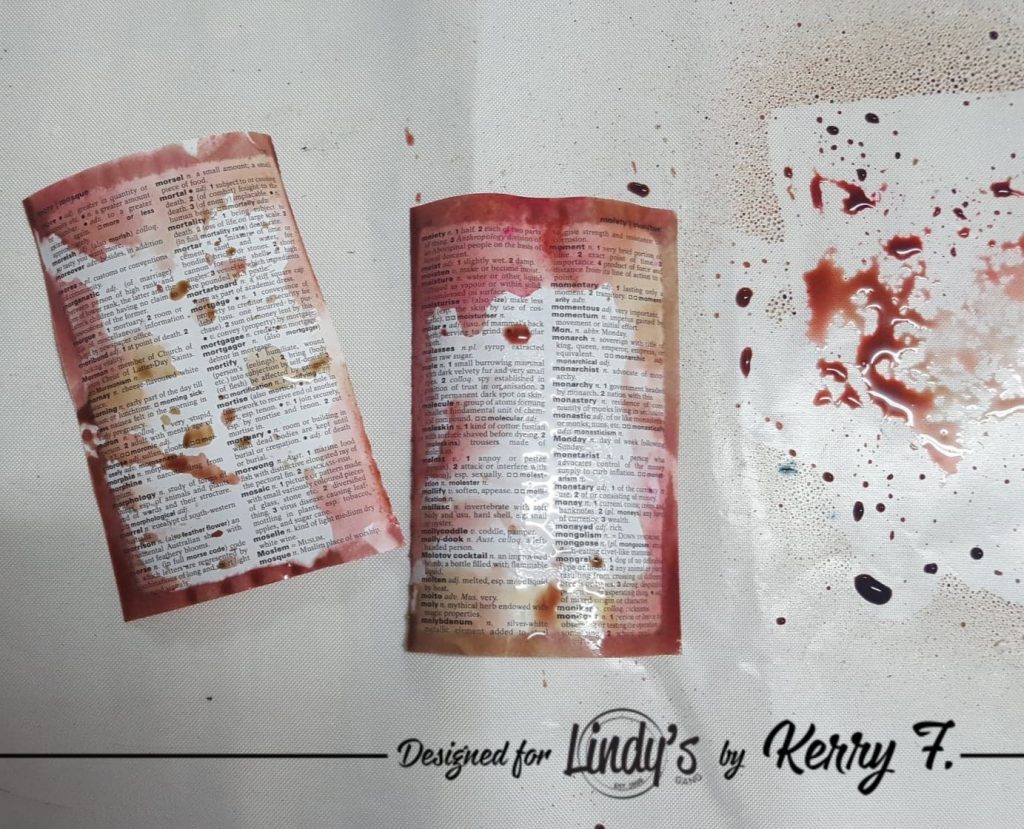
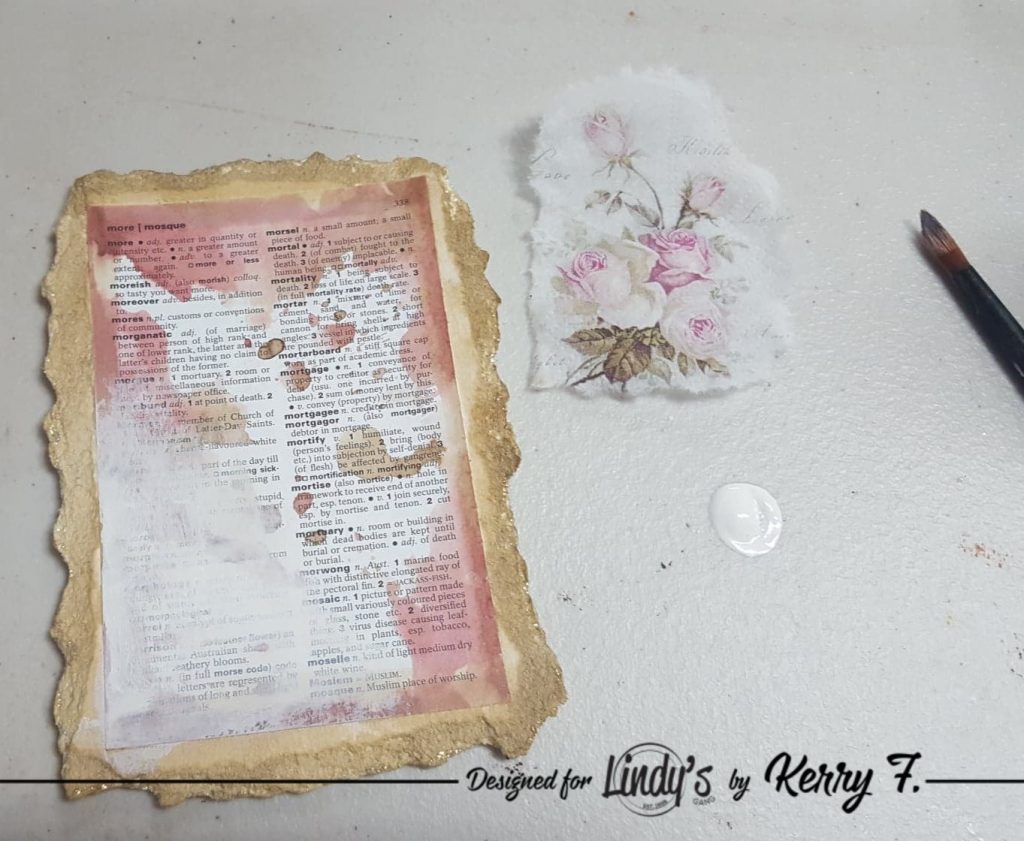
Take a couple of book pages and randomly dip into the color leaving a little white space on the pages and dry them off.
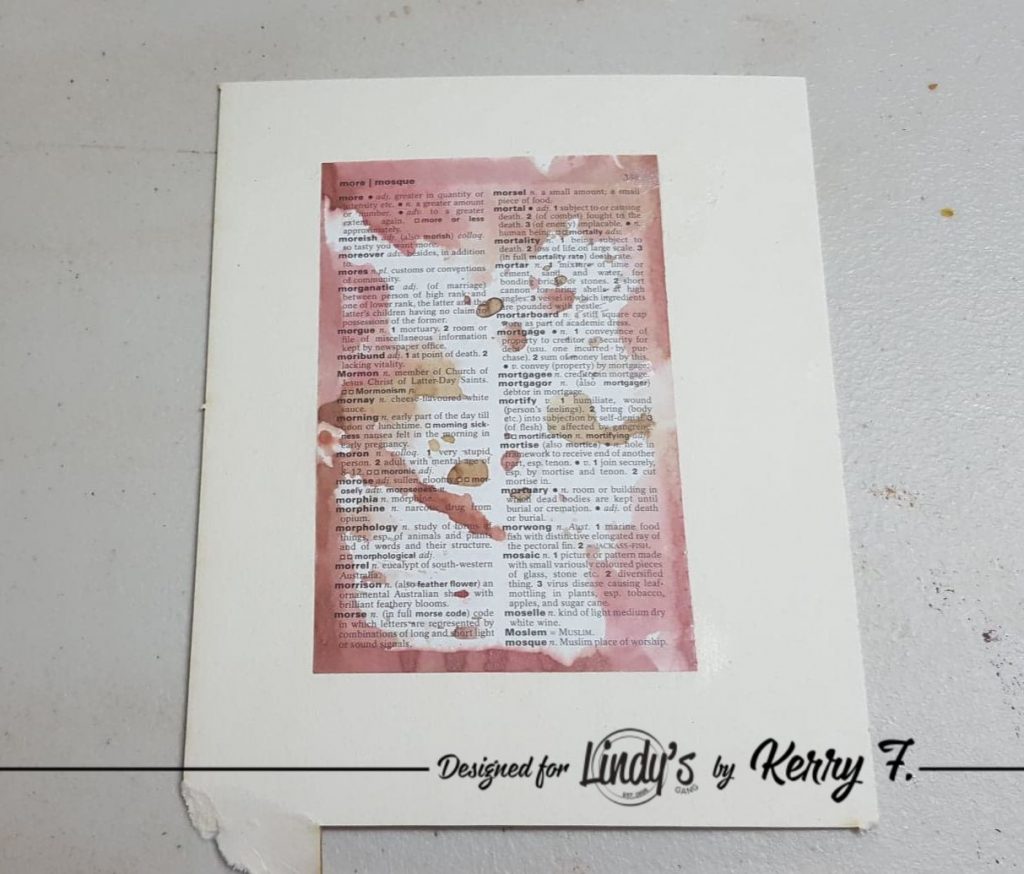
Add the dried base to some card, I am using white chipboard as i love the 'tear' on the torn edge.
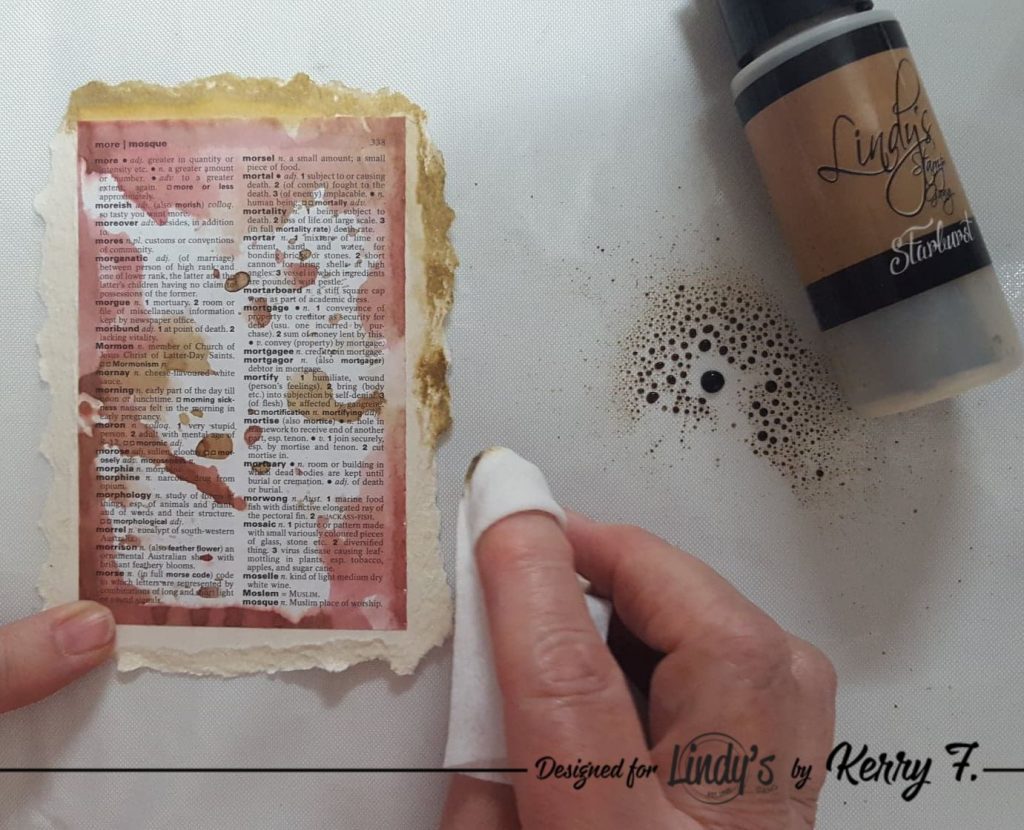
Tear around the edge of page to give an organic looking border. Spray a small amount of Steampunk Sepia on to your mat and dip a baby wipe into the spray to apply to the torn edge.
I want to add a decoupage napkin image, so to prepare the area use a small amount of white gesso to 'block out' the area, this will allow the image to be more visible from the background as the napkin image is very transparent. Dry the gesso and then add the image. Water down the remaining gesso and add a few splashes.
To construct the book, either sew or staple the pages inside the cover, you can really see that amazing shimmer!!!

I love the vintage look with that awesome violet shimmer...
...And this green shimmer is soooo pretty.
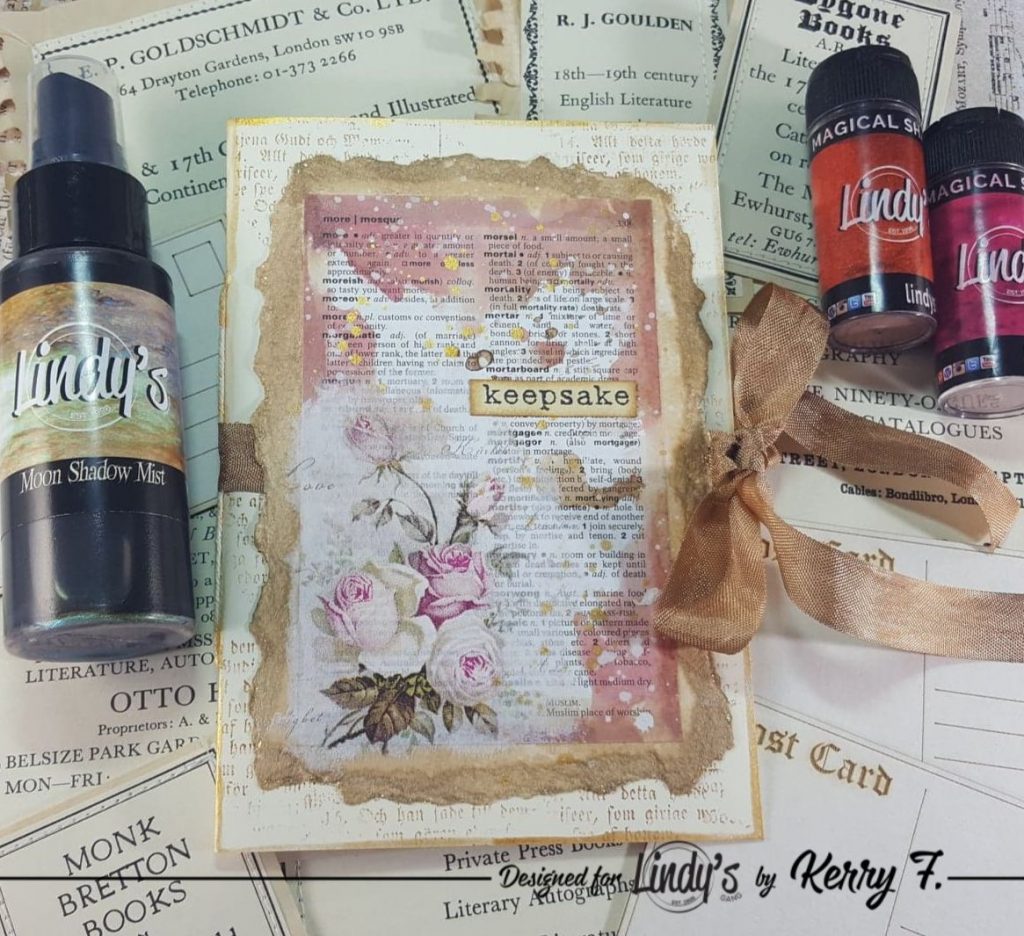
To complete the book, add a little background stamping to the front cover. Place a length of seam binding to the back of the panel and then glue the panel onto the cover. I have also added a sticker quote to finish my little 'Keepsake' journal. From brand new to 'vintage' in just a few squirts...LOL
Thanks for dropping by and have a Magical Day xx
Lindy's Products:
- Moon Shadow Mist: Smokey Sapphire, Treasure Island Aqua, Violaceous Violet and Buccaneer Bay Blue.
- Magical Shakers: Autumn Maple Crimson and Cowabunga Copper
- Shimmer Sprays: Steampunk Sepia
Thank You for the step by step. I love this process Your Keepsake page is precious.
ReplyDelete