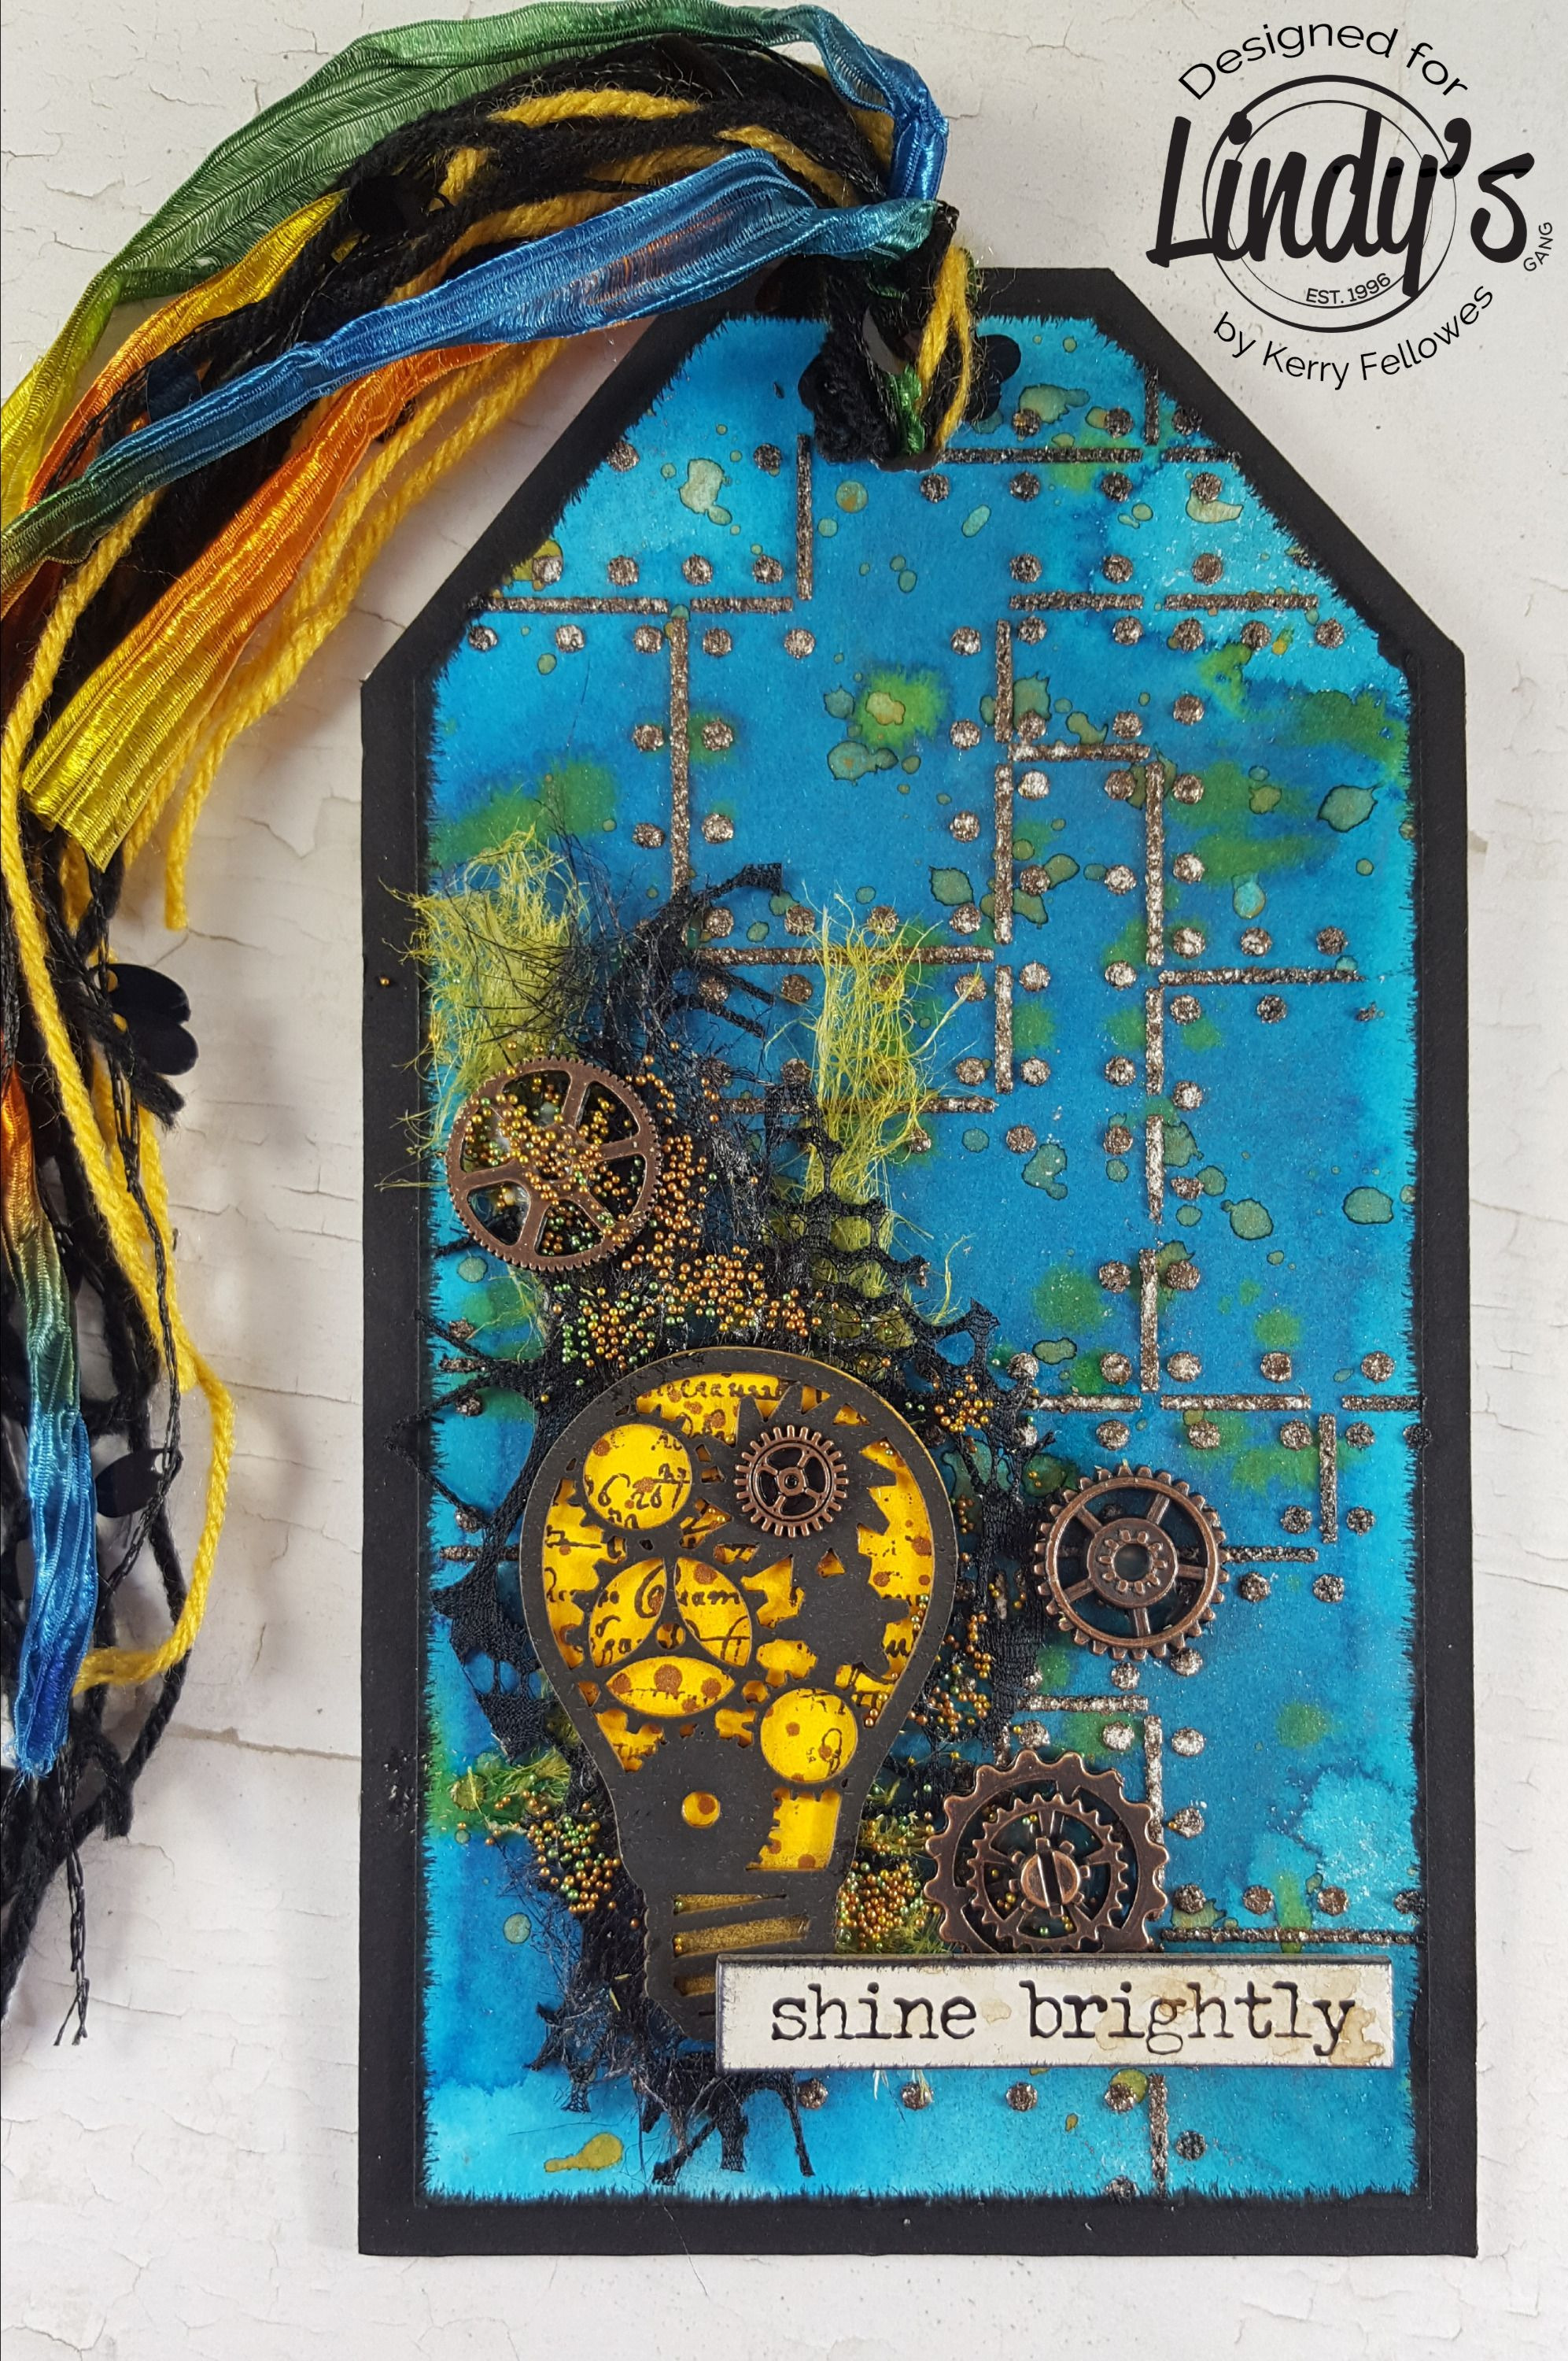
Hello! Today we are making a tag using some of the fabulous Lindy's sprays from 2 of the ranges. Flat Fabios, and Starburst. For those of you that haven't had a chance to experience these different products, here is a super quick explanation.
Flat Fabios are just pure color - No shimmer
Starburst have both a color and shimmer
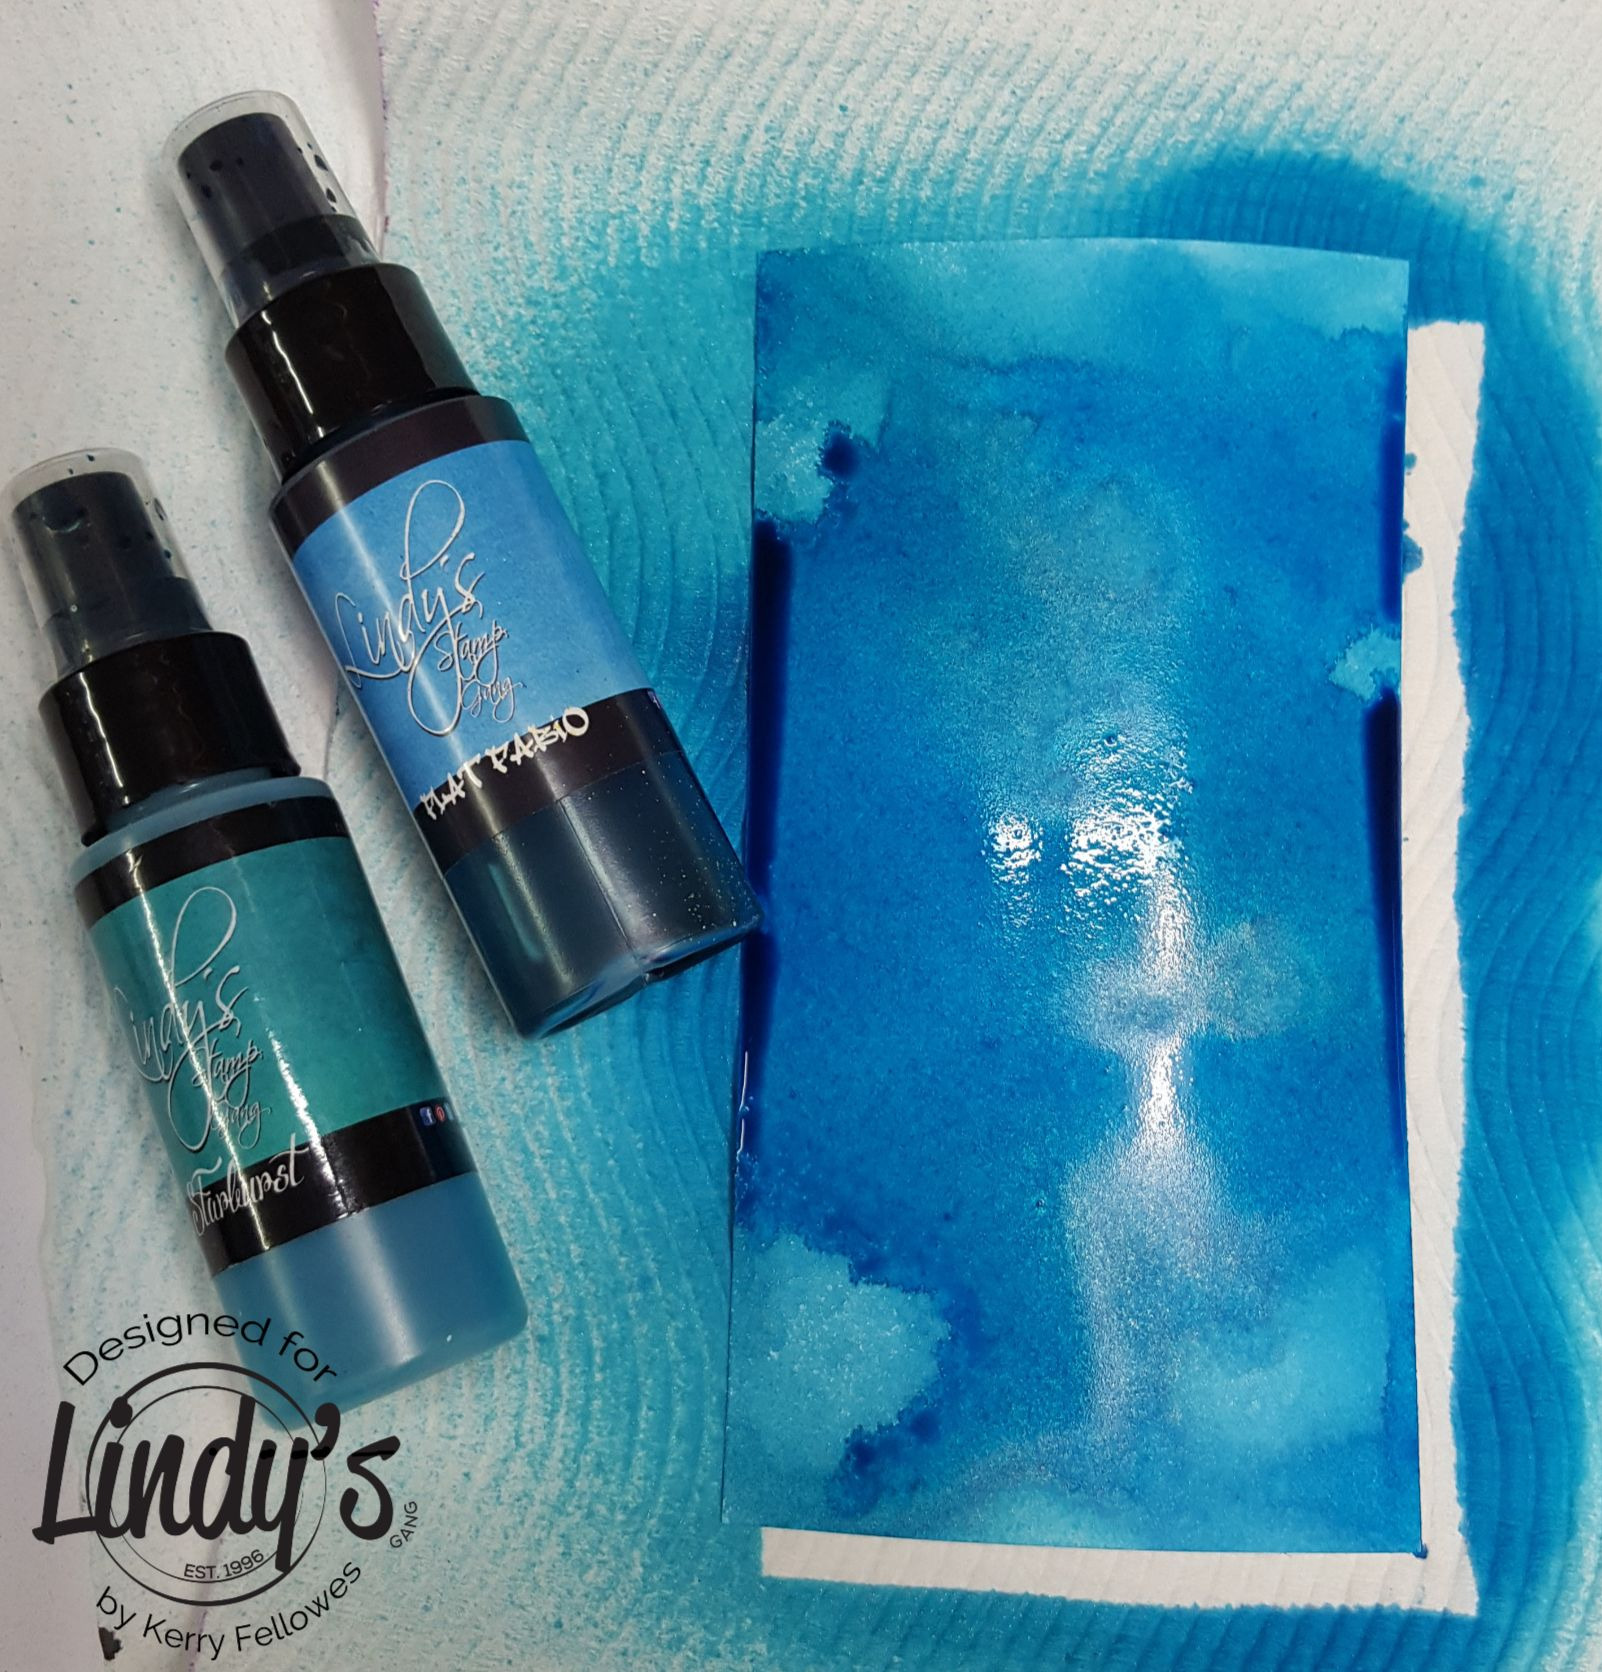
Now lets get started :) Using Caribbean Blue and Time Travel Teal sprays, cover the cardstock, dry this off a little, but not completely.
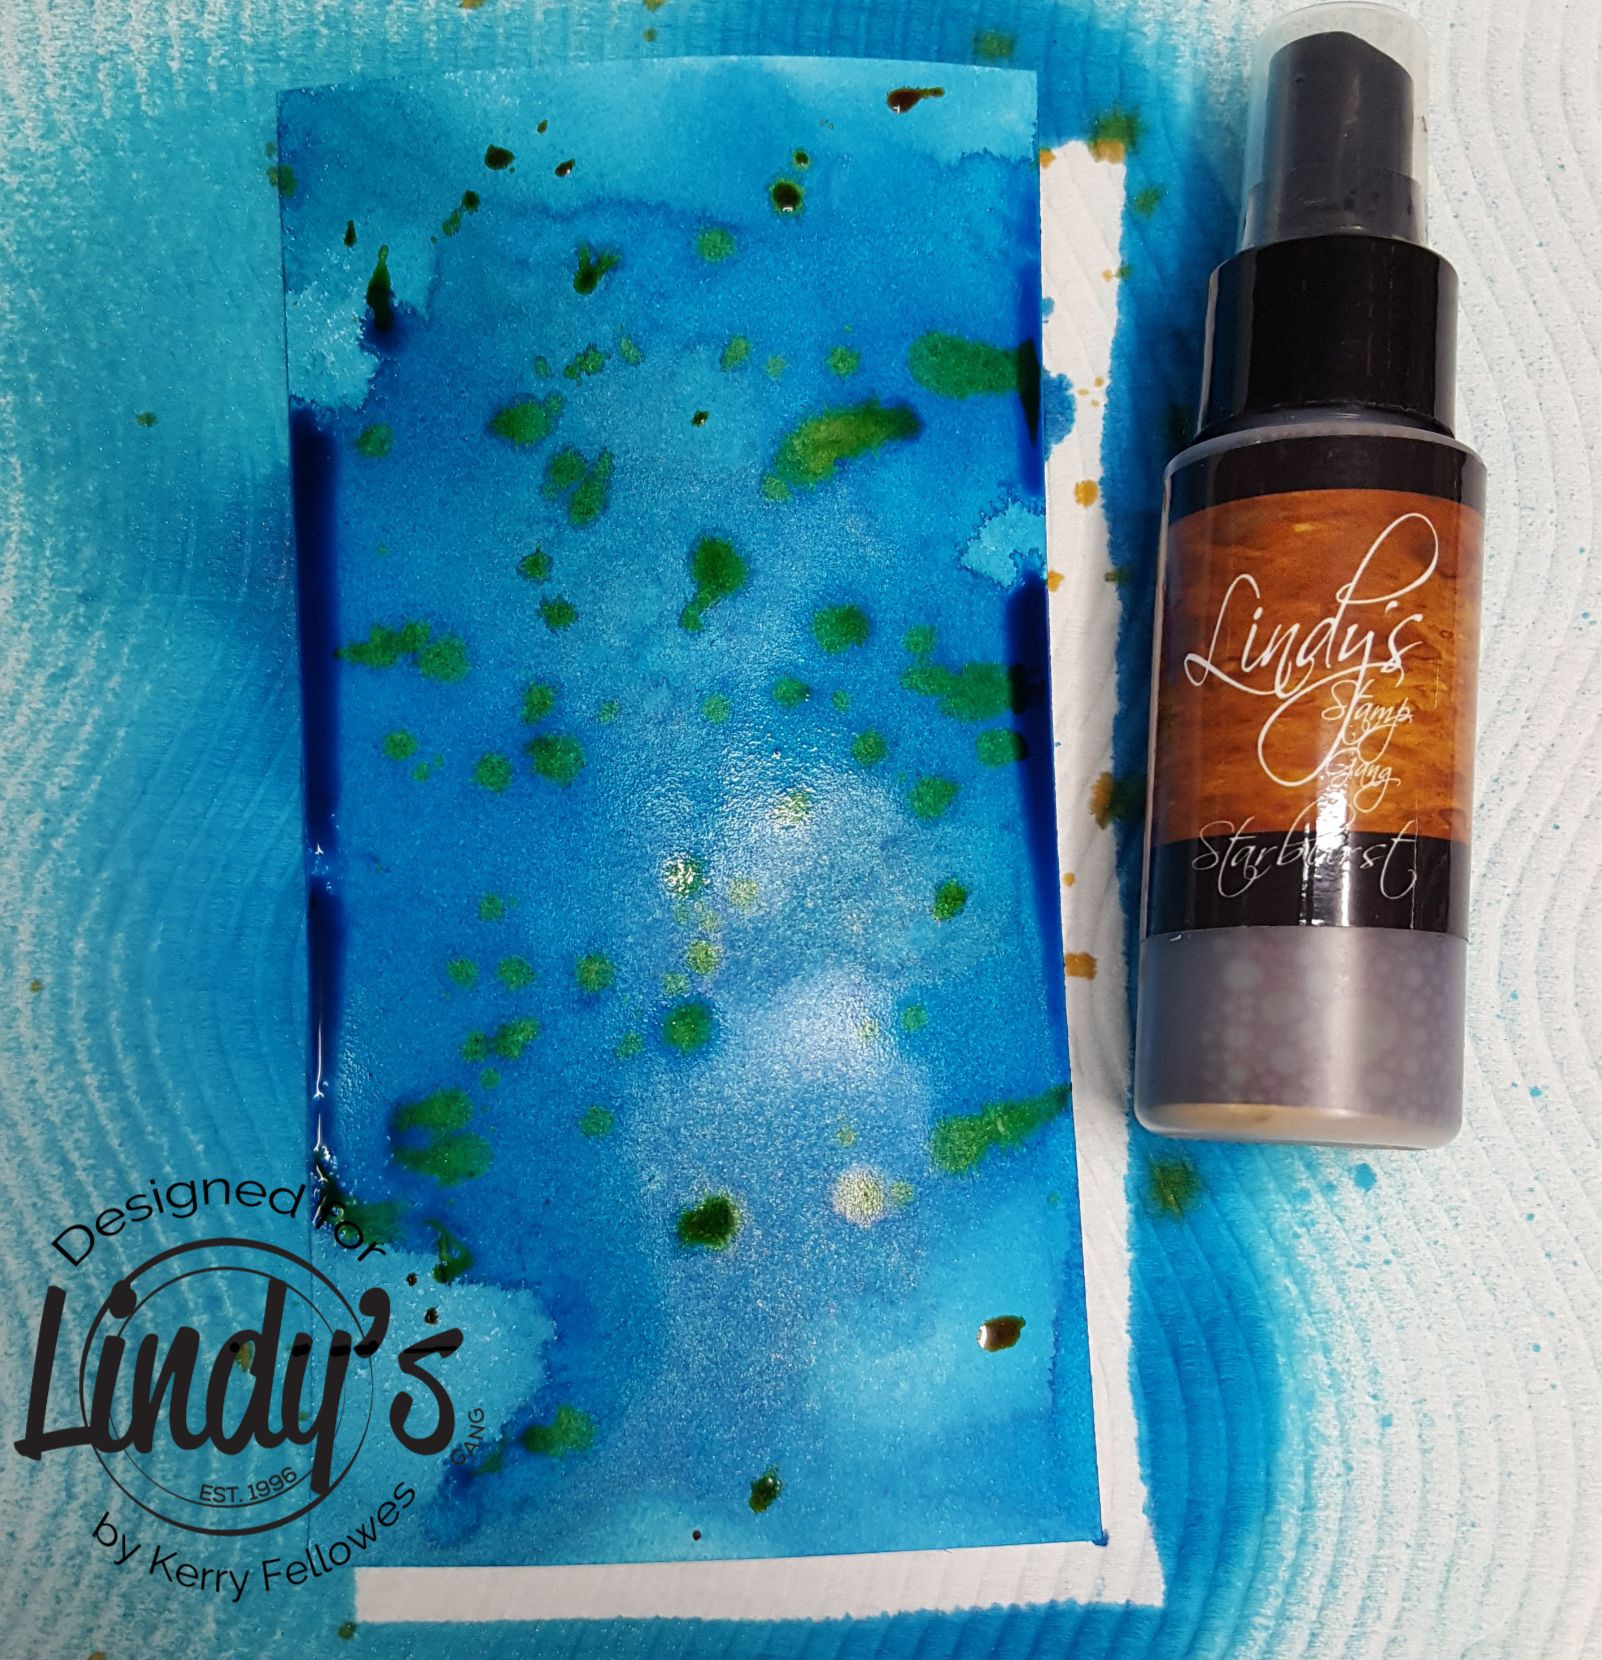
Whilst still damp, add some splashes of Bayou Boogie Gold and then dry off.
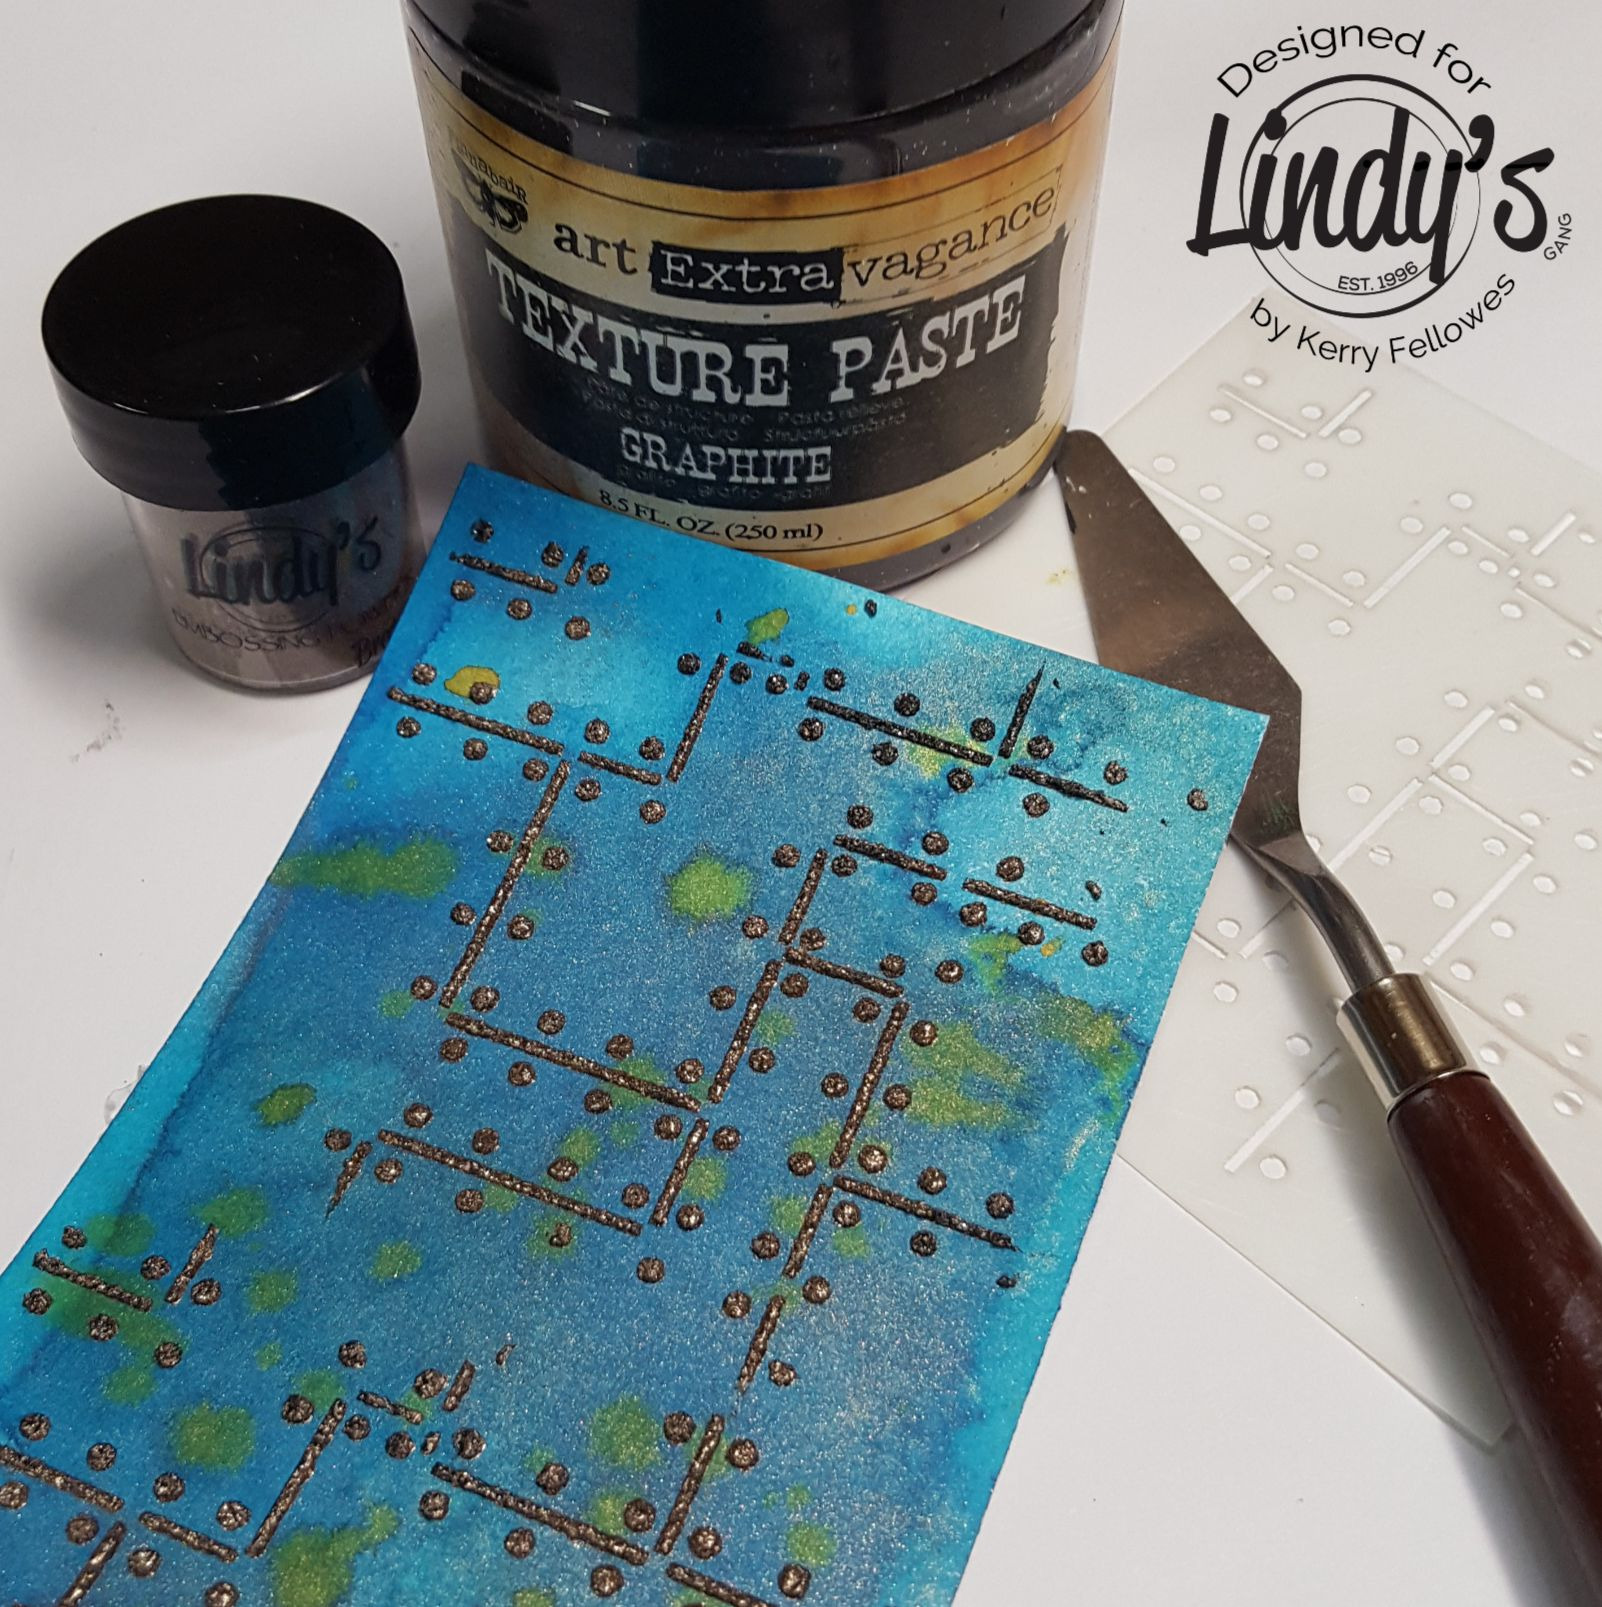
Once dry, add some graphite texture paste through a stencil and sprinkle Bratwurst Brown Embossing Powder on top of the paste and heat set.
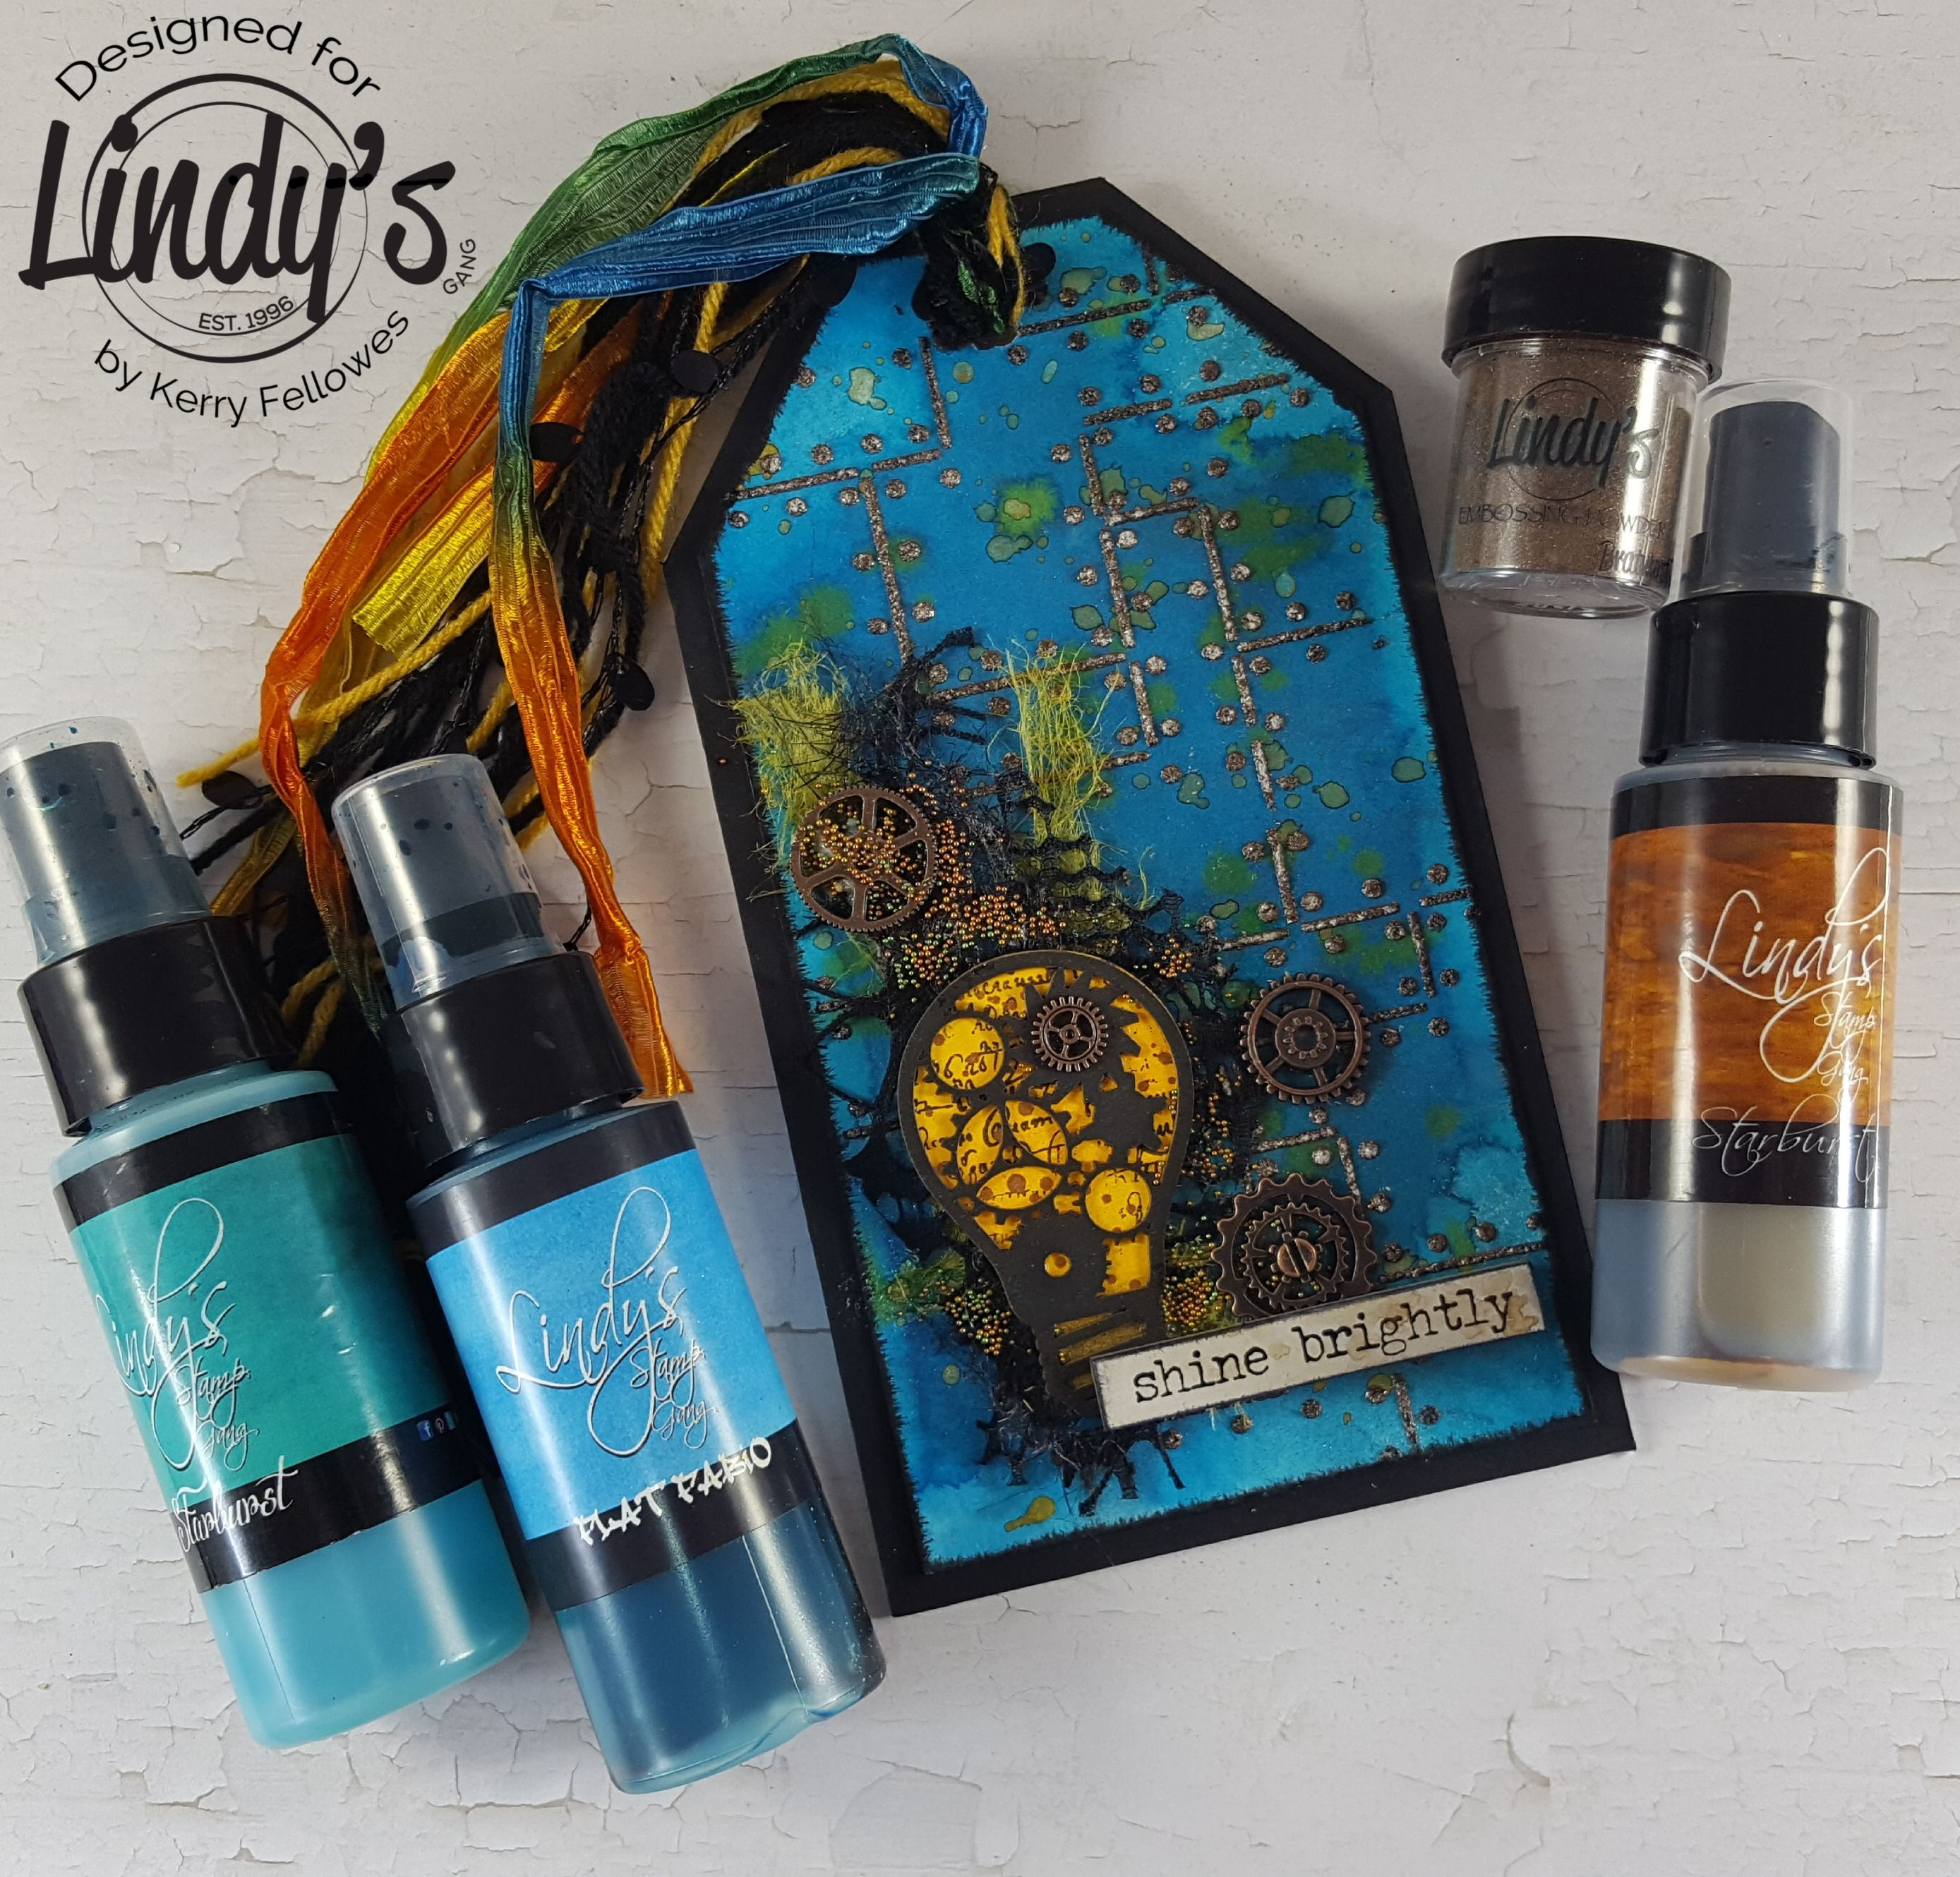
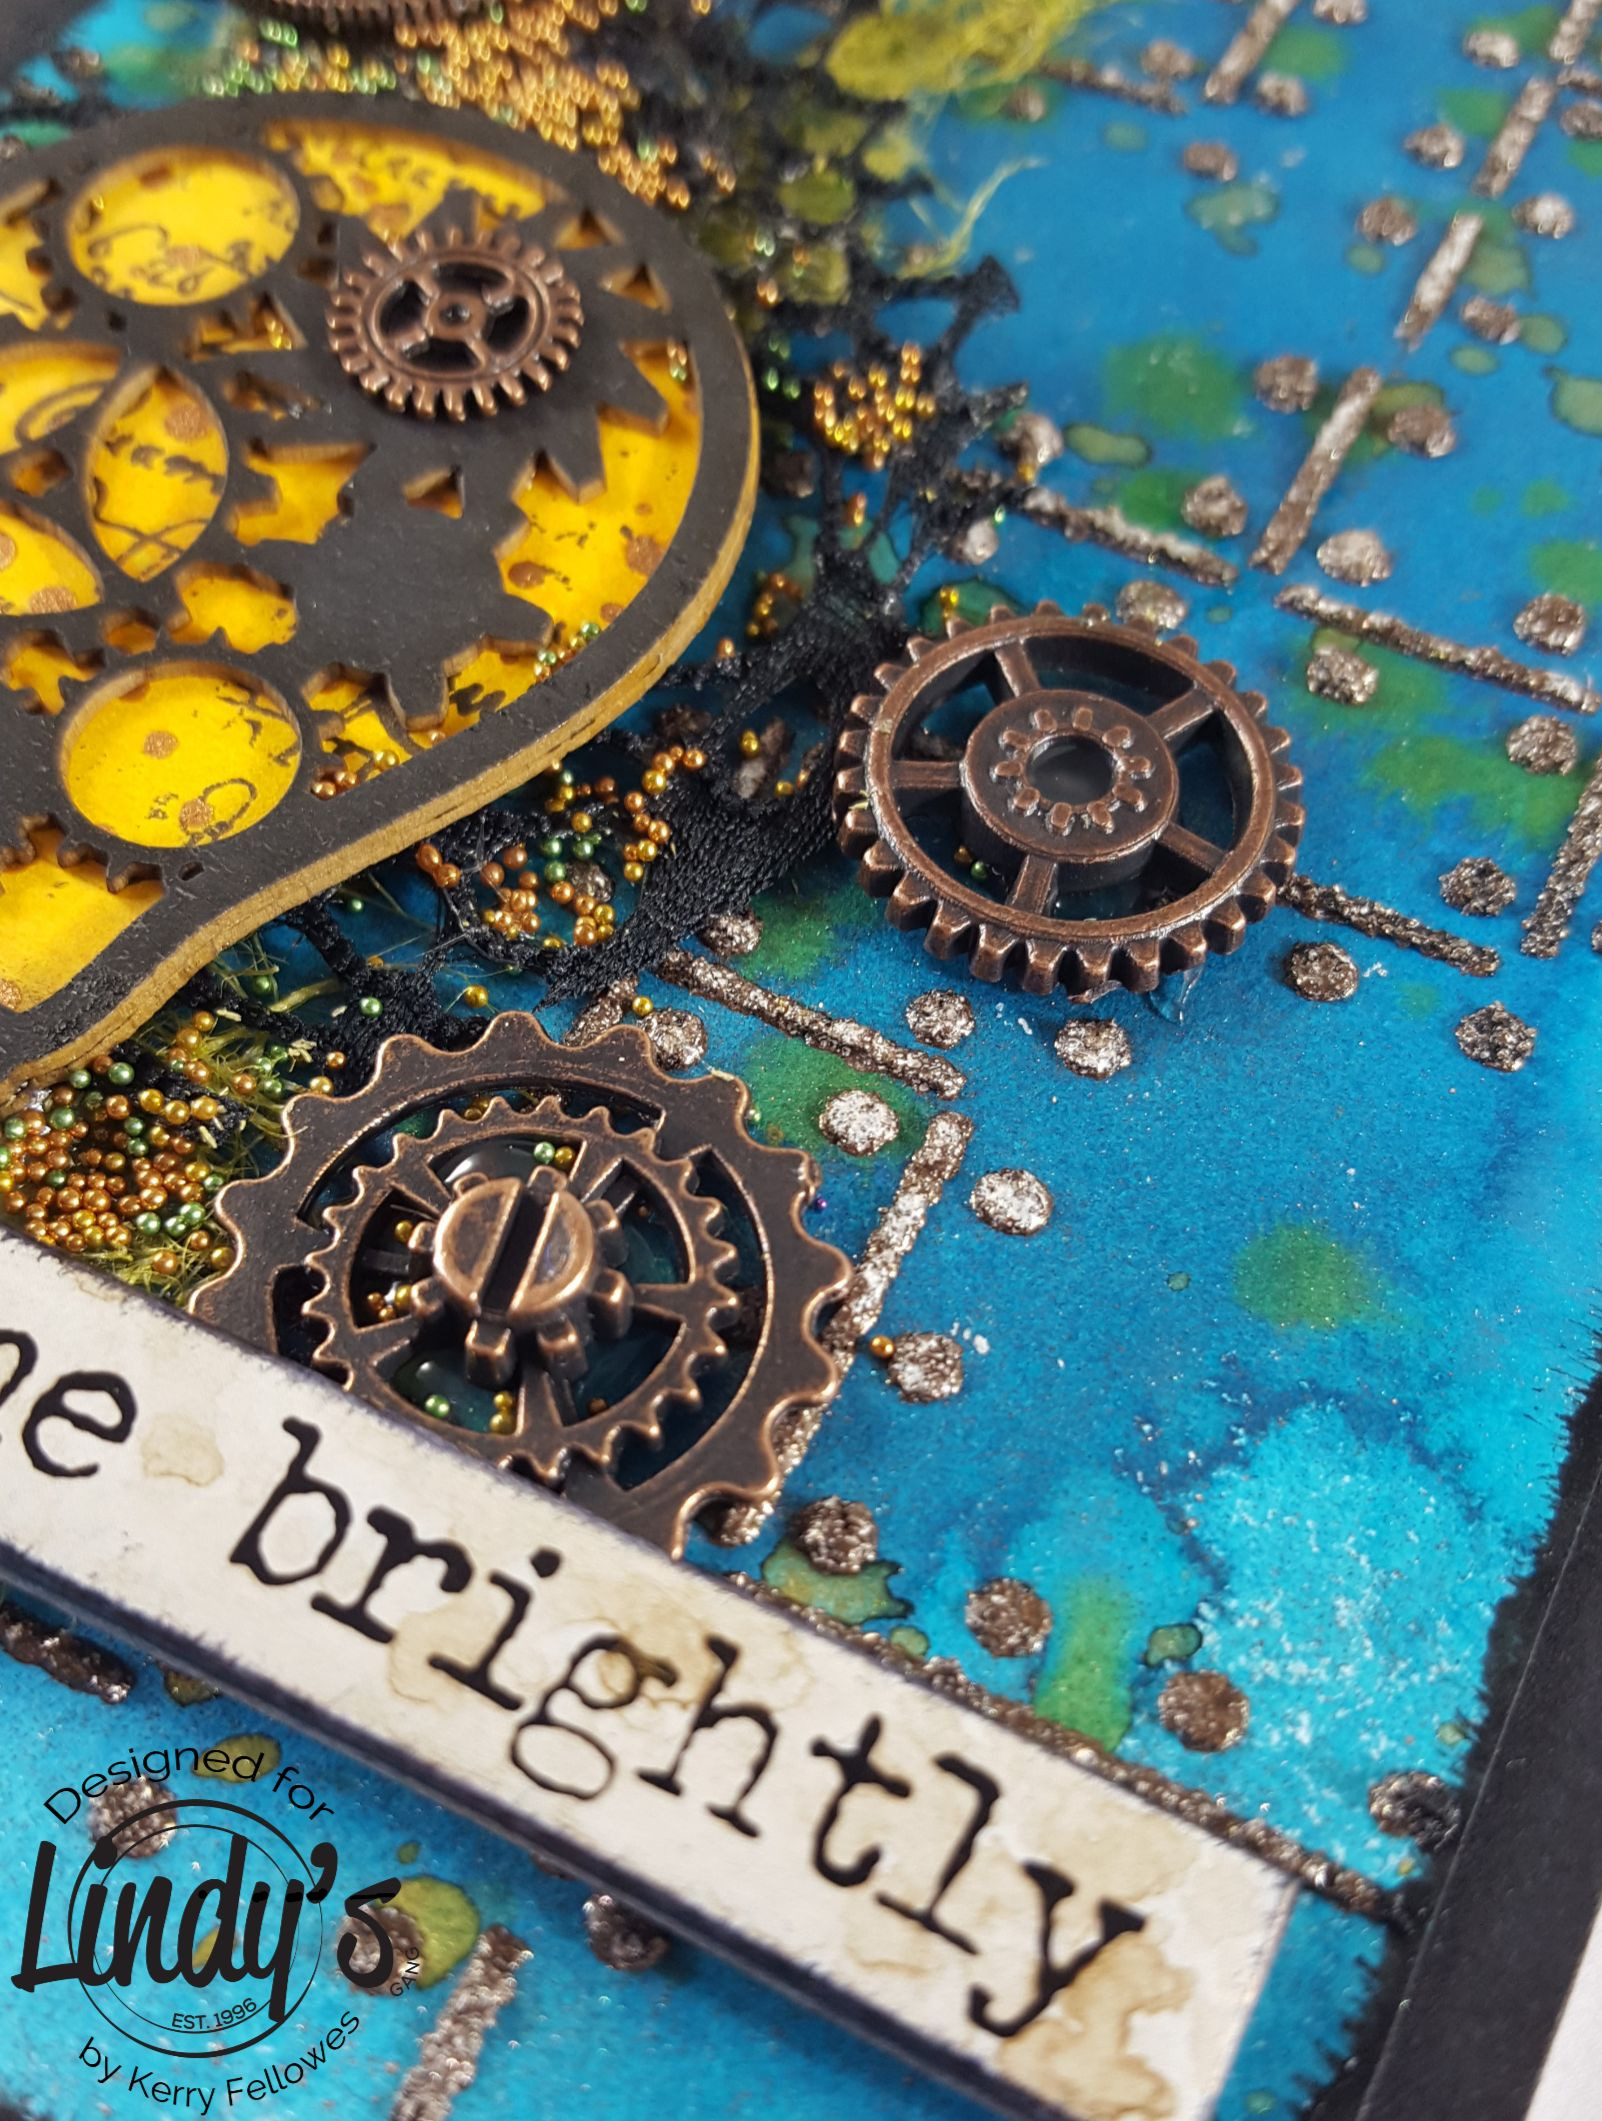
Now our background is complete, cut the corners into a tag shape and then we can add our elements. I have chosen some steampunk elements and some netting and fibres.
I just love the metallic effect of the embossing powder ontop of the texture paste!
All the products are listed below along with a step by step video :)
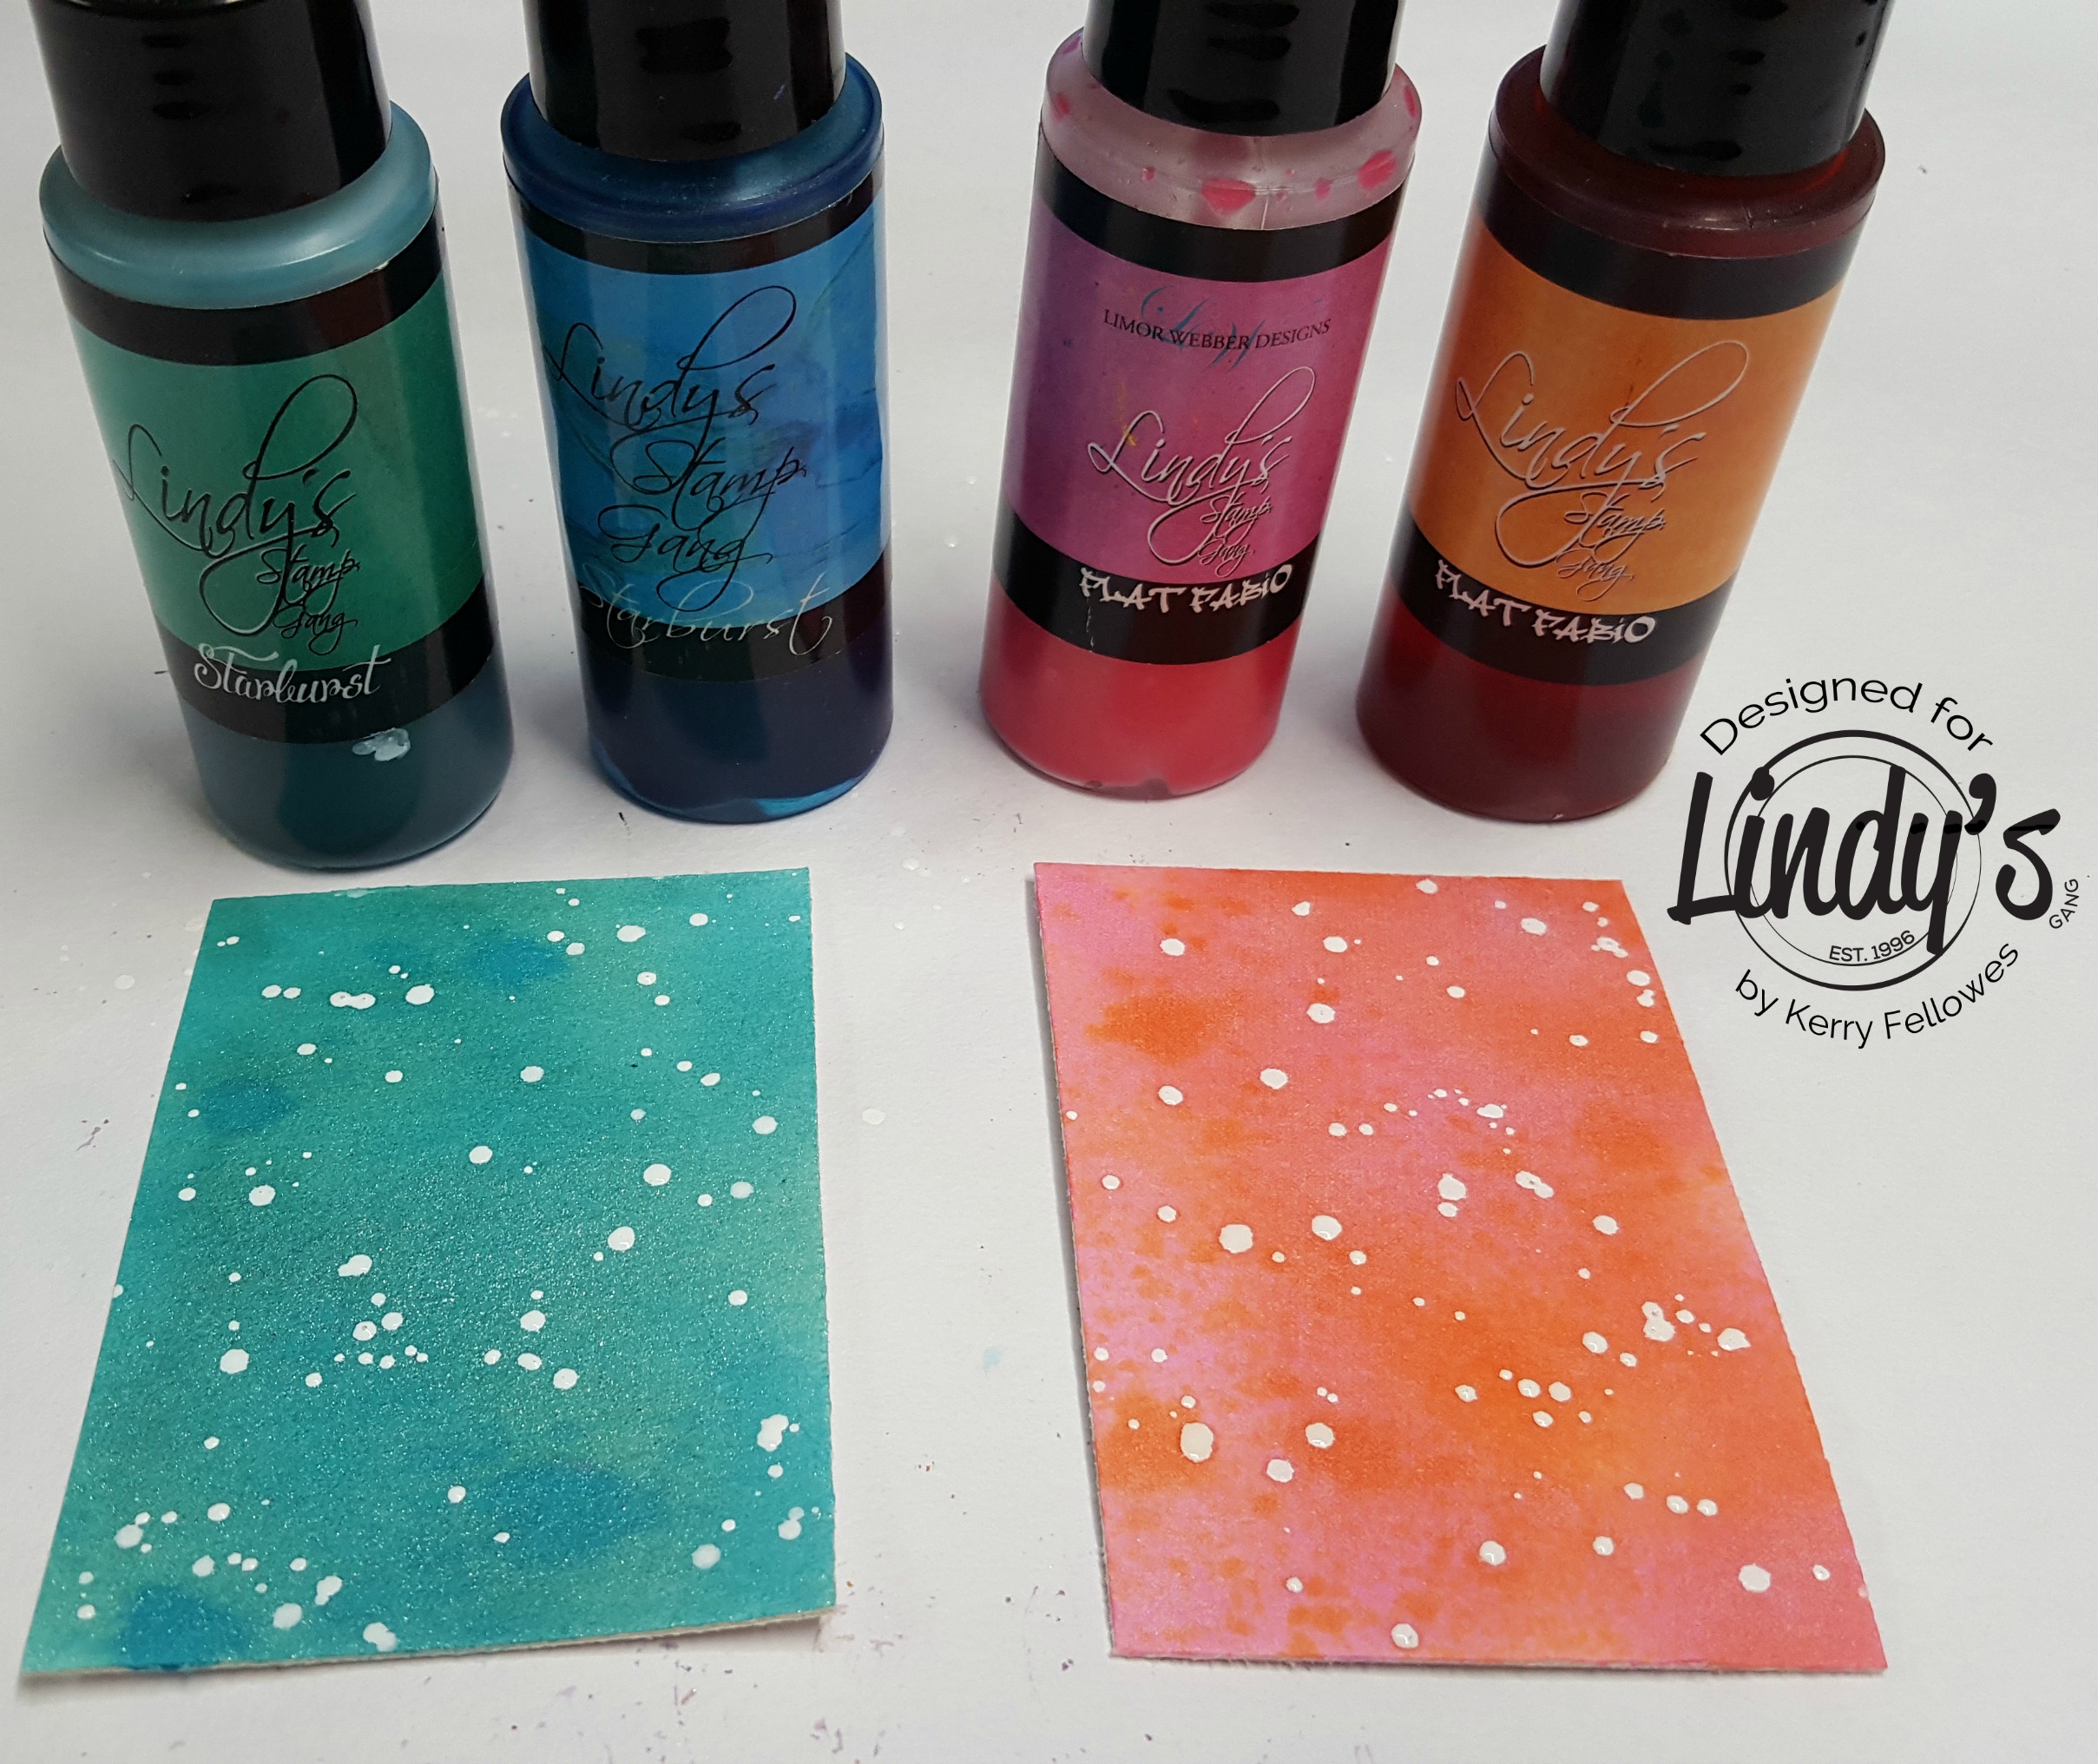
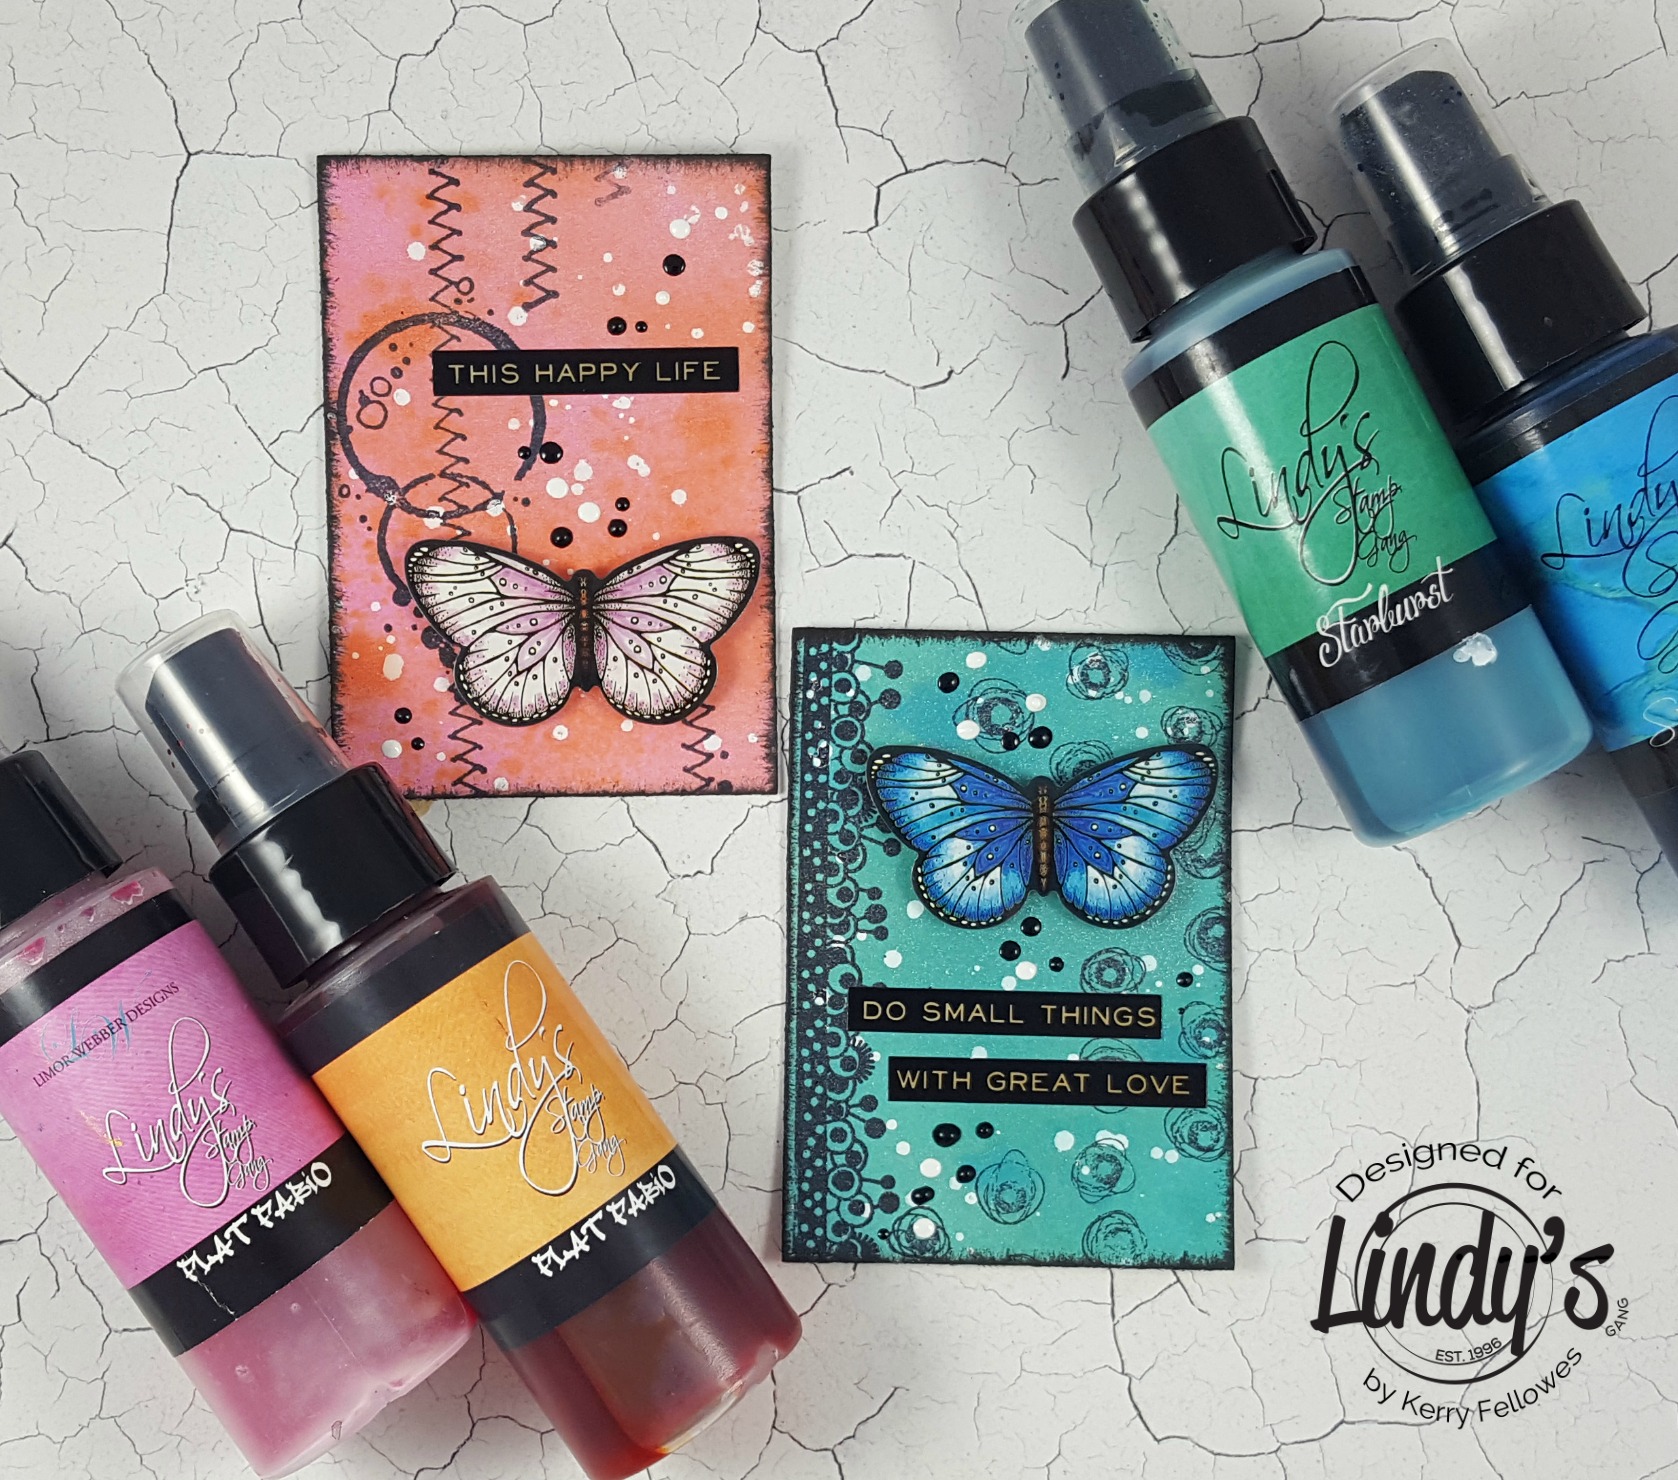
Hello! It's Kerry here with you today. Do you ever feel the need to create but you only have a few minutes to spare? Today's project is perfect for those times. I have used the fabulous Lindy's sprays in both starburst (color and shimmer) and Flat Fabio (color only, no shimmer). These products are quite different but equally awesome so lets get started!
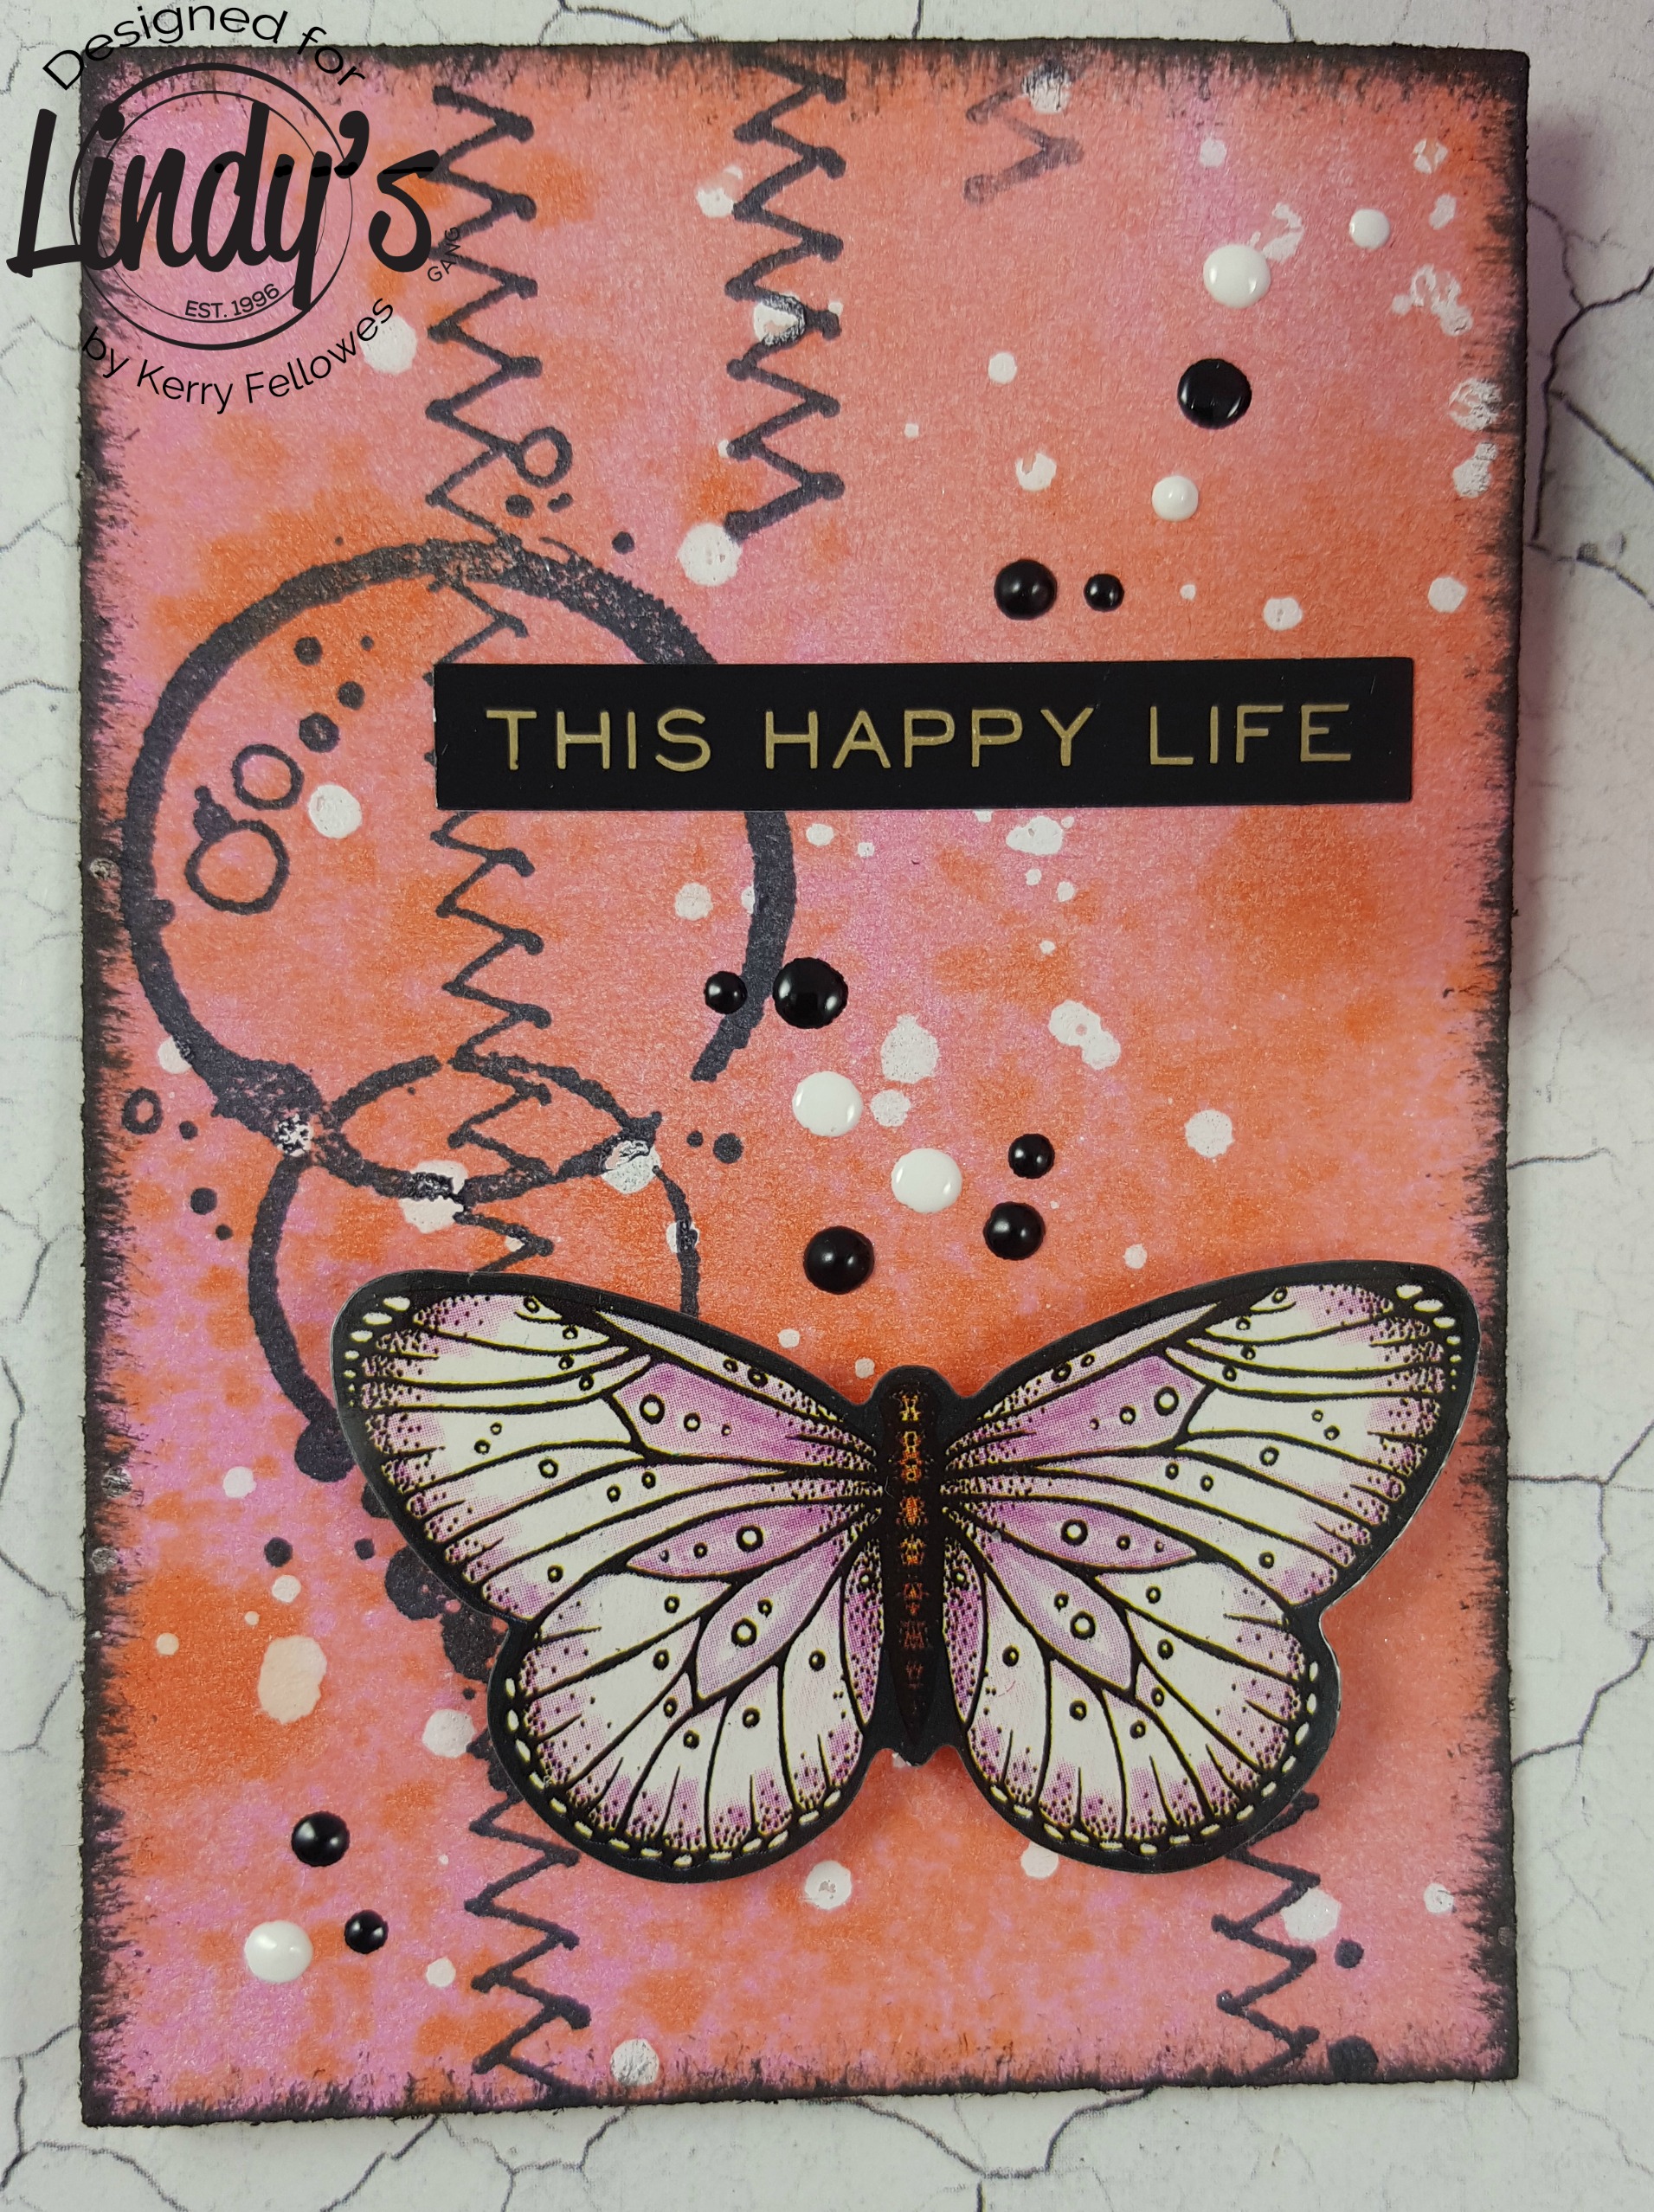
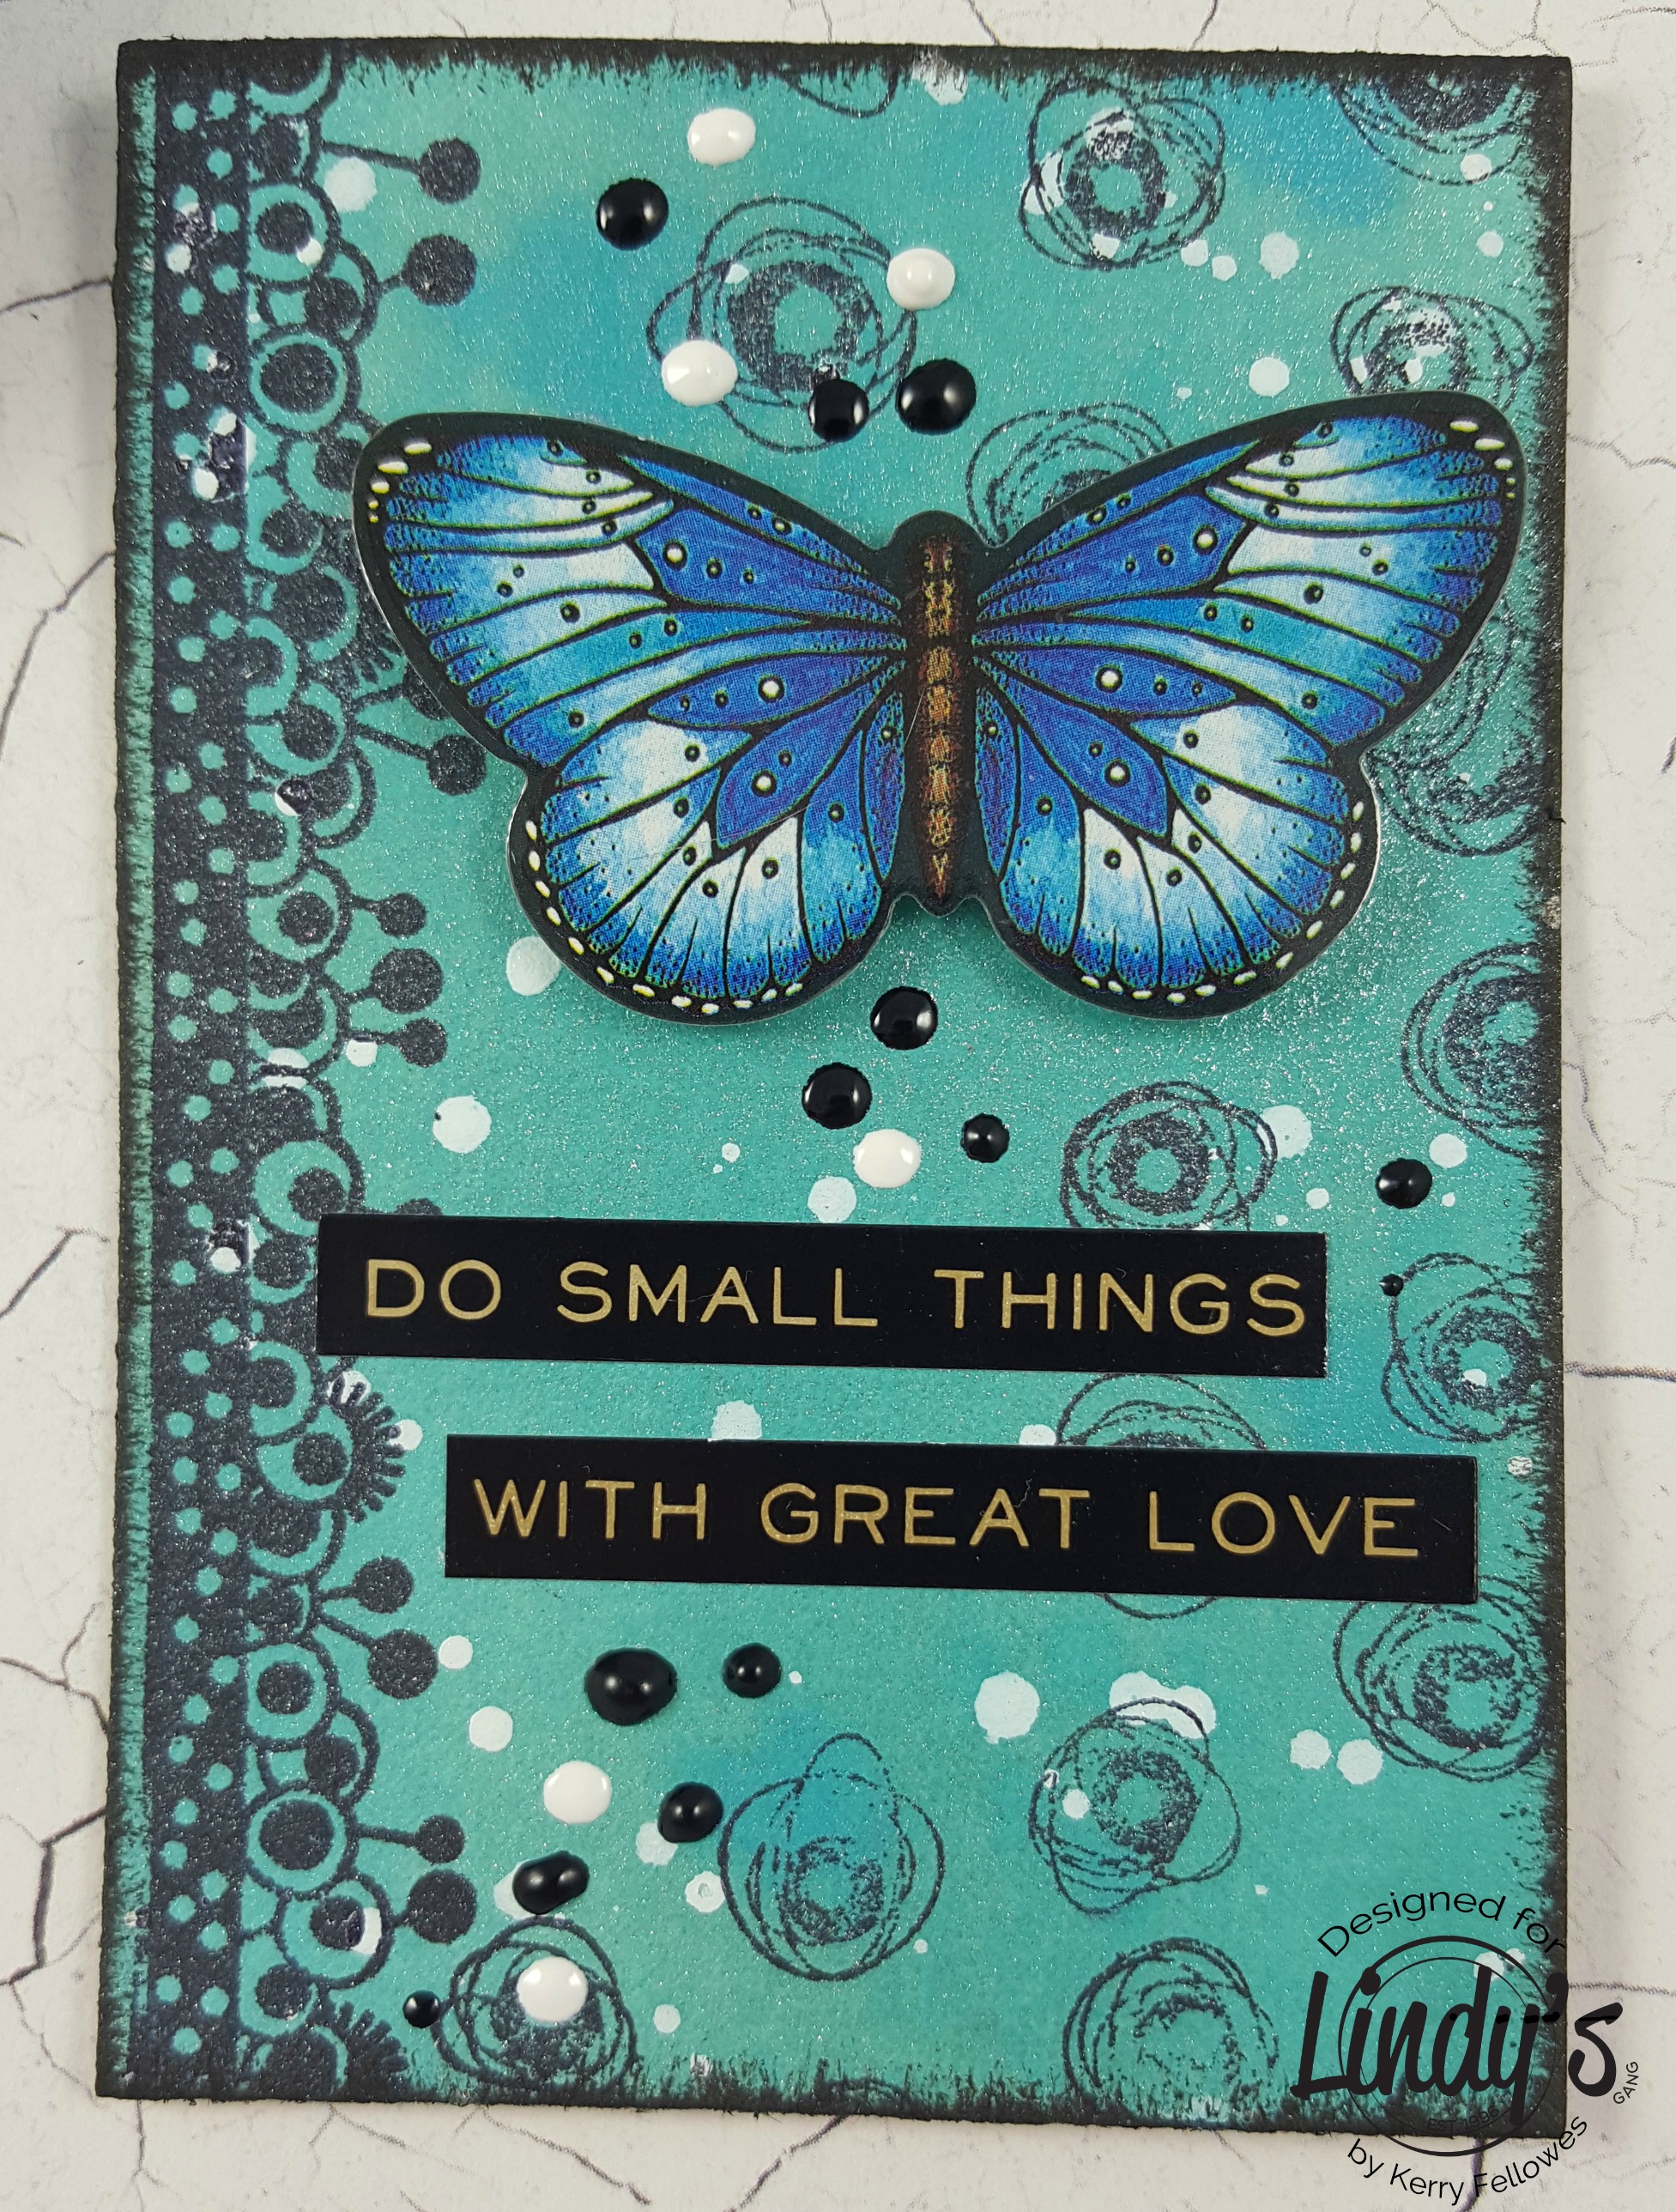
To start, pick 2 colors for each of your ATC's. (It's best to select colors that are next to each other on the color wheel, as these will 'play nicely together'). Today I have chosen Shabby Turbine Teal and Delphinium Turquoise from the starburst range and Mango Mania and Raspberry Lemonade from the Flat Fabio collection. Spray the lighter of the 2 colors onto the ATC first, then add a few splashes of the darker color. Dry the ATC's and add a few splashes of white ink and dry off again.
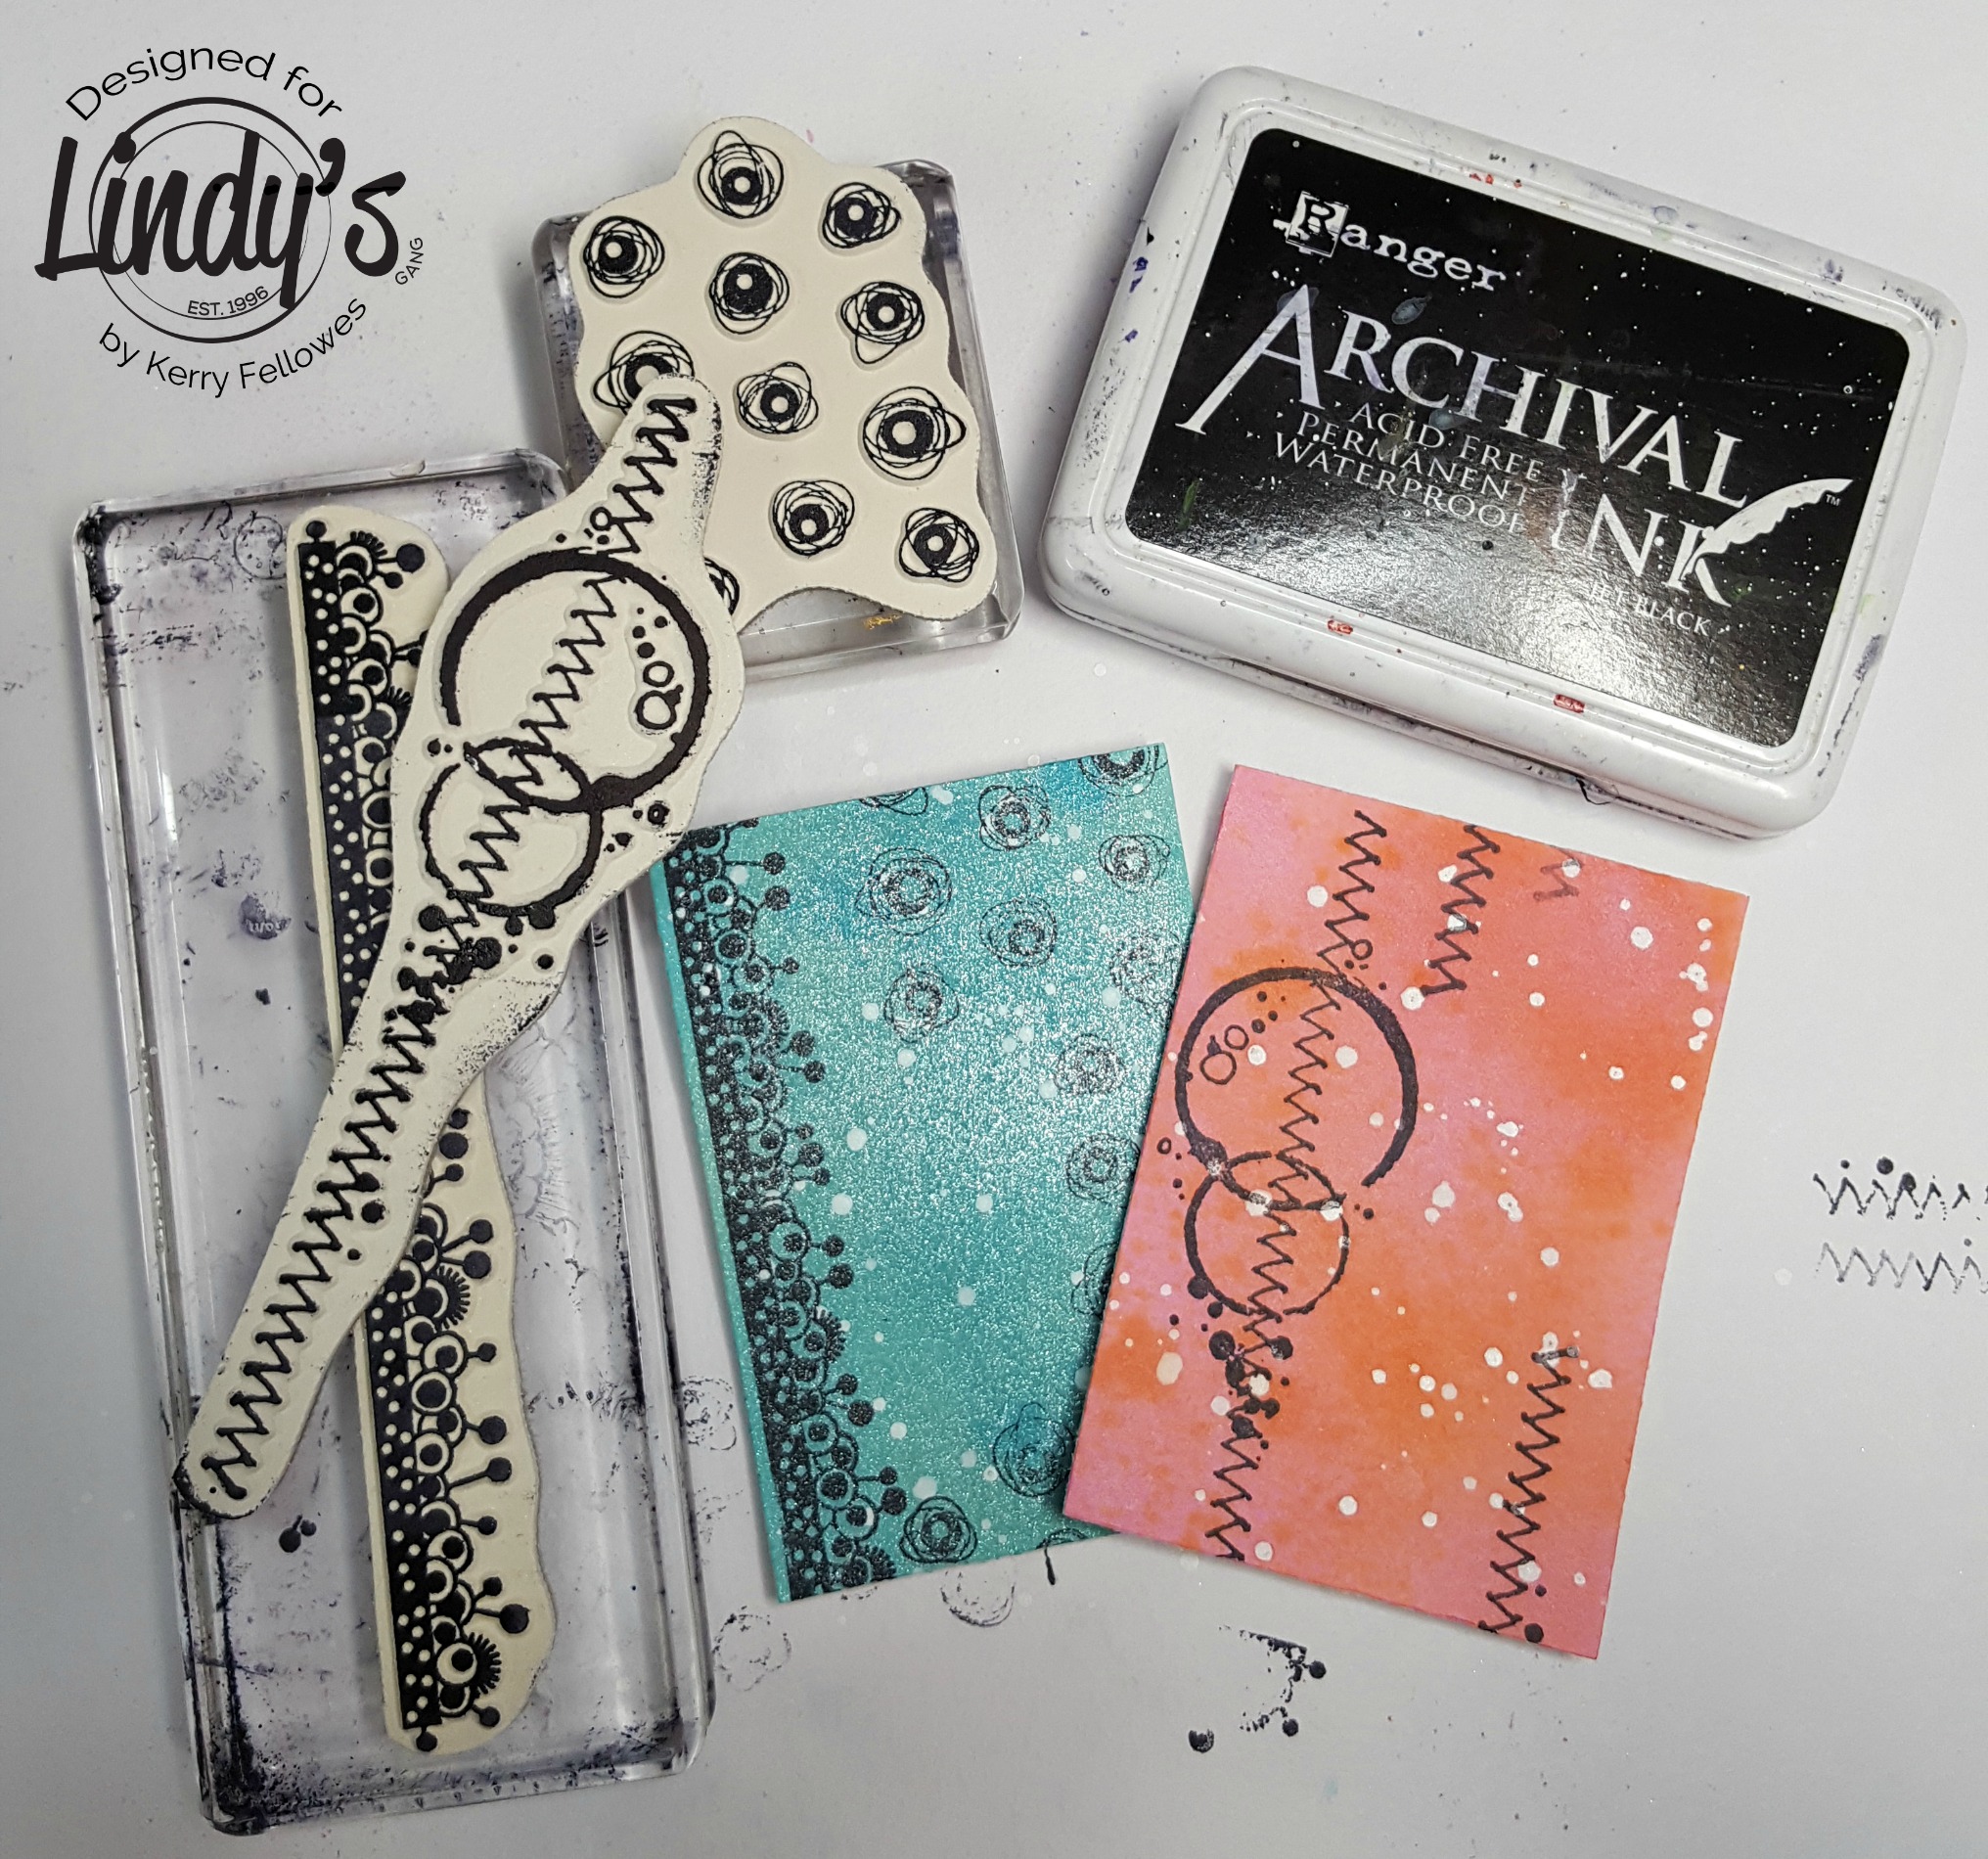
Select some stamps to add interest to the background, these can be anything you like. You can really see the difference between the Starburst and Flat Fabio colors here, look at all that shimmer on the green/blue ATC!
To finish off, add a focal element like a butterfly and a word sticker. Ink around the edge and add a couple of drops of enamel and that's it!!! Super quick and easy.
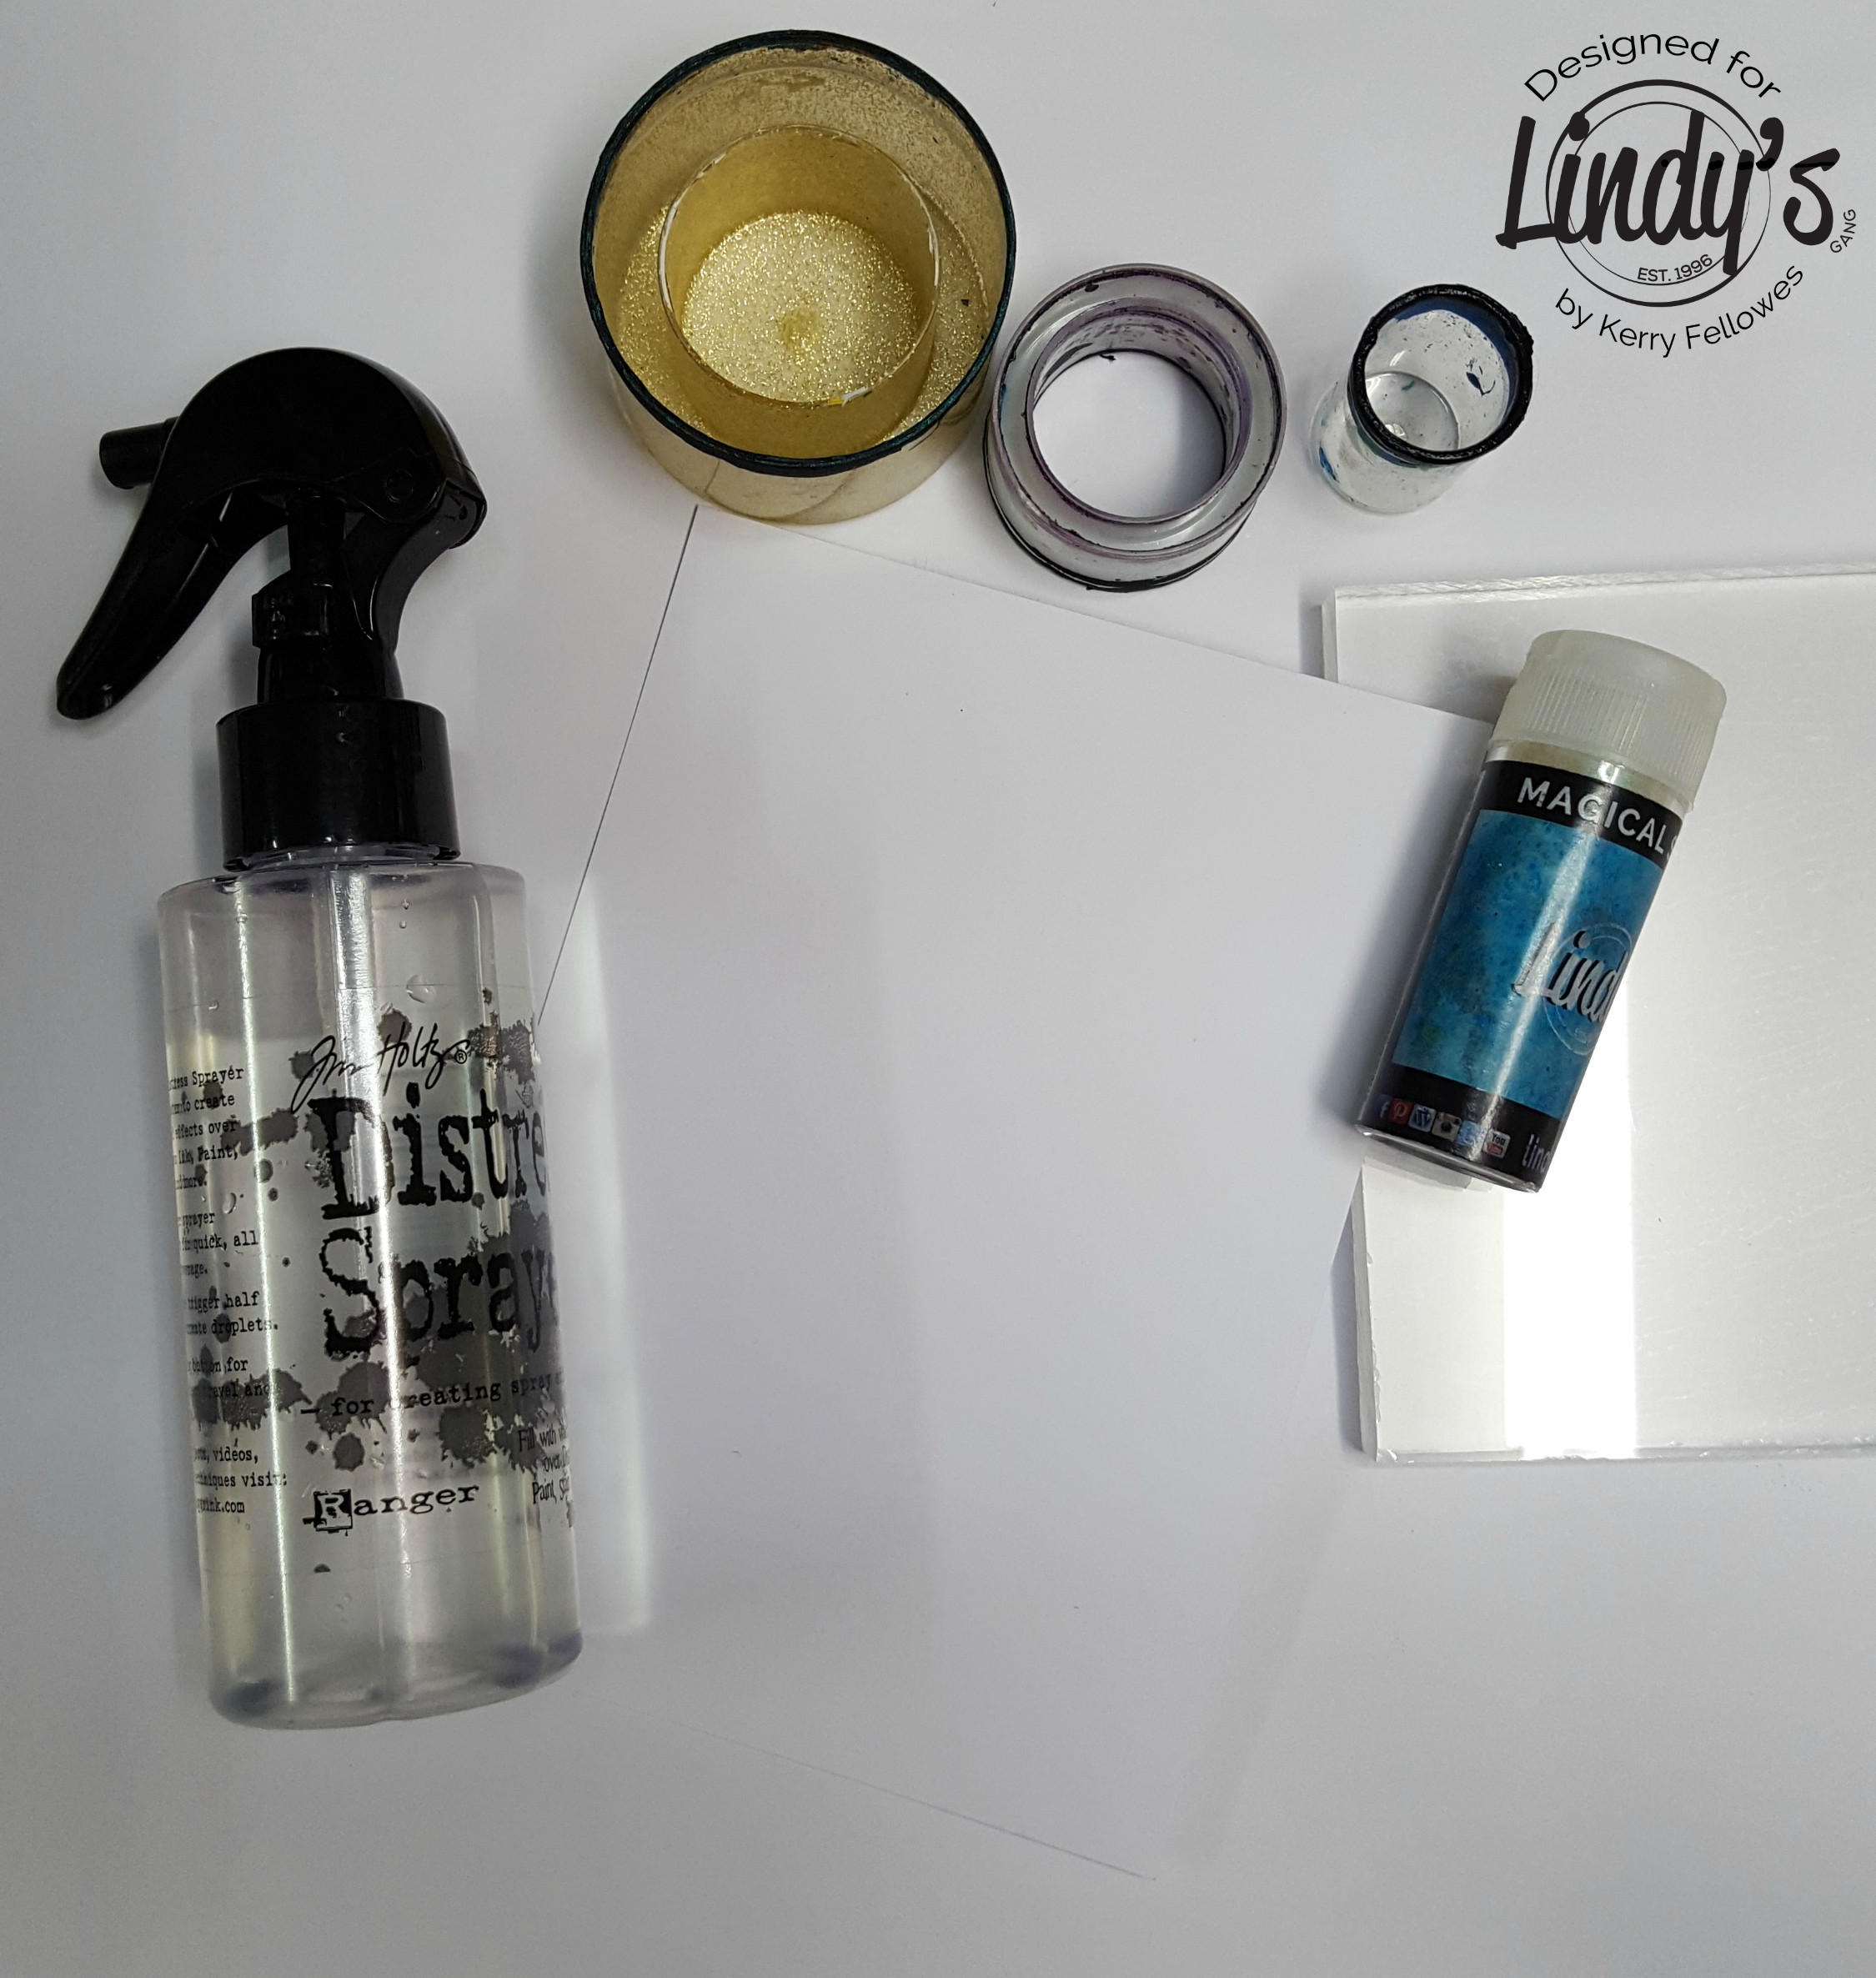
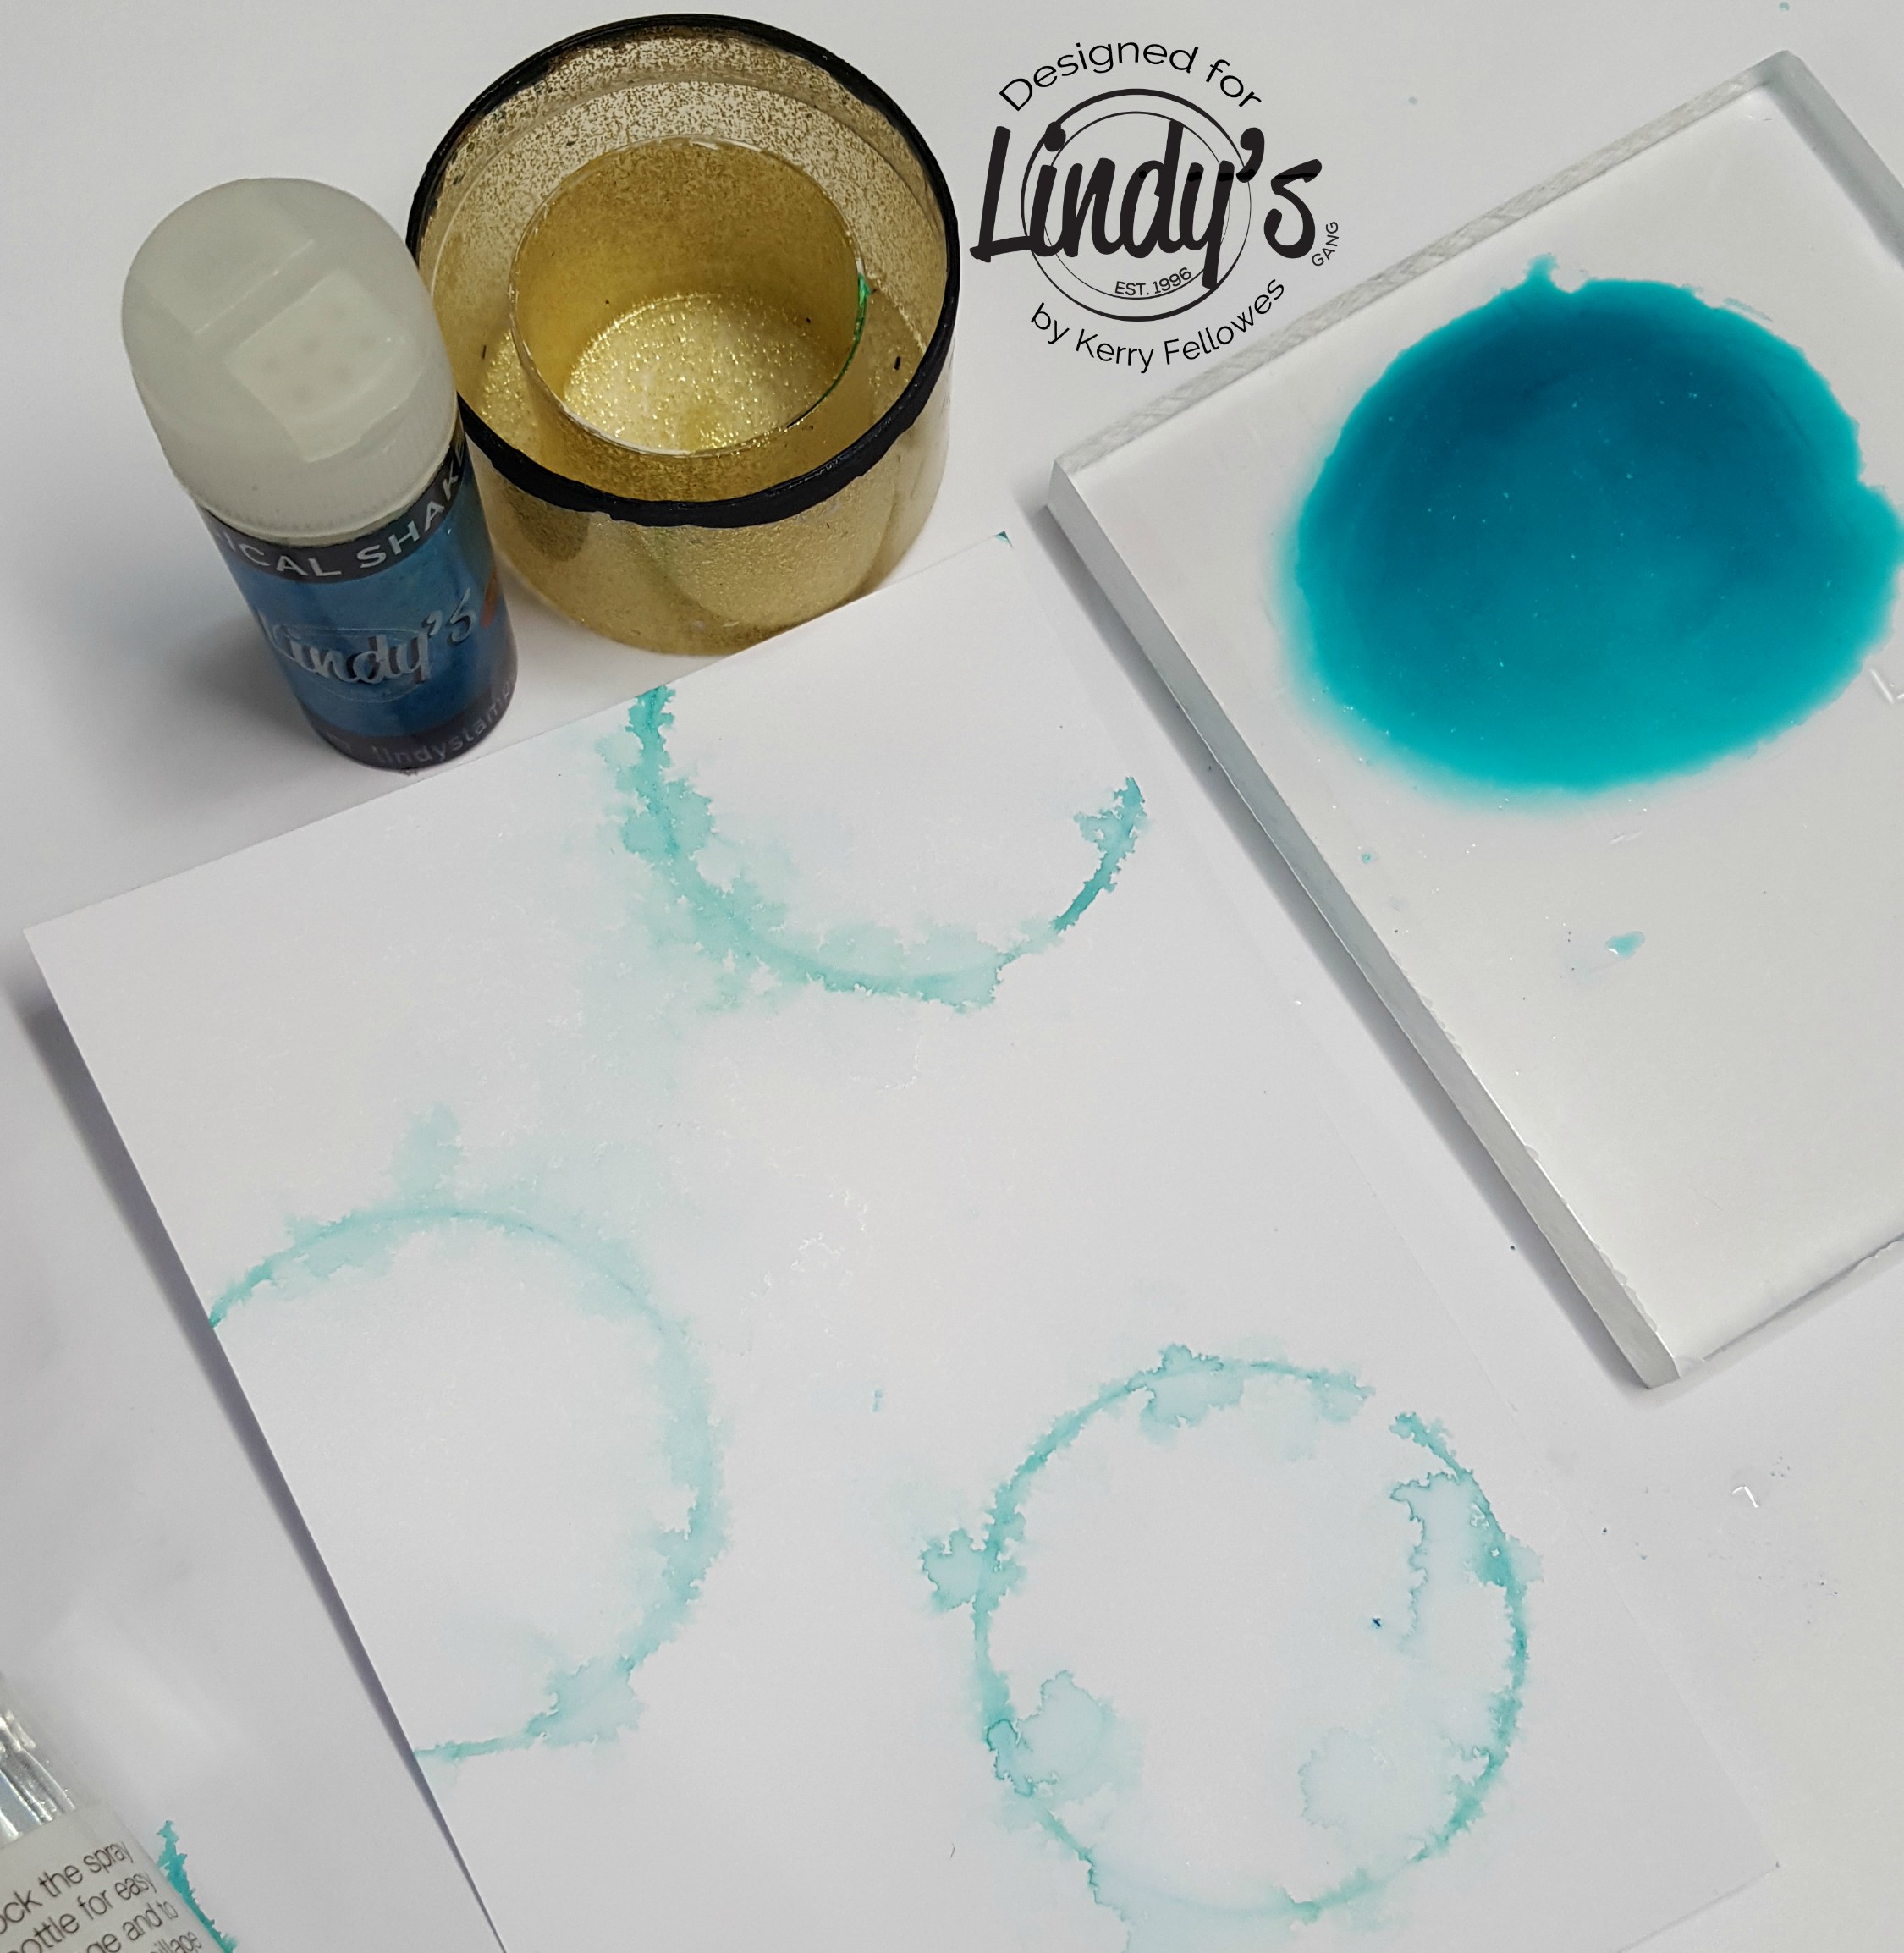
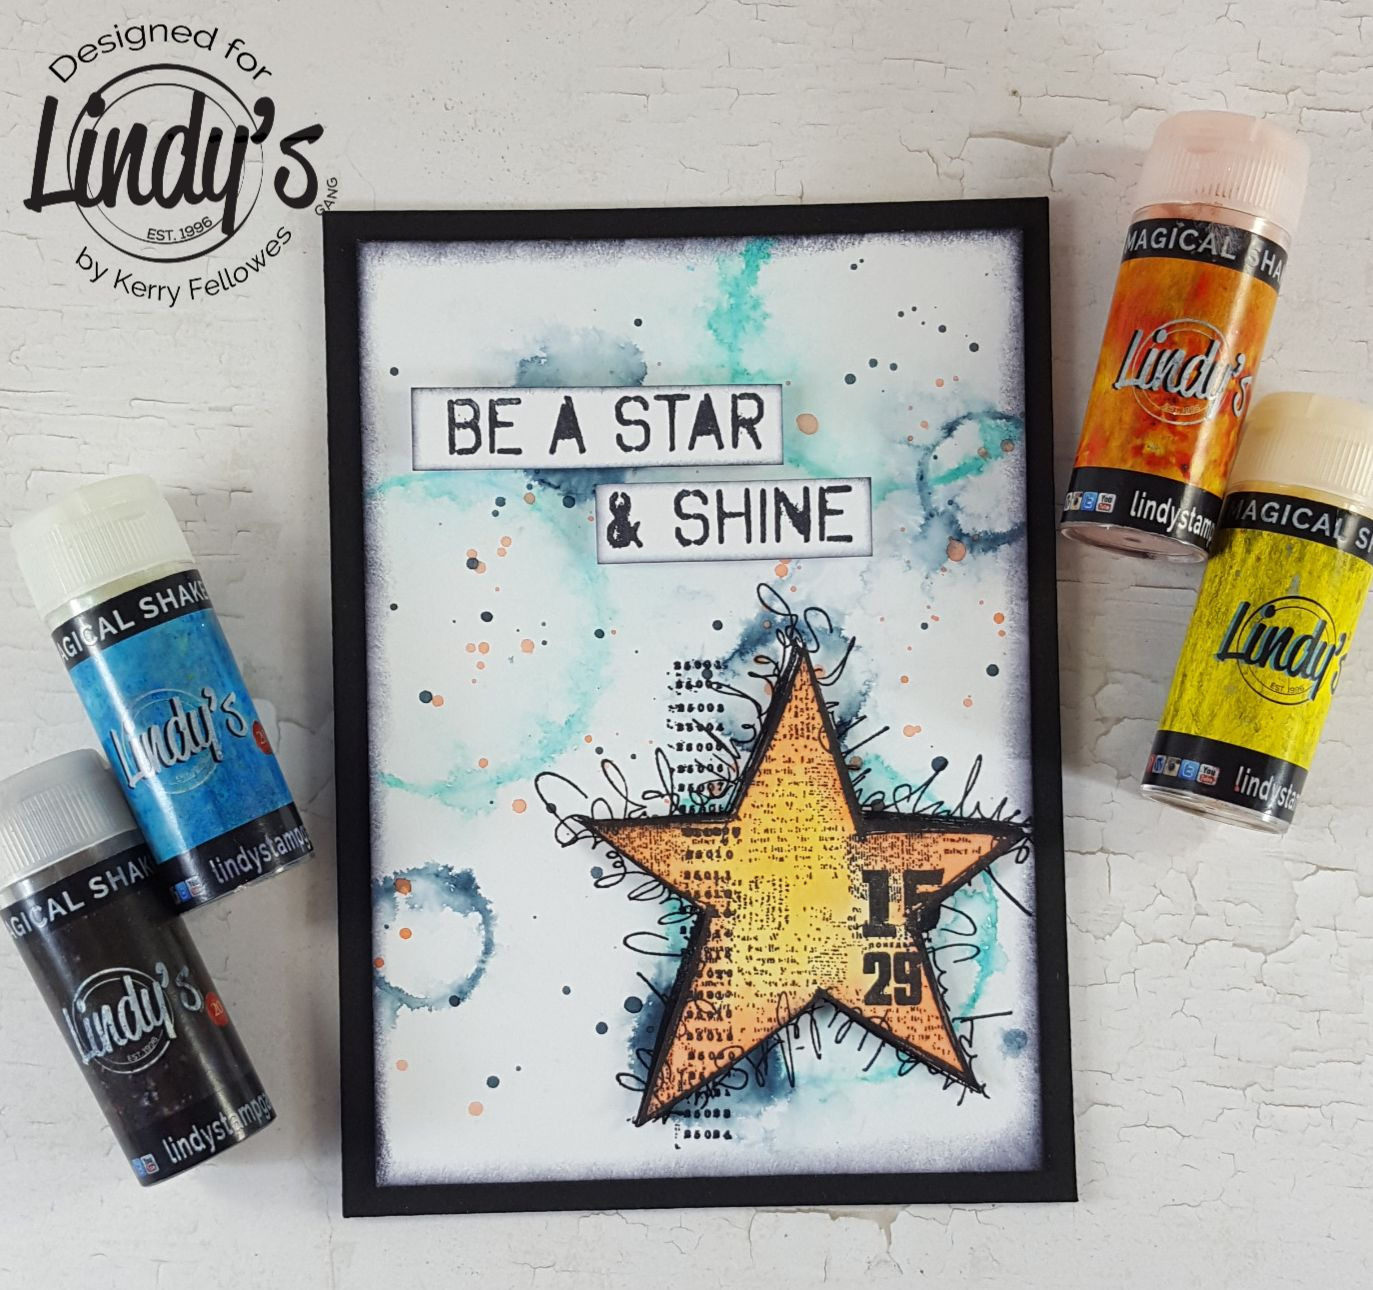
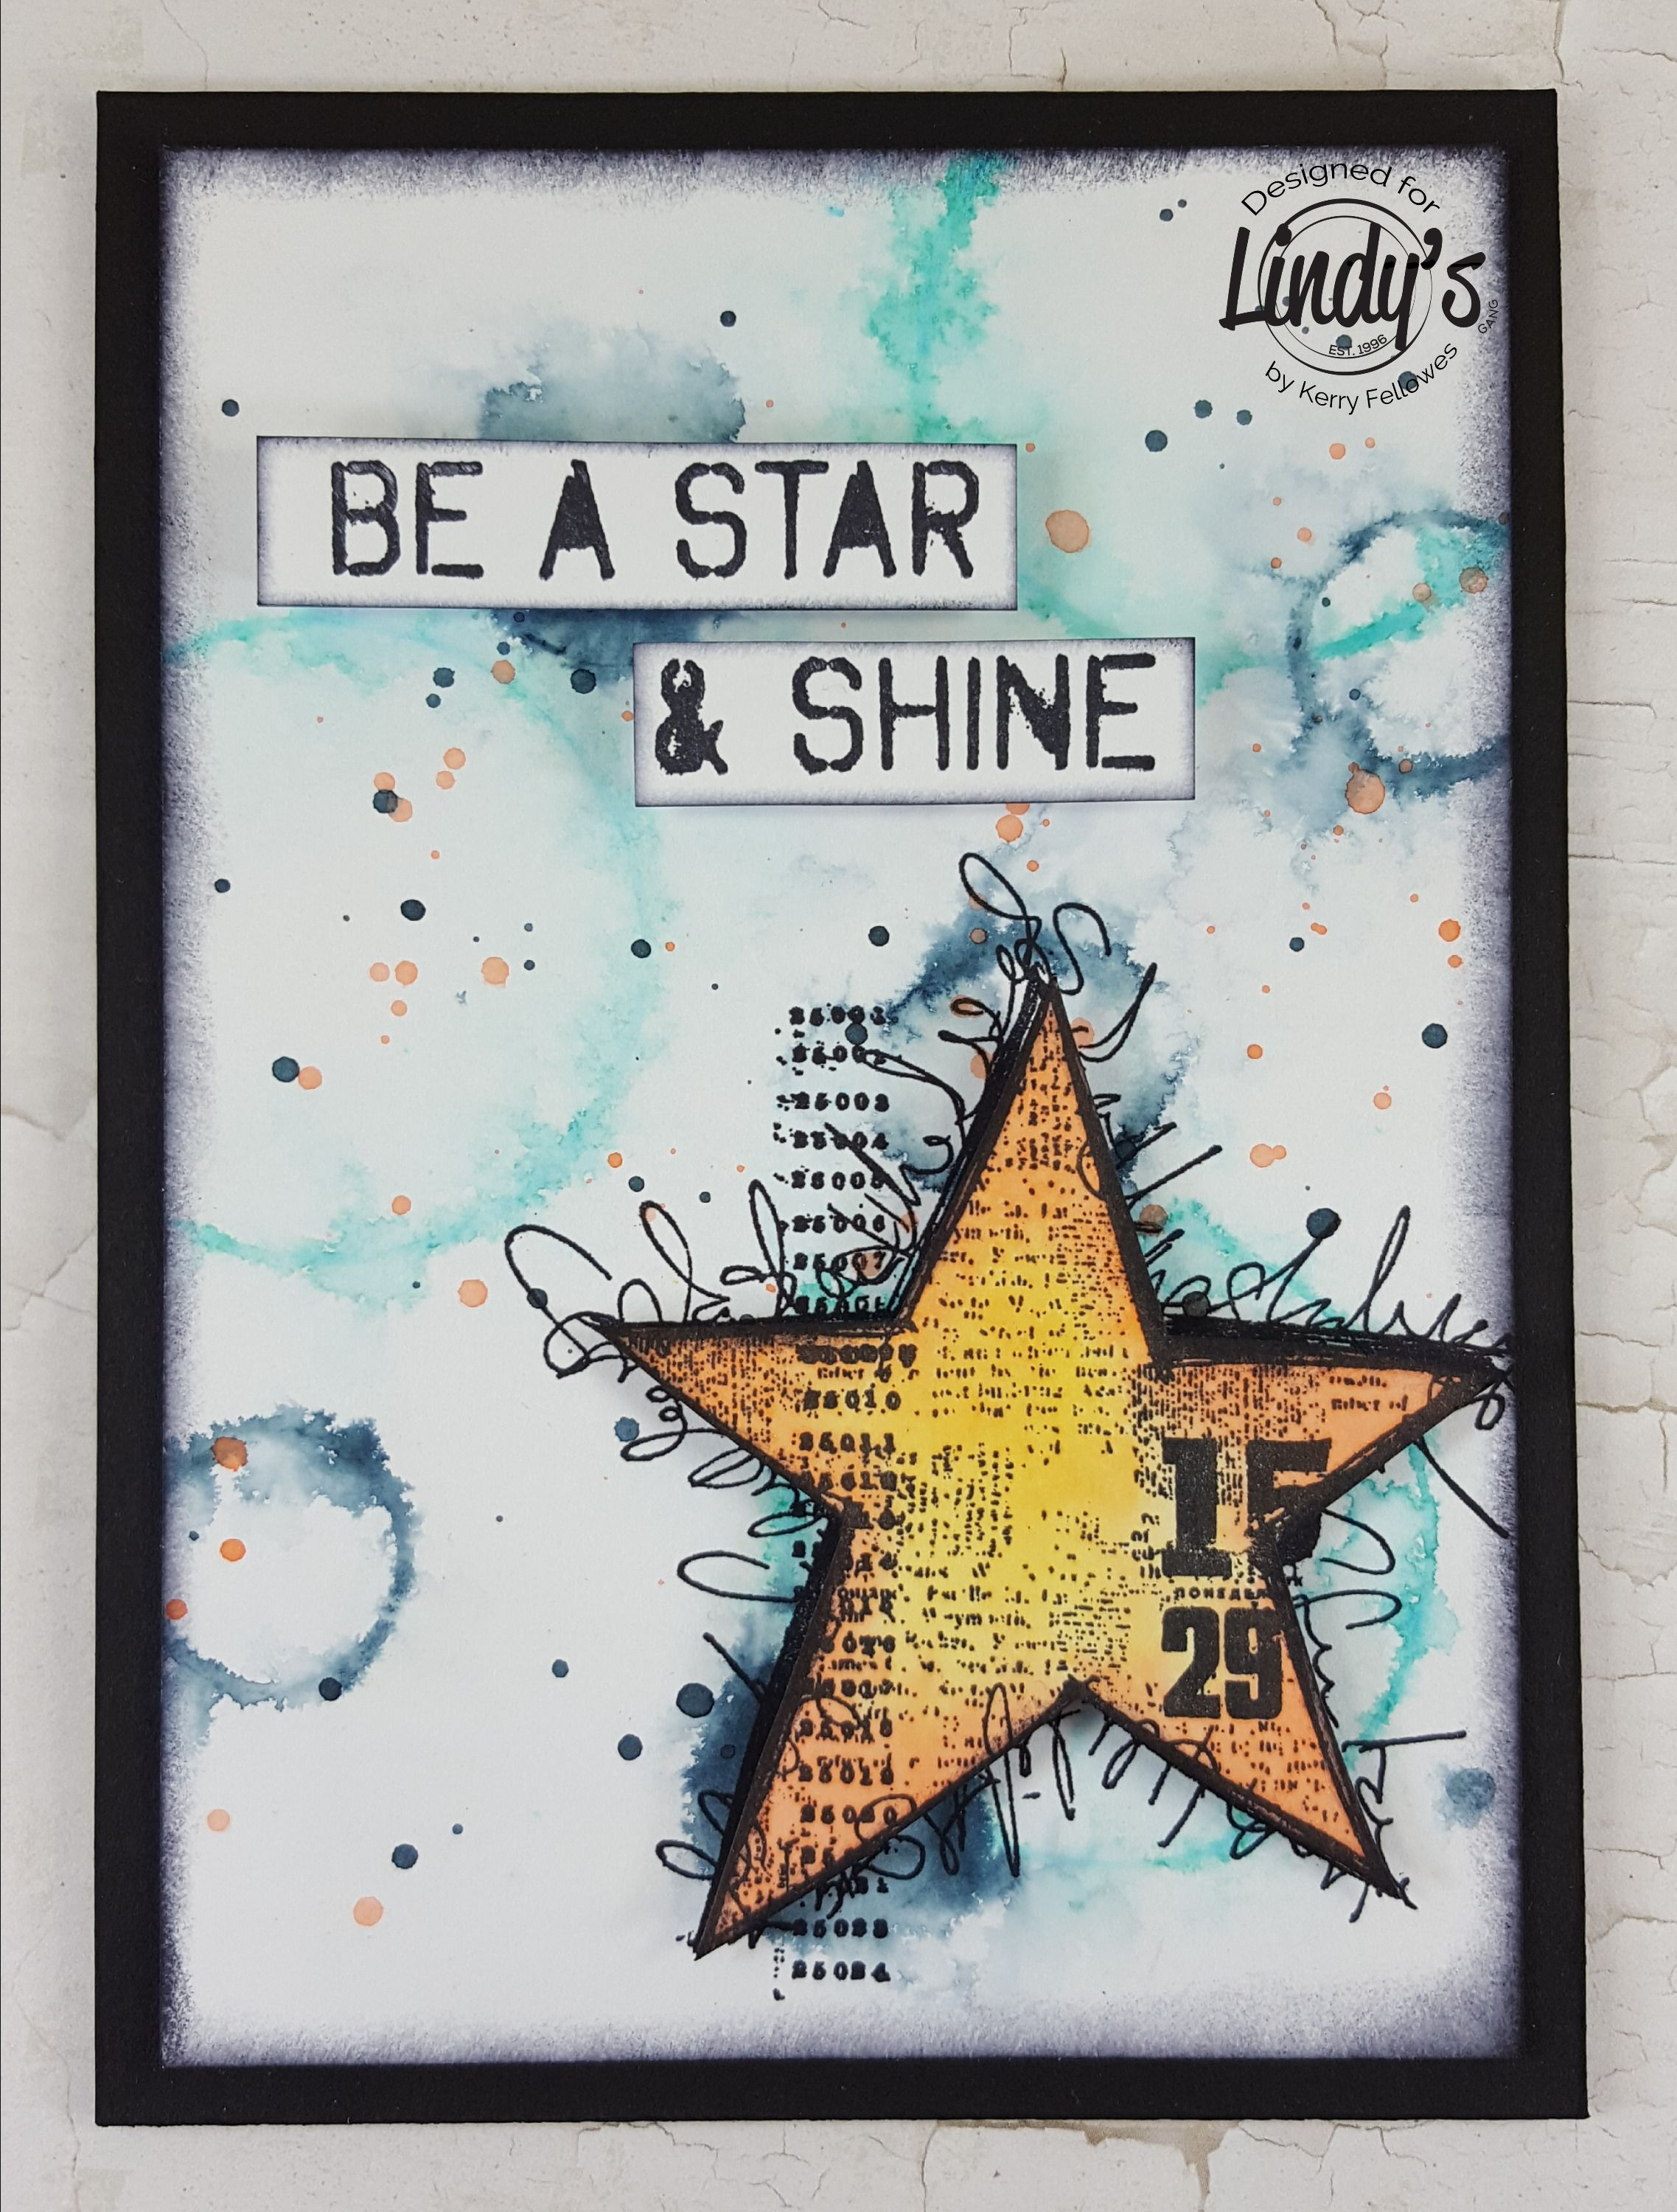
Hello!! Its Kerry here. Today I am sharing a mini page that could easily be adapted to suit a card. I am using the AWESOME Magical Shakers, some plastic lids to use as stamps, water and brush and some smooth white cardstock. Time to get started :)
Using the Guten Tag Teal shaker and water, make a small puddle of watercolor on a non porous surface, I am using an acrylic block. Then dip the lid into the color and 'stamp' onto the card. Add some fine sprays of water to the card and allow the rings to bleed slightly, and then dry with the heat tool.
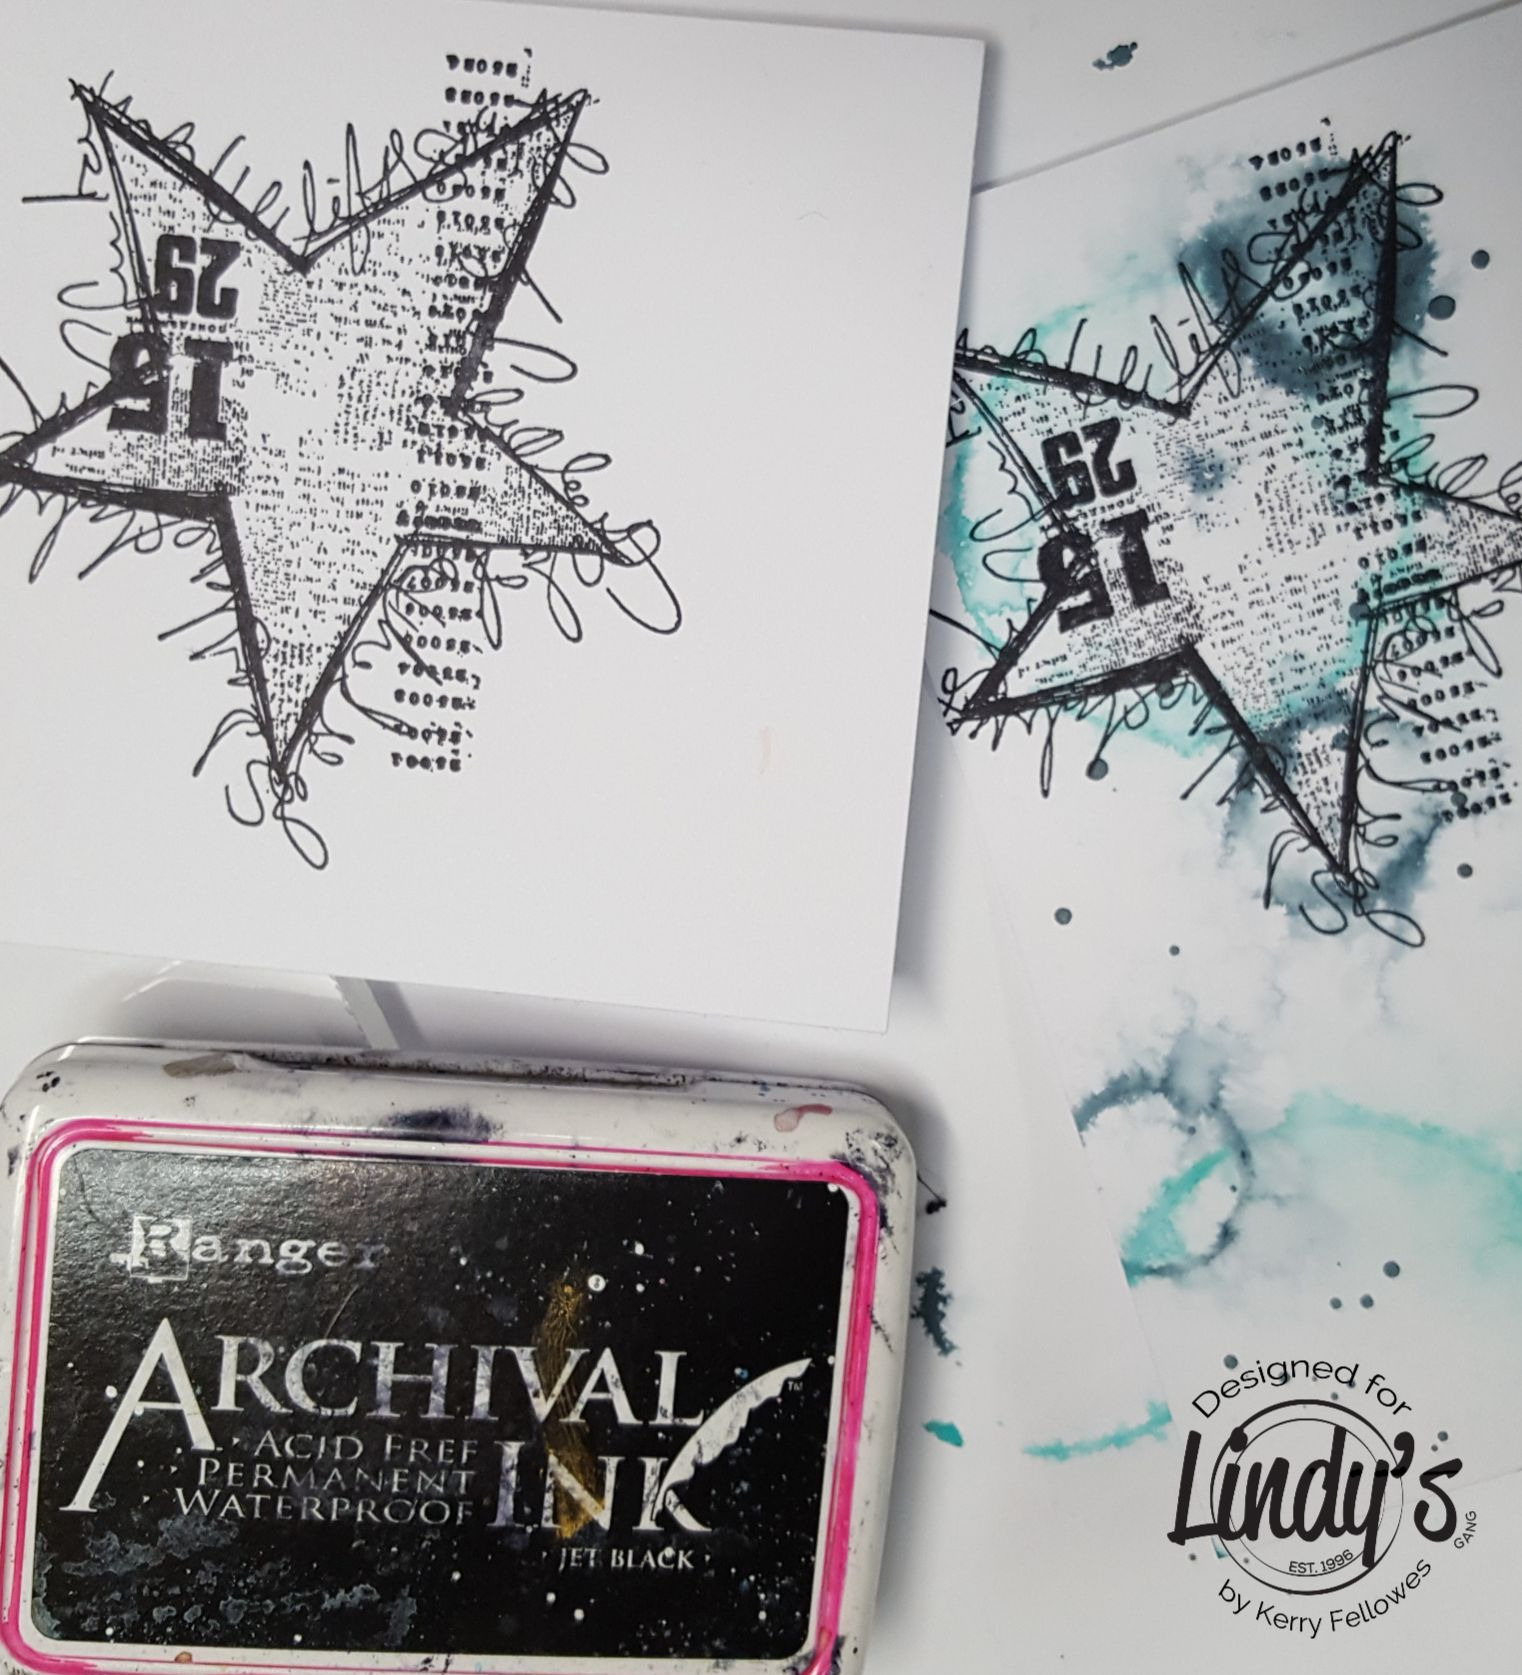
I repeated the above steps using a smaller lid and the Black Forest Black Magical Shaker to make some smaller, darker rings. Using archival ink (archival ink wont react with water), I have stamped a star onto my page and also onto another piece of scrap card.
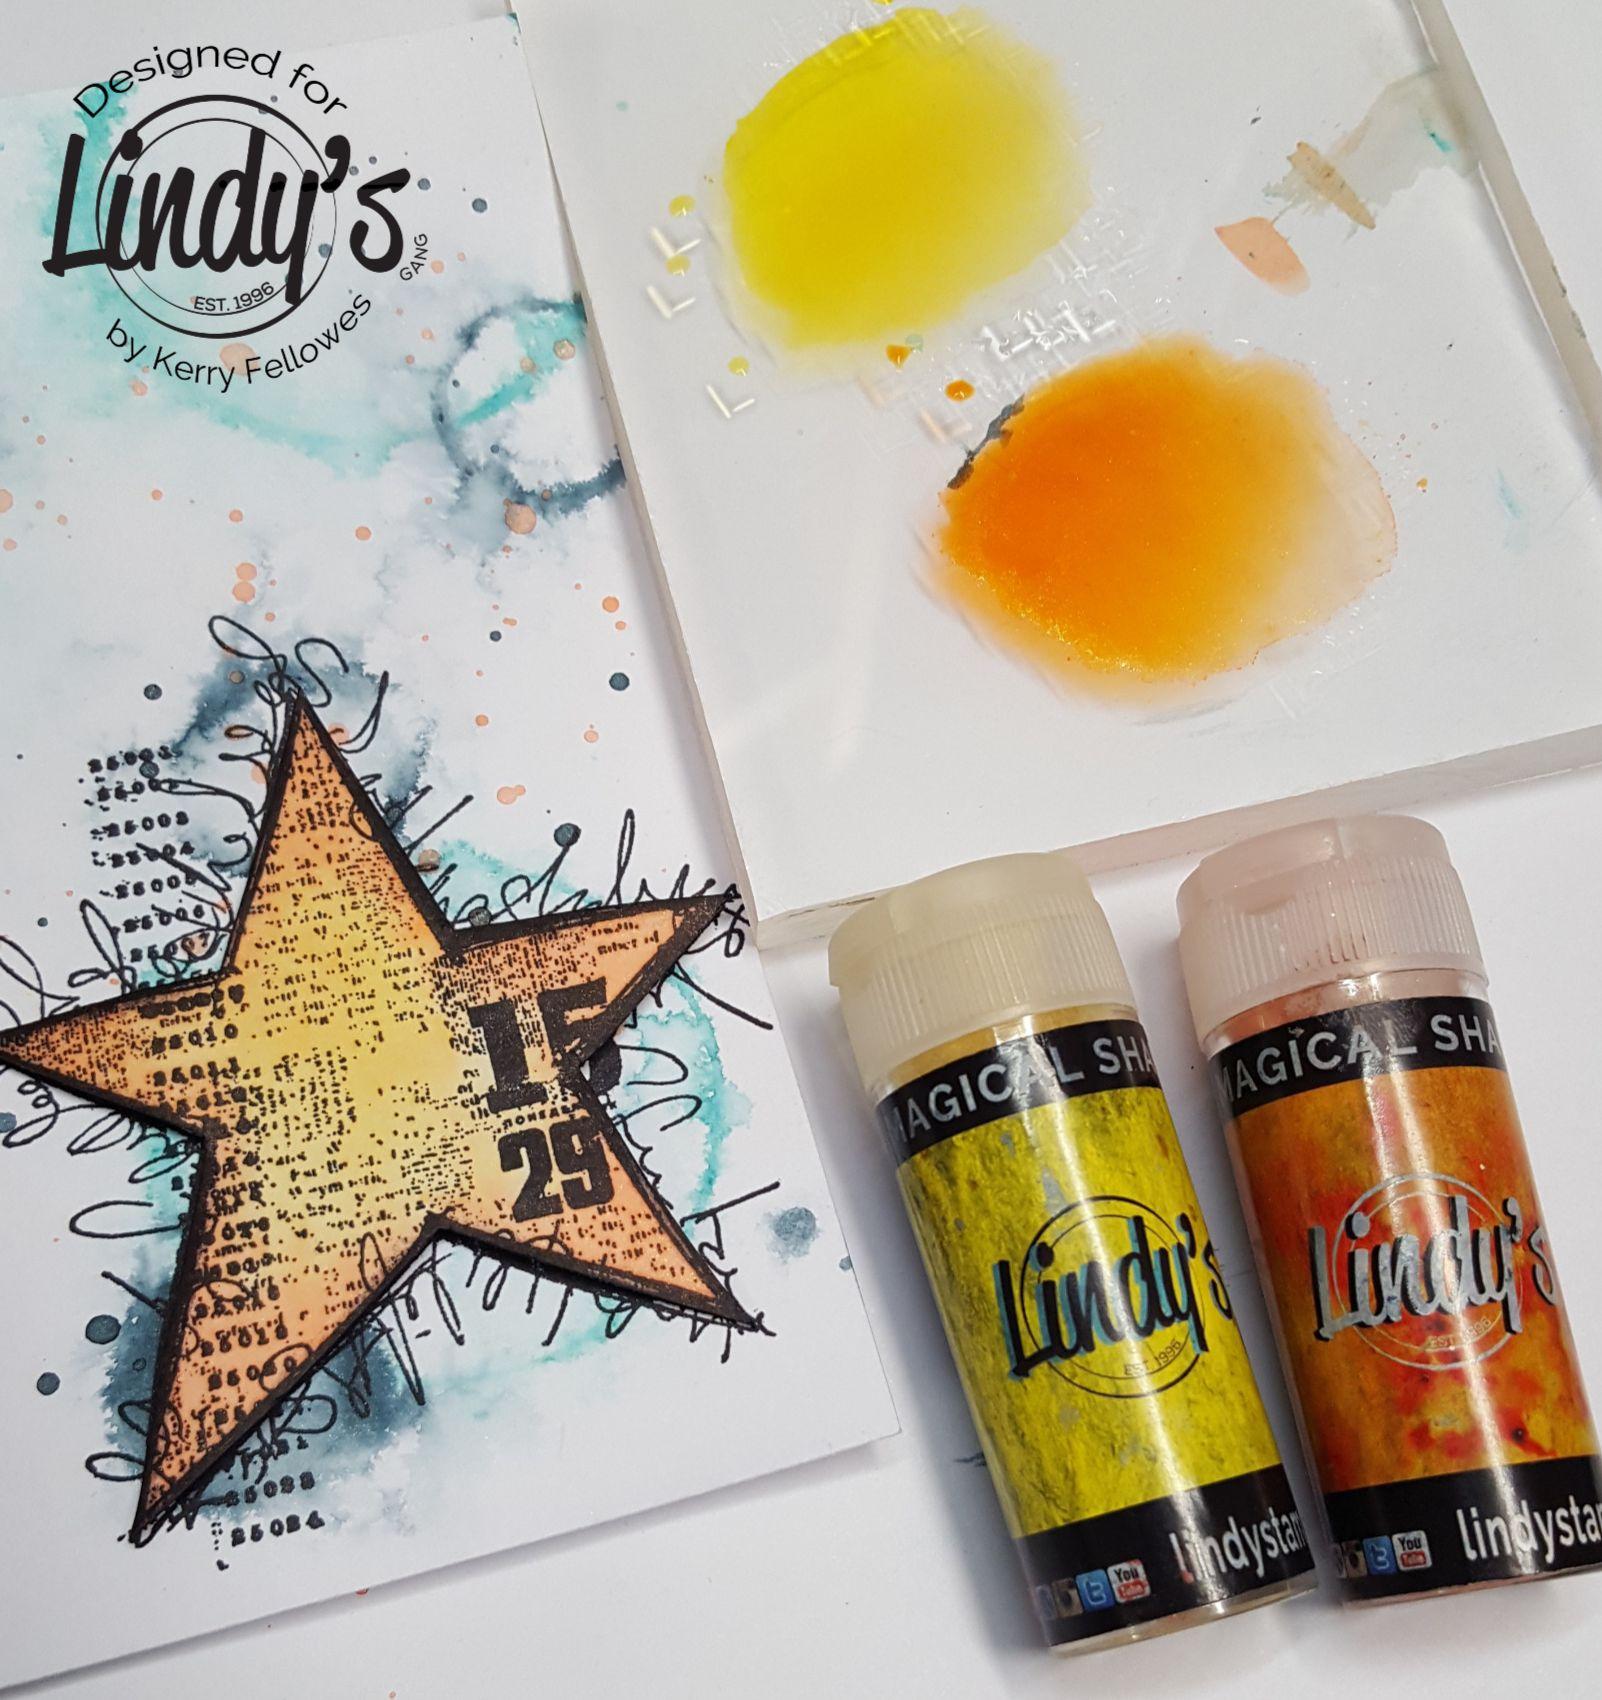
Make small puddles of Yodeling Yellow Shaker and Oktoberfest Orange Shaker and paint the star that has been stamped onto the scrap. Once dry, cut out the star and layer it ontop of the star on your 'ringed' background.
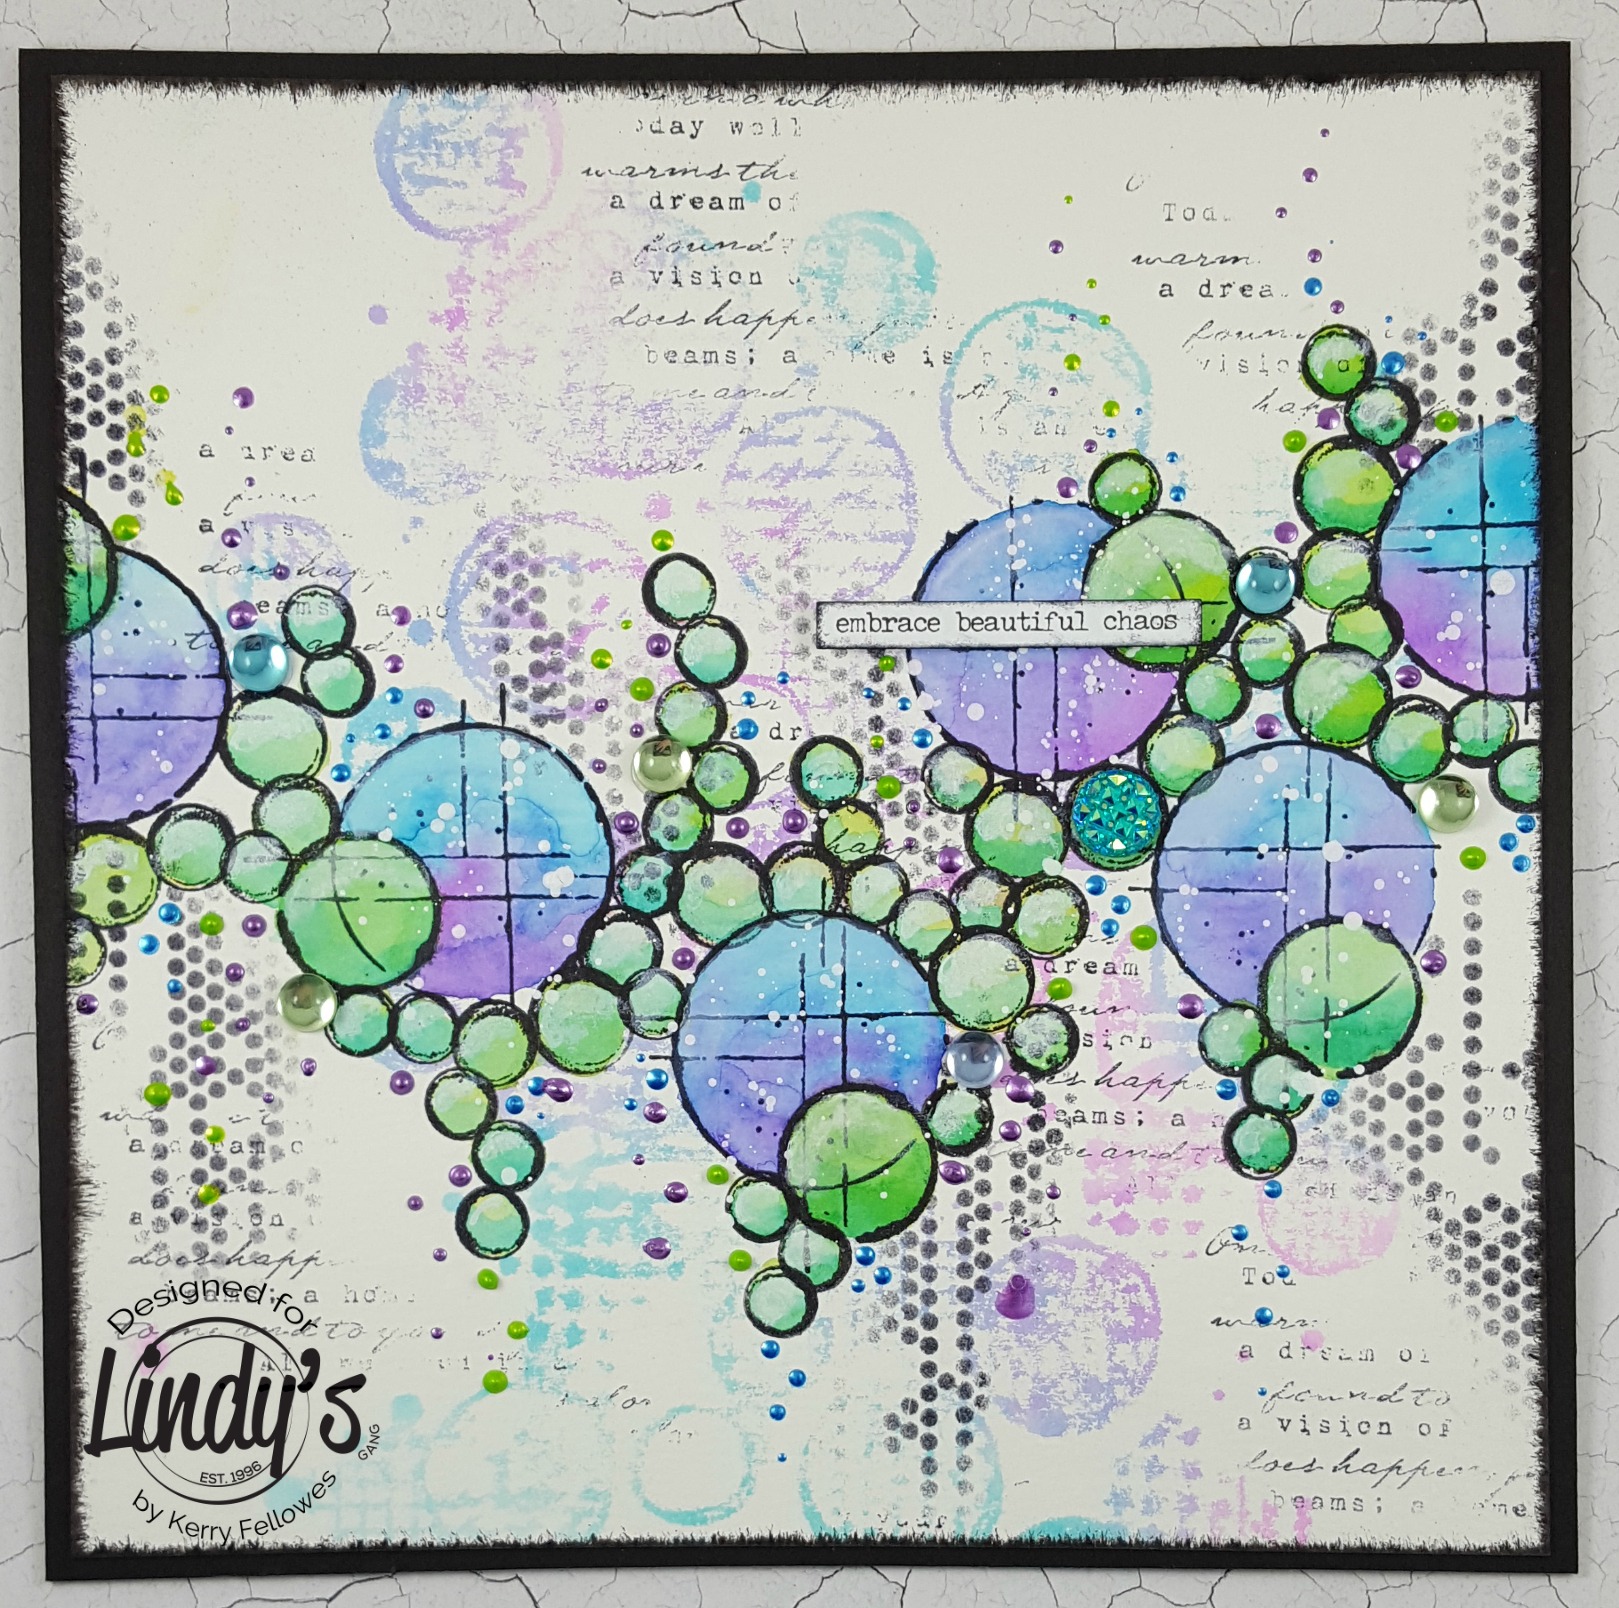
Hello! Its Kerry here with you today and I have a journal page to share. We will be using some fabulous sprays today, but we will be using them as watercolor paint. So lets get started!
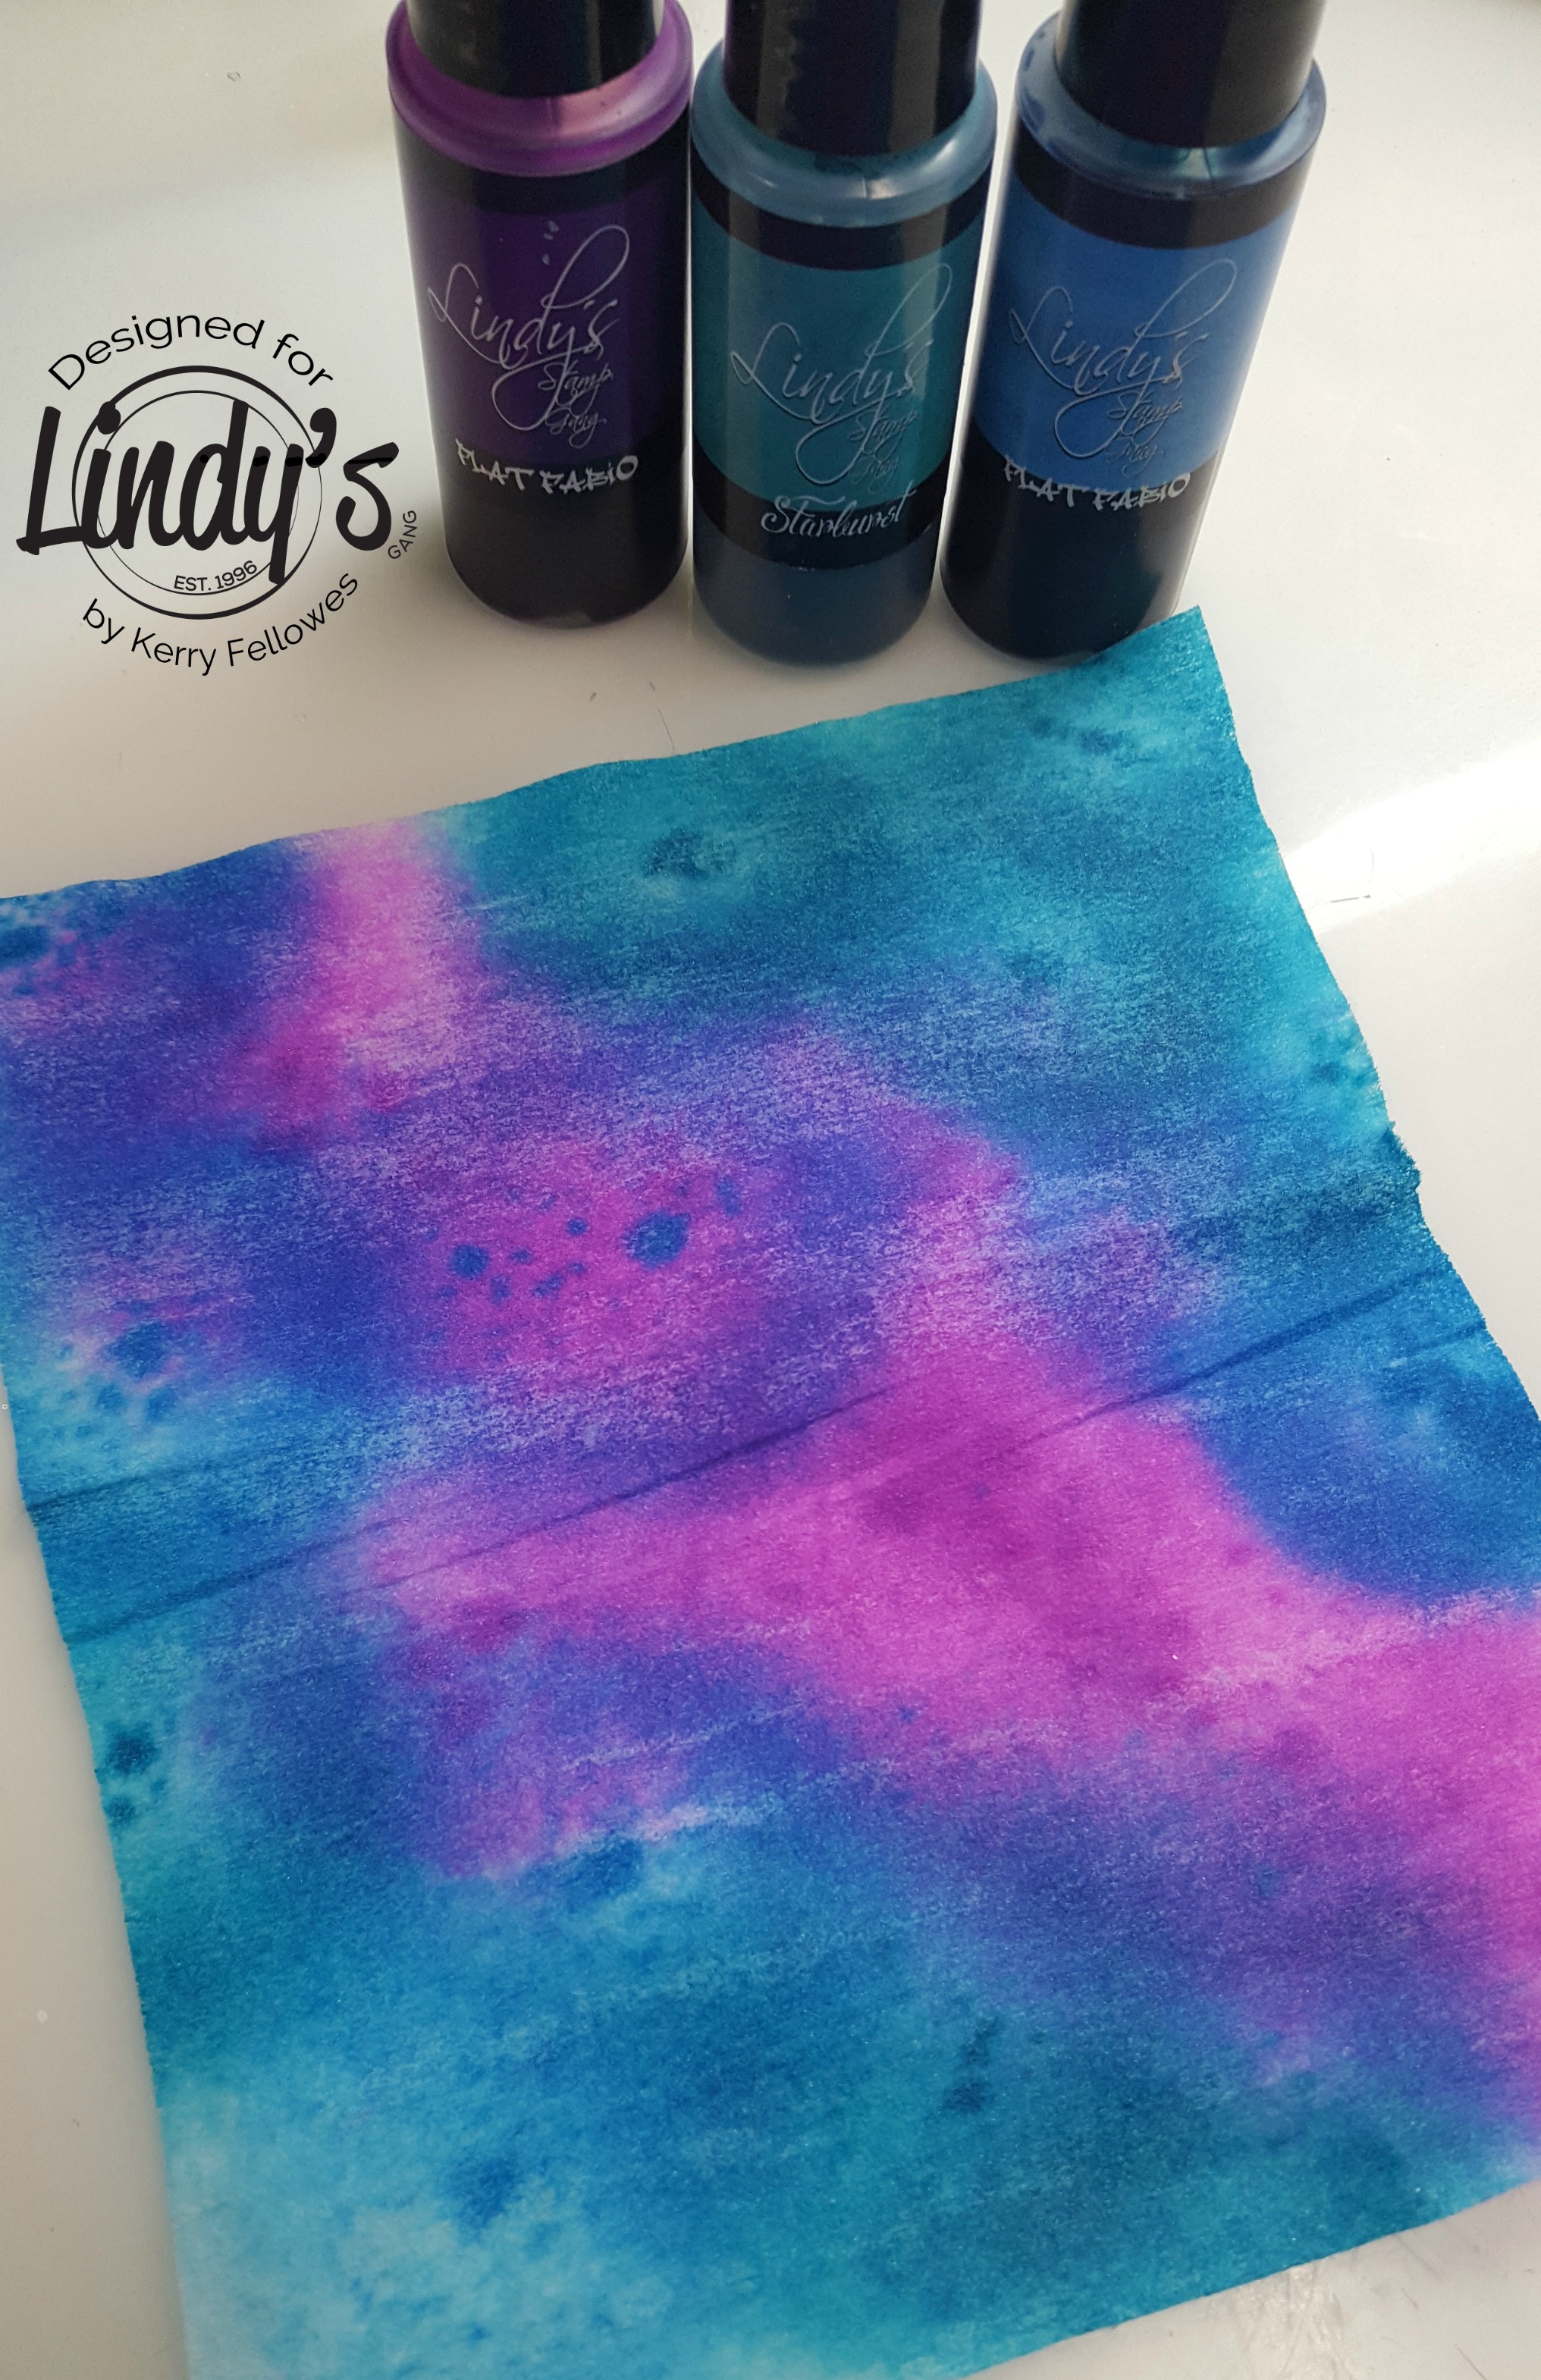
Last month I shared with you my Spray and Baby Wipe technique so I wanted to apply that to a finished piece to show you how you can quickly make an awesome background in just a few seconds. To start, grab a clean baby wipe and randomly spray with Urban Amethyst, Caribbean Blue and Time Travel Teal onto the baby wipe.
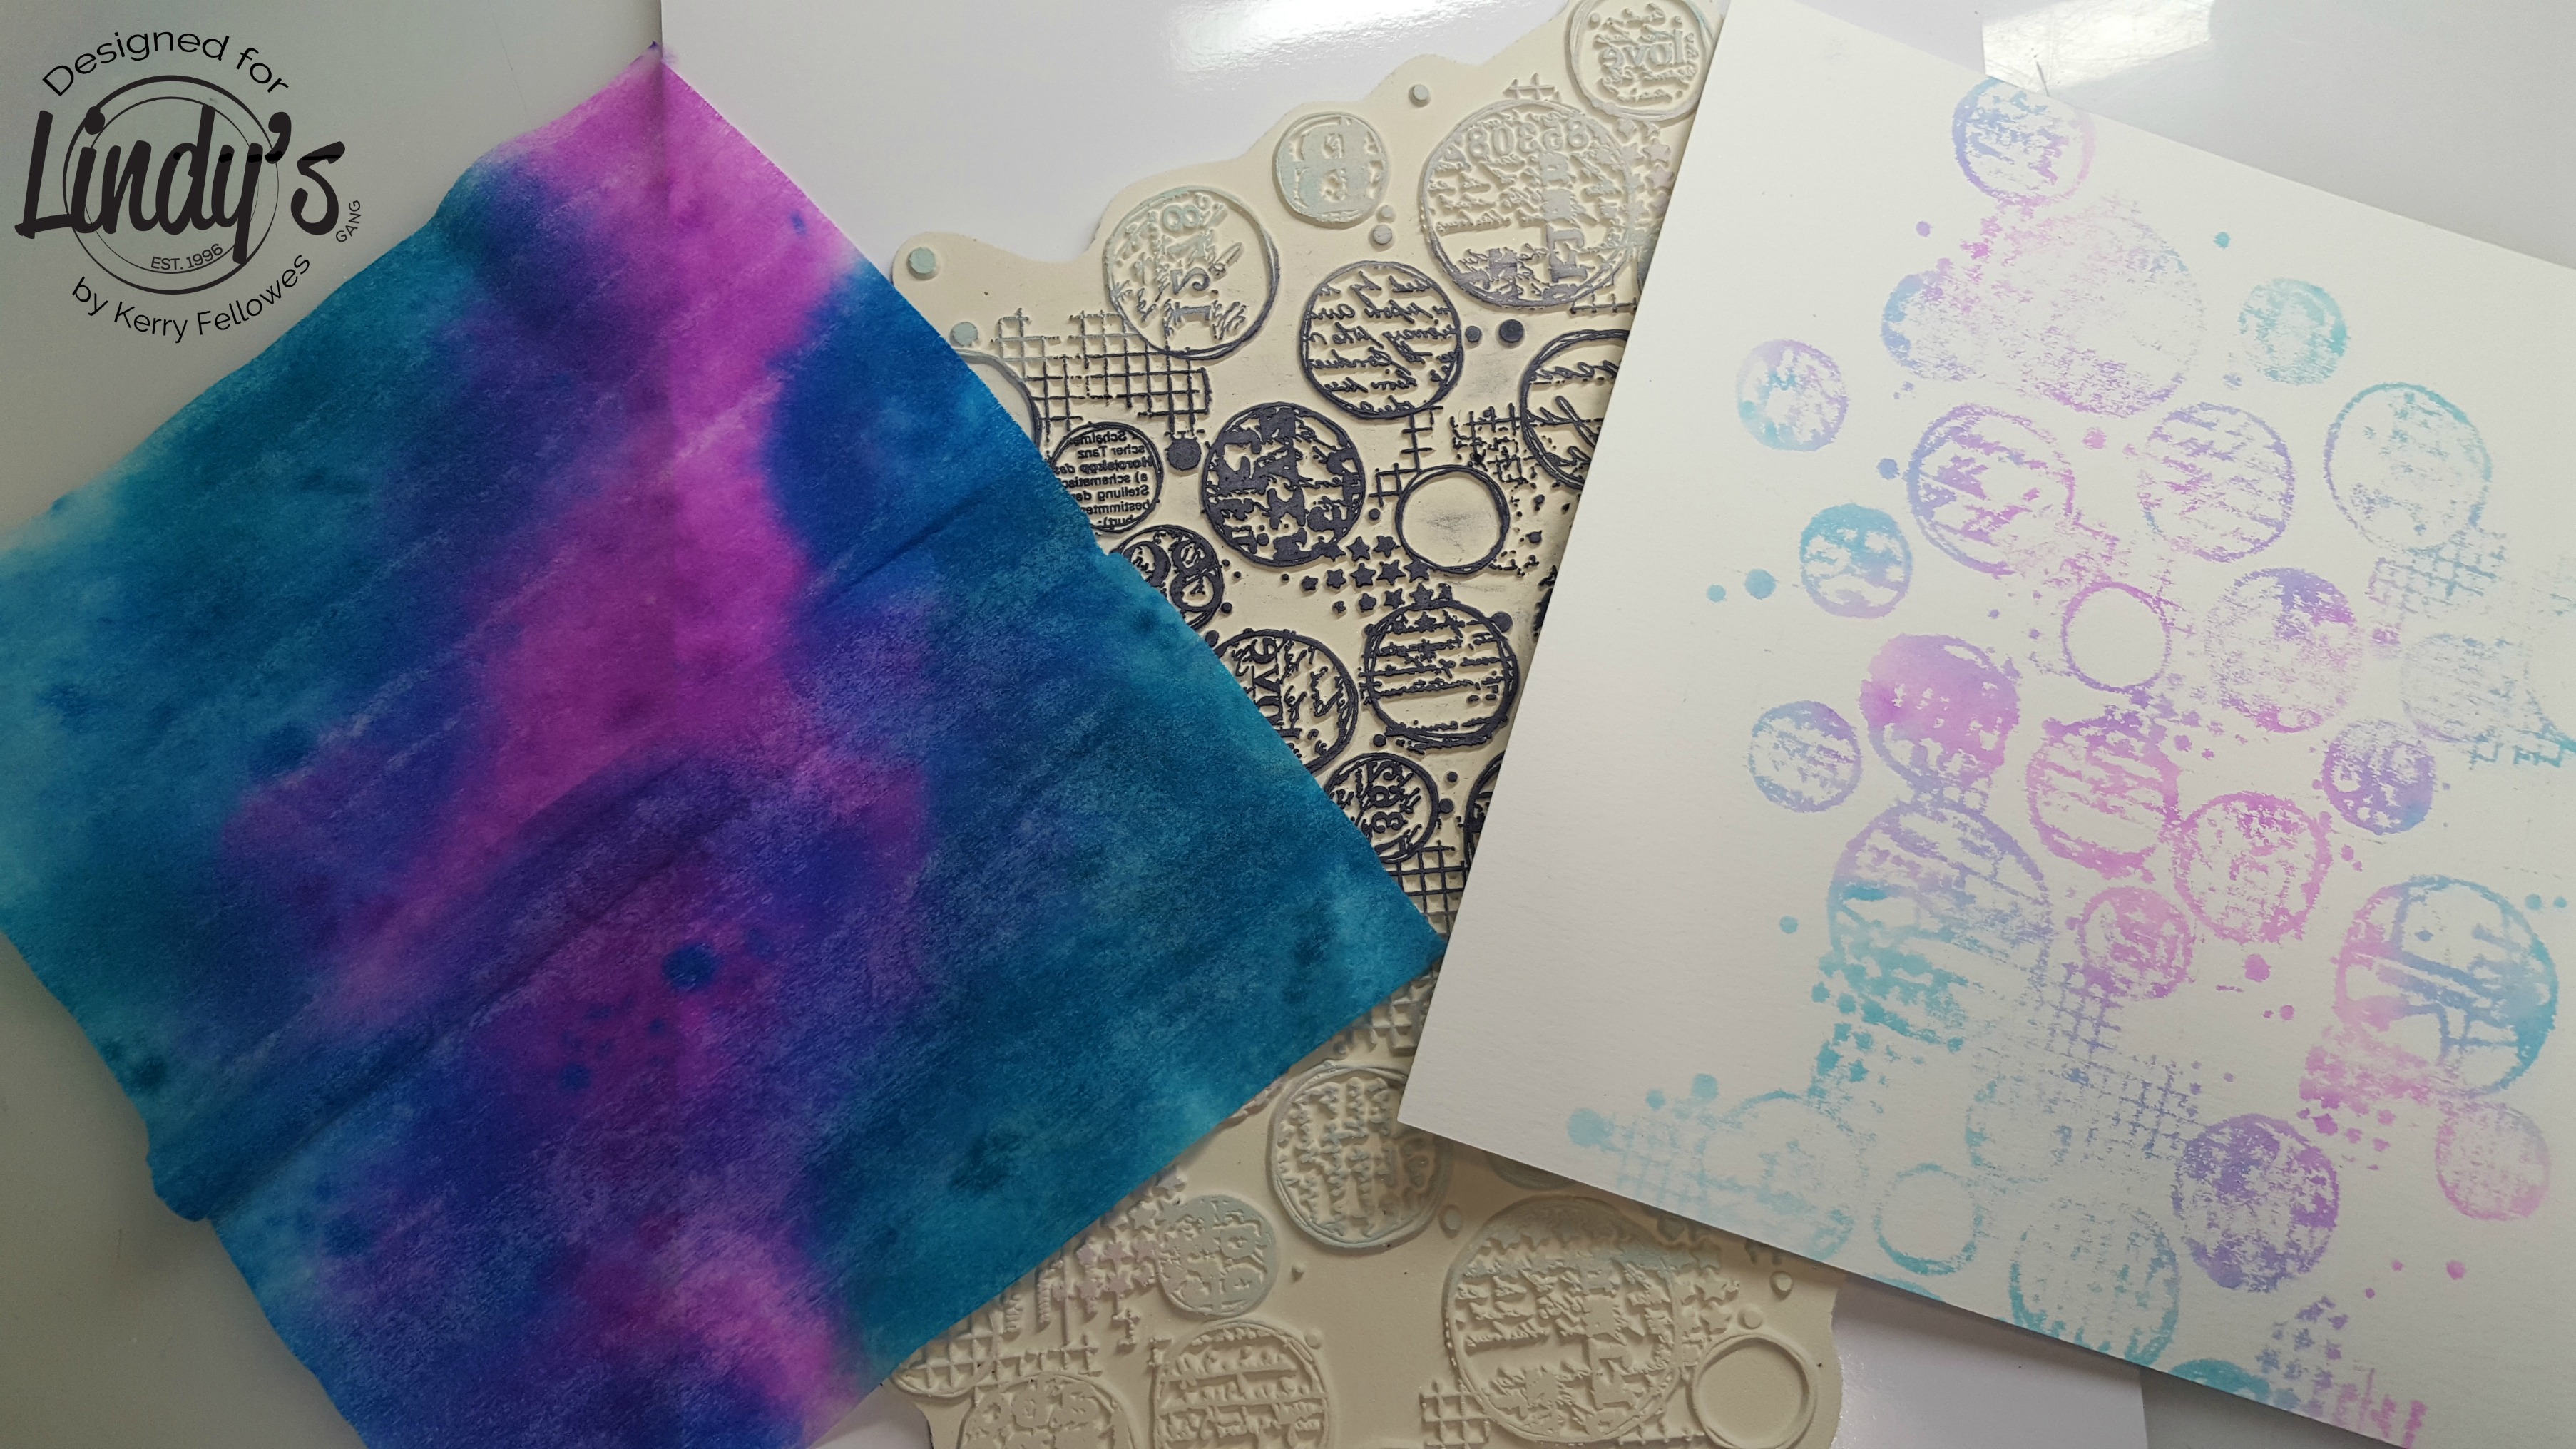
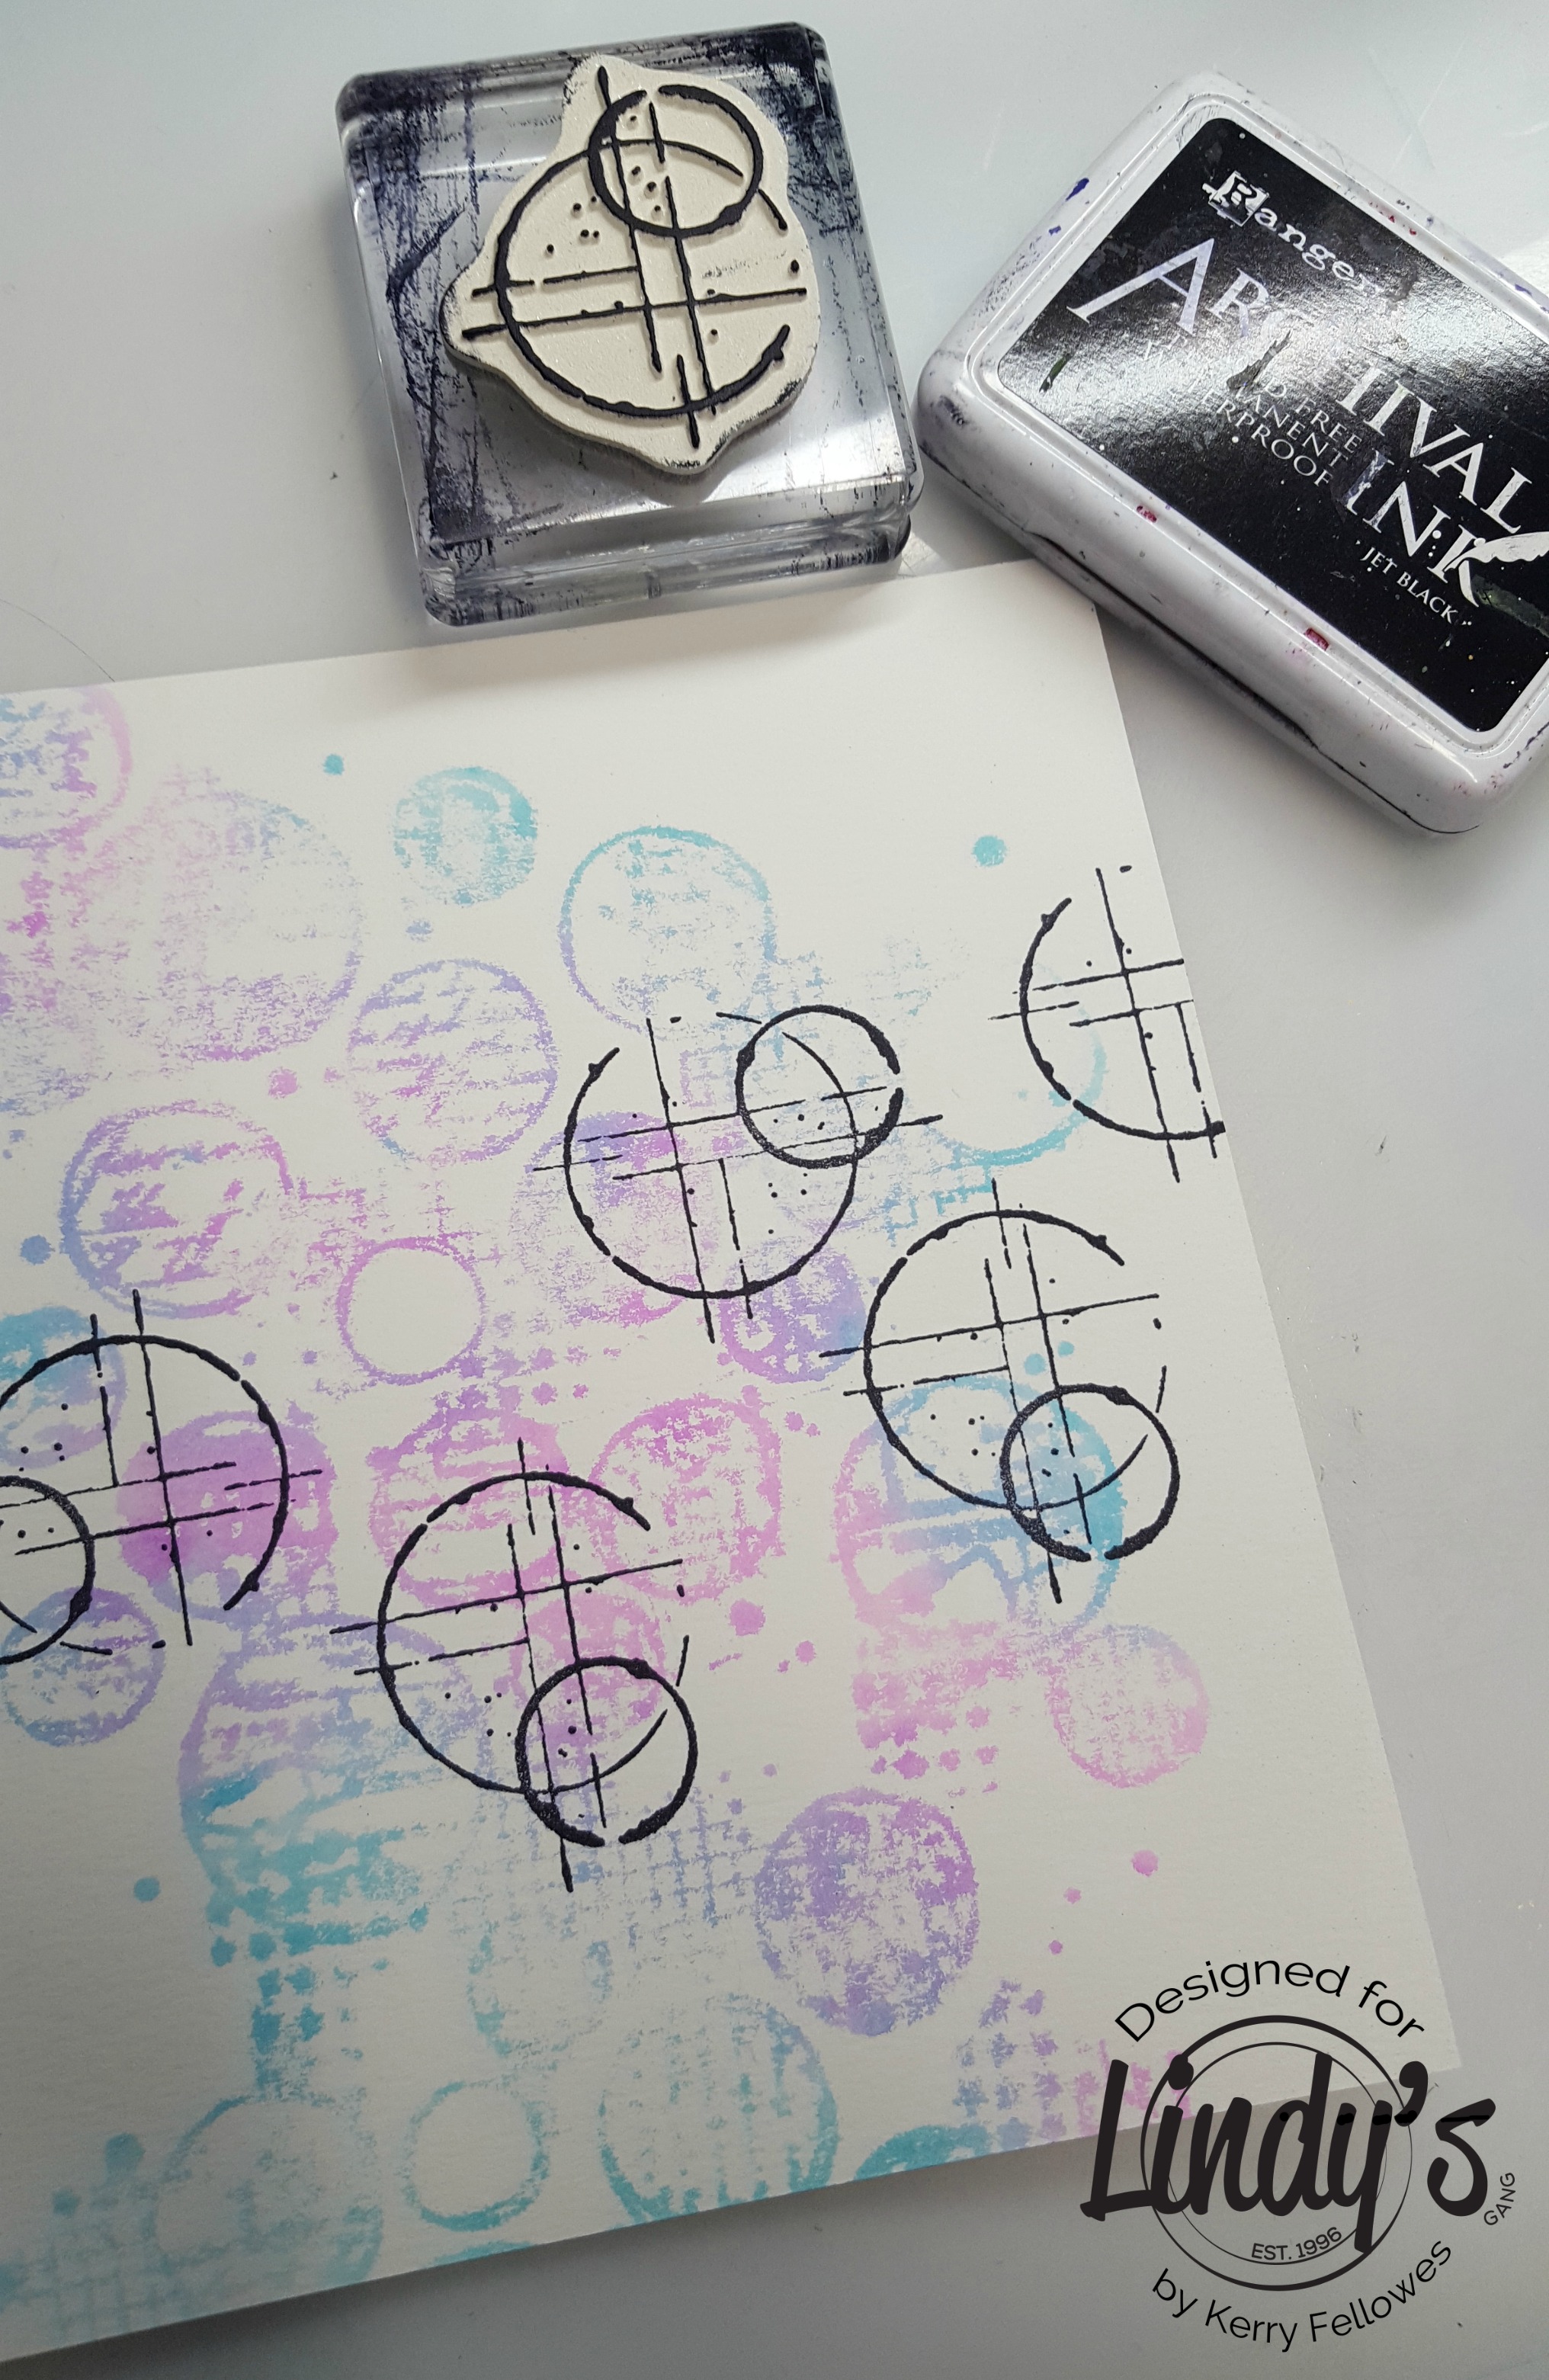
Lay the baby wipe over your page and then pop your stamp face down ontop of the baby wipe and press down firmly.... VOILA awesome background complete!!
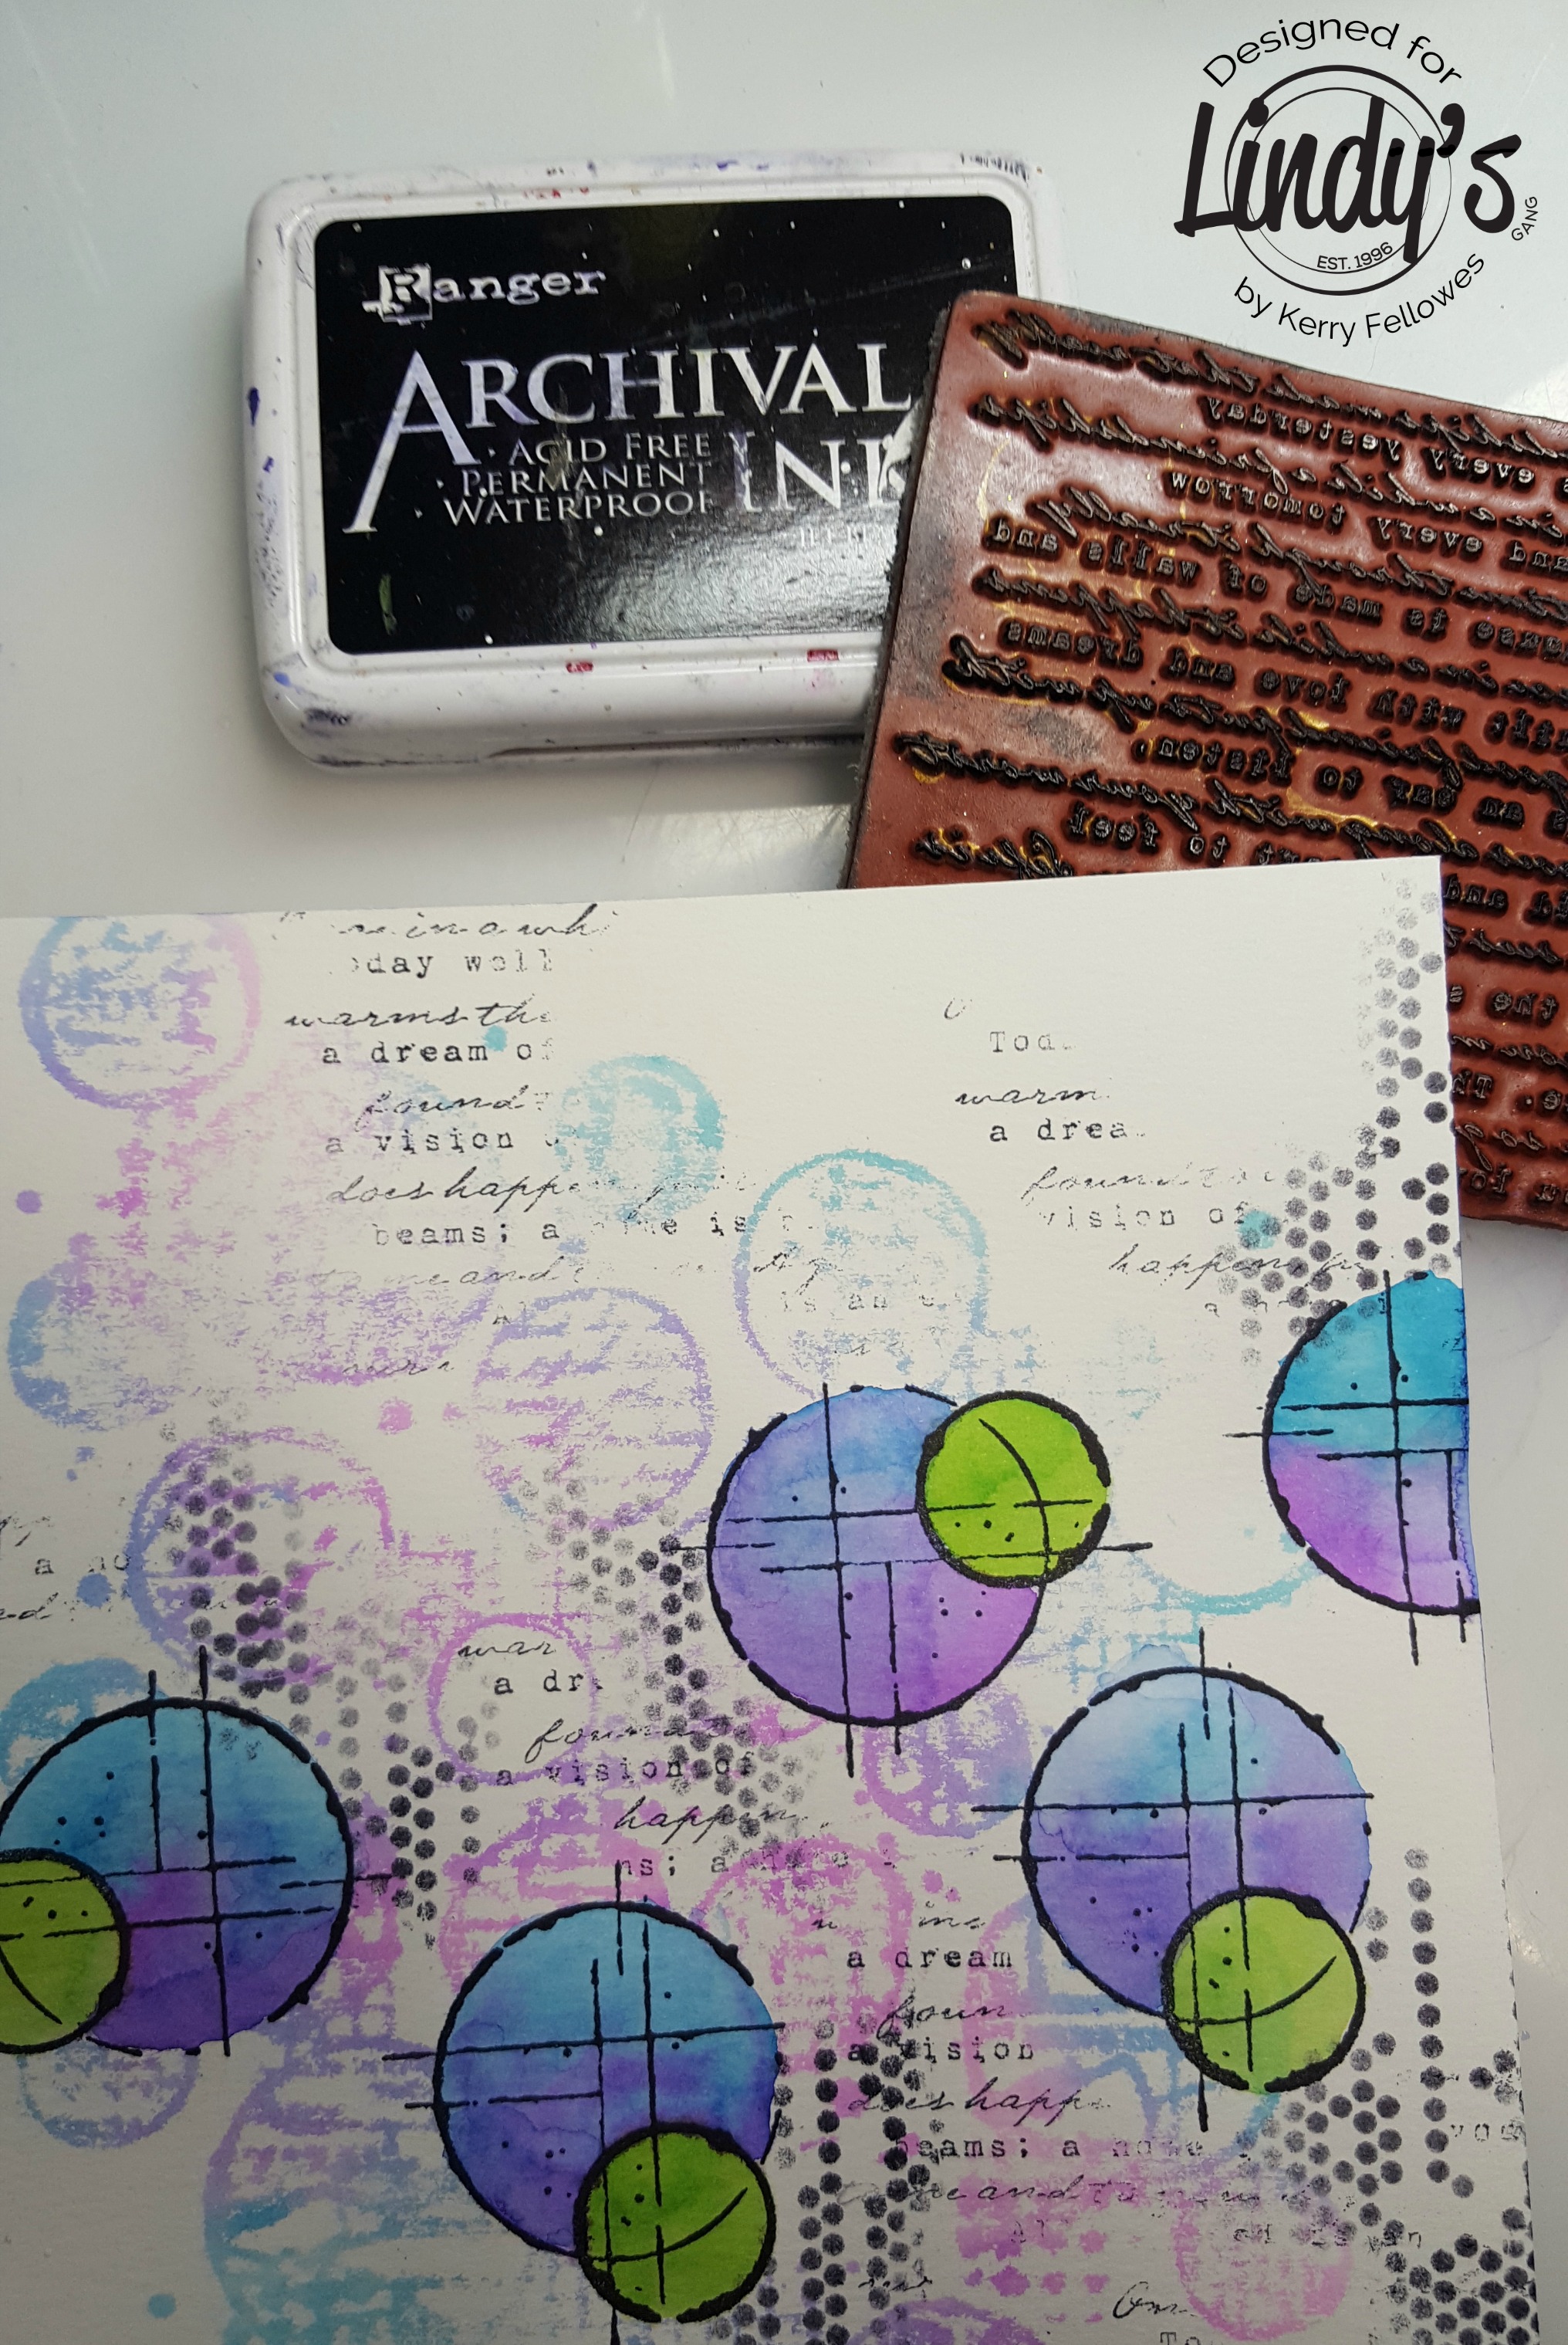
Next, I have added some cool circles with a stamp and some black archival ink (this ink is permanent and wont react with the water we will add a little later).
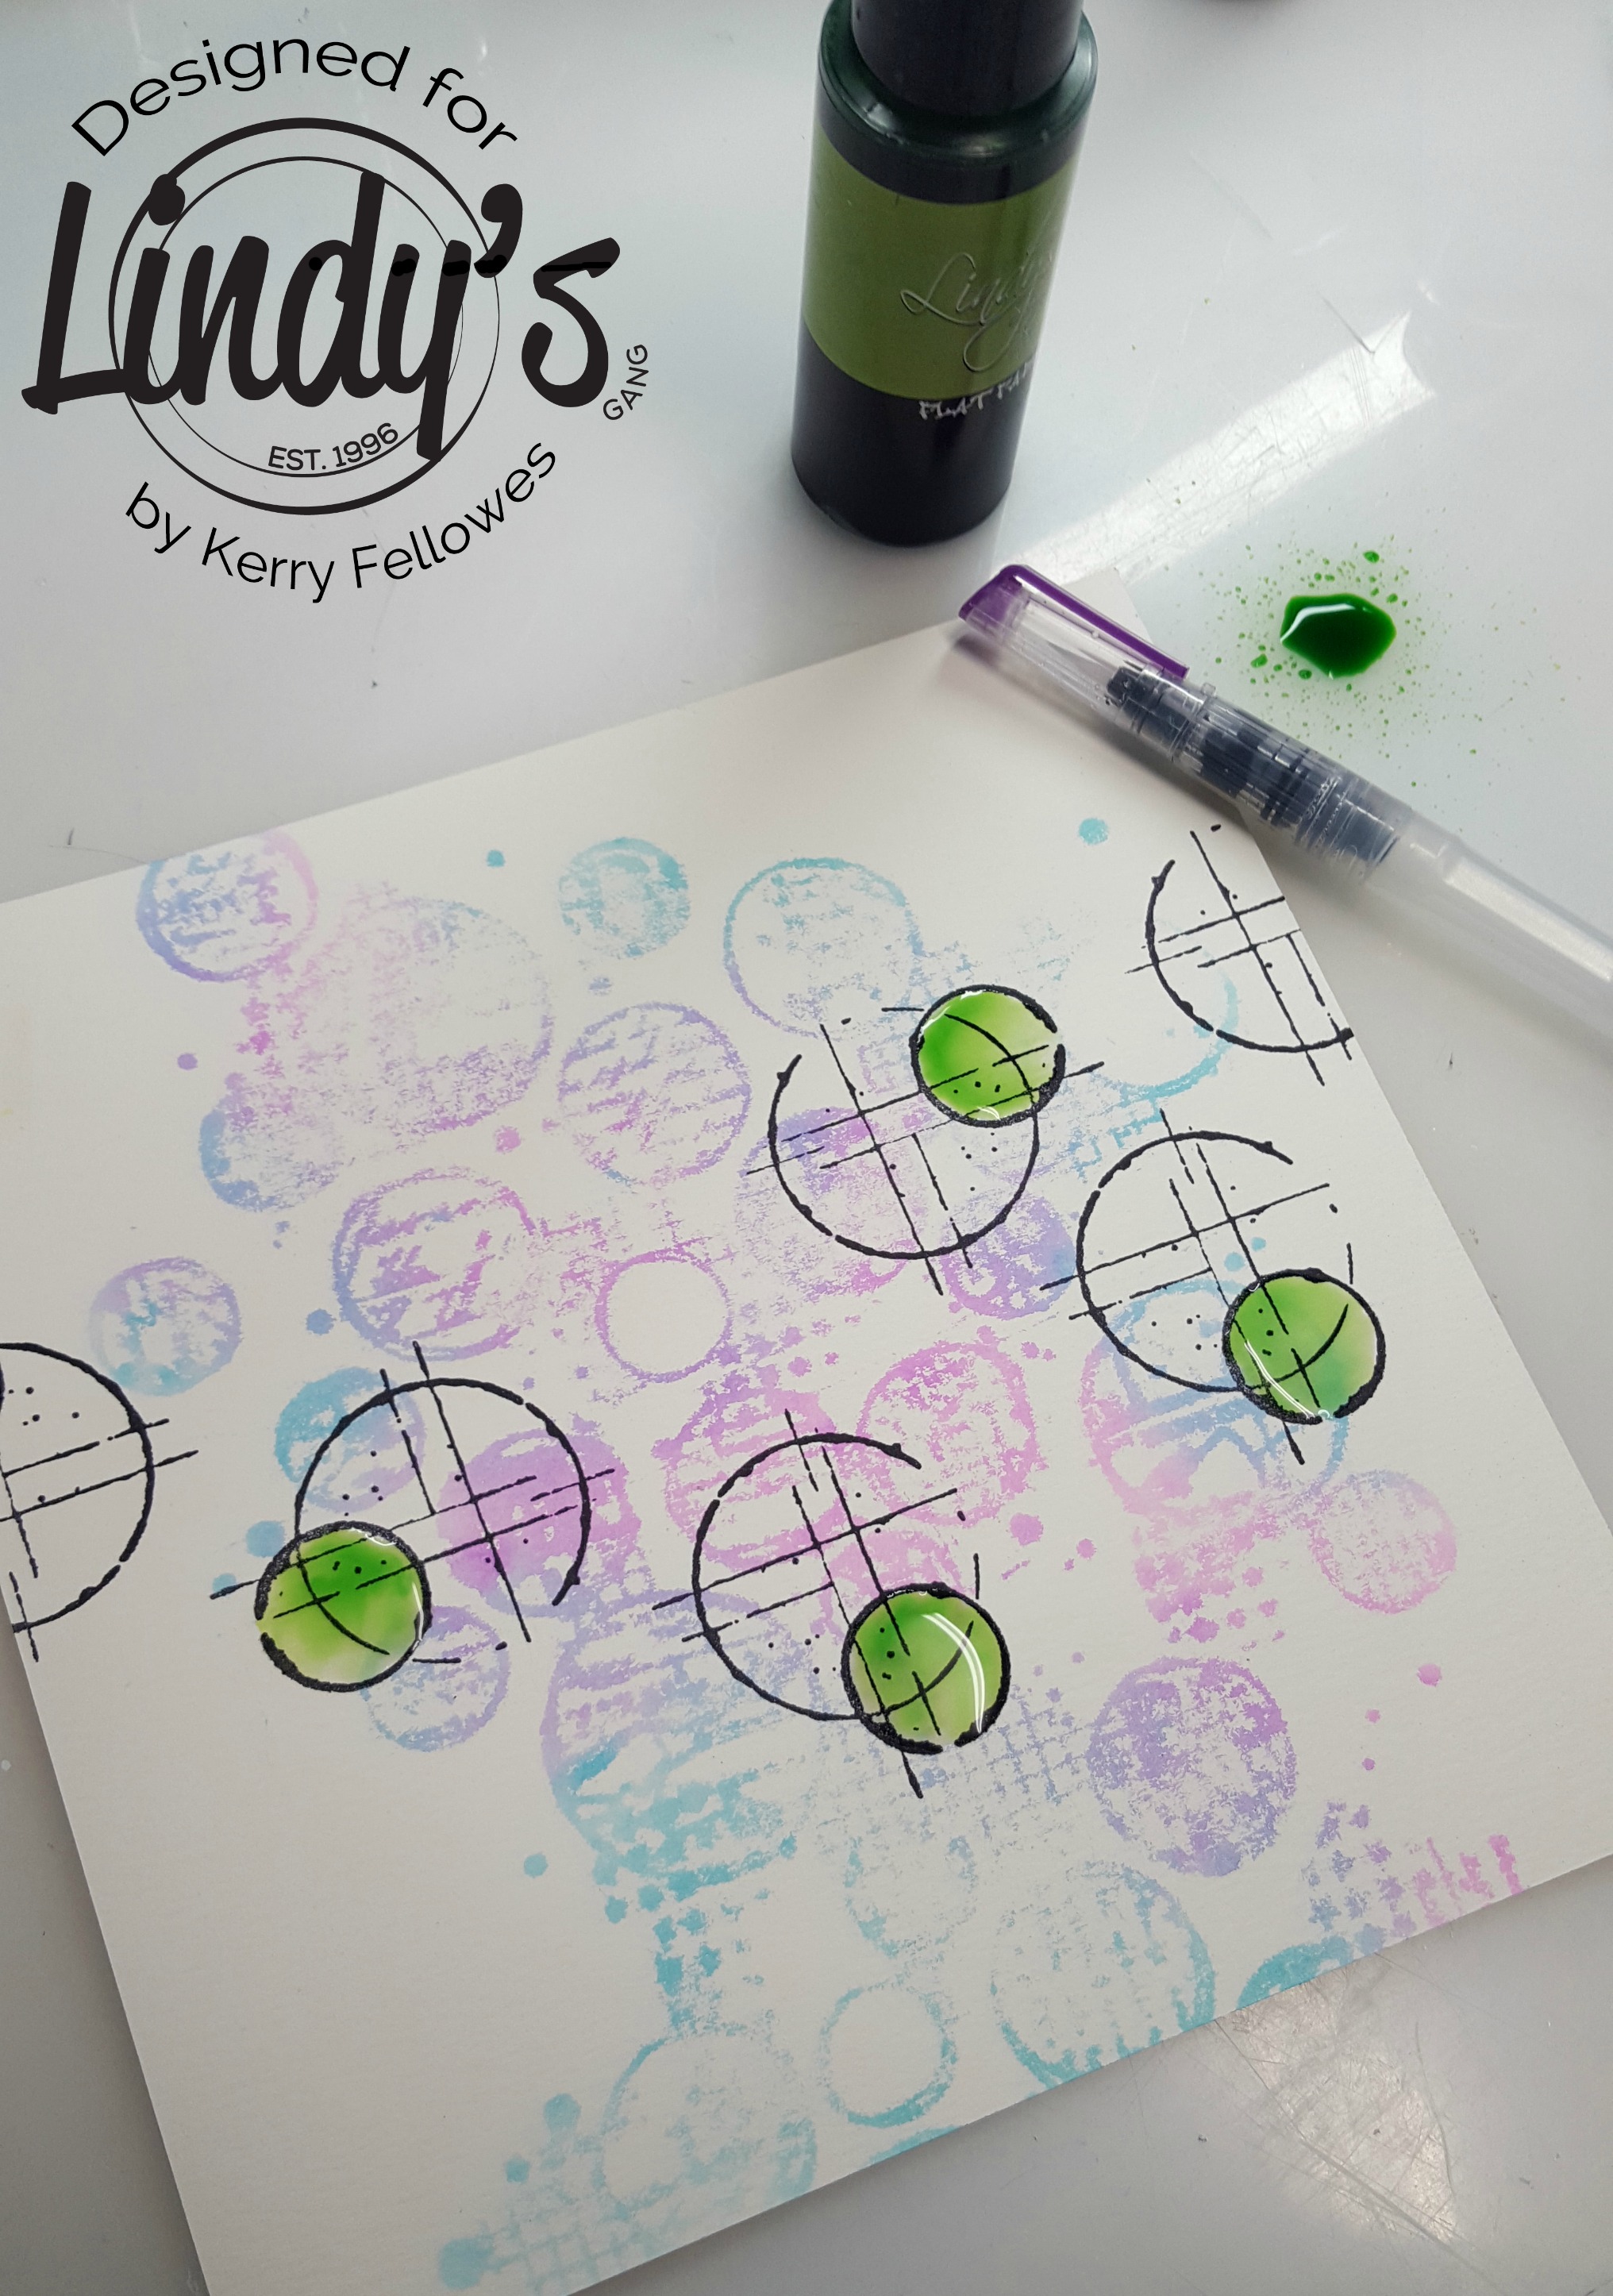
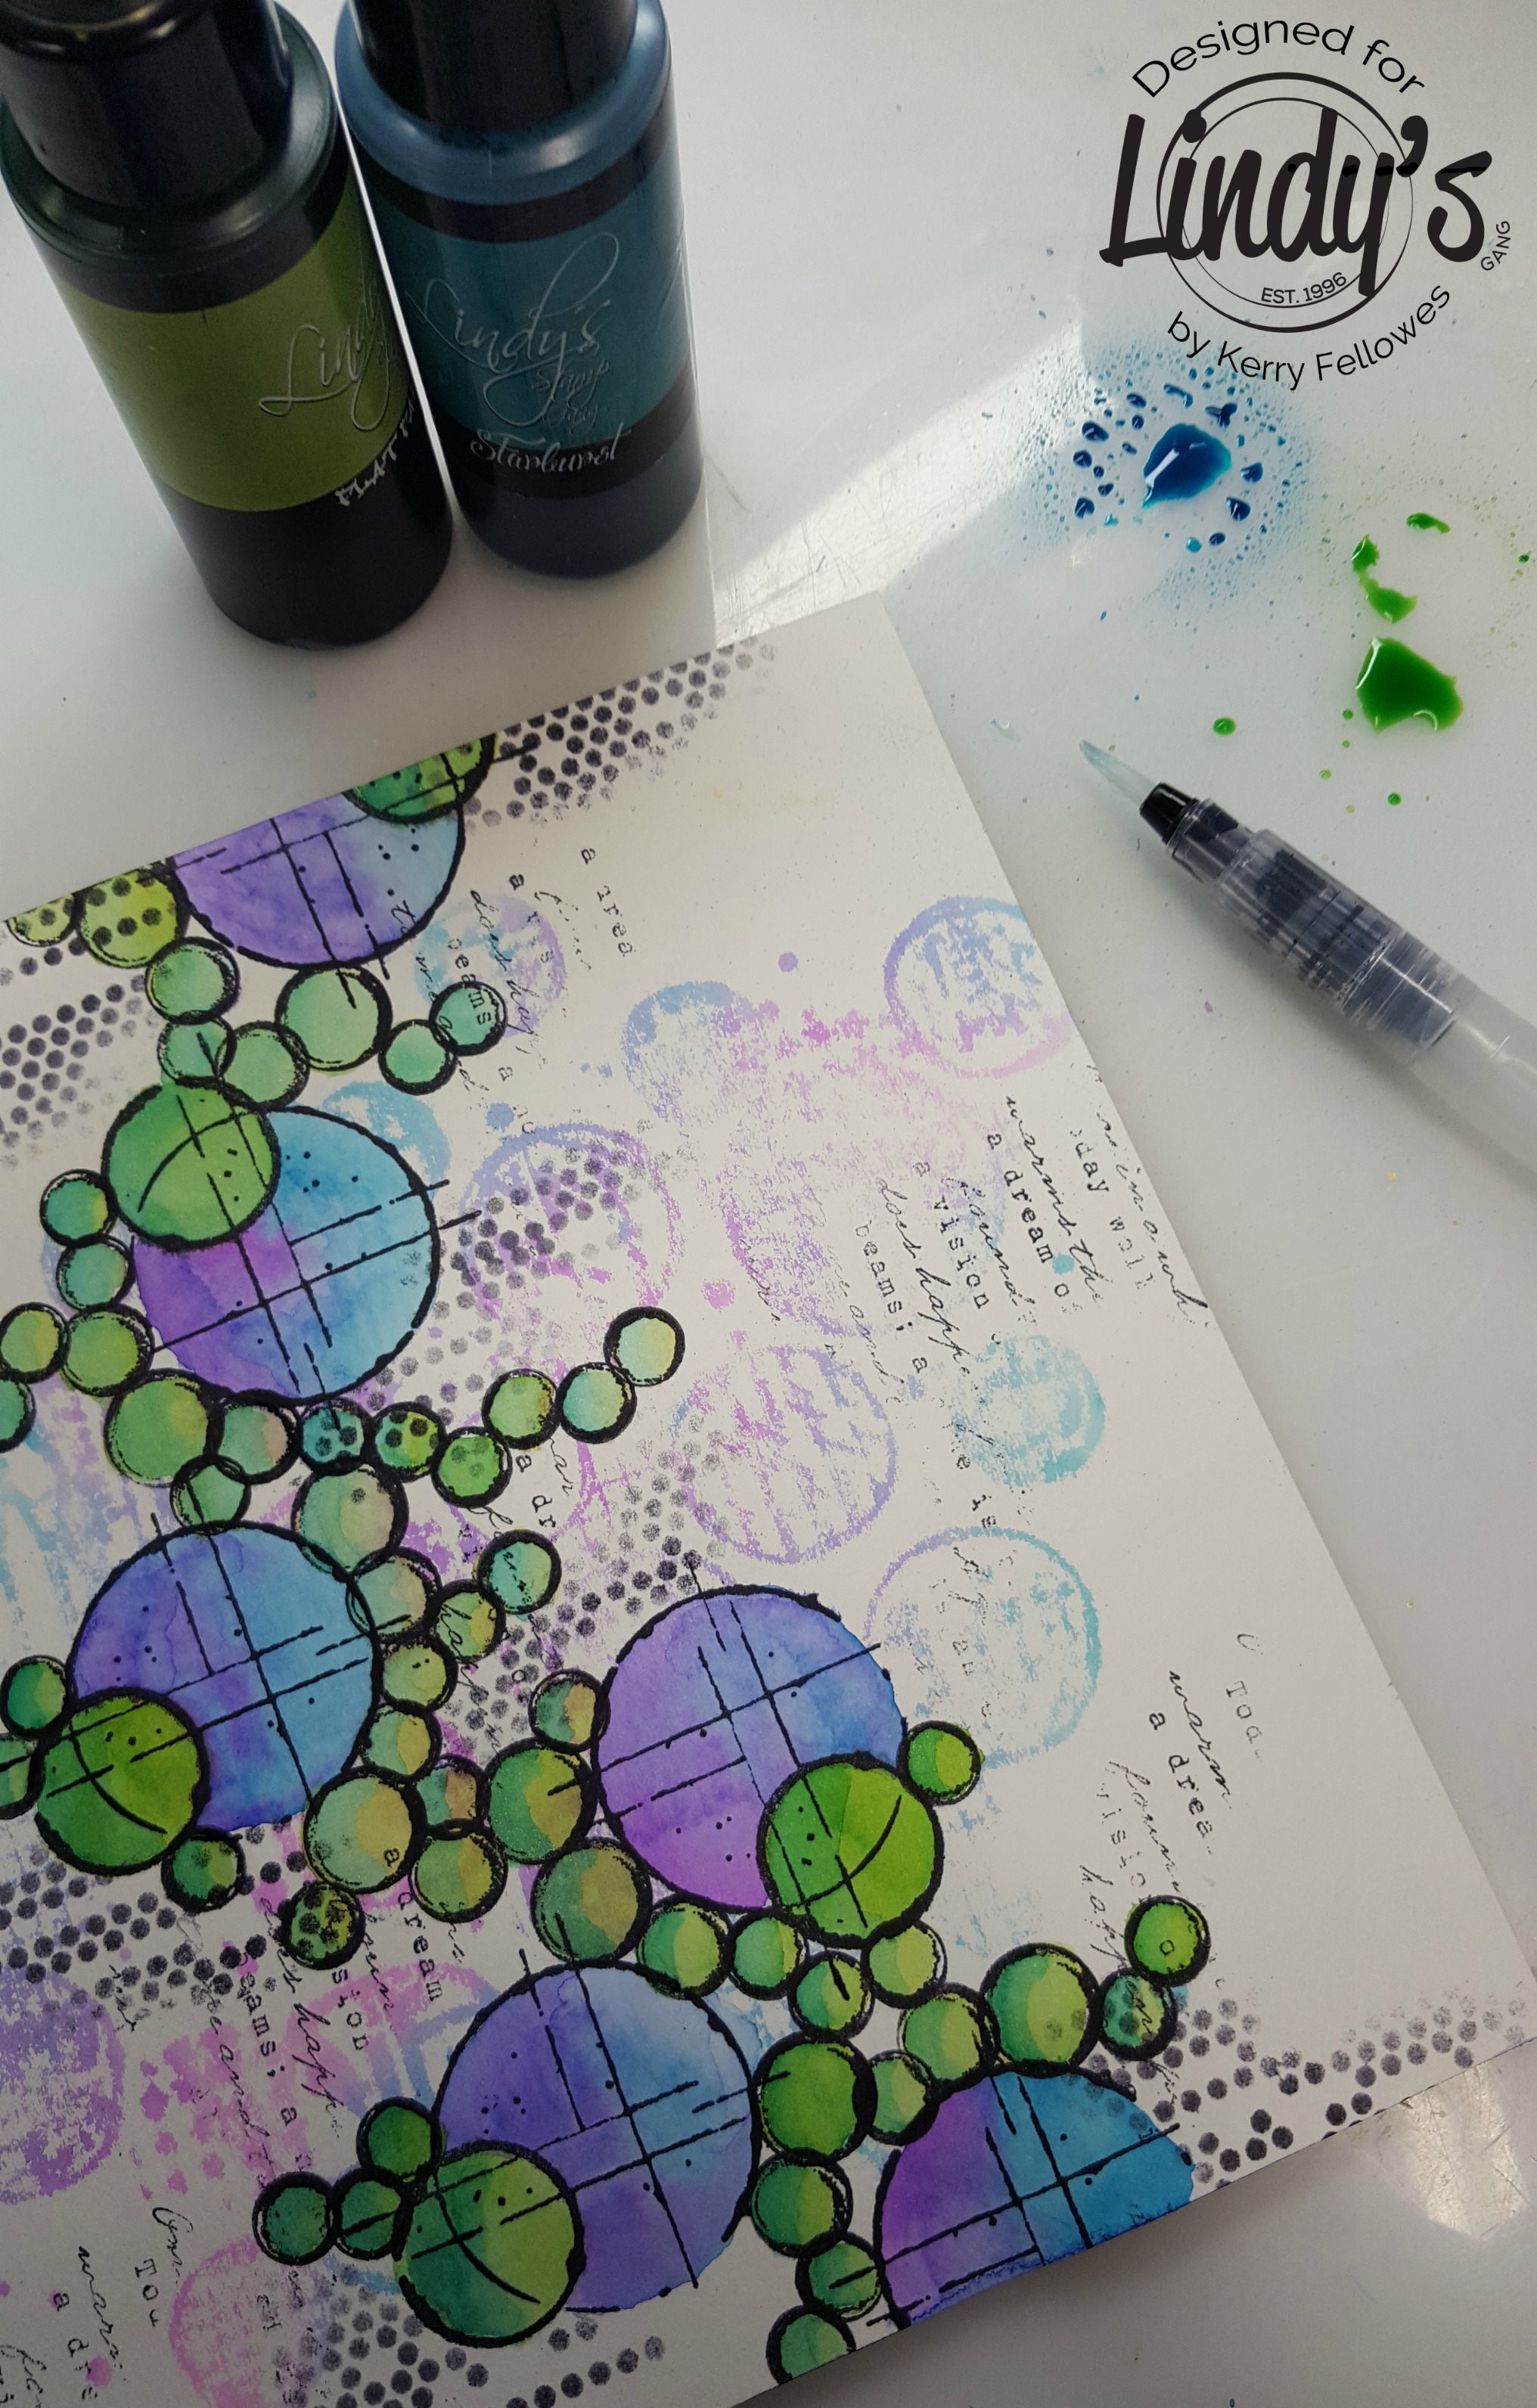
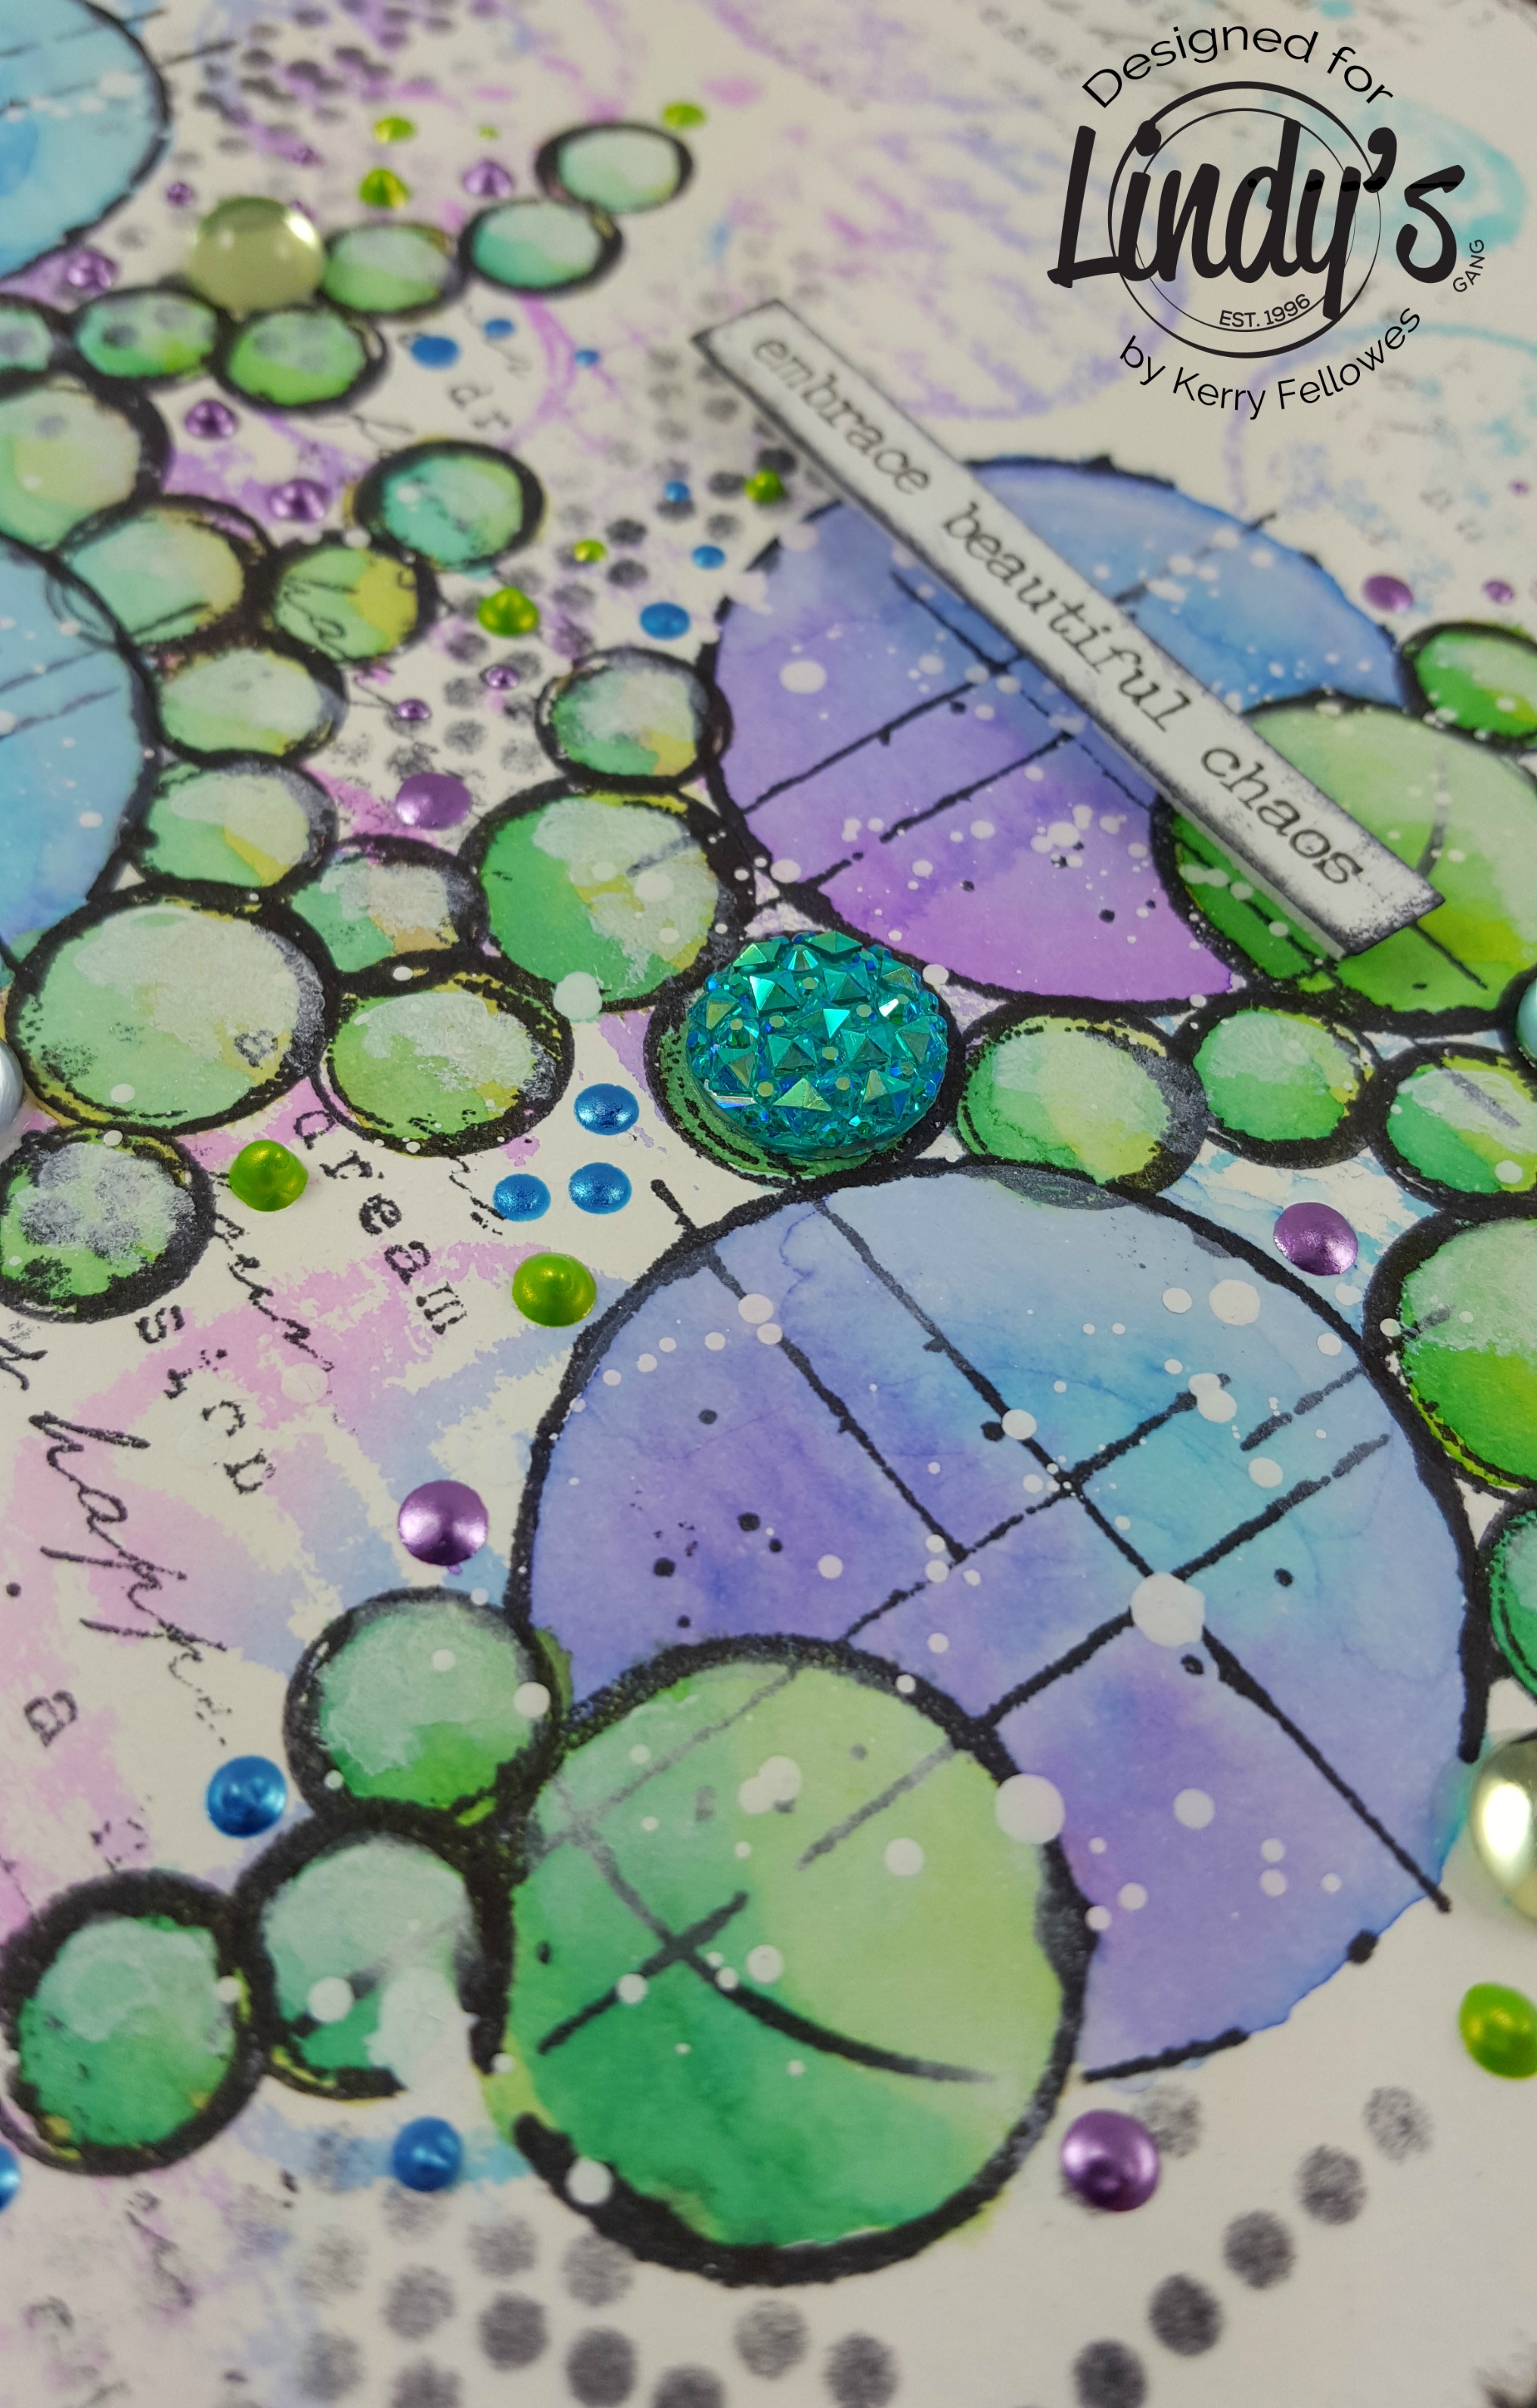
Next, take a little spray of Luscious Lime onto your craft mat and use a water brush to paint the circles.
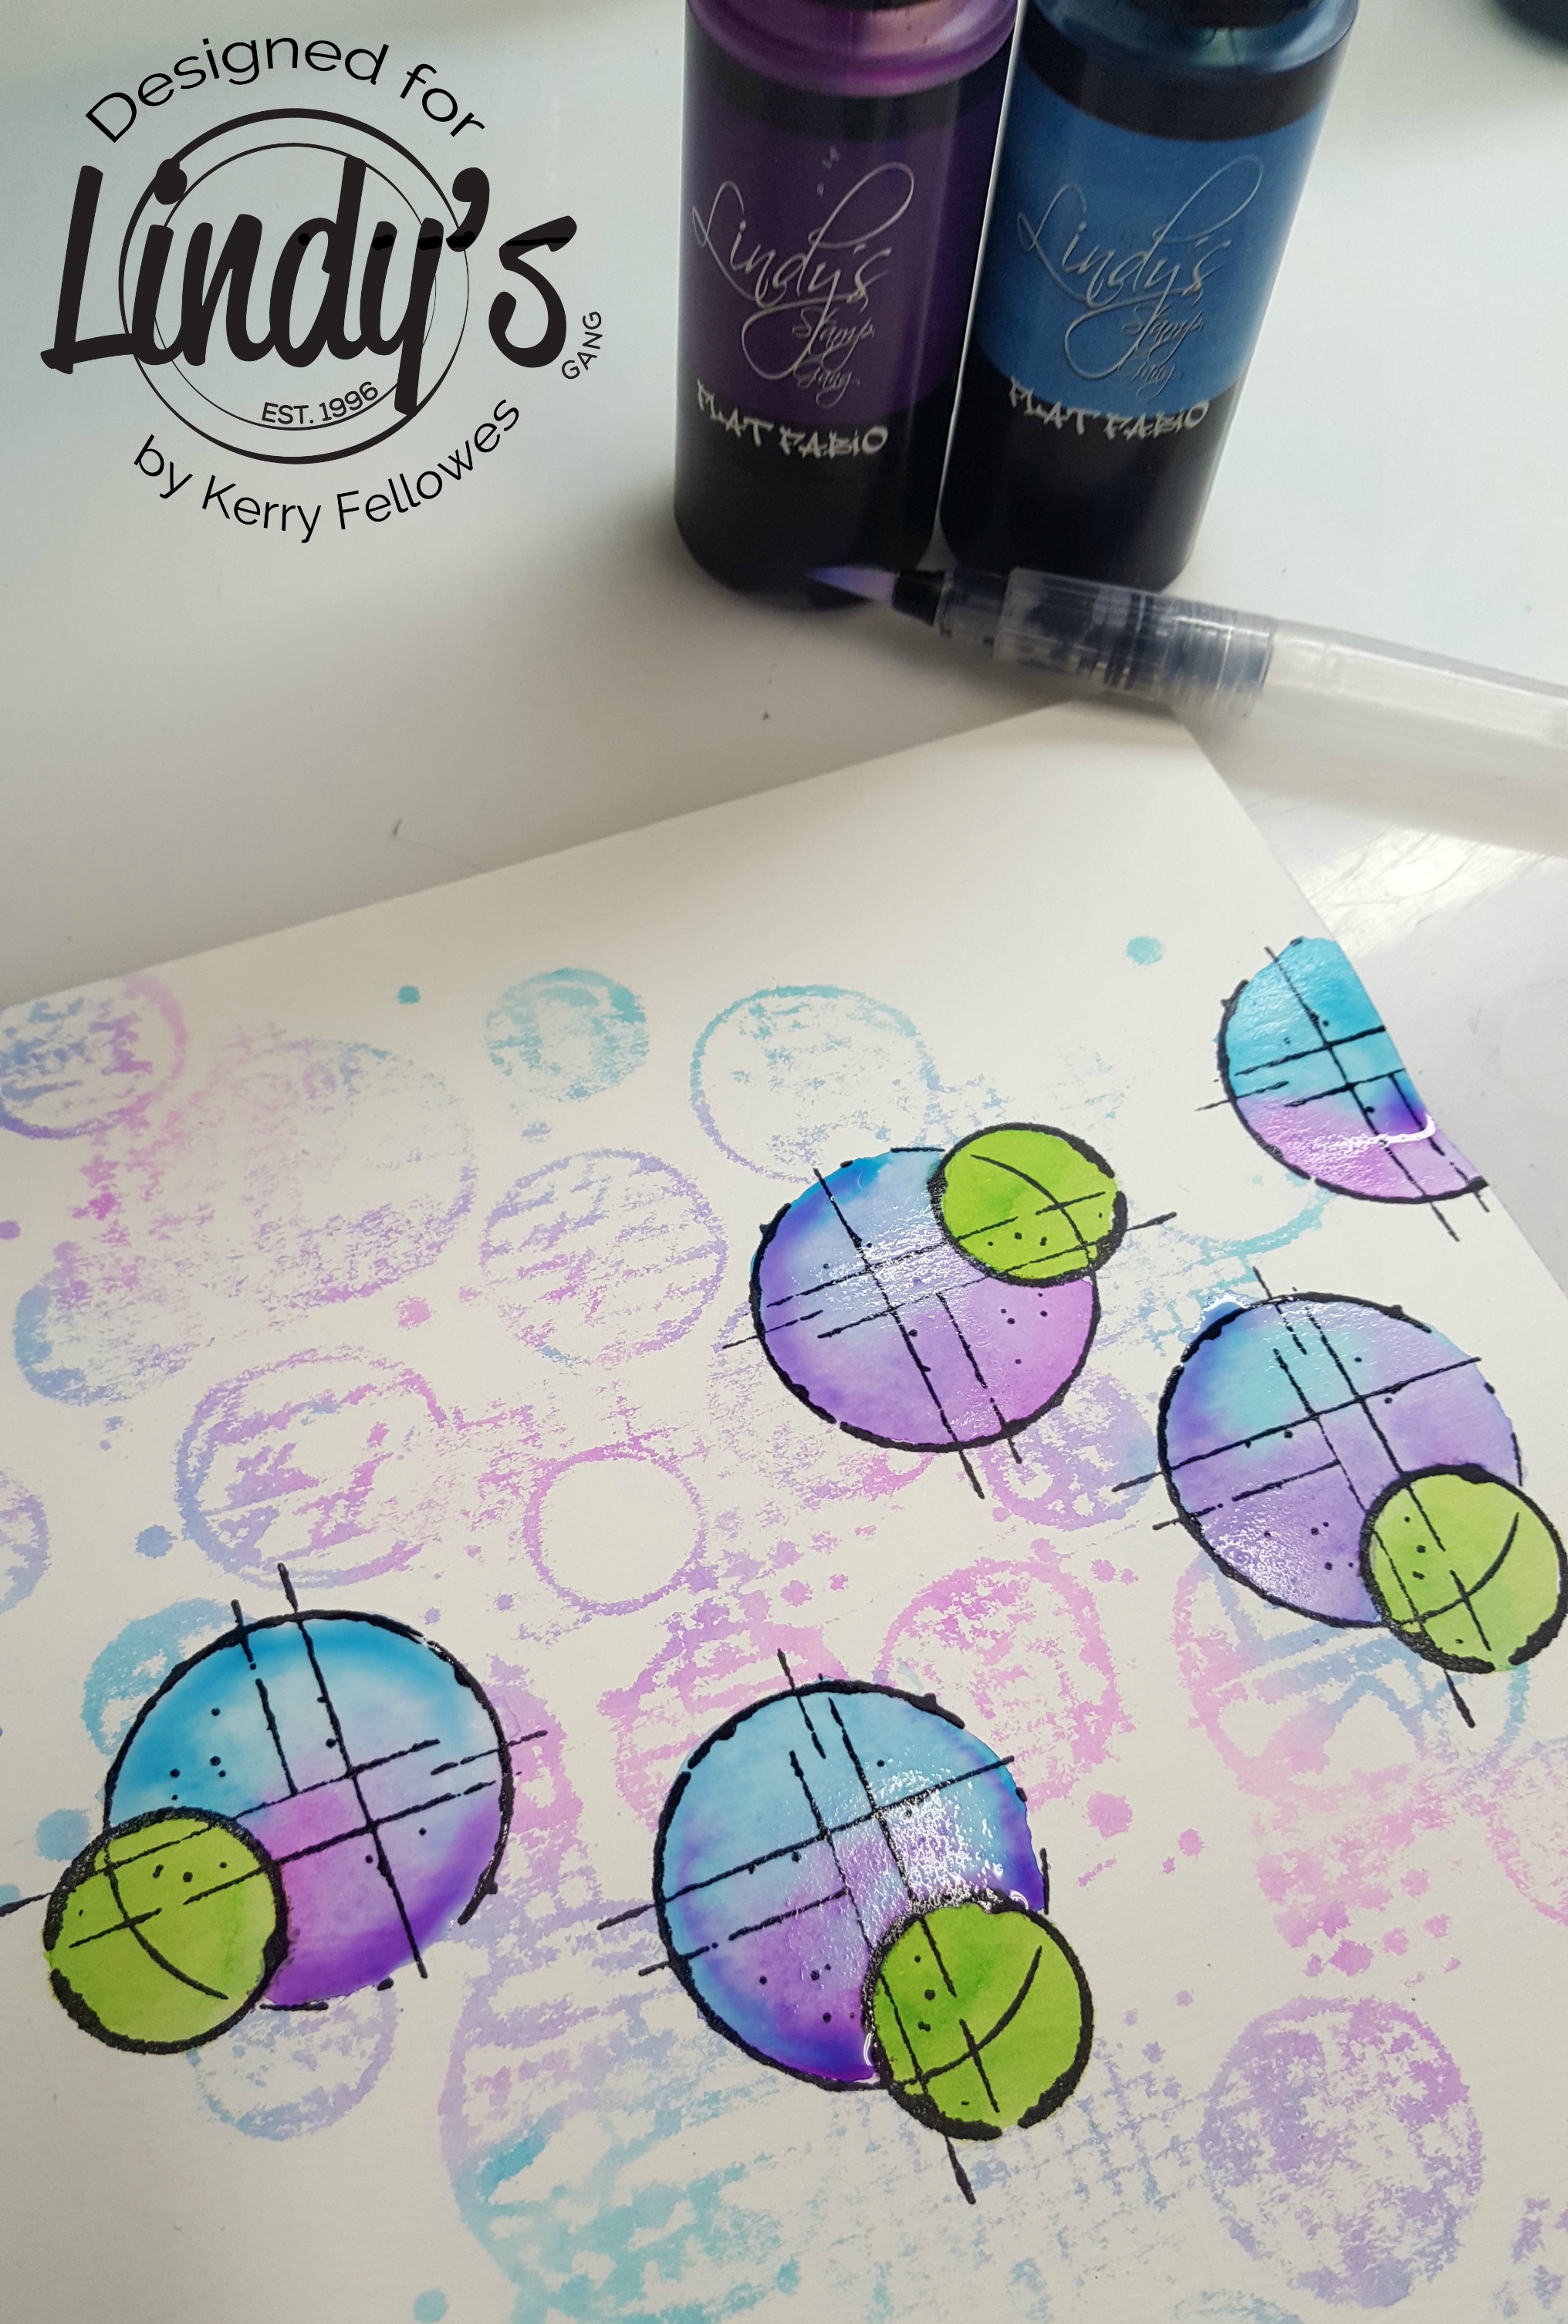
Do the same with the Urban Amethyst and Caribbean Blue. Let the water from the waterbrush flow a little to blend the two colors together.
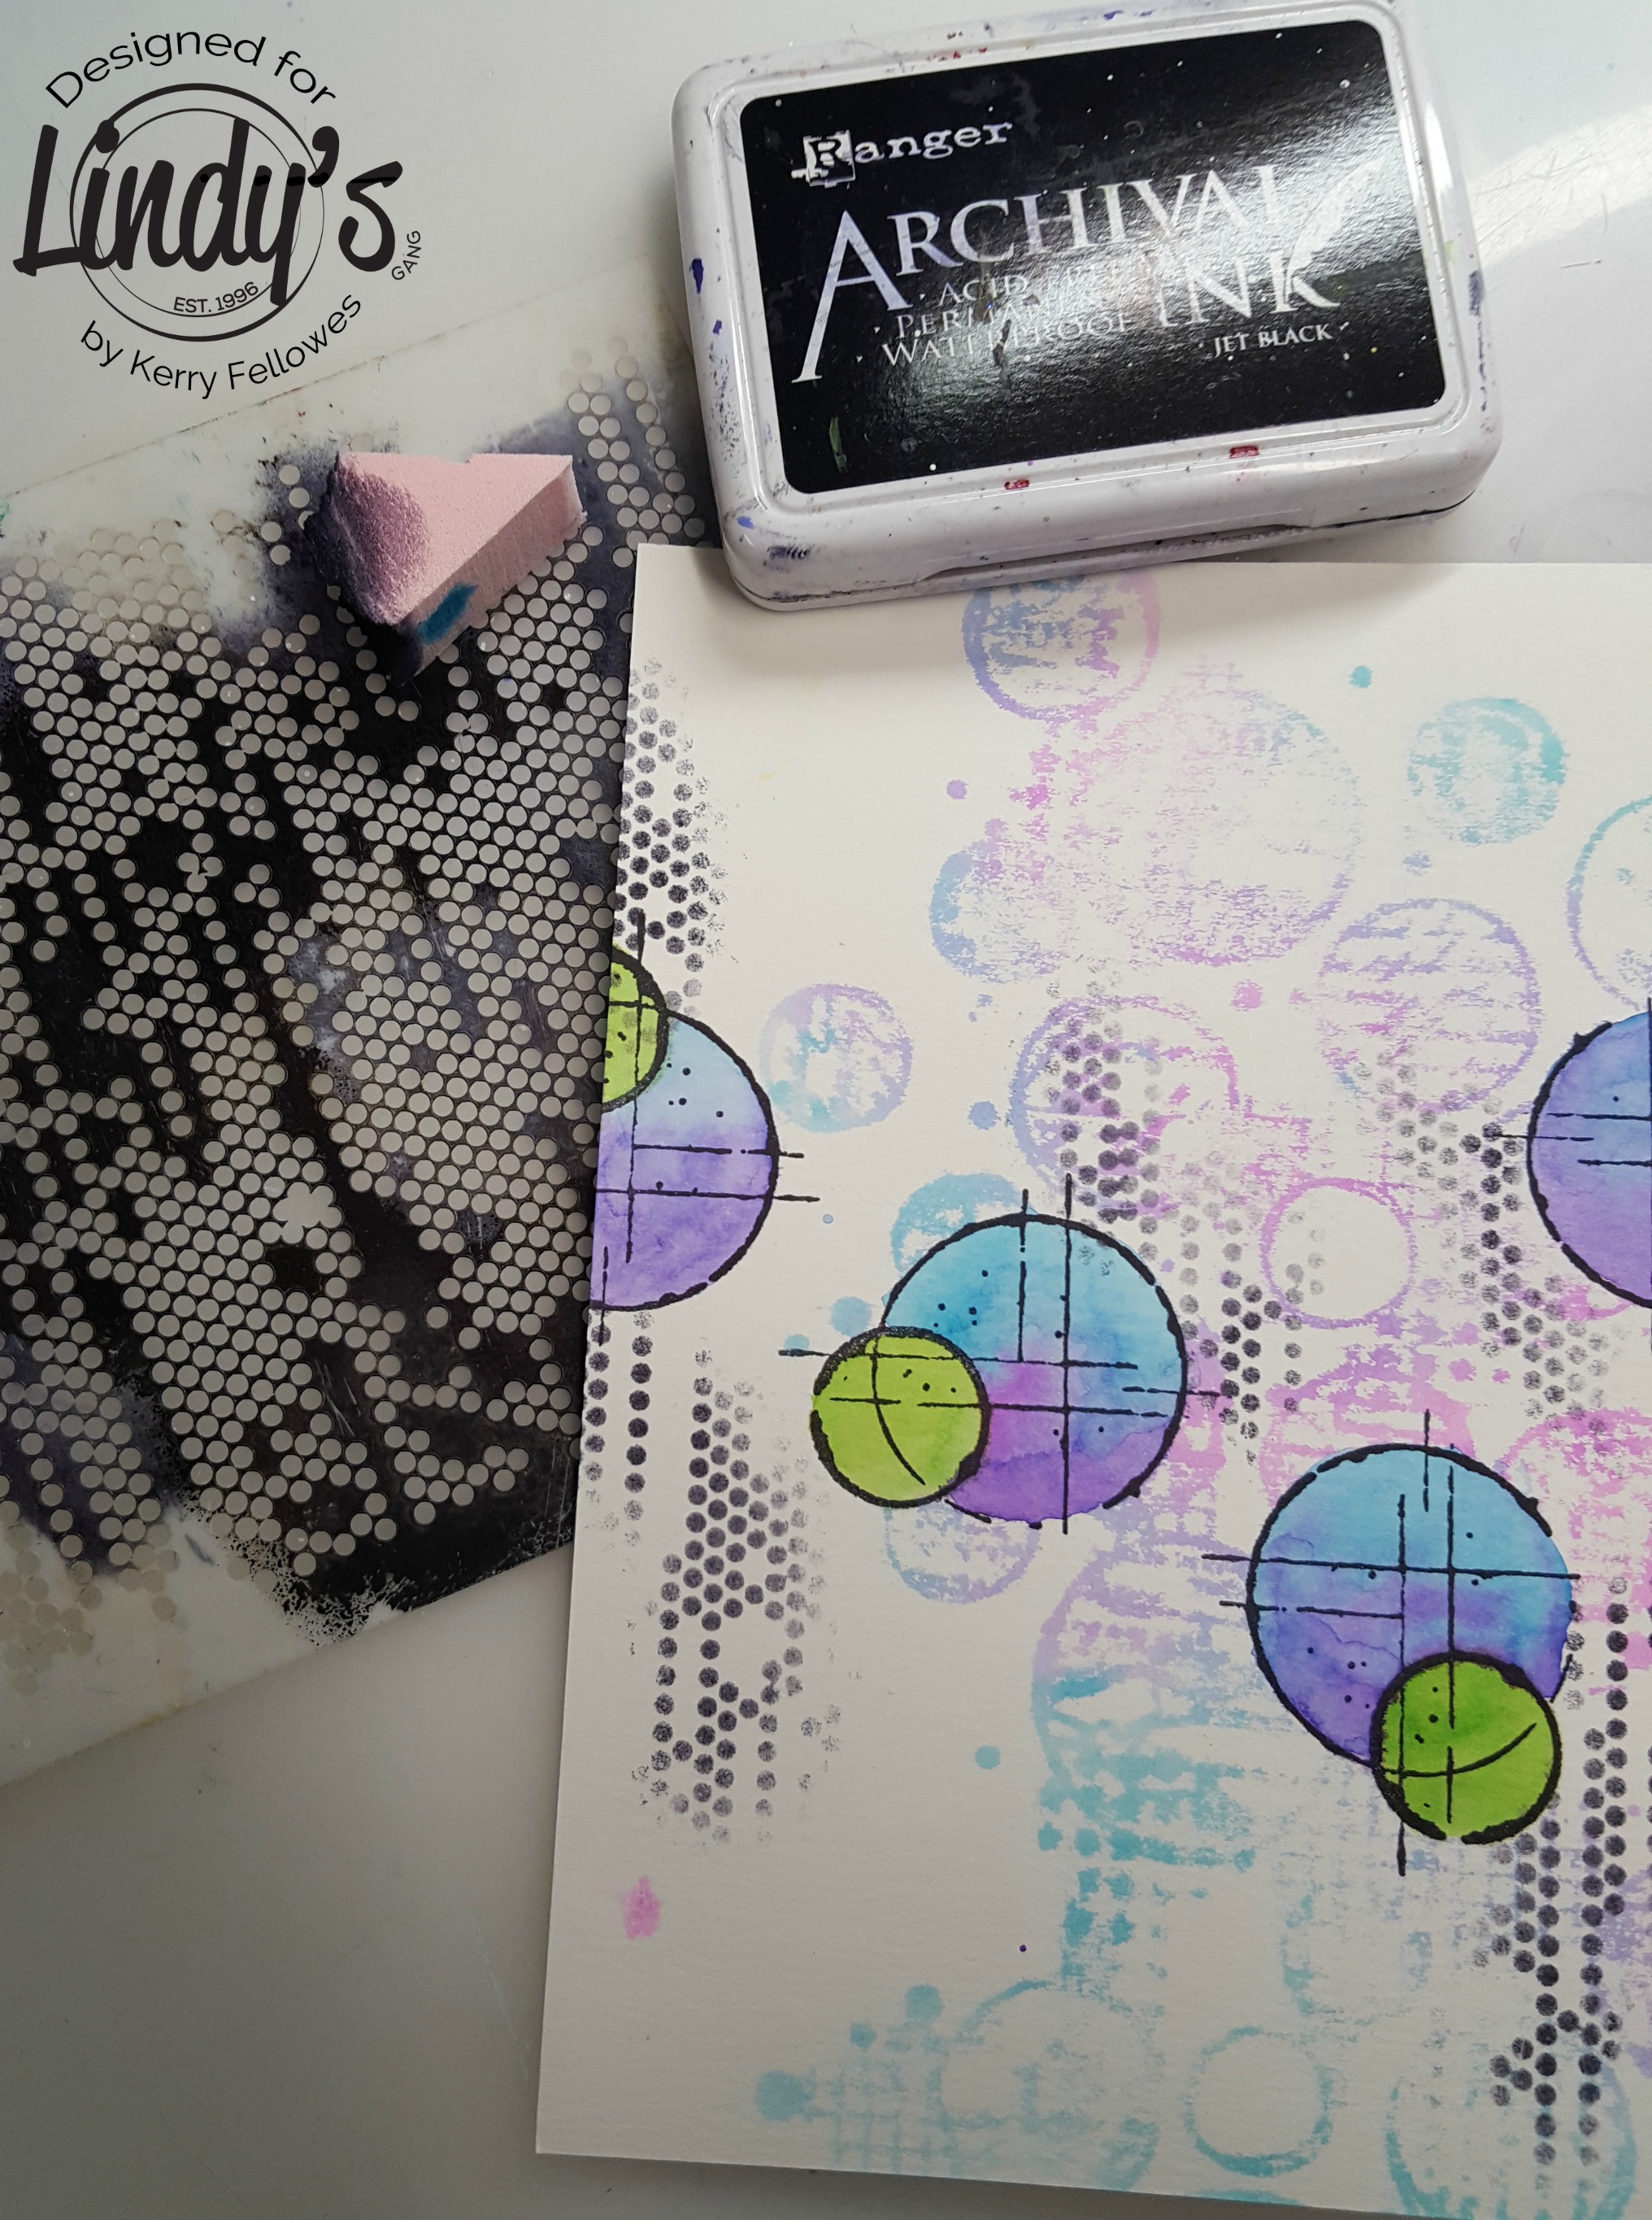
Add a little black archival ink through a stencil around the main circles.
...and a little text stamping in the background with the same ink.
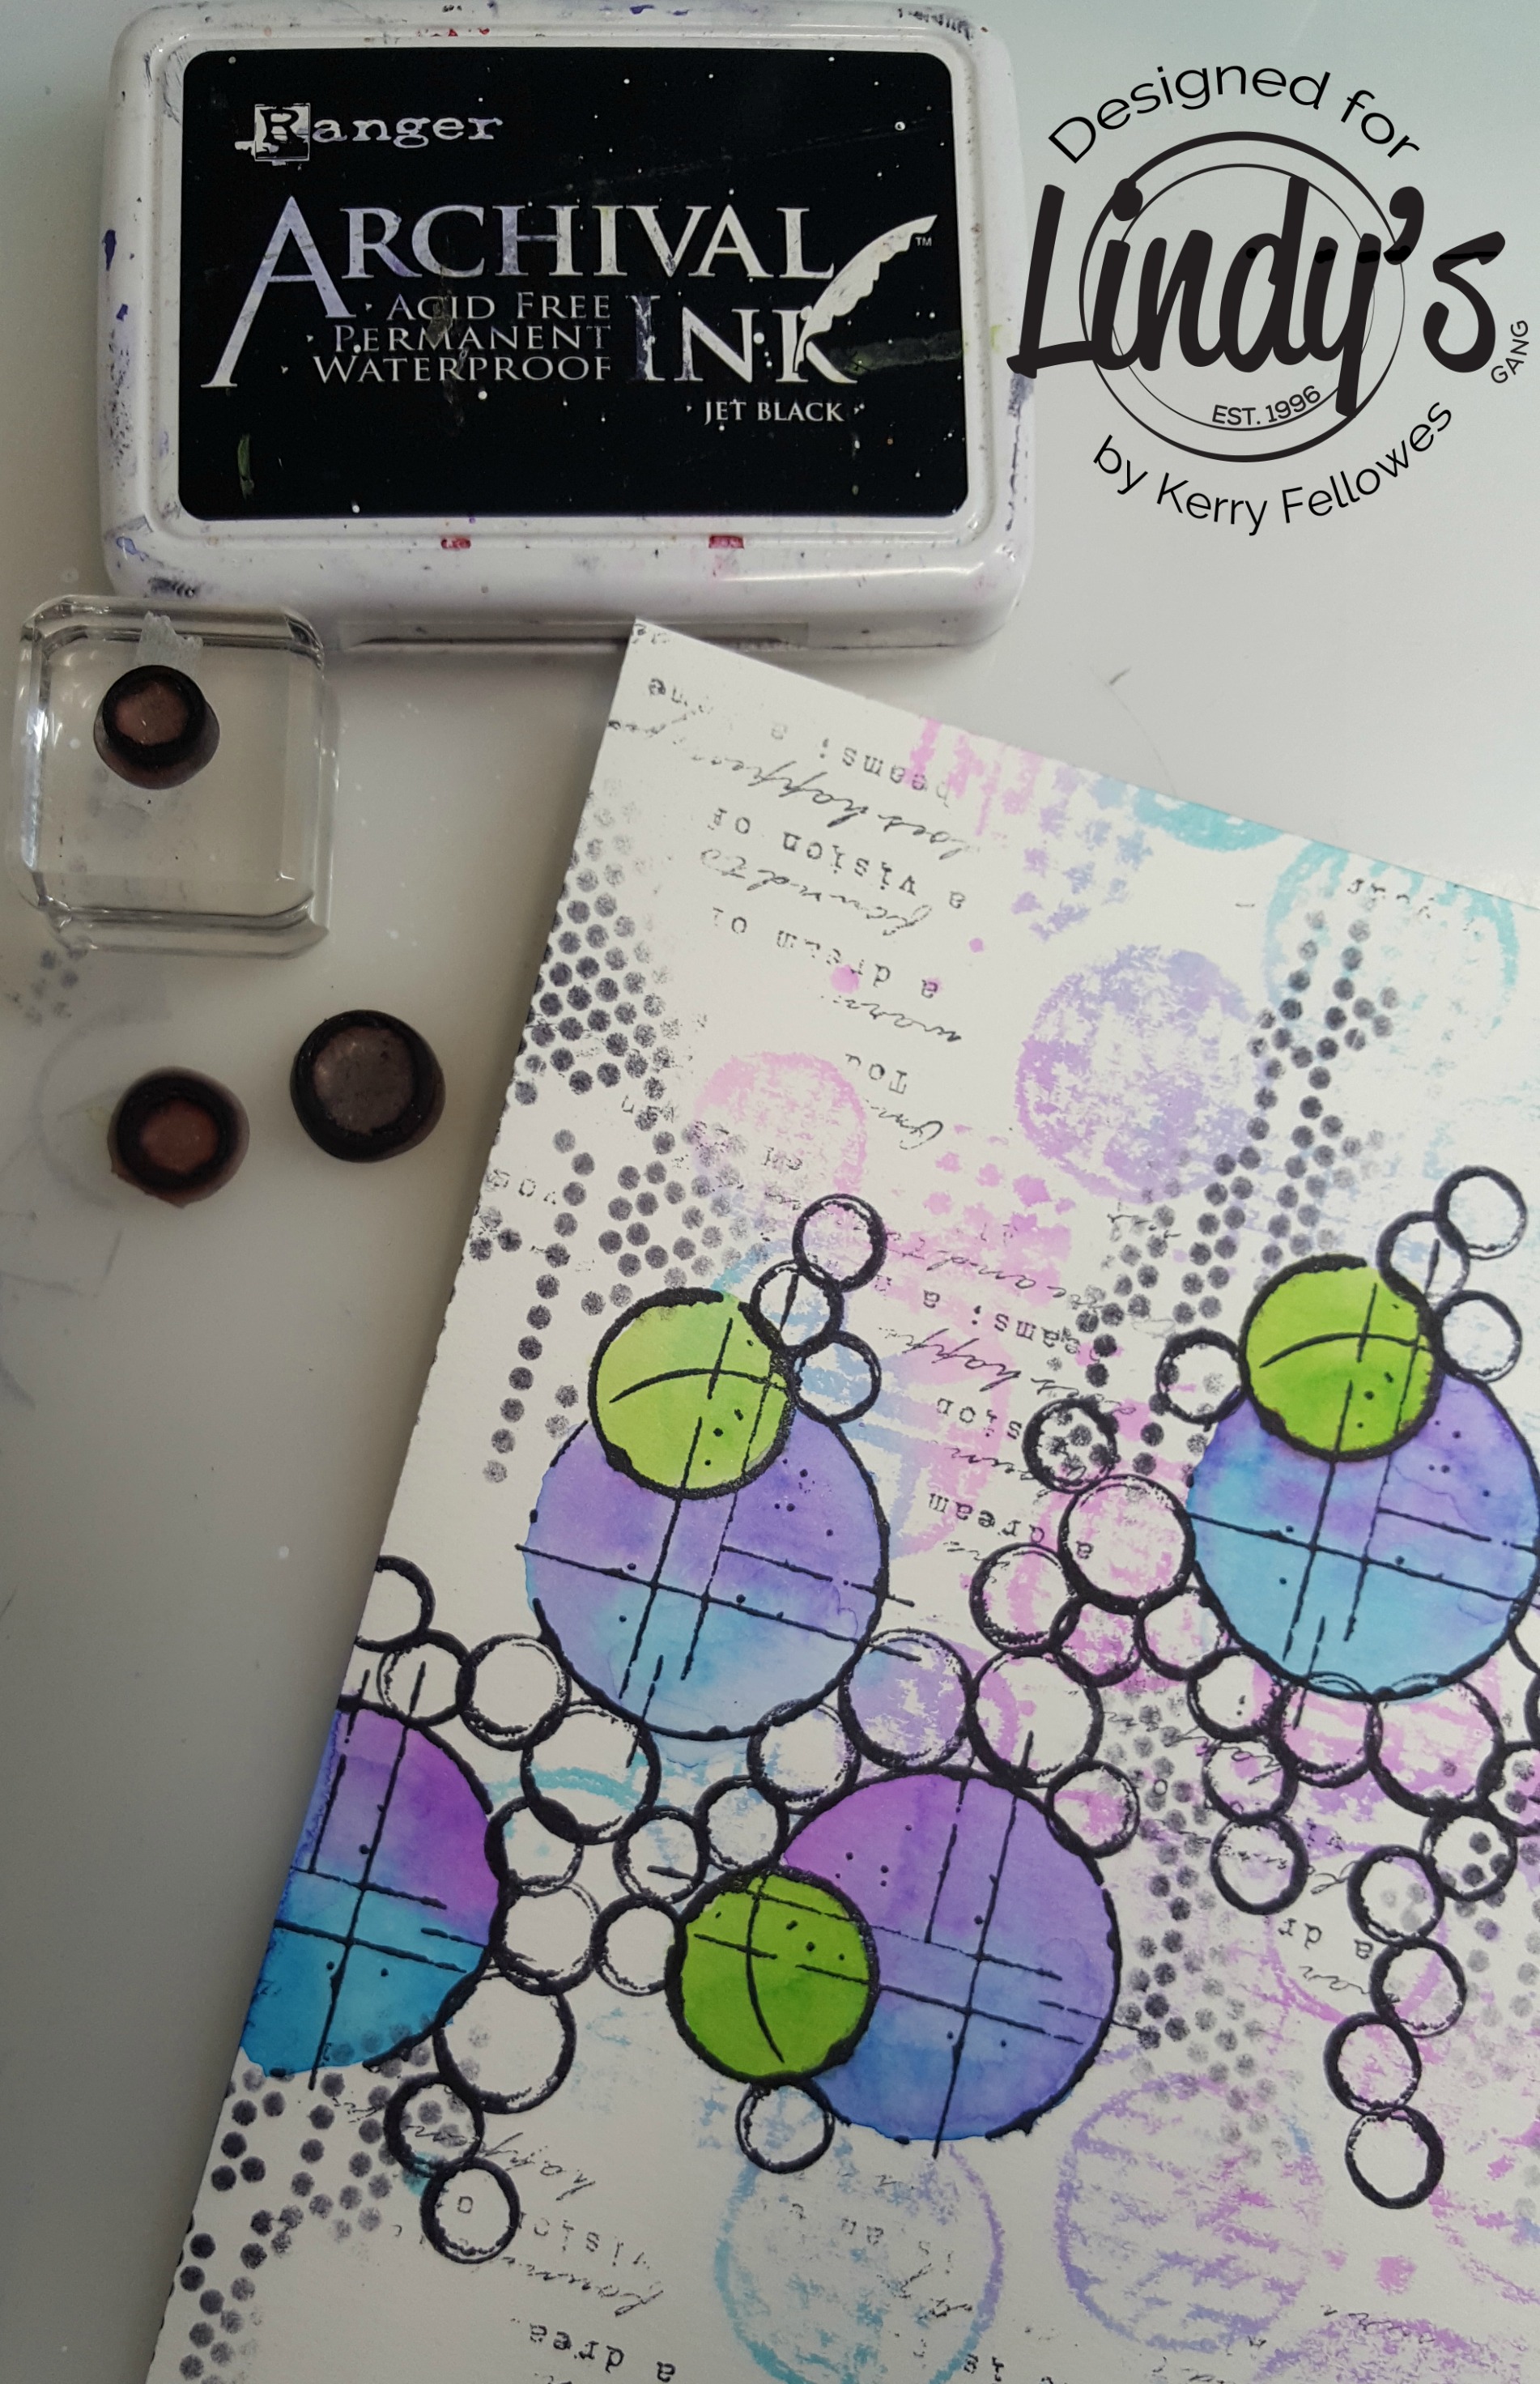
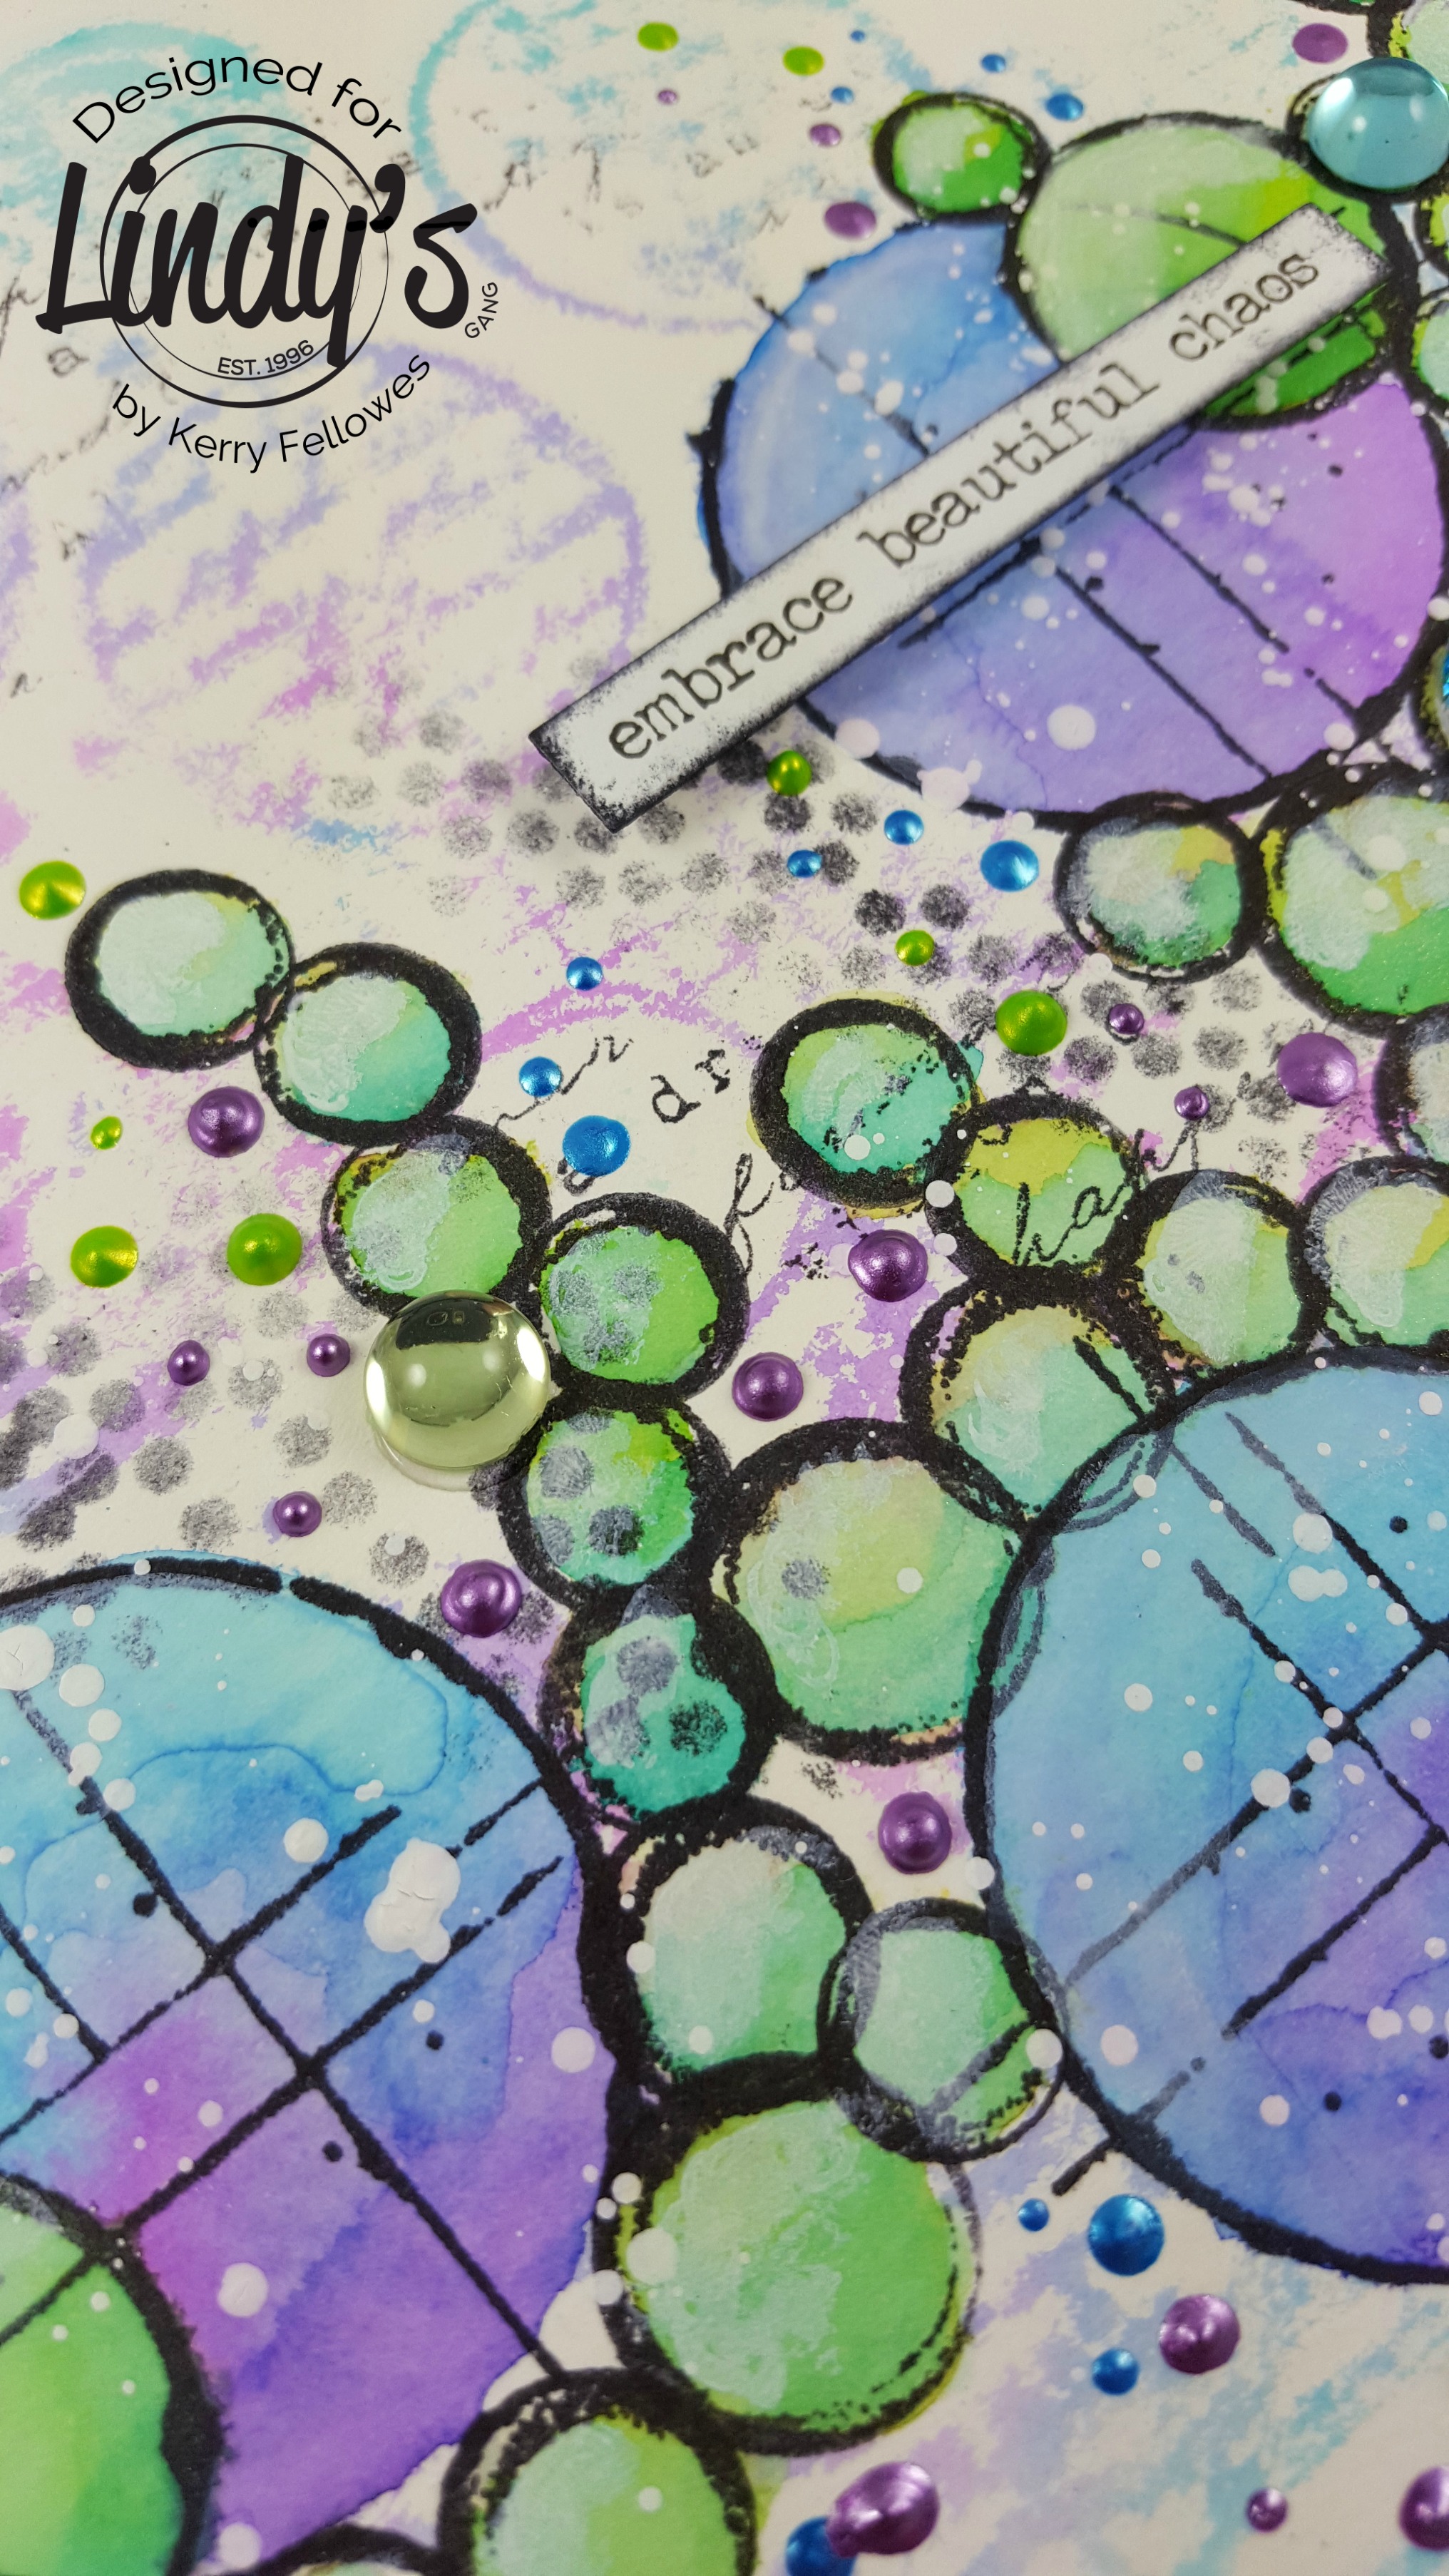
Using some smaller circle stamps, fill in the spaces around the larger circles until you are happy with the composition.
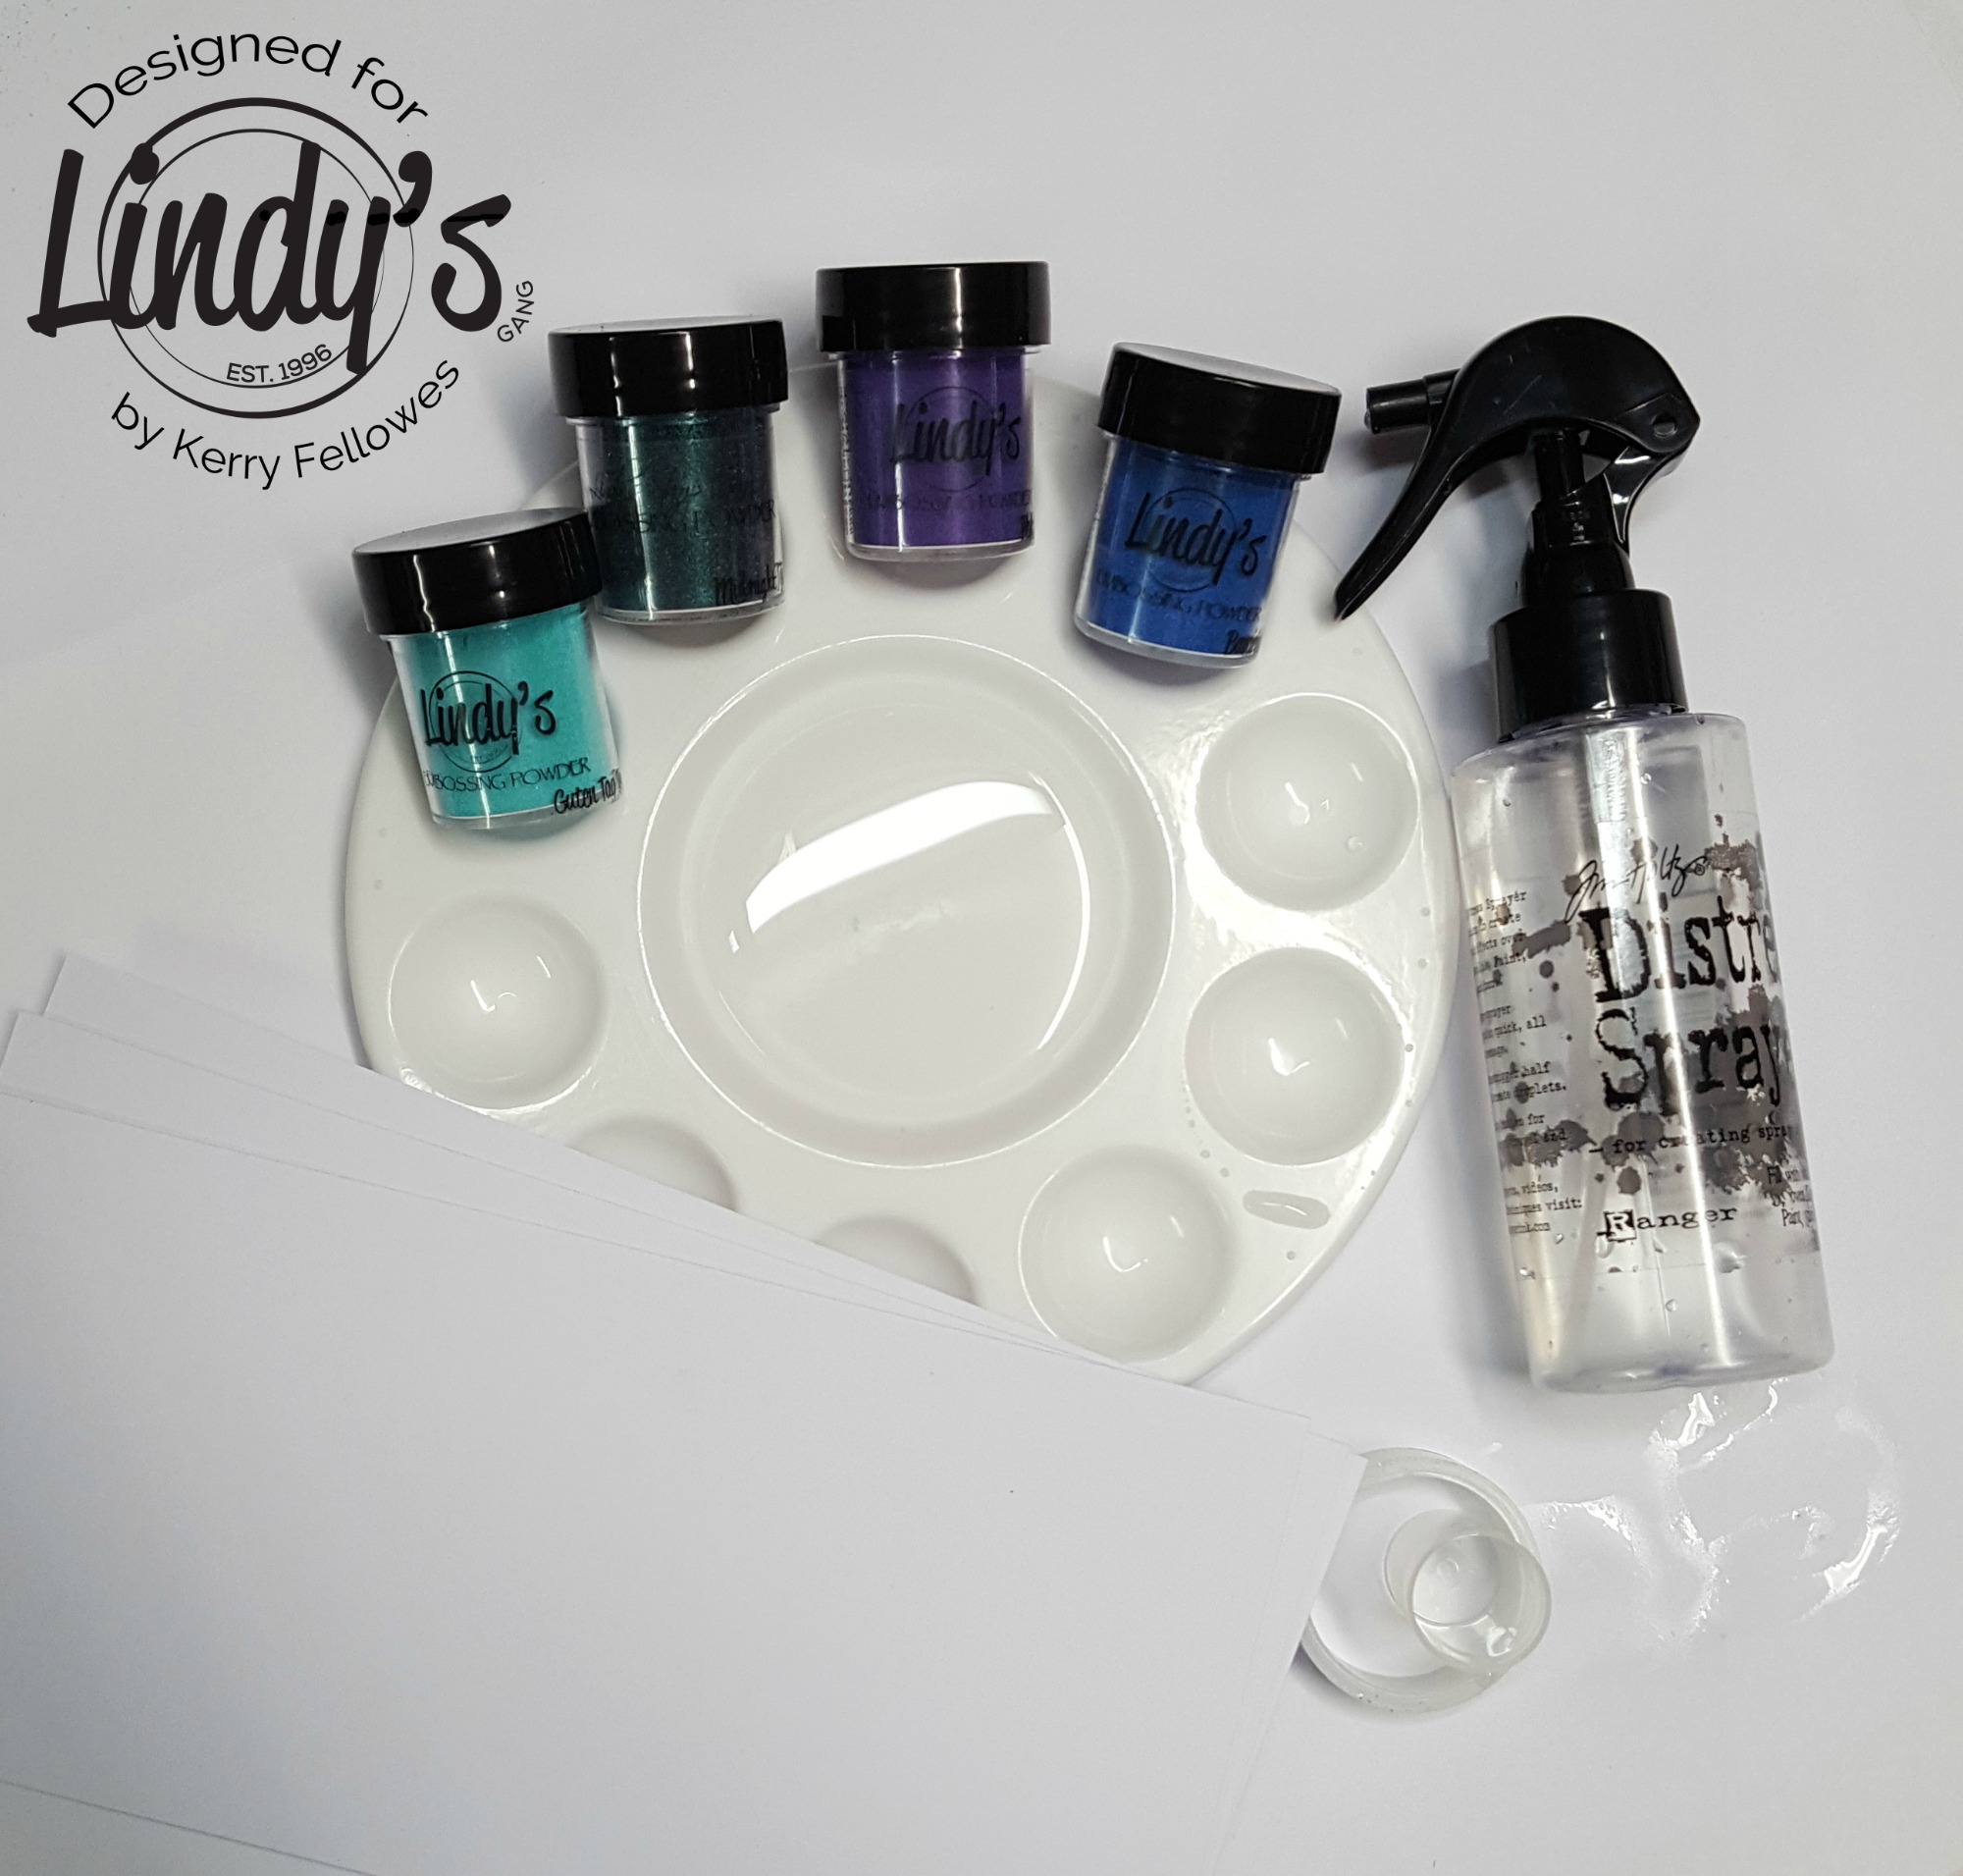
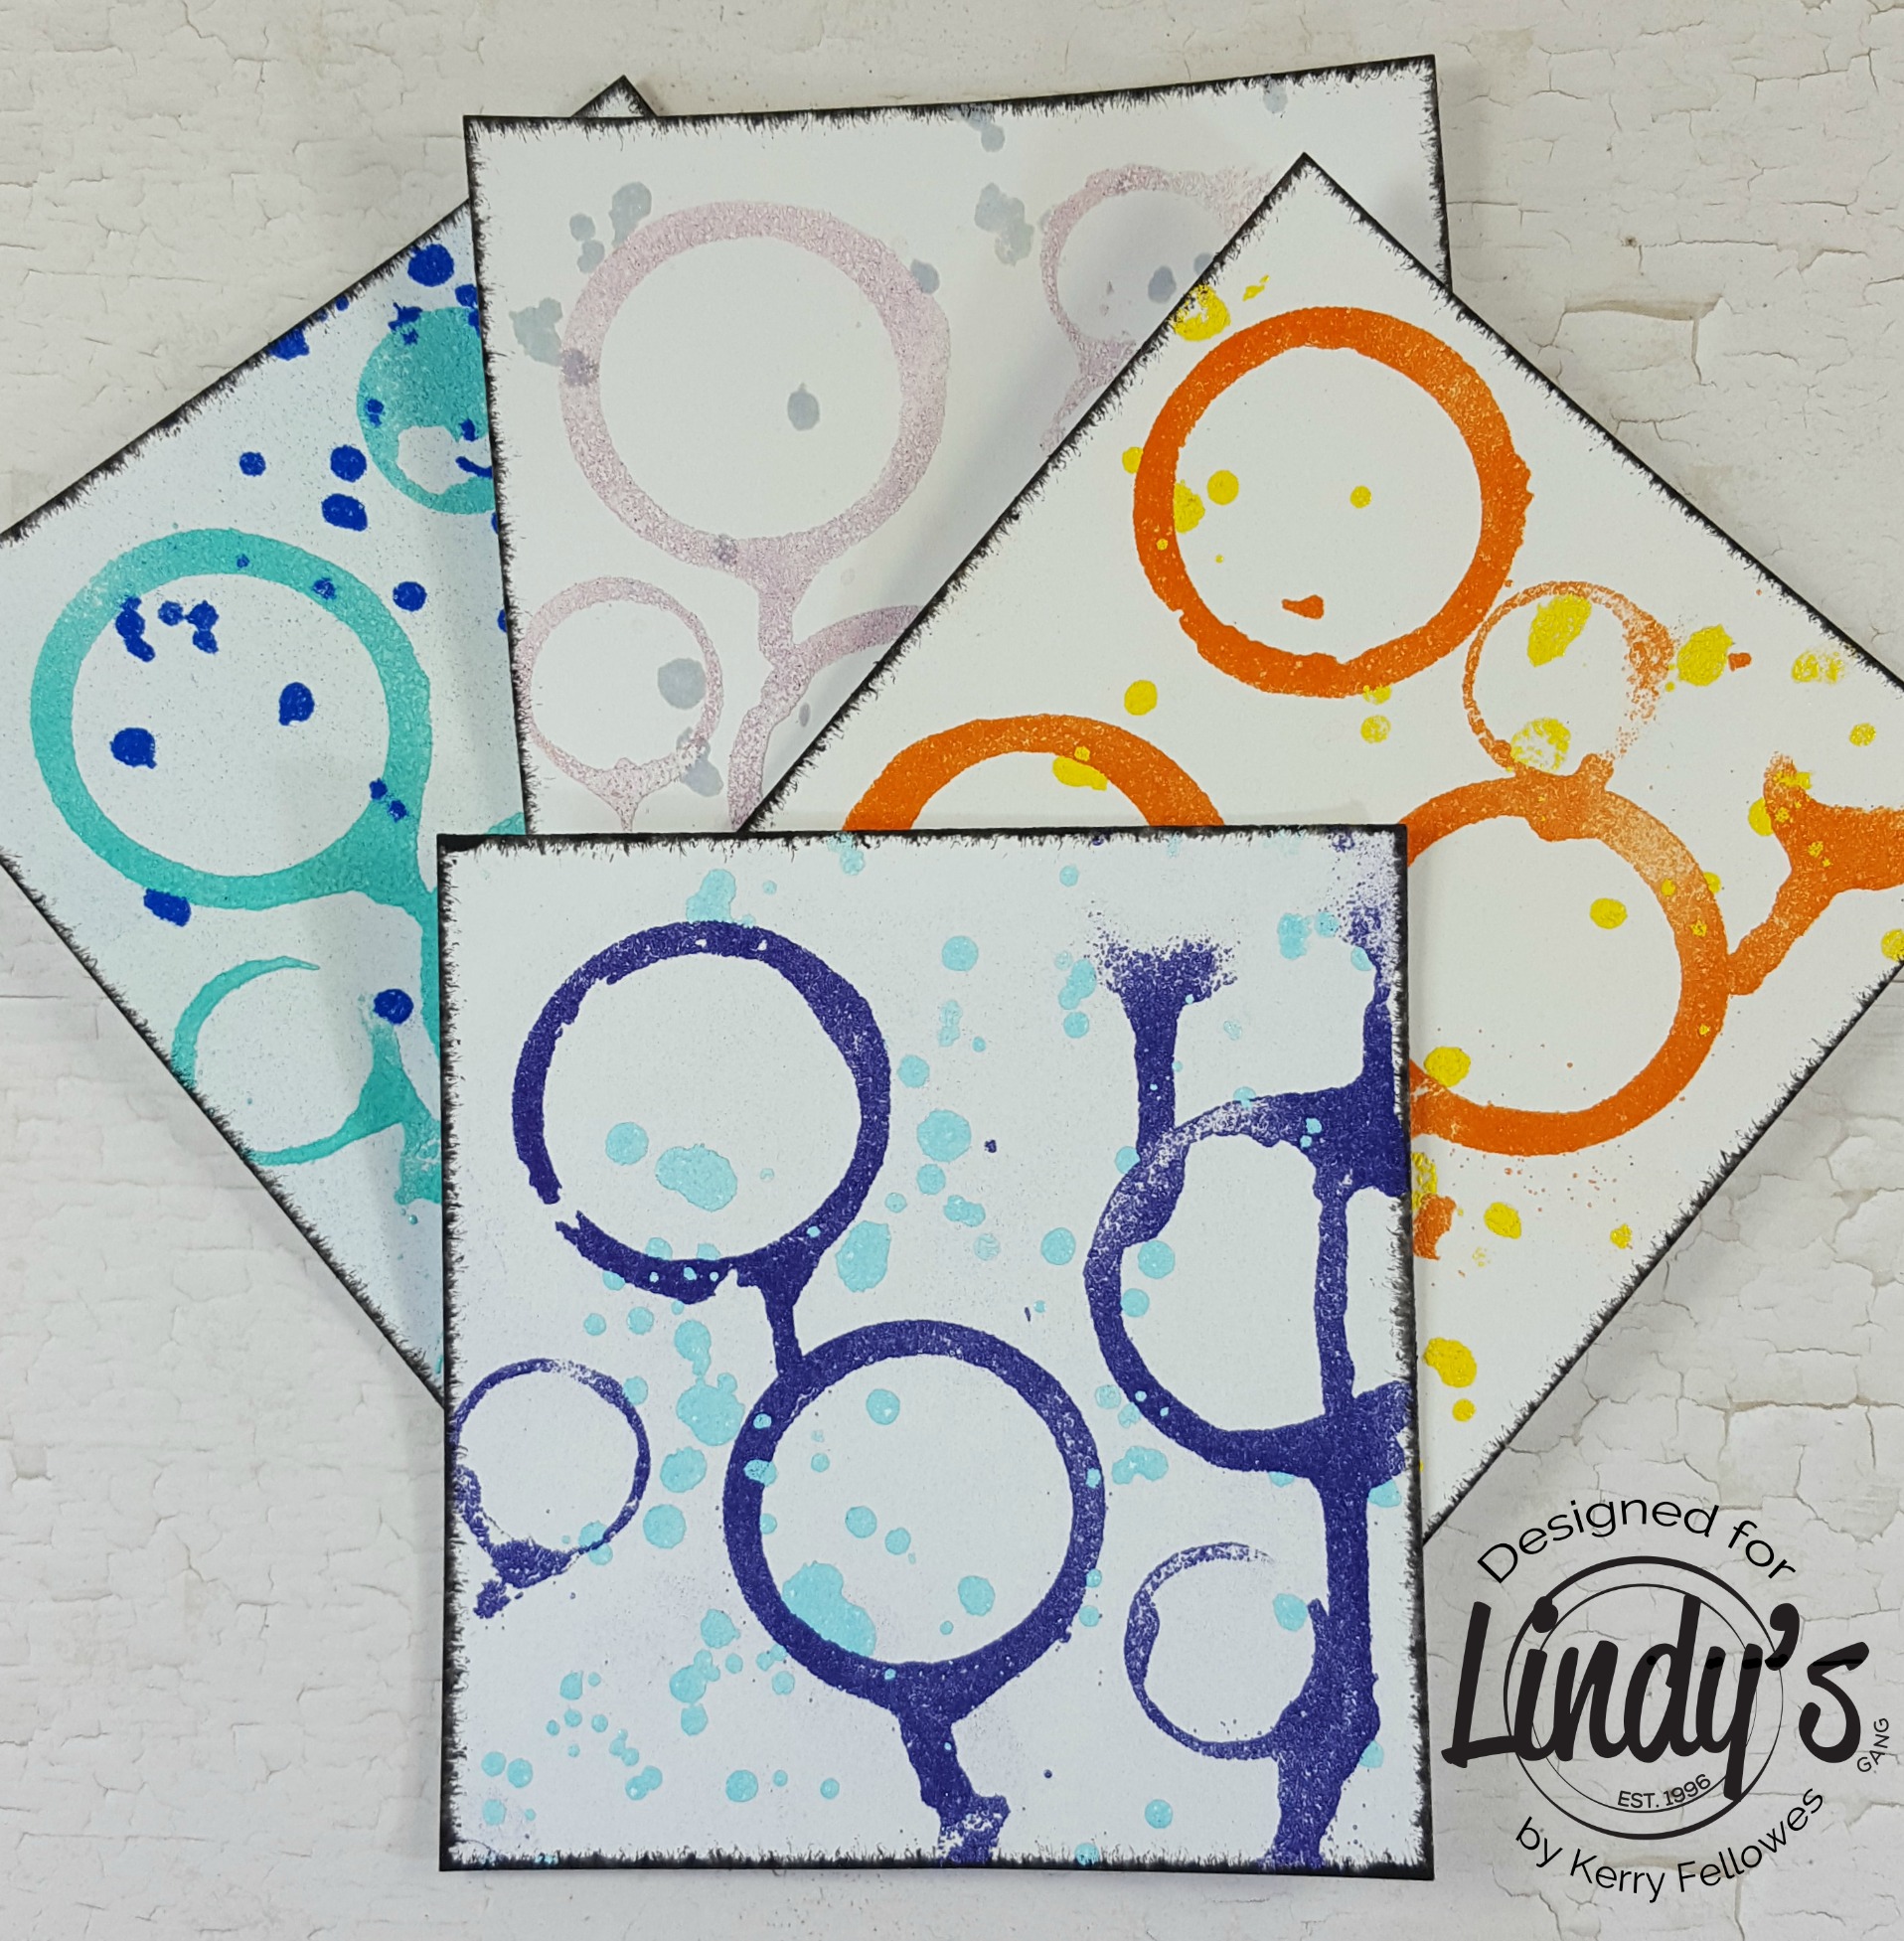
Hello! Time to bust out the embossing powders and create some unique backgrounds for your next mixed media project. You will also need some 'mark making' tools, like the inside plastic piece from a roll of tape or a lid from a bottle, you could use an old gift card or anything that can be dipped in water and 'stamped' onto your card.
To start, select some embossing powders, you will need at least 2 different colors that will work well together, and a small tray of water that you can dip your 'mark makers' into.
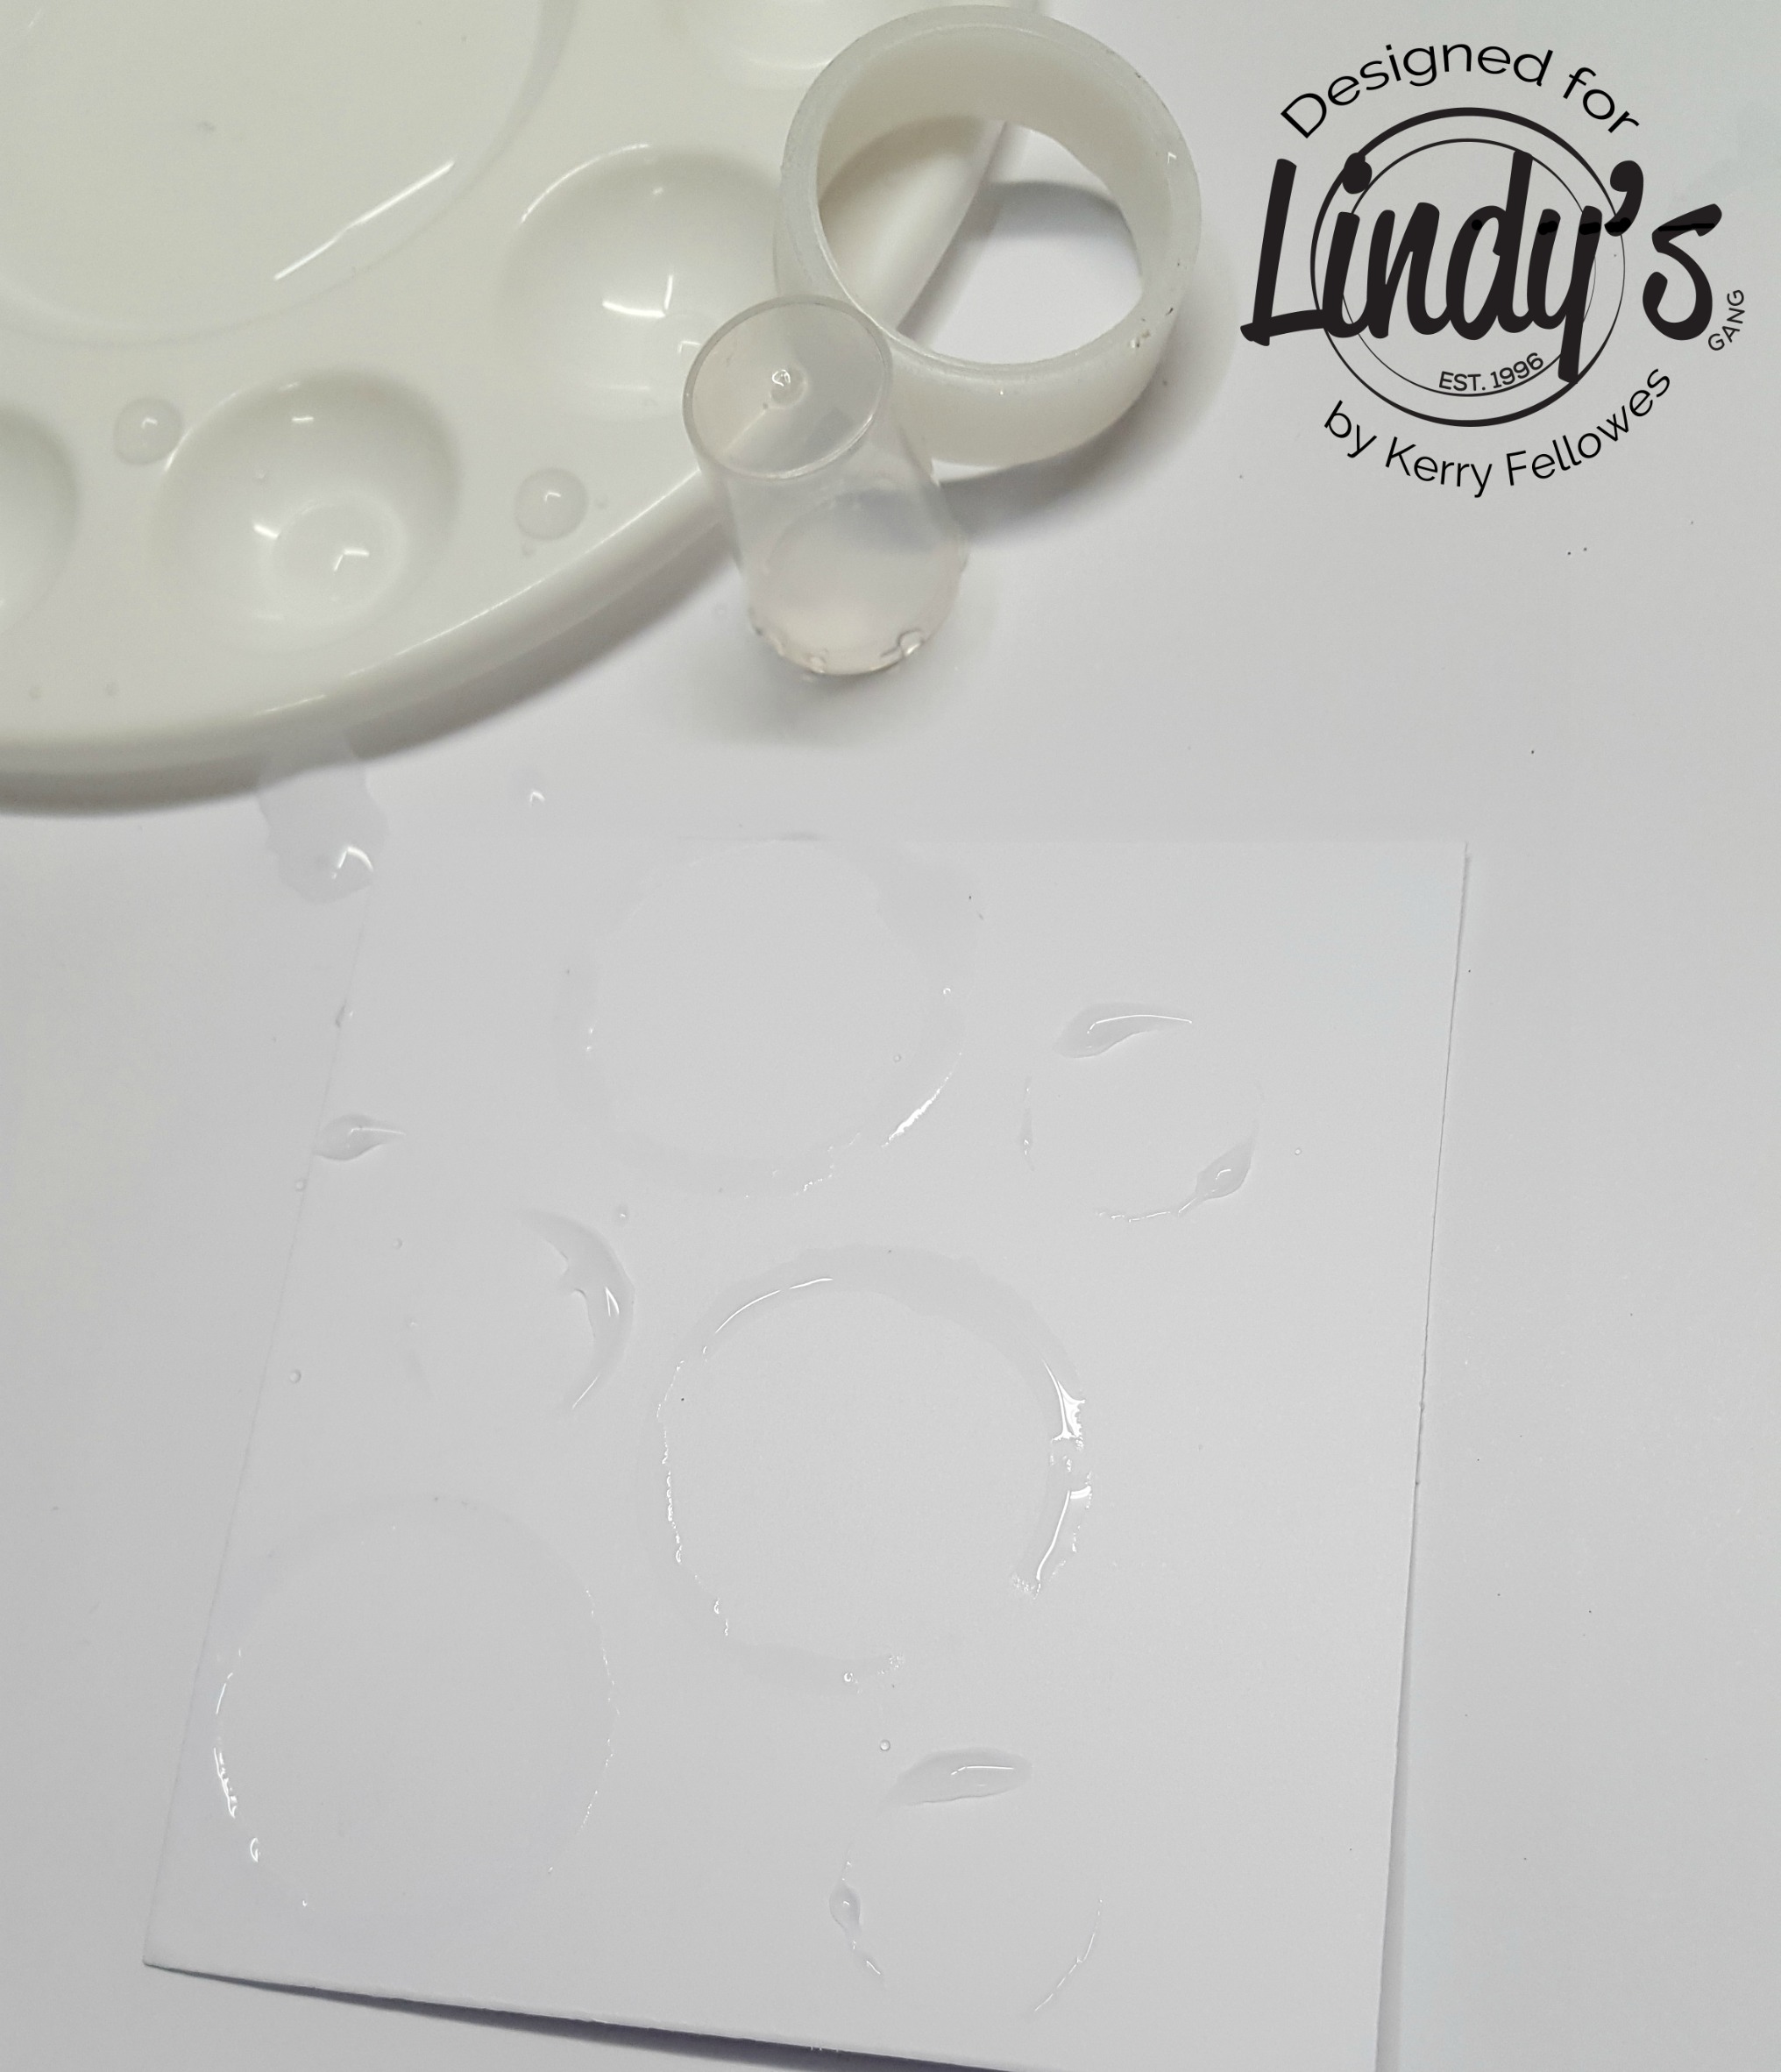
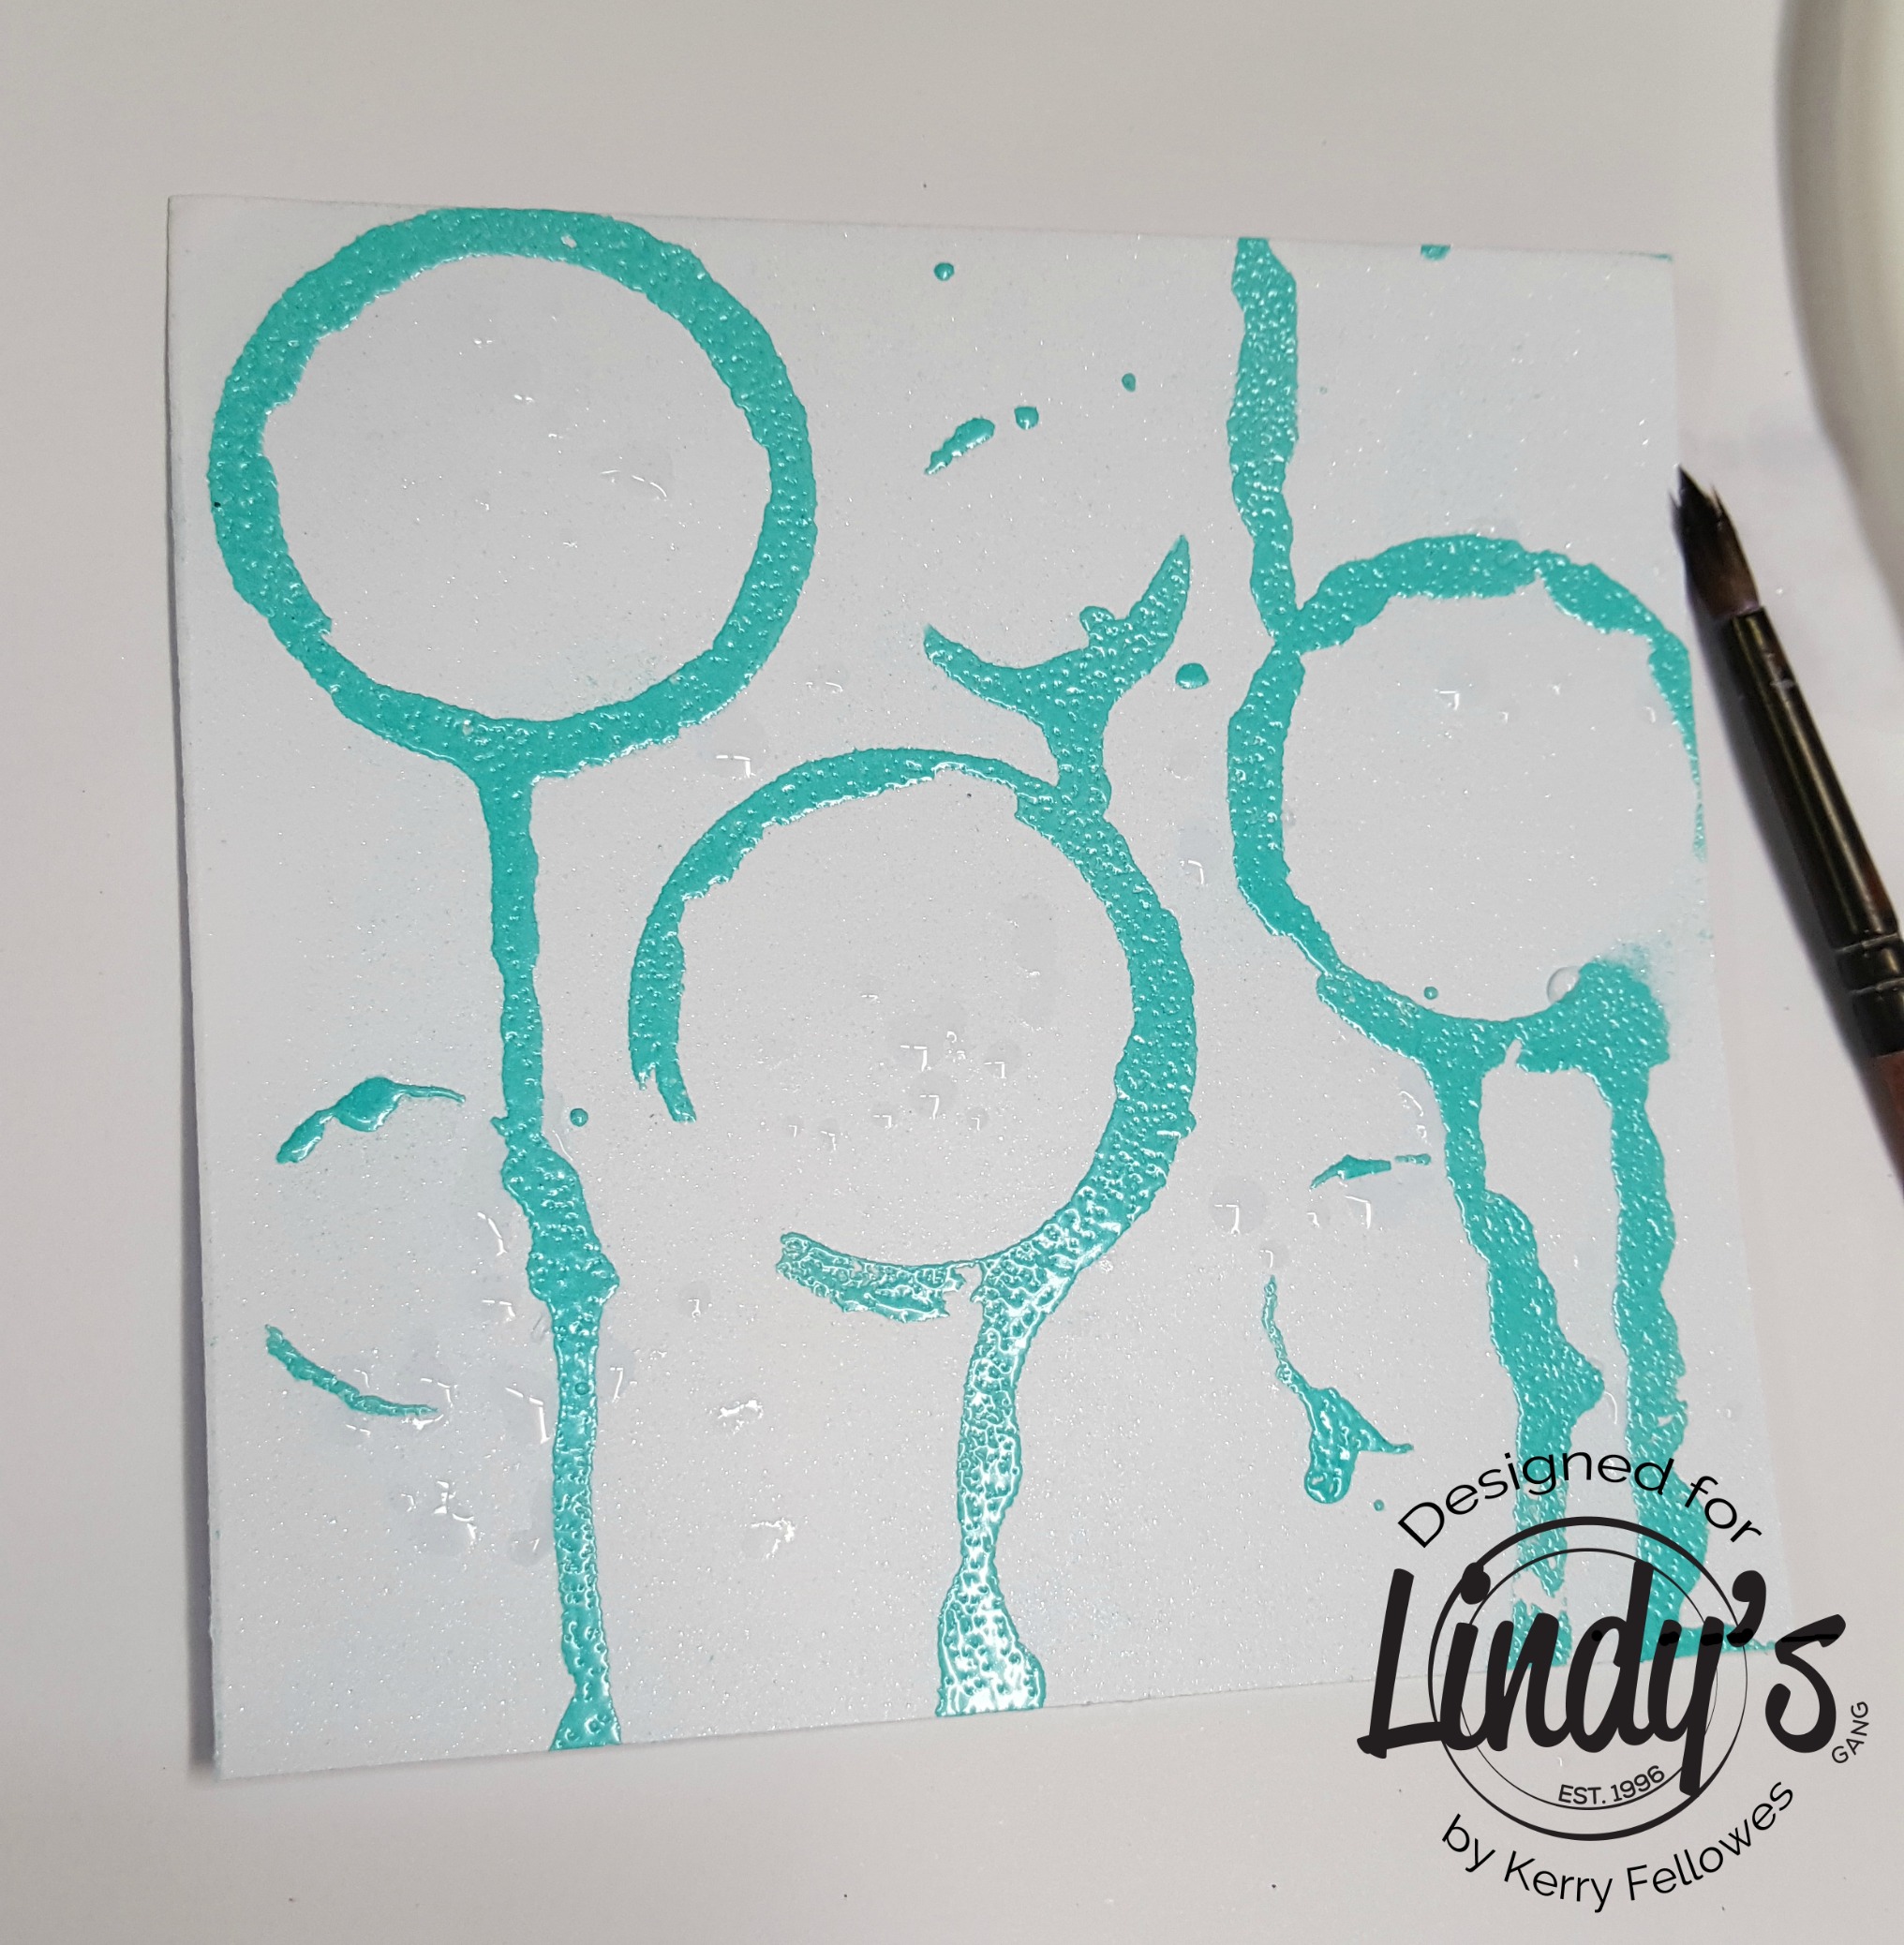
Using your 'mark makers', dip them into the water and then 'stamp' them onto your cardstock. Choose a cardstock that isn't too absorbent, we want the water to sit ontop of the card for a minute or two. Once you like to look of your marks, allow the extra water to drip straight down and off the page, you can encourage the drips by tapping the card gently down wards.
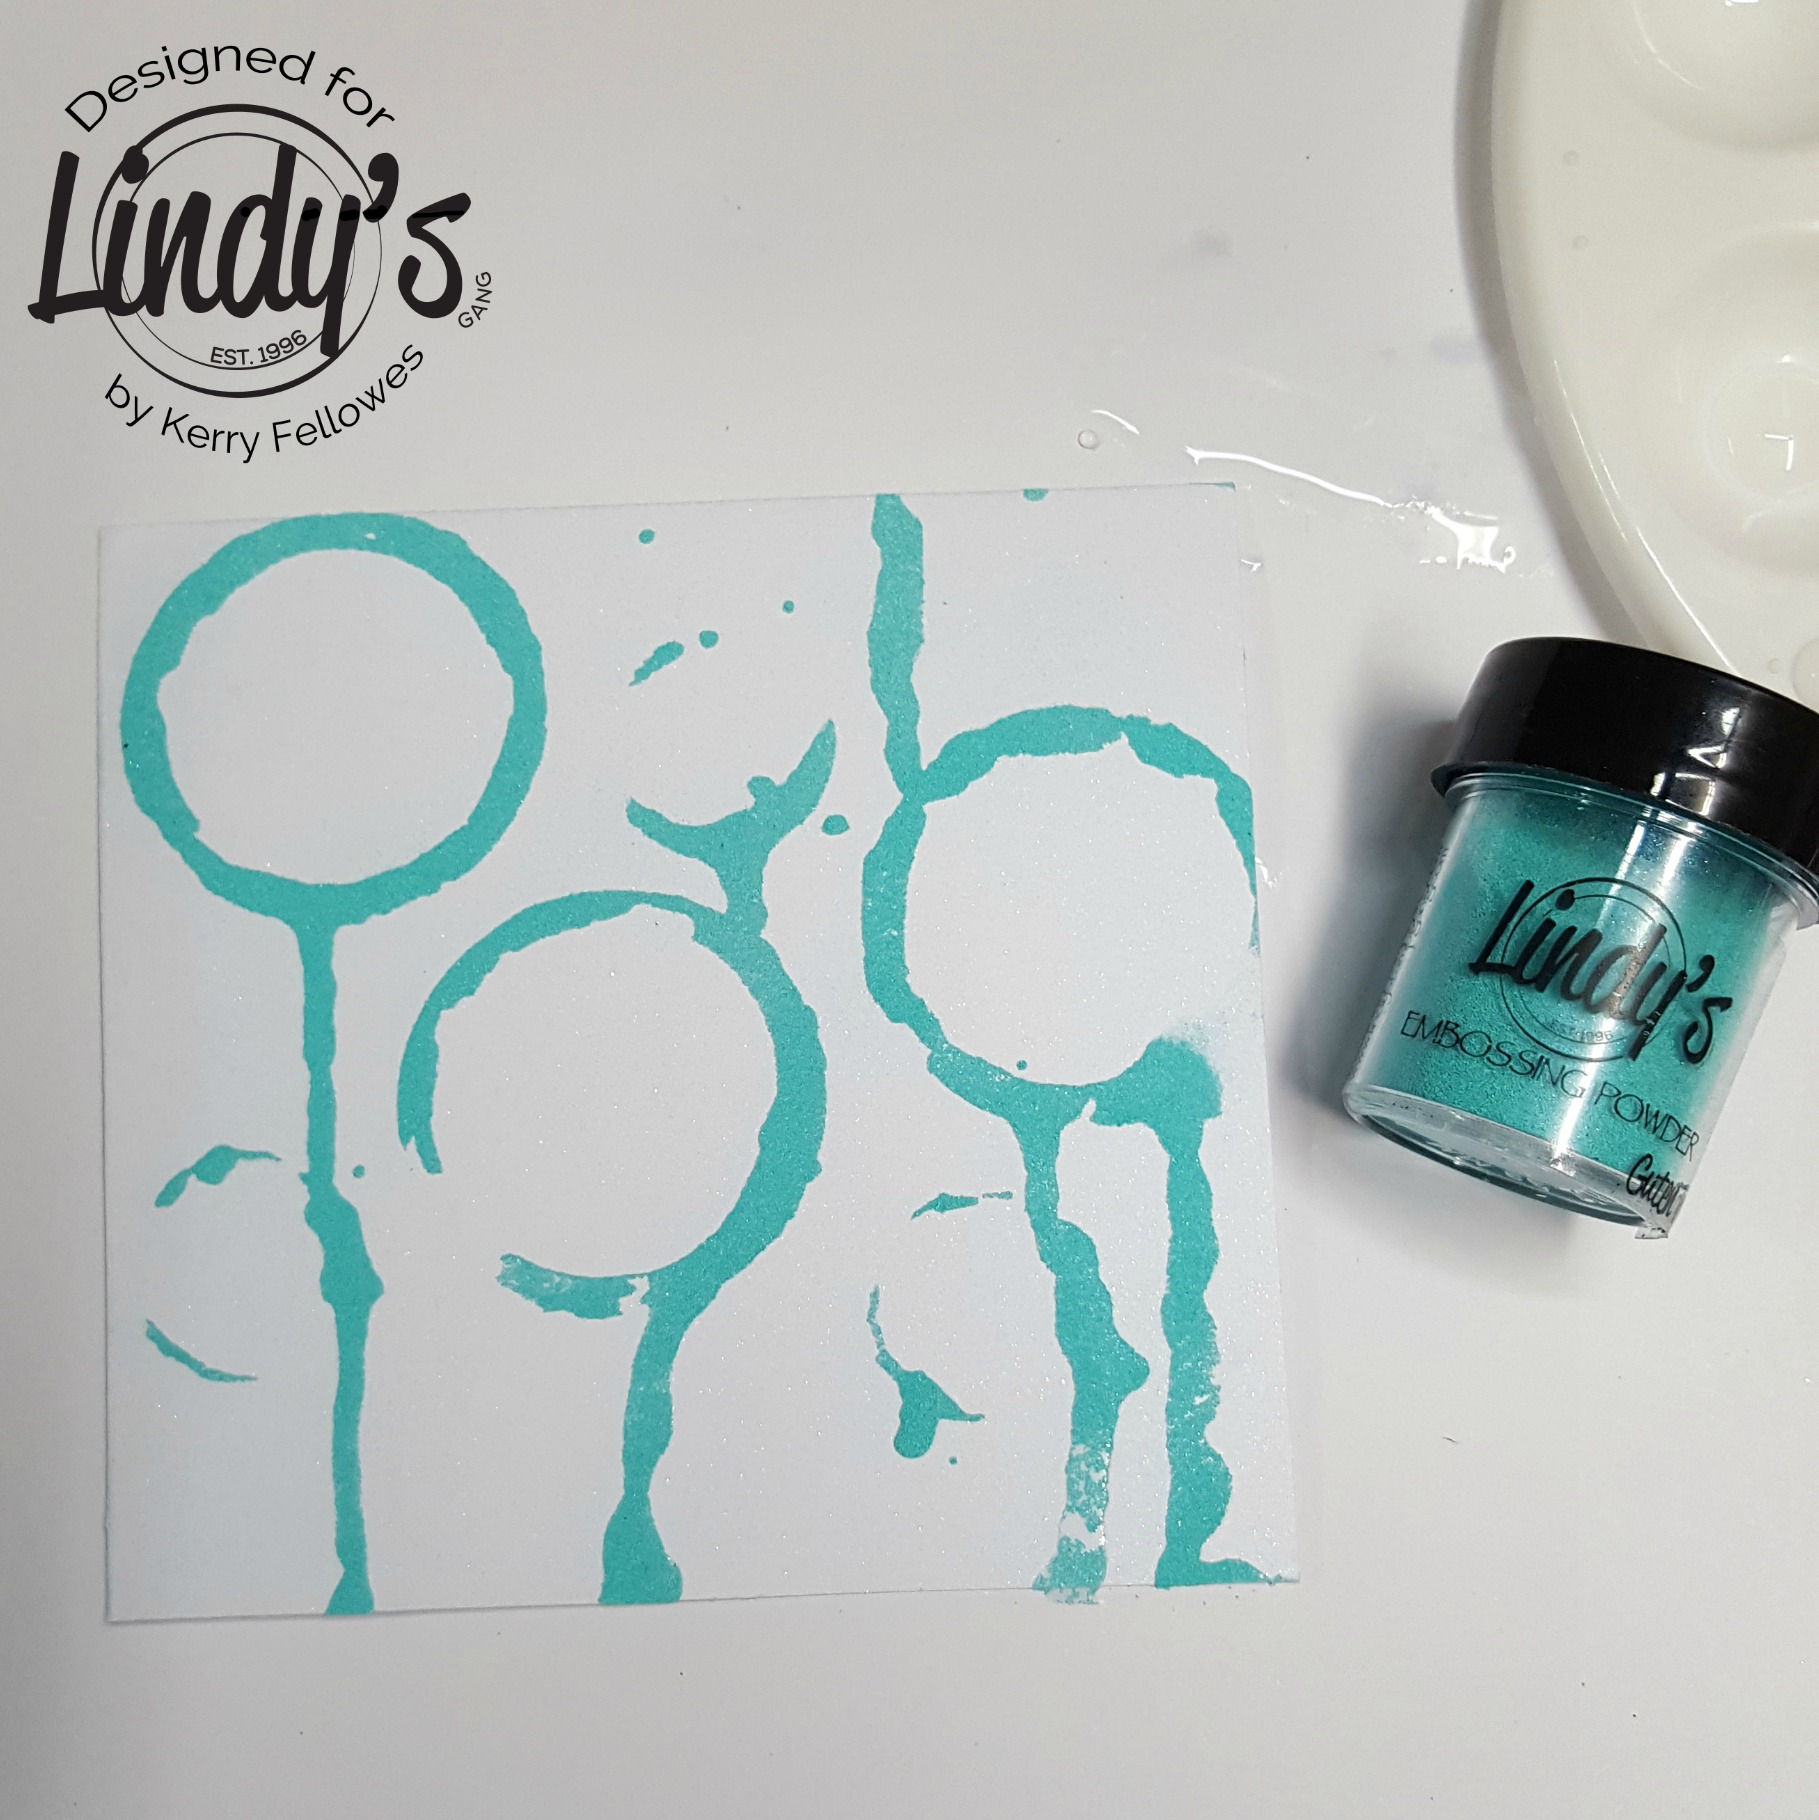
Sprinkle your chosen embossing powder over the top of the water marks, I have used Guten Tag Teal.
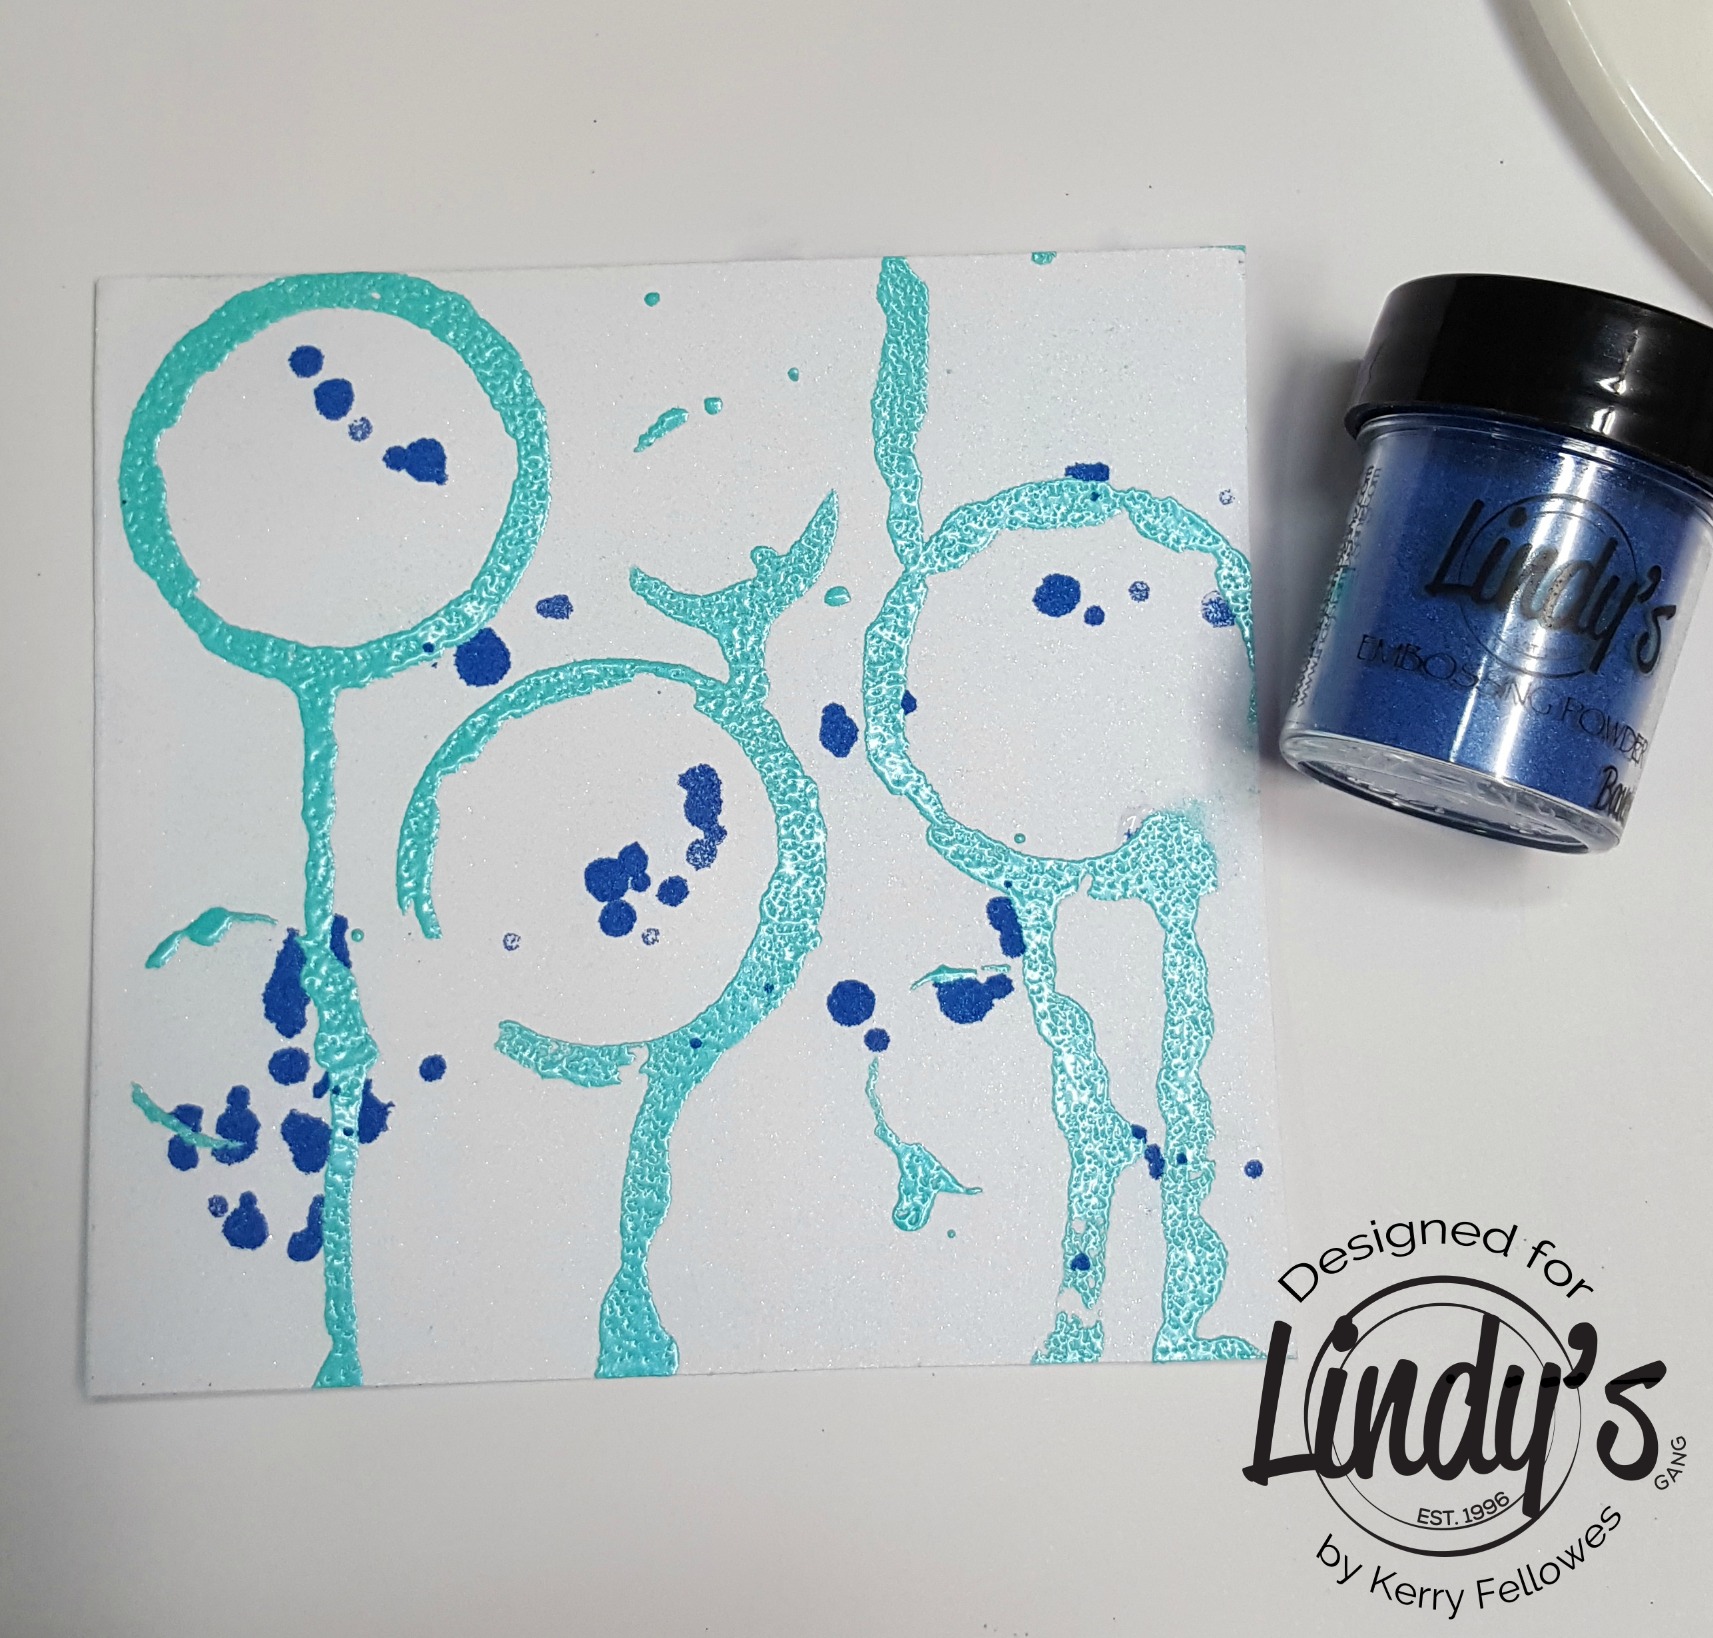
Use your heat tool to melt the embossing powder and then add some splashes of water using a paintbrush.
Sprinkle these water droplets with a different colored embossing powder, I have used Bavarian Blue .
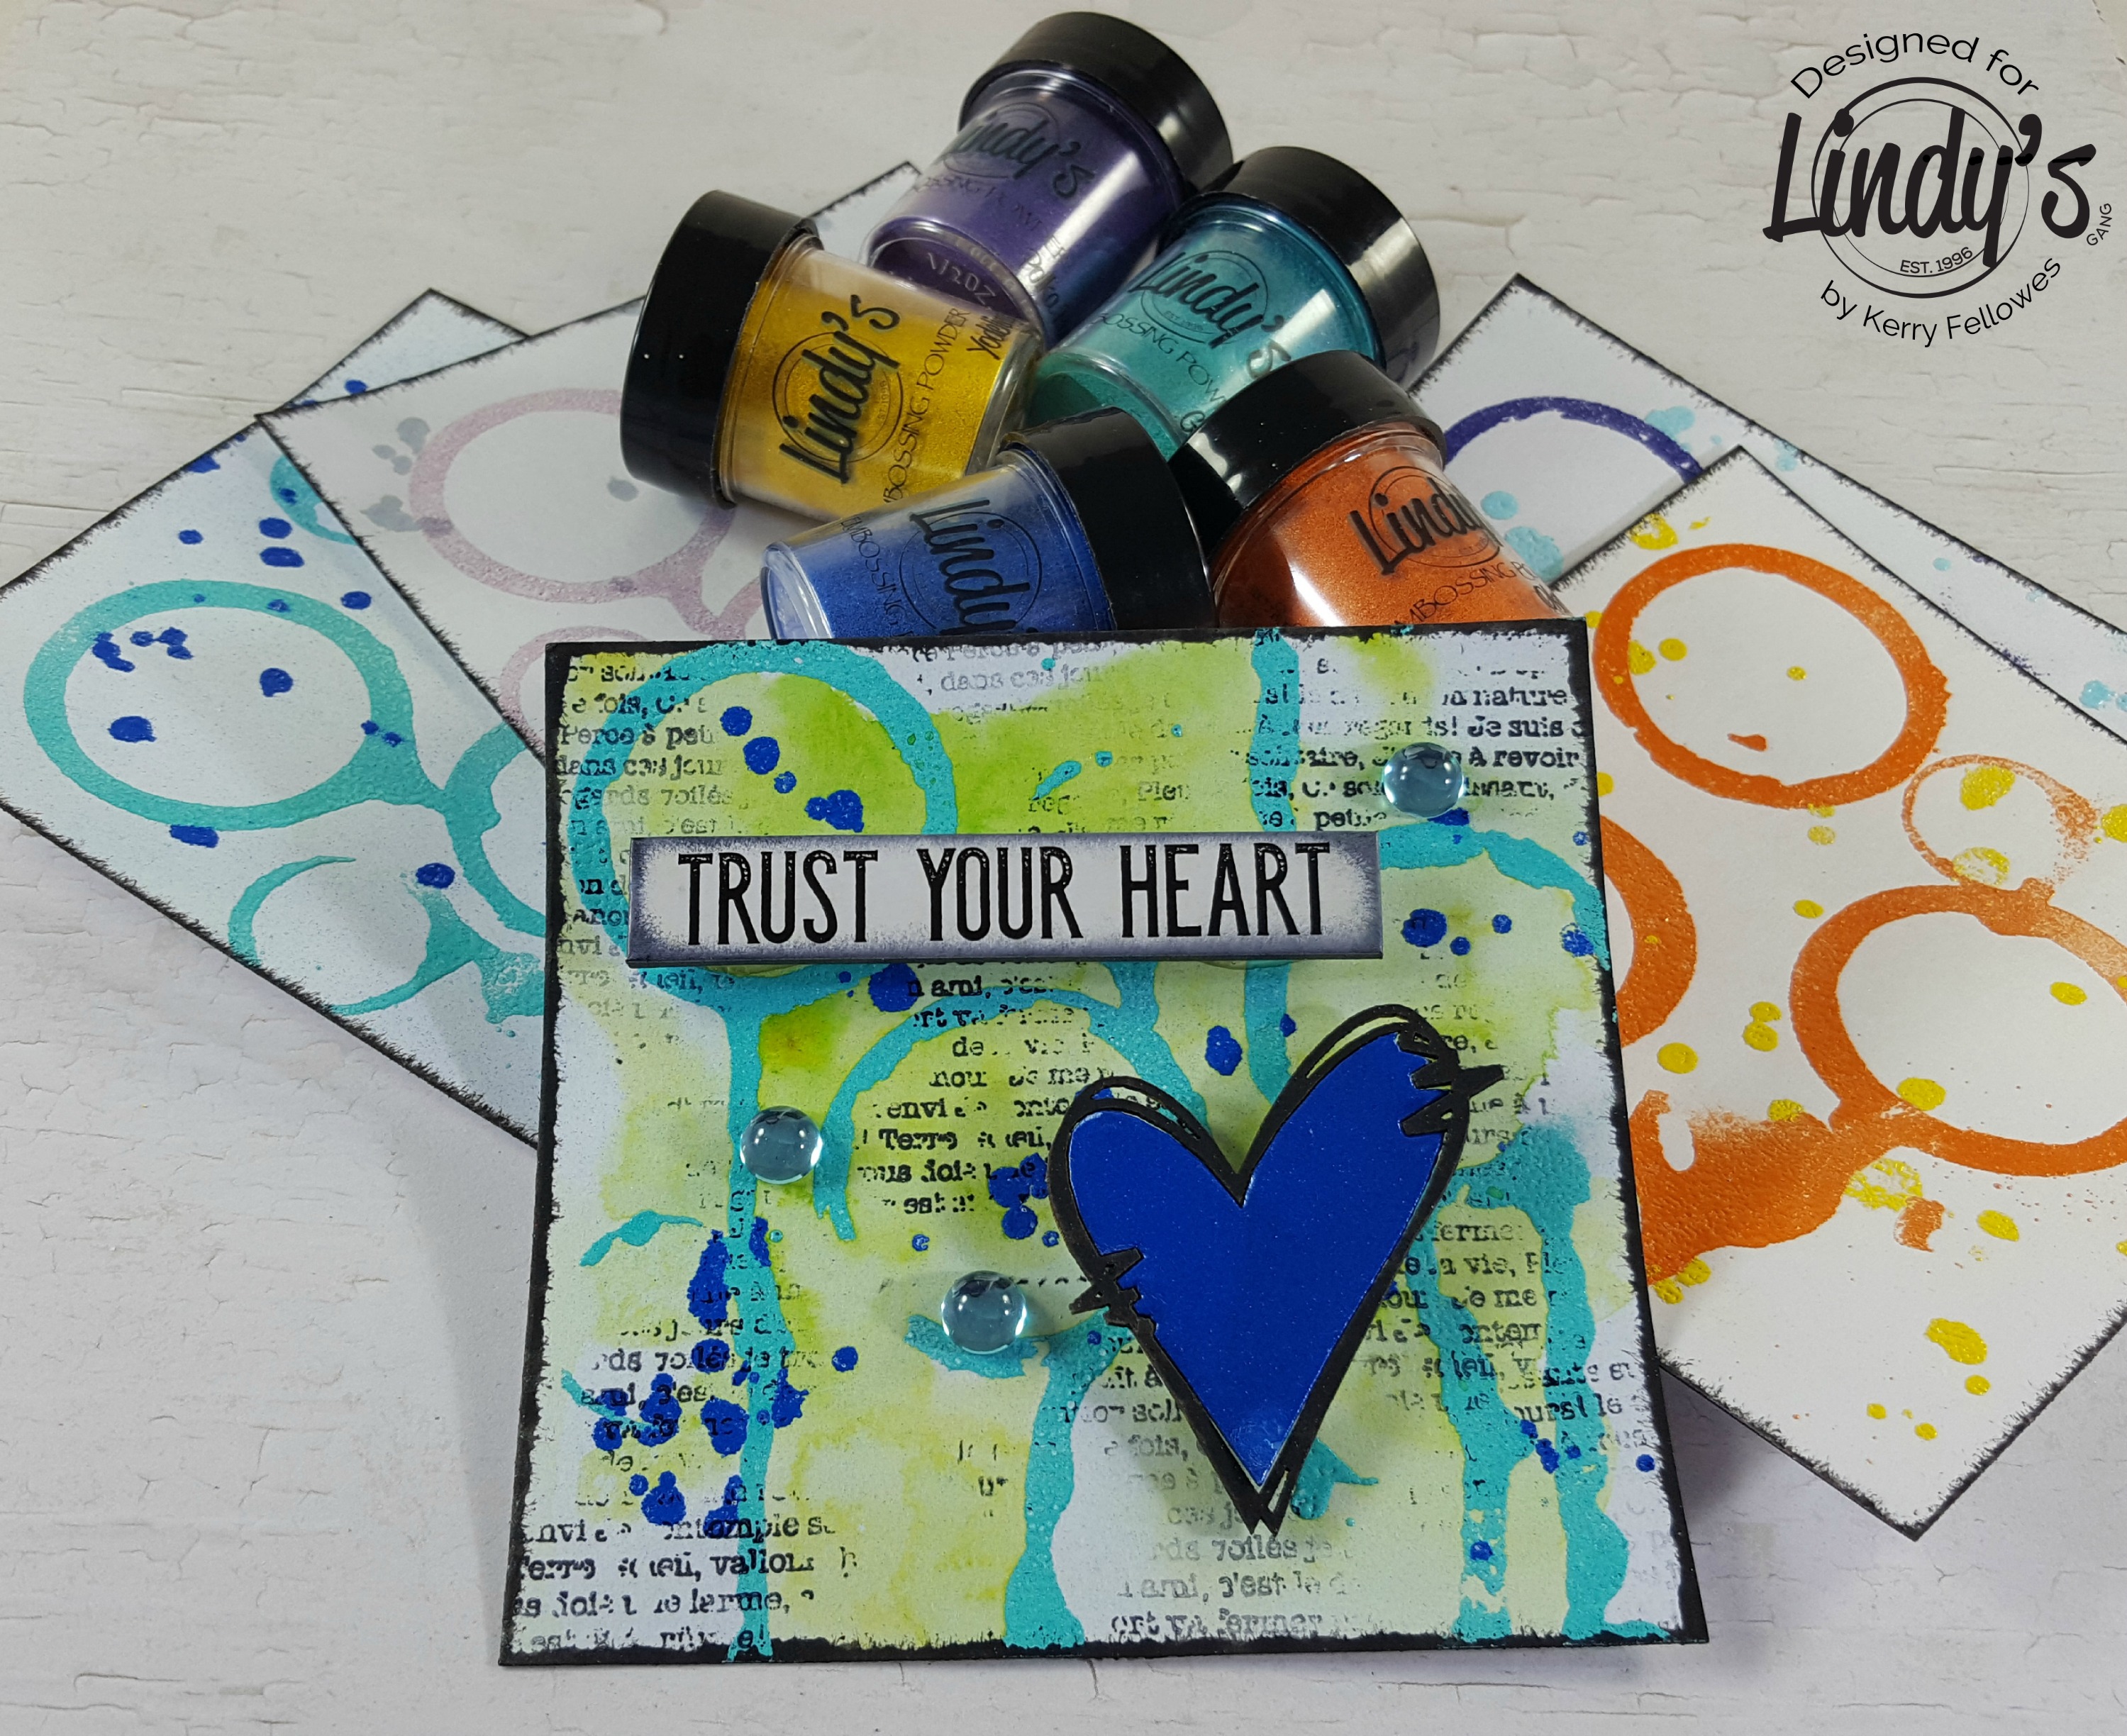
And that's all there is too it!! Simple and ready for you to enhance however you choose. I have an example below of a finished piece. I added some Flat Fabio luscious lime splashes and used a brush and some water to color the background. I used the same Bavarian Blue embossing powder to color the chipboard element. A bit of random stamping and threw in a few gems and a chipboard word element to finish off.
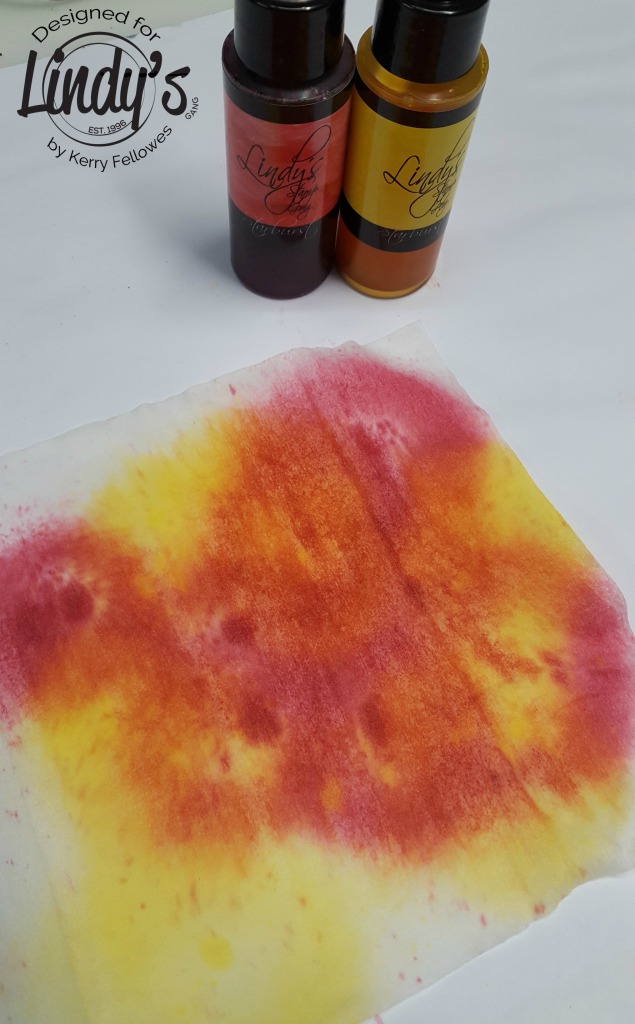
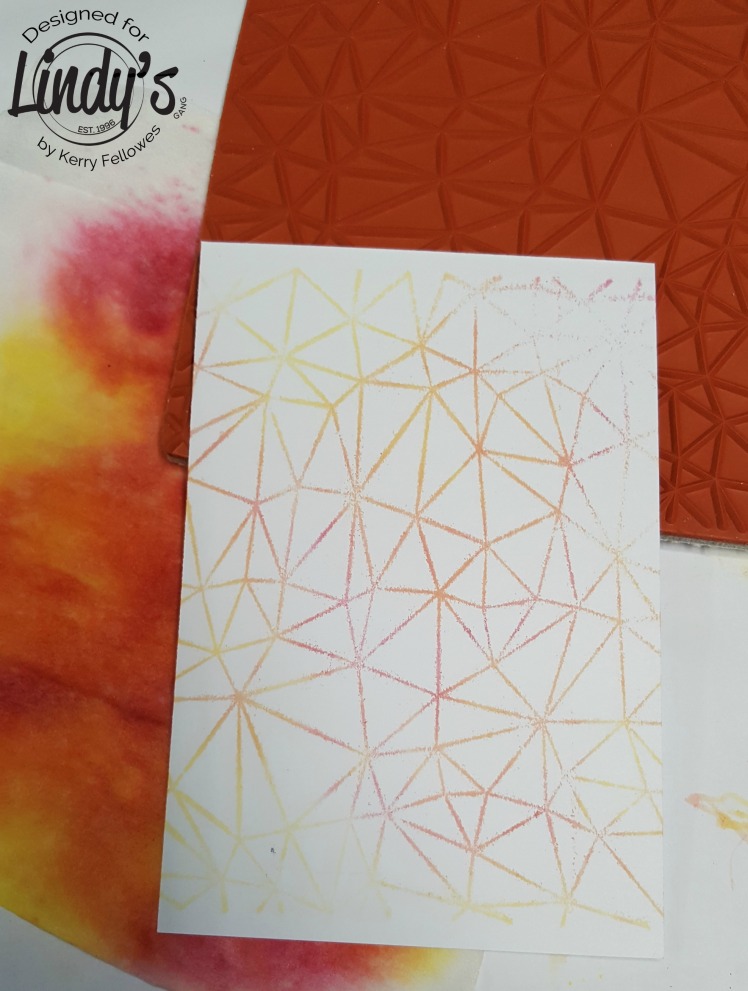
Hello!! I am so excited to share with you a technique I stumbled upon whilst playing with my awesome Lindy's sprays. I was going to call it 'Spray n Wipe', but that sounded too much like cleaning, (blech) so, the 'Spray N 'Baby' Wipe' technique was born! LOL!!!
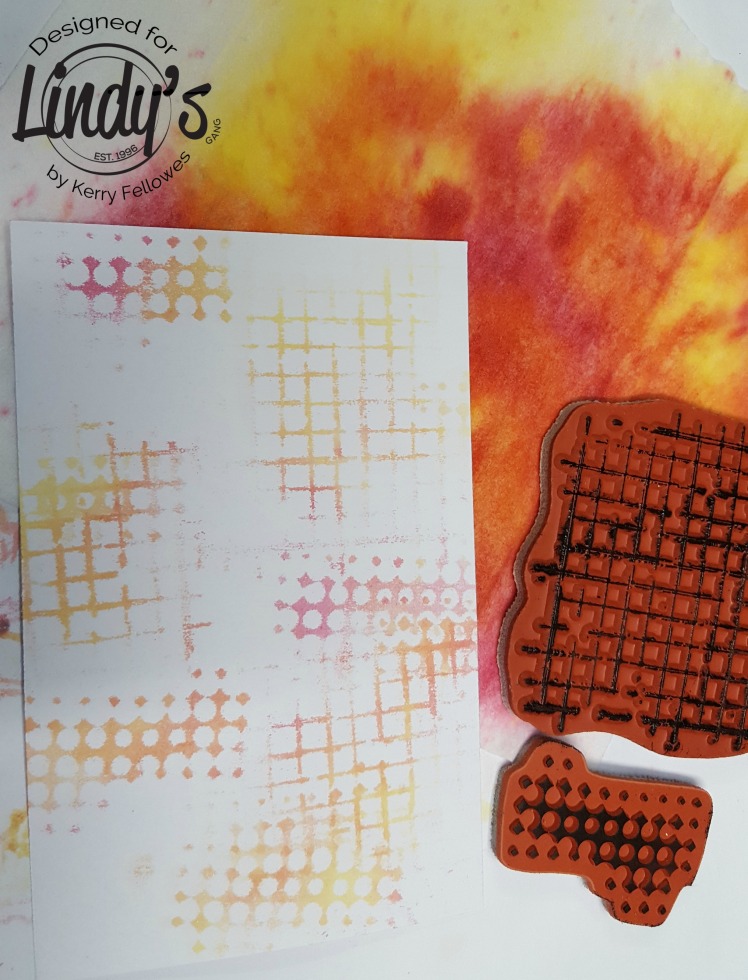
To start, grab a baby wipe and add a few sprays of your chosen colors, for this example, I have used Peony Scarlet Red and Yellow Rose of Texas - be fairly light-handed, we don't want to over-saturate the baby-wipe.
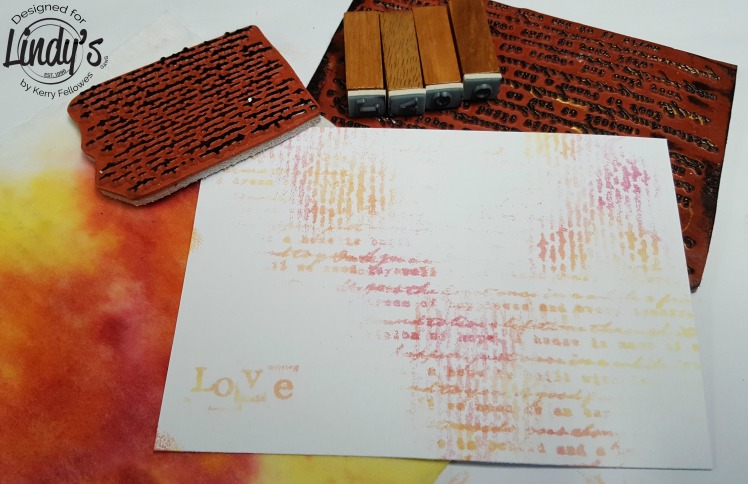
Place the baby-wipe on top of the cardstock and then press your stamp on top of the baby wipe.
This technique works fabulously for background and texture stamping!
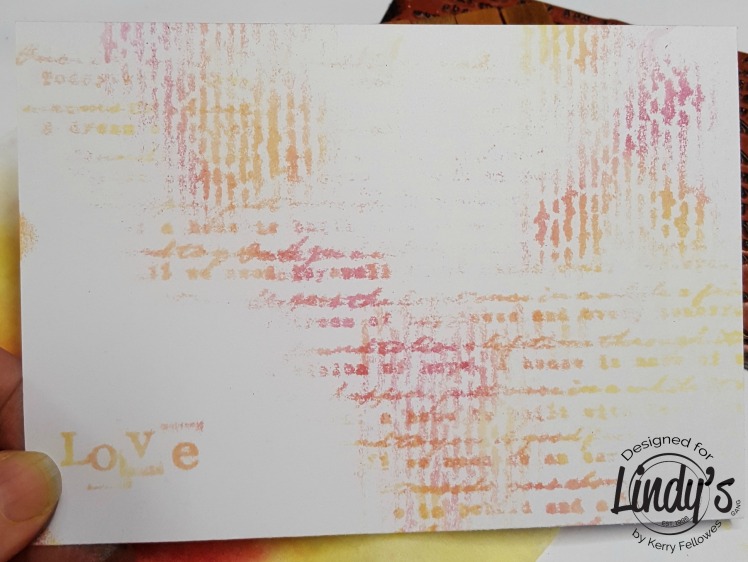
You can even use text stamps.
*sigh* Love it!!
You can use a large background stamp to get a variegated look as the colors seamlessly blend on the baby-wipe.
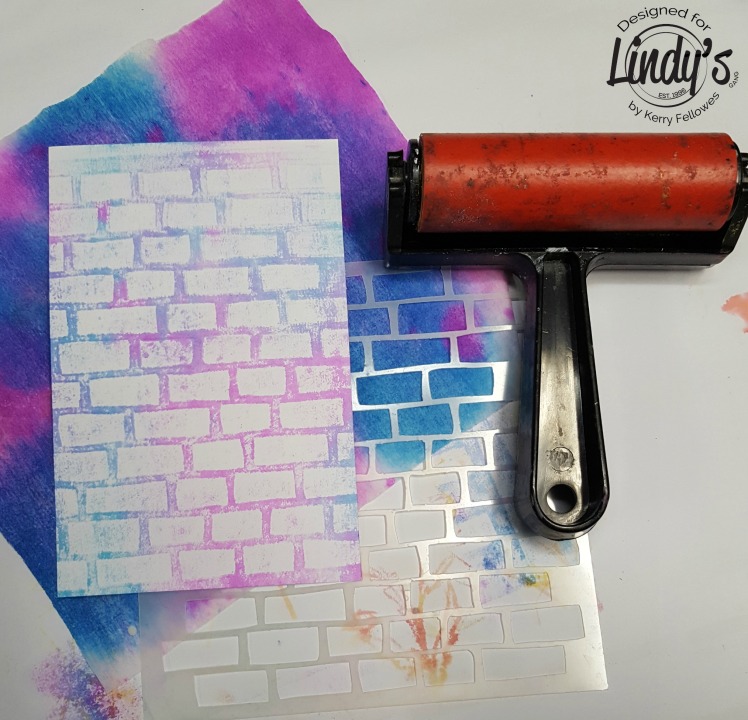
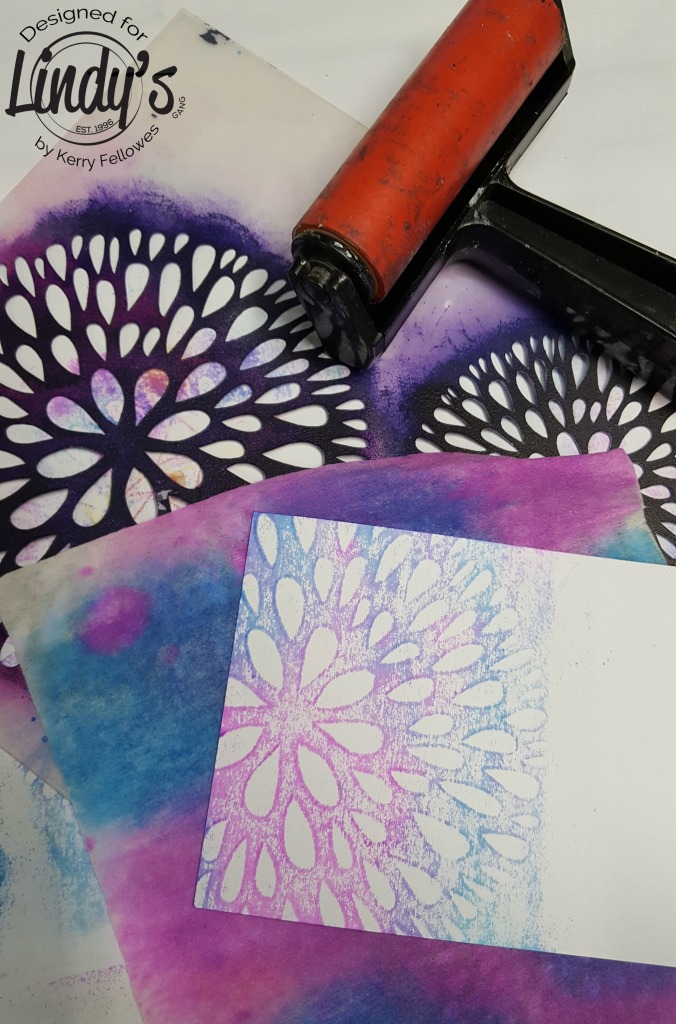
You can also use this technique with stencils, for this example I have used Caribbean Blue and Urban Amethyst sprays. Lay the baby-wipe on top of your page, place the stencil on top of the baby-wipe and roll over it with a brayer.
This will give you the negative image from the stencil, so basically if you look at the stencil, the 'holes' in the stencils will be 'holes' on your page.
Of course, you can mix both stamping and stenciling to create an awesome 'collage' background!
Happy June!! Yes half way through the year and the First day of winter for us in the Southern Hemisphere, although it feels like its already been winter for weeks! The good news is that the first of the month also brings a new color challenge over at the Lindy's blog!! YAY
This months color palette is so soft and totally gorgeous, I hope you will play along too! This was my take on the challenge!