Sunday, 1 April 2018

April Challenge with Lindy's

Hello! Another month rolls around and this time we have a 'rusty' palette for the April challenge over at Lindy's. To see all the inspiration from the design team pop over HERE.

This months 'color of the month' is - INCANDESCENT COPPER - which is included FREE with all orders over $50 from Lindy's Here is my take on the challenge.  

HOW TO ENTER

  1. Share the monthly Color Challenge graphic on your Blog post, YouTube video or FaceBook page, and link it to the monthly challenge post, to help us spread the word.
  2. Use at least two (2) Lindy’s Stamp Gang colors from the month’s palette (you can use all 5 colors but you don’t have to), remember to list the products you used and the colors.  You are welcome to add metallics, neutrals, white, black, gray or brown on your creation, but please stick to the colors in the challenge graphic.
  3. Link each product you have used to our online store, (can’t tell you how many gorgeous projects aren’t eligible to win because they forget to link).
  4. Post your project in the challenge month to be considered, no back linking.  This challenge is valid on blog posts dated April 1- April 30, 2018.
  5.  Join the Lindy’s Creative Gang Group on Facebook and upload your project to the APRIL Album, make sure to add a link to your blog post, FaceBook page or YouTube video as well – so we can leave you some love. 
Thanks for dropping by and have a magical day!

Saturday, 24 March 2018

Embossed Pebbles for Lindy's

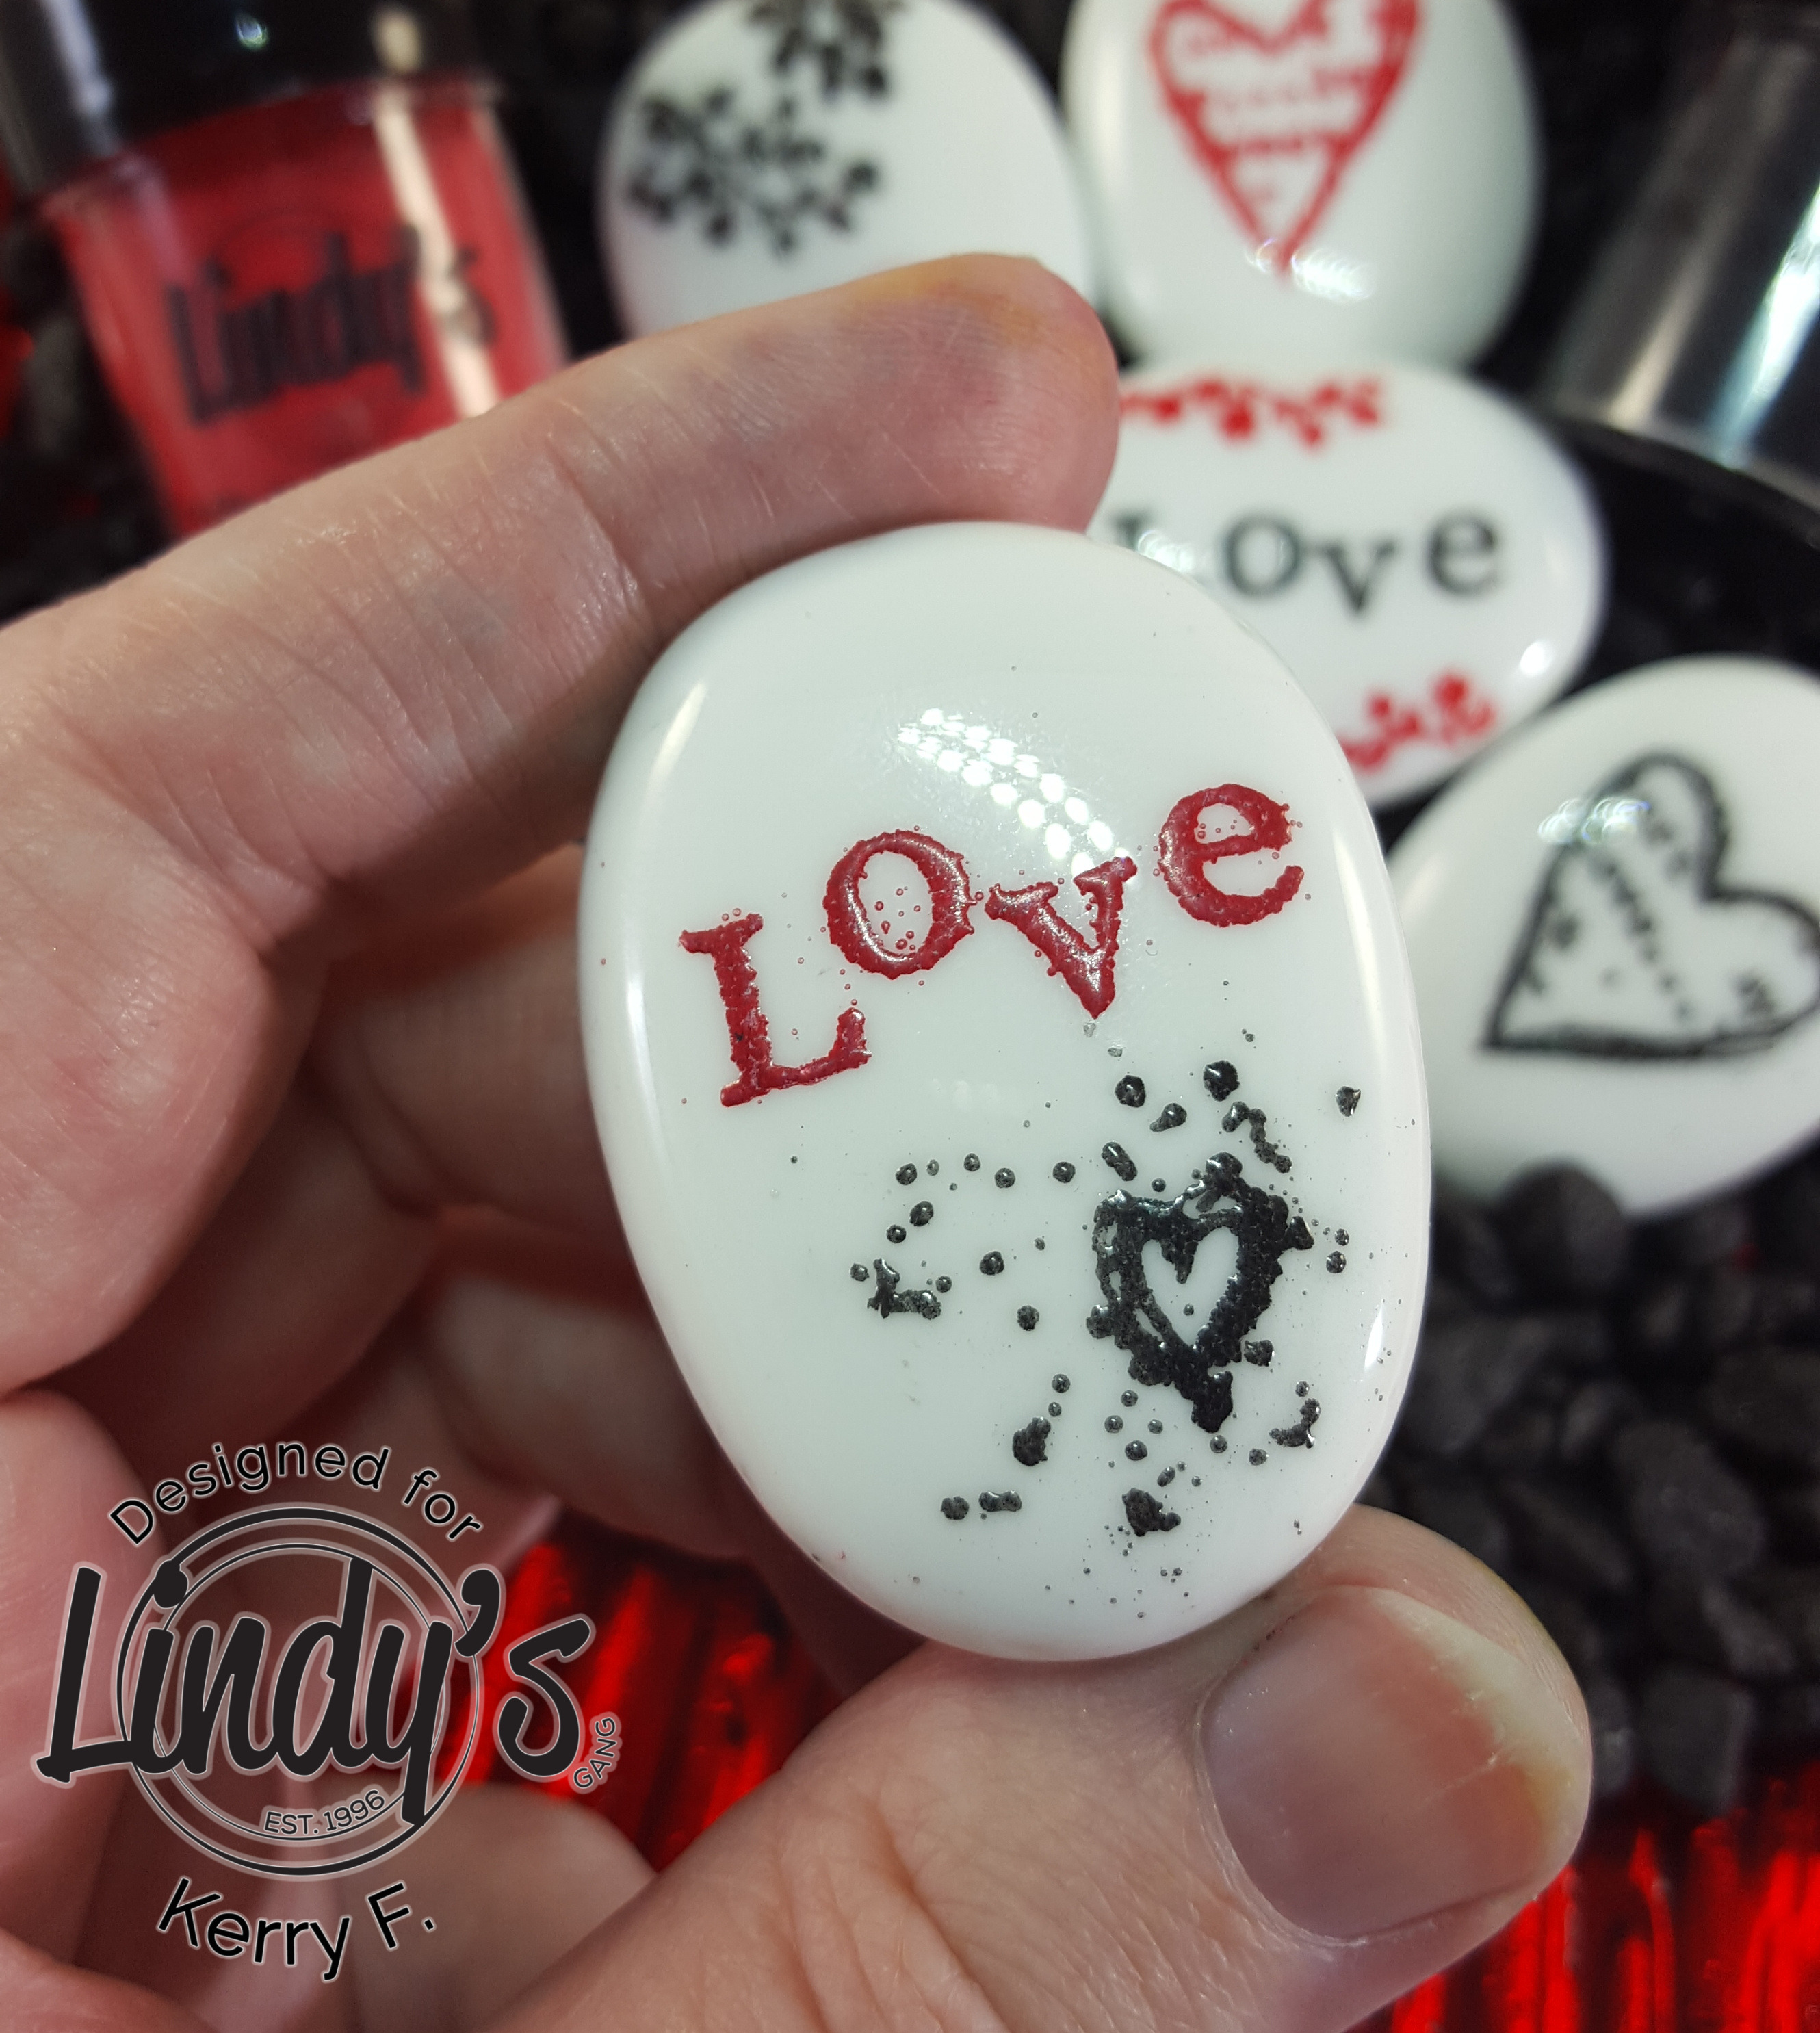
Hello! Its Kerry with you today.  Quite often we forget that out products can be used with more than just paper and cardstock. Today I am using the fabulous Lindy's Embossing Powders on some pebbles.  These would make awesome wedding favors or table scatters and you could theme them for birthdays or Christmas really easily.

20180302_201418

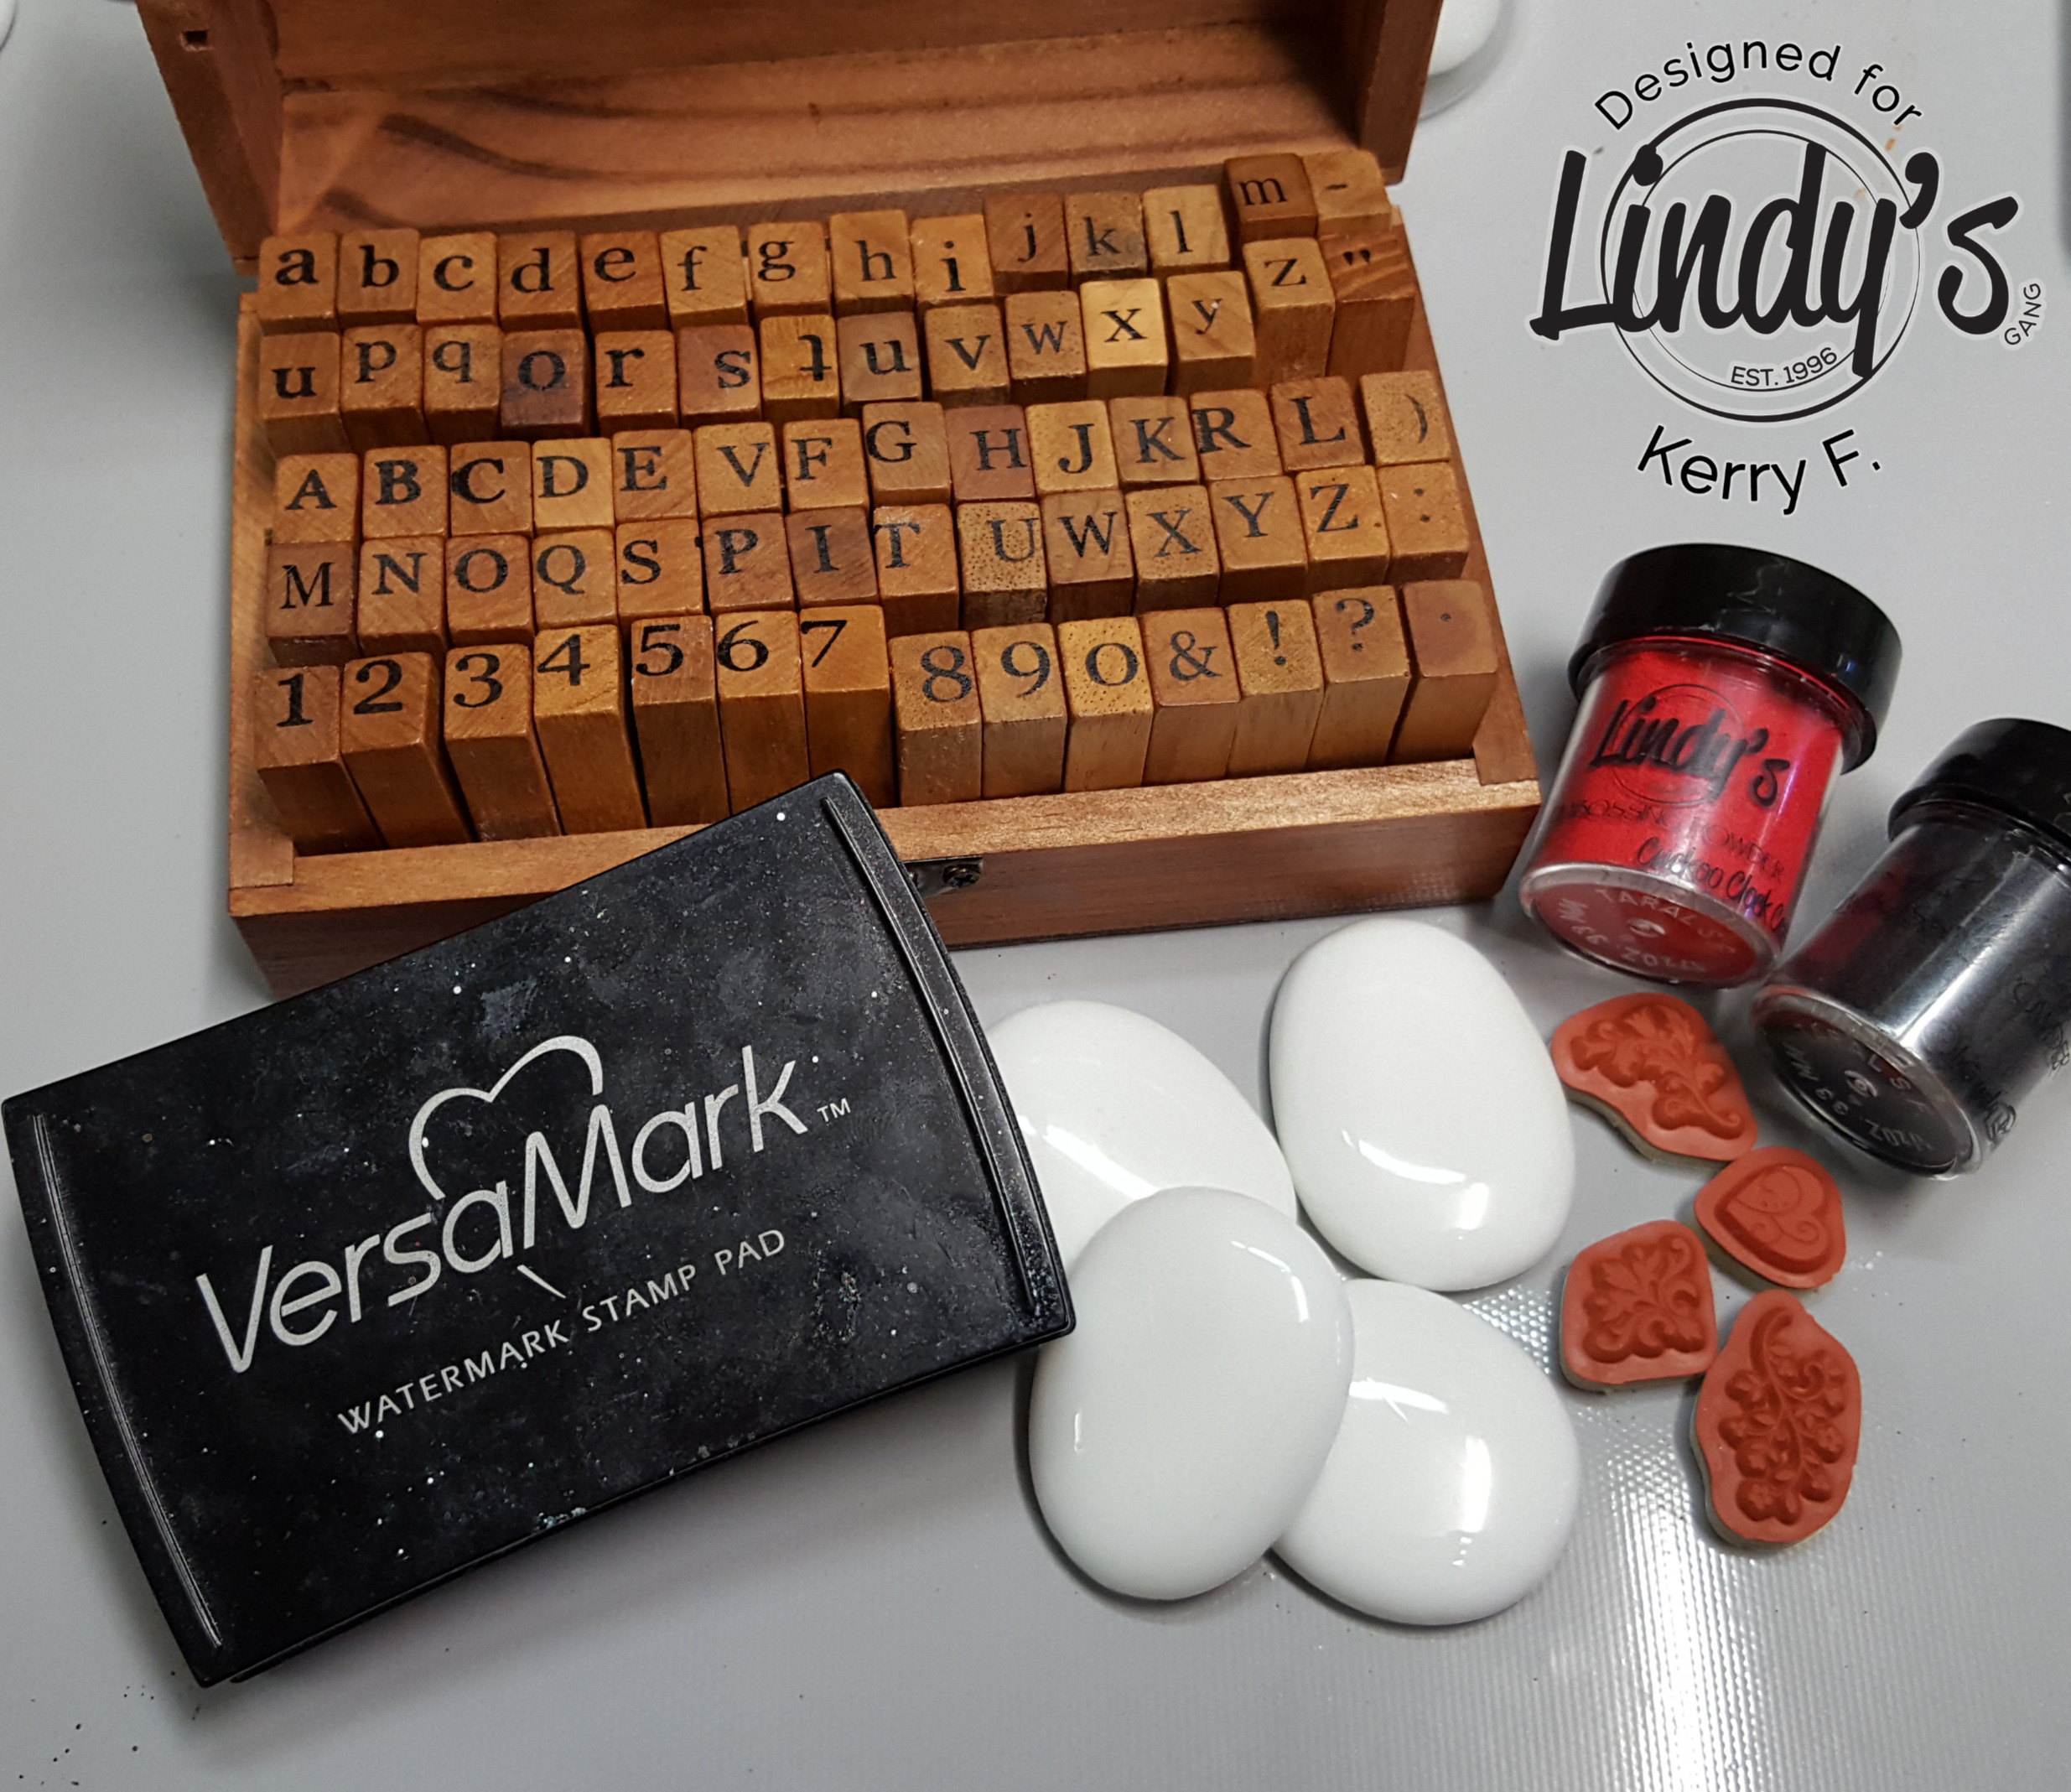
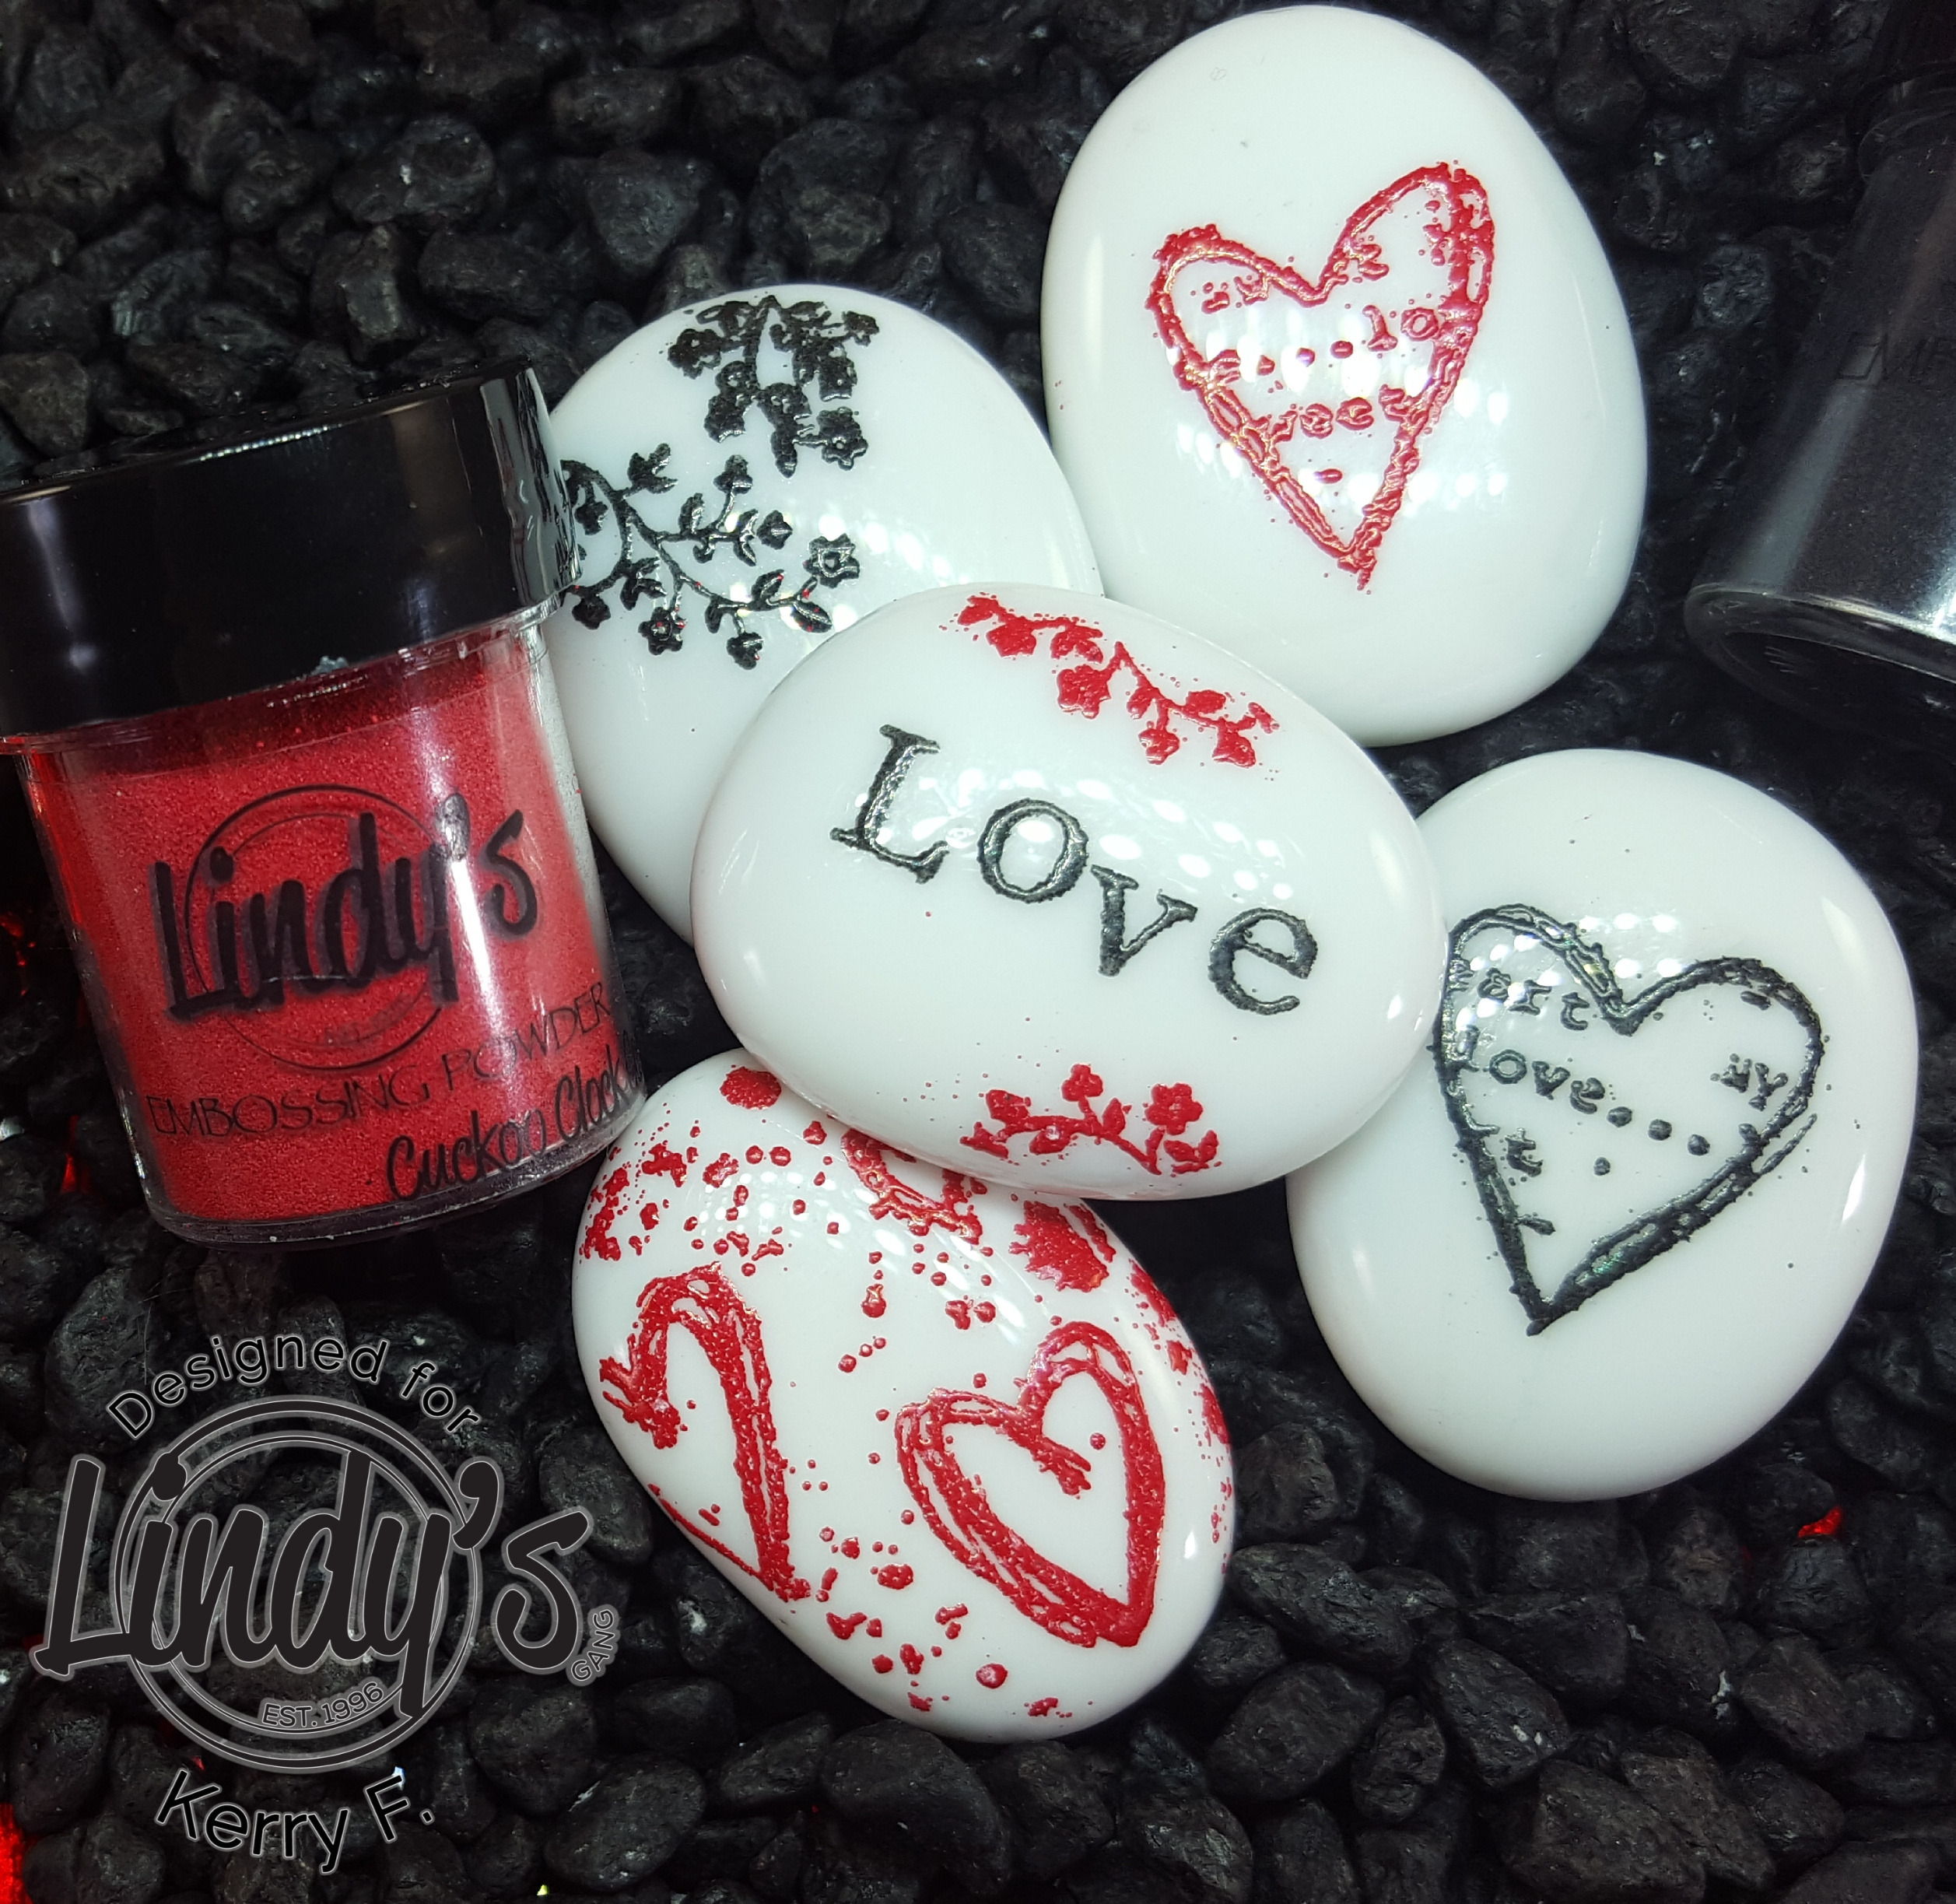
You will only need a few tools for this project. Some stamps, some embossing ink, a heat tool and your favorite Lindy's Embossing powders and , today I am using Obviously Black and Cuckoo Clock Cardinal.

8

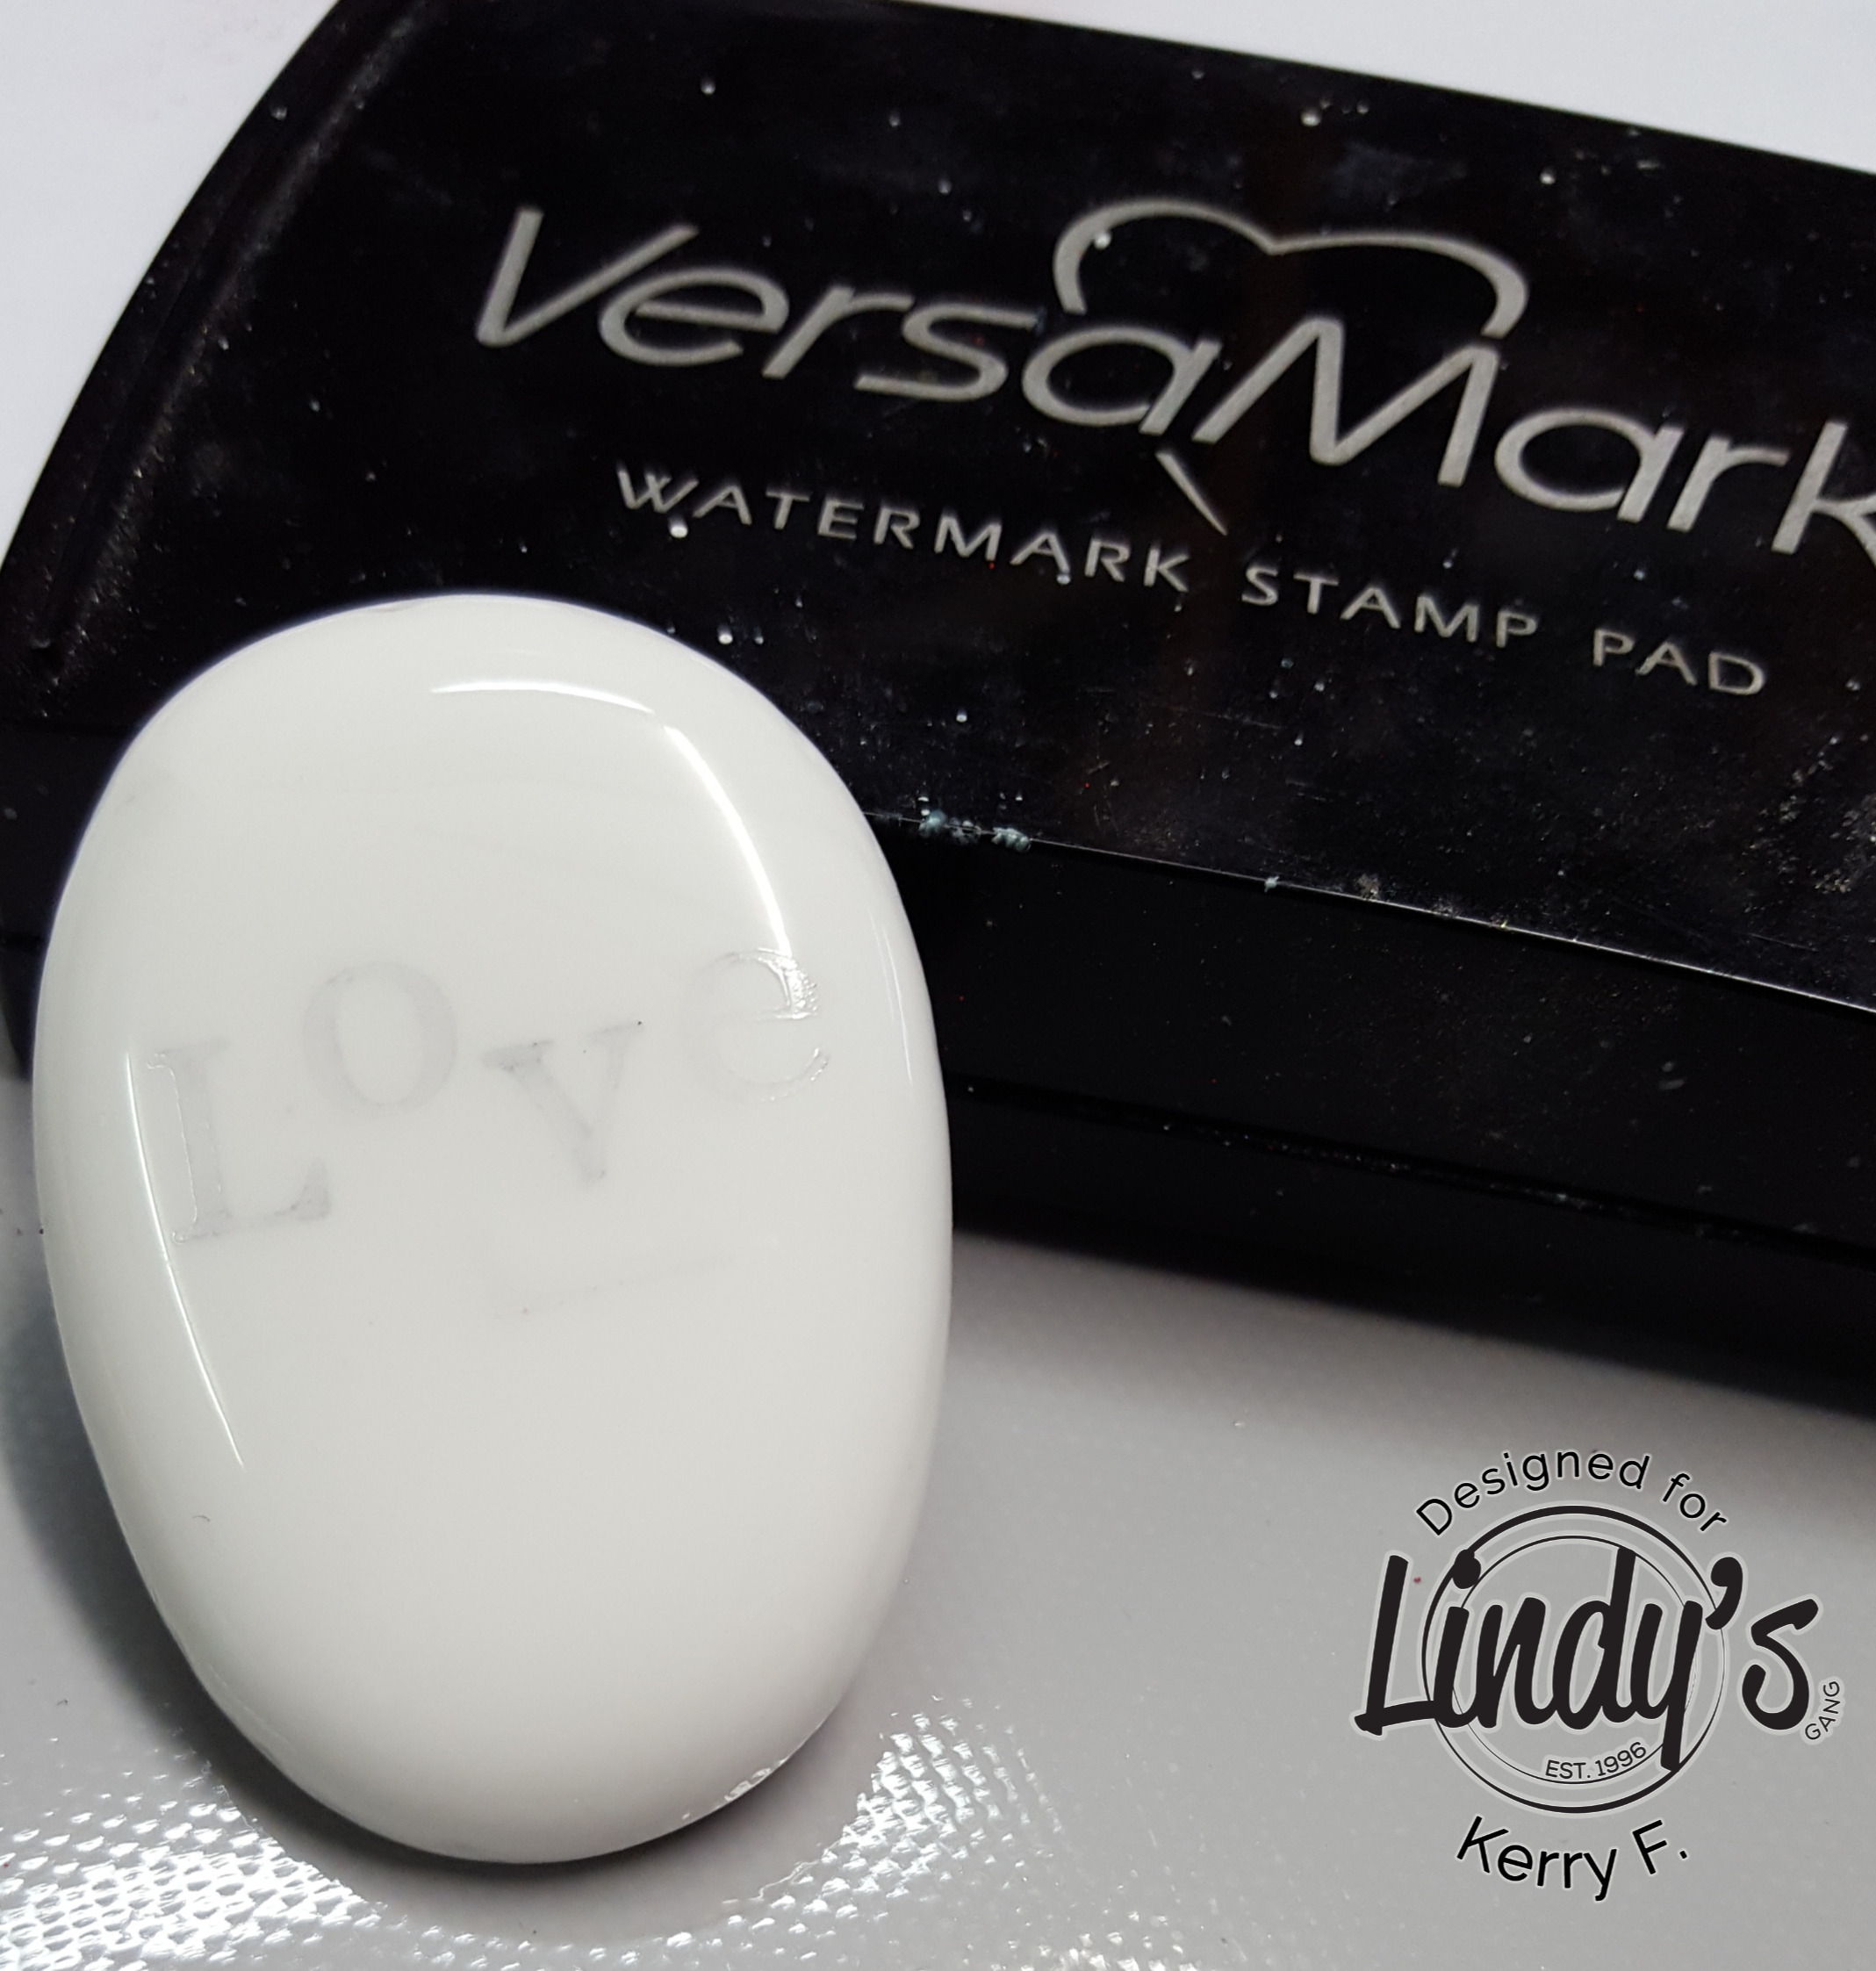
Take your stamp and using embossing ink, stamp directly onto the pebble's surface, this is a little hard to see, but the good thing is if you don't get a good impression, you can wipe it off and start again.

7

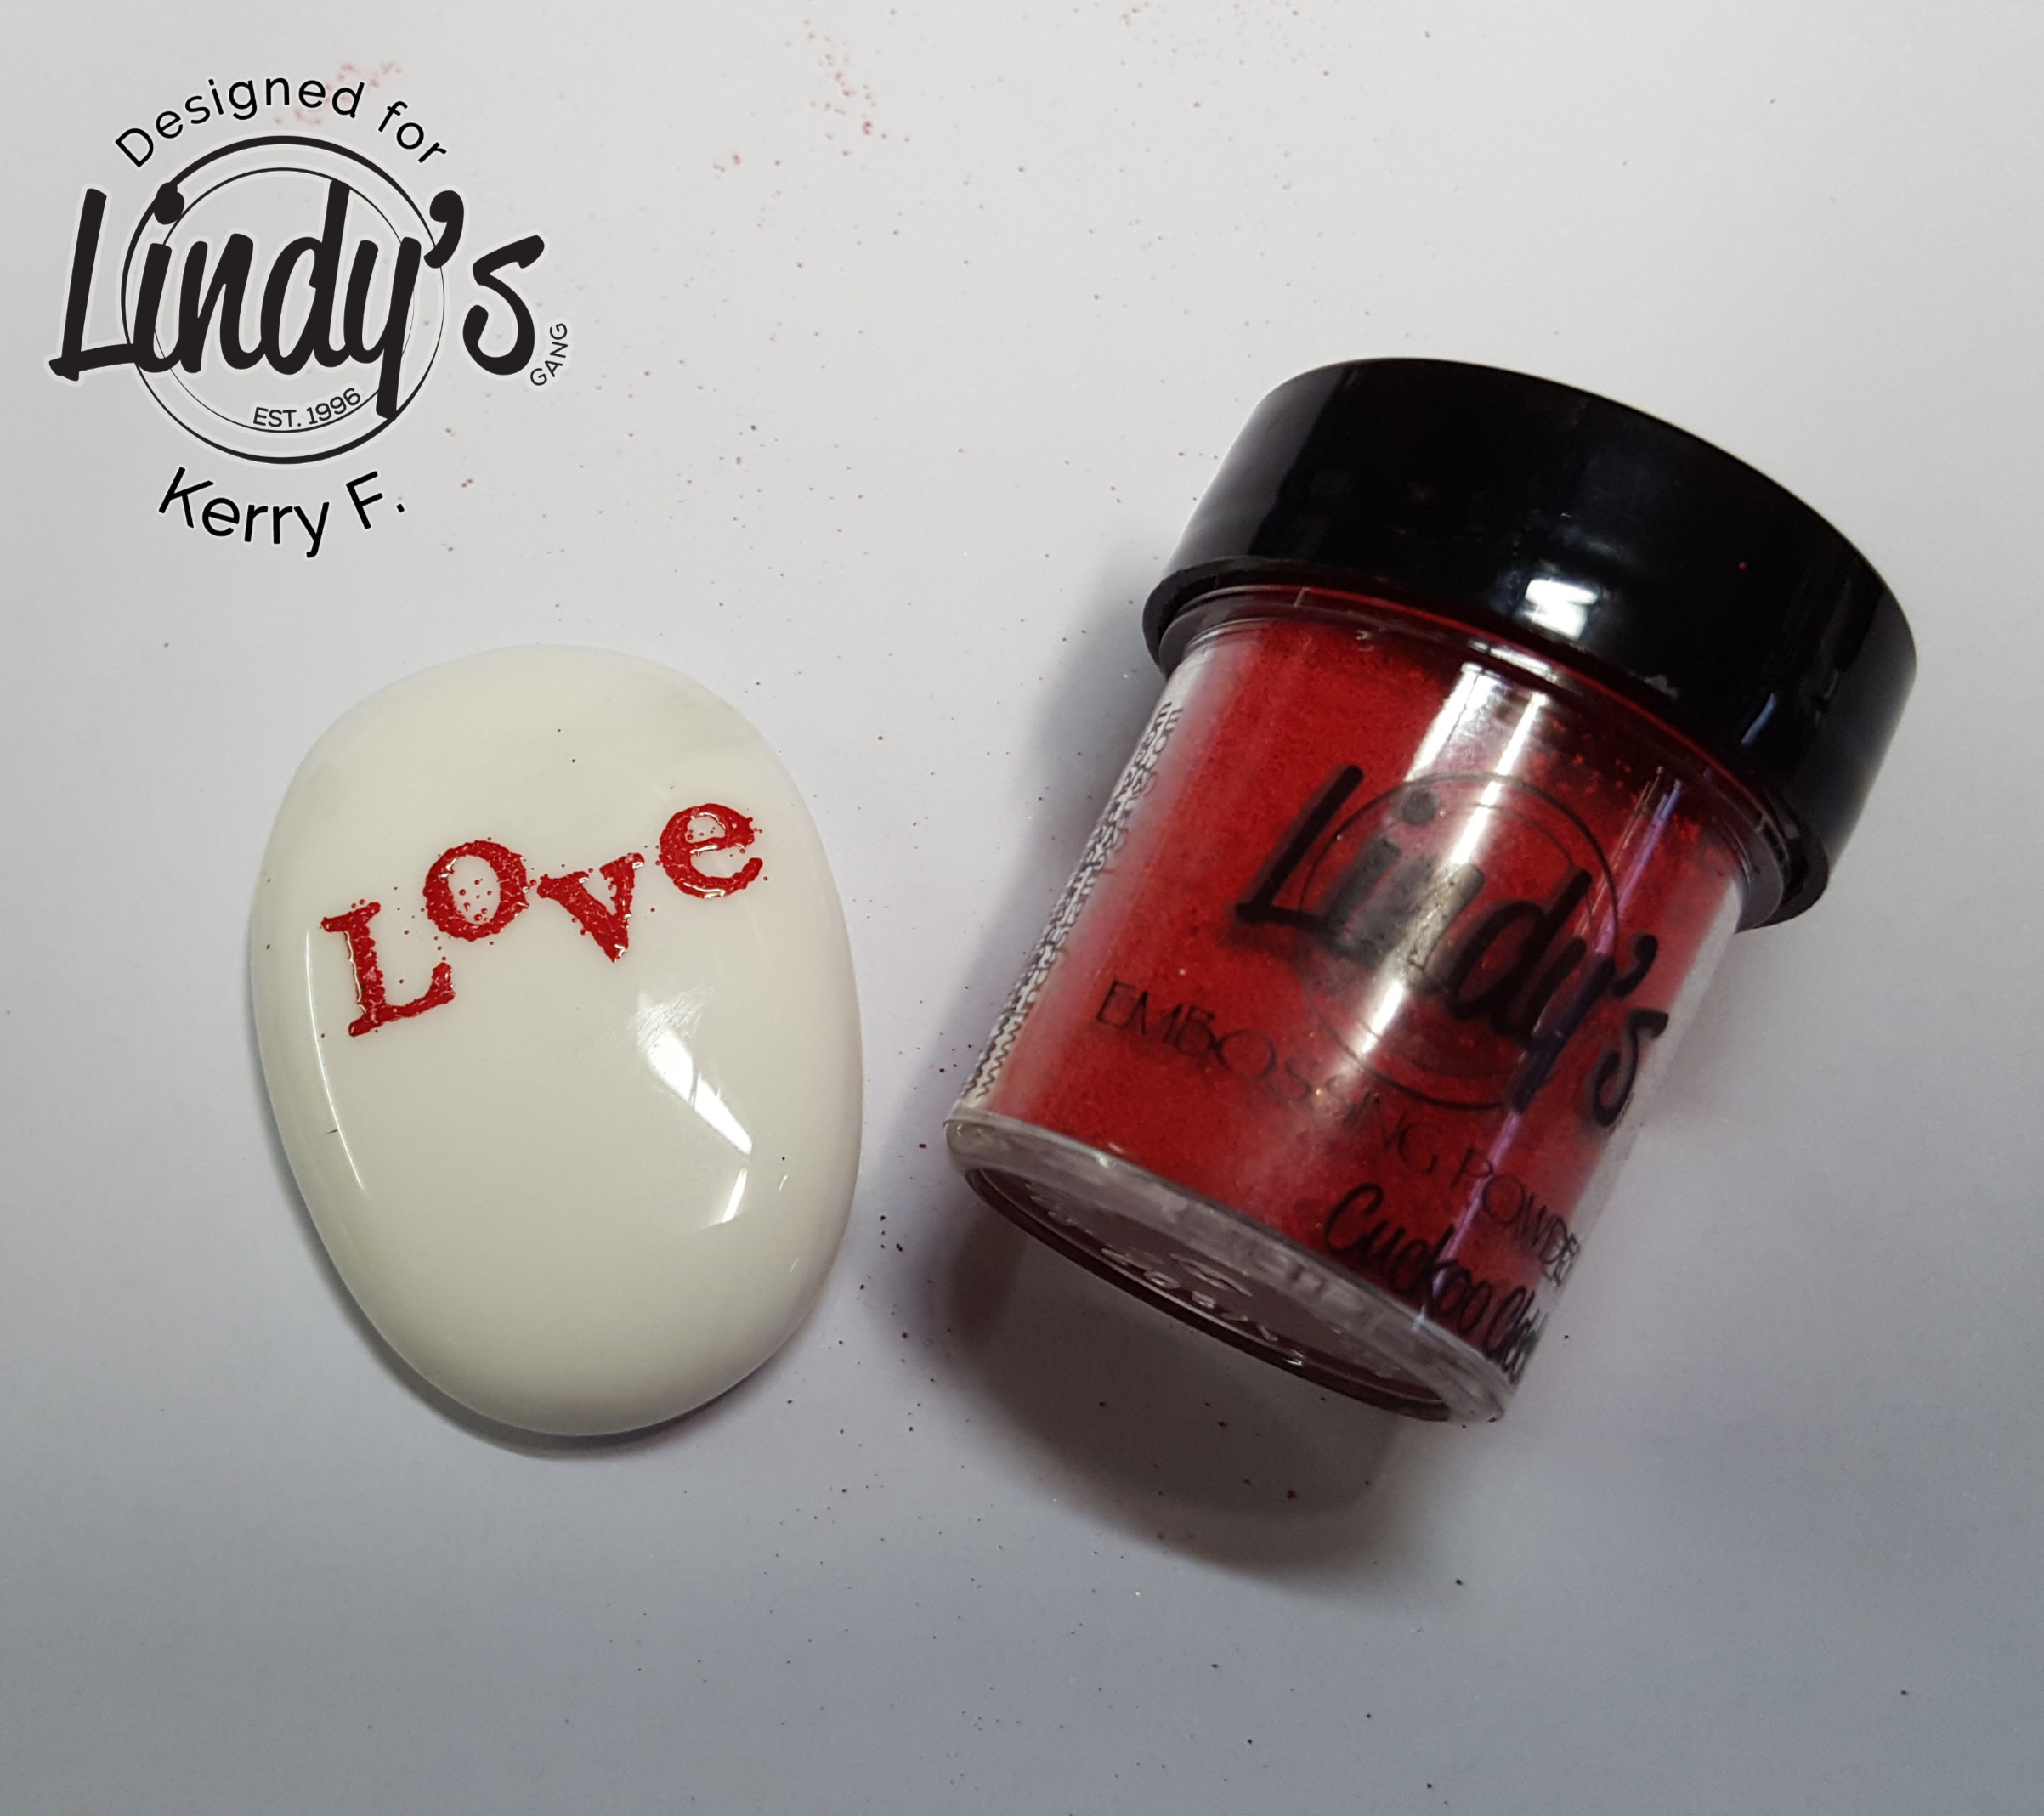
Sprinkle the embossing powder over your stamping and if you are happy with your stamped image, heat set the embossing powder with the heat tool. A little word of caution, the pebbles will get hot, so perhaps place them on a cork mat and allow plenty of time for them to cool before handling.

6

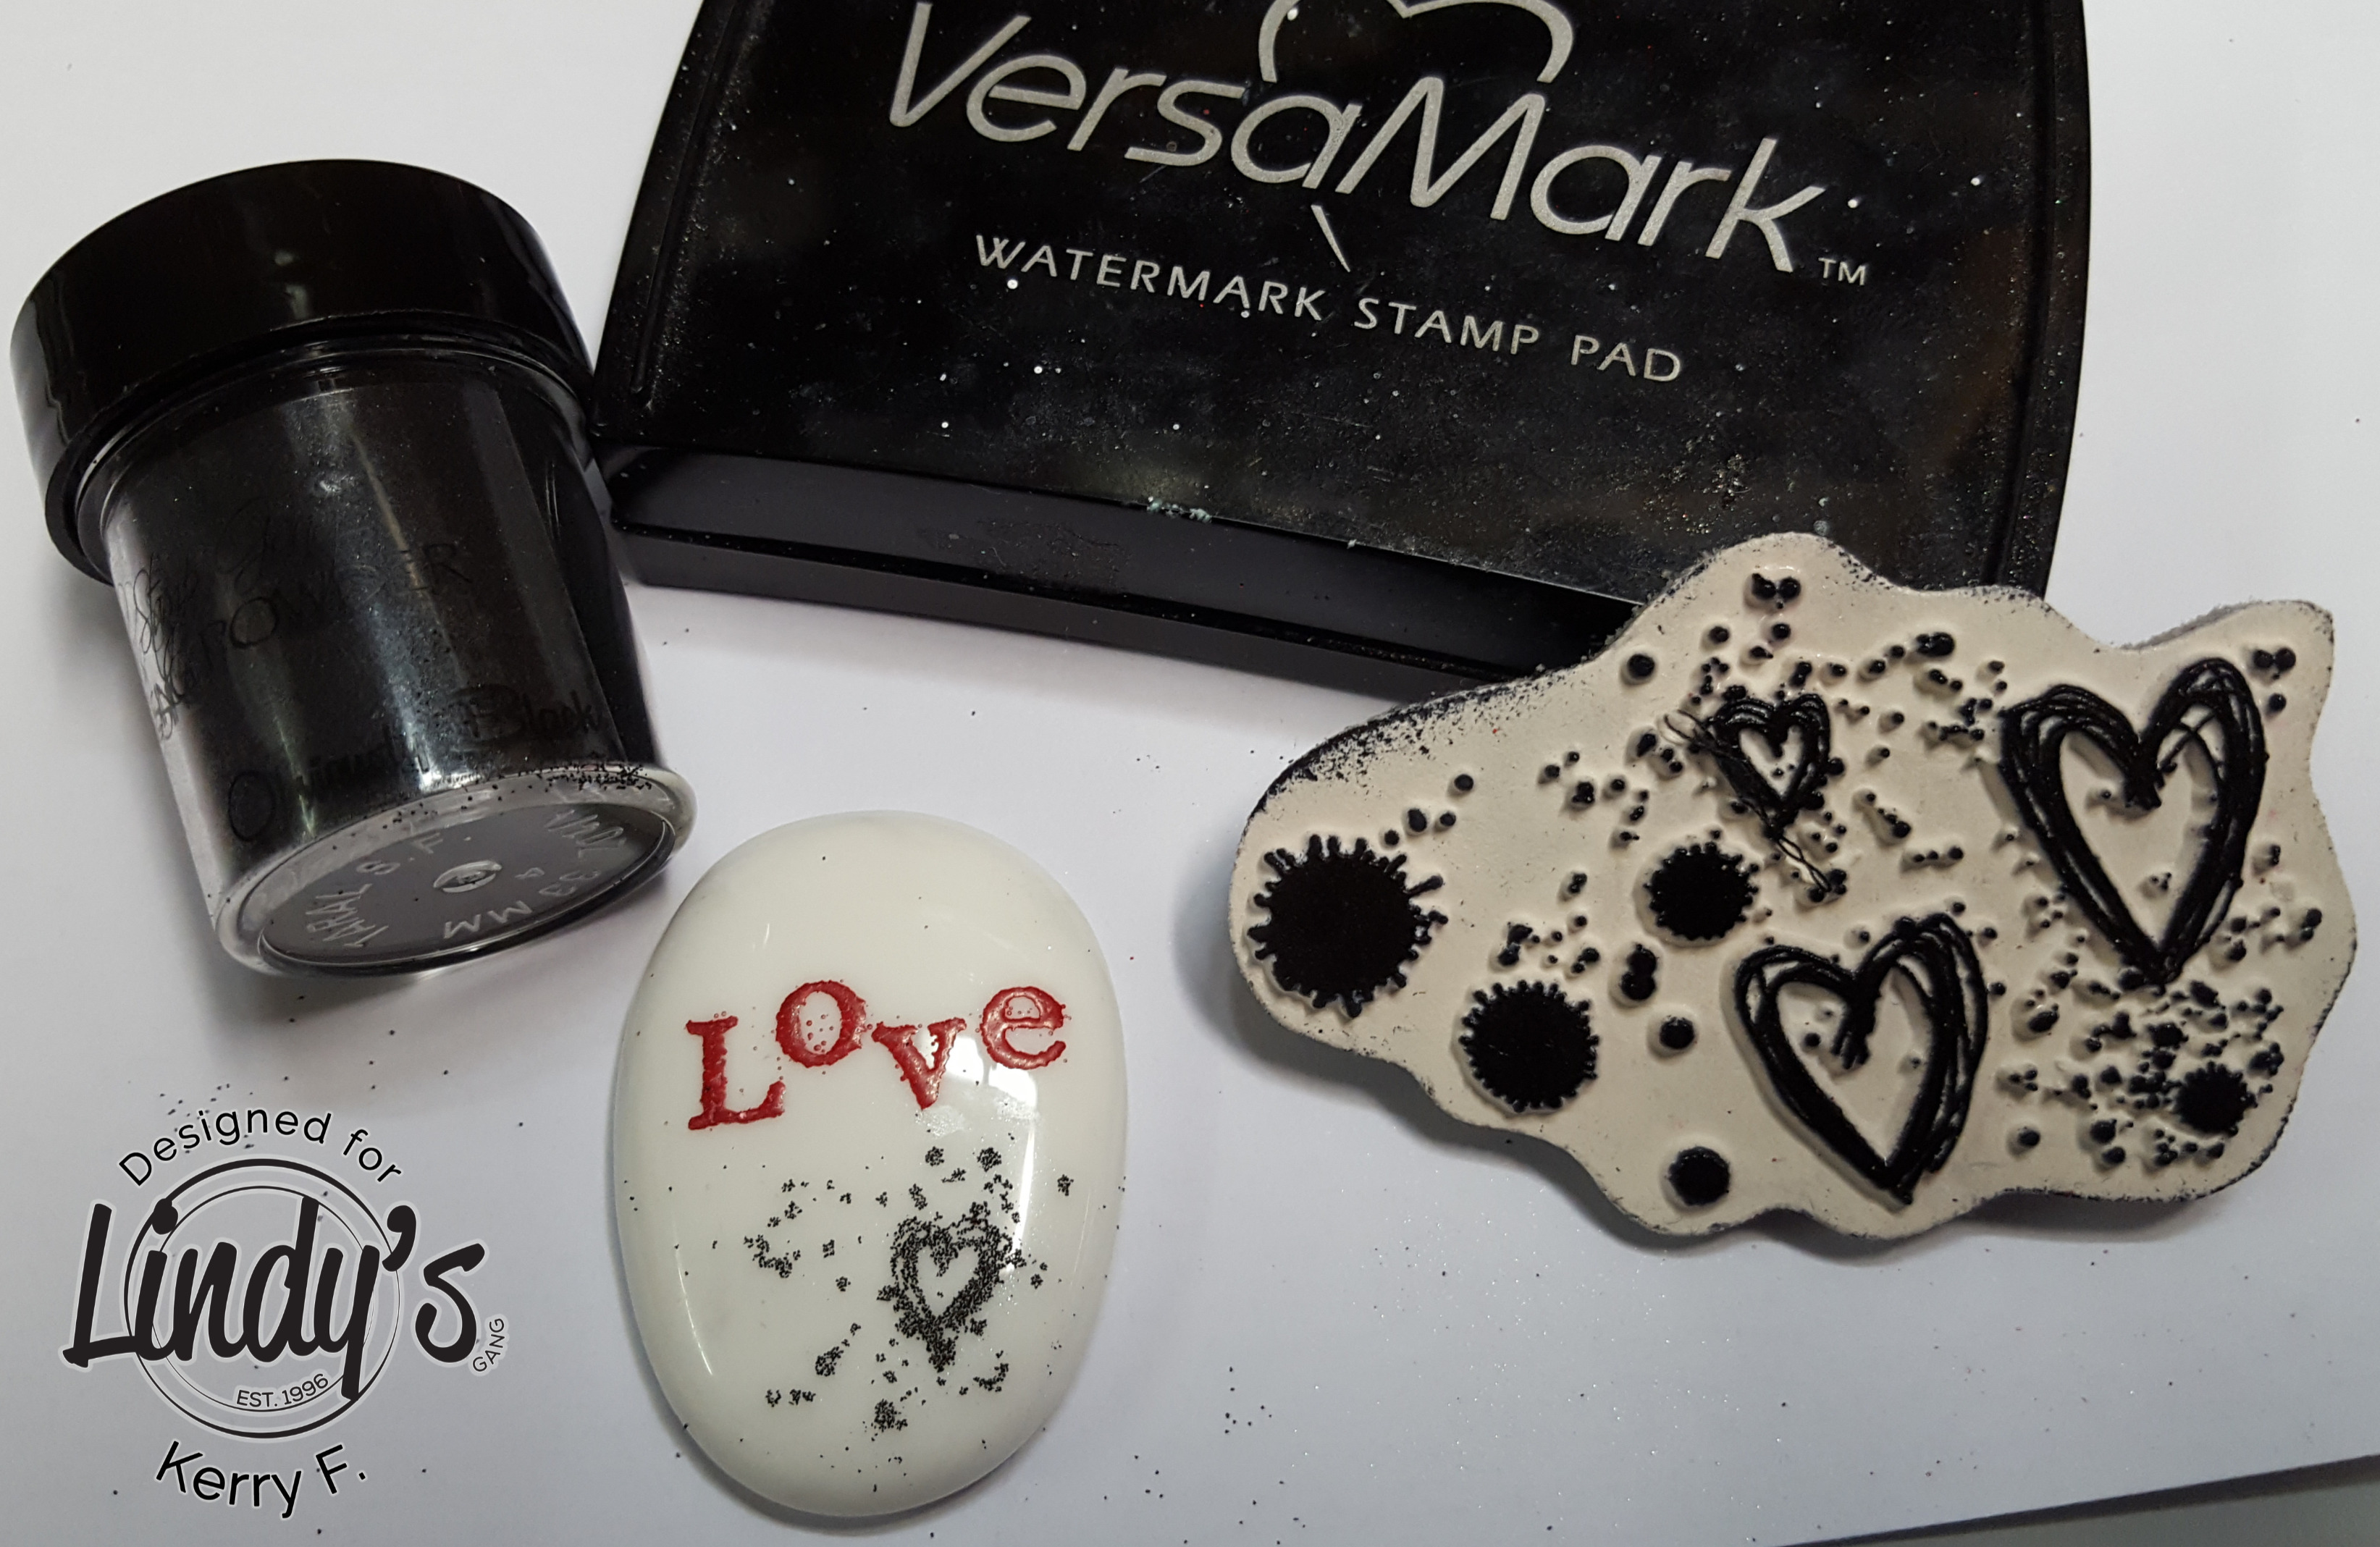
Once the pebble has cooled, add a second stamp for interest and sprinkle with a different color of embossing powder, and heat set.

5

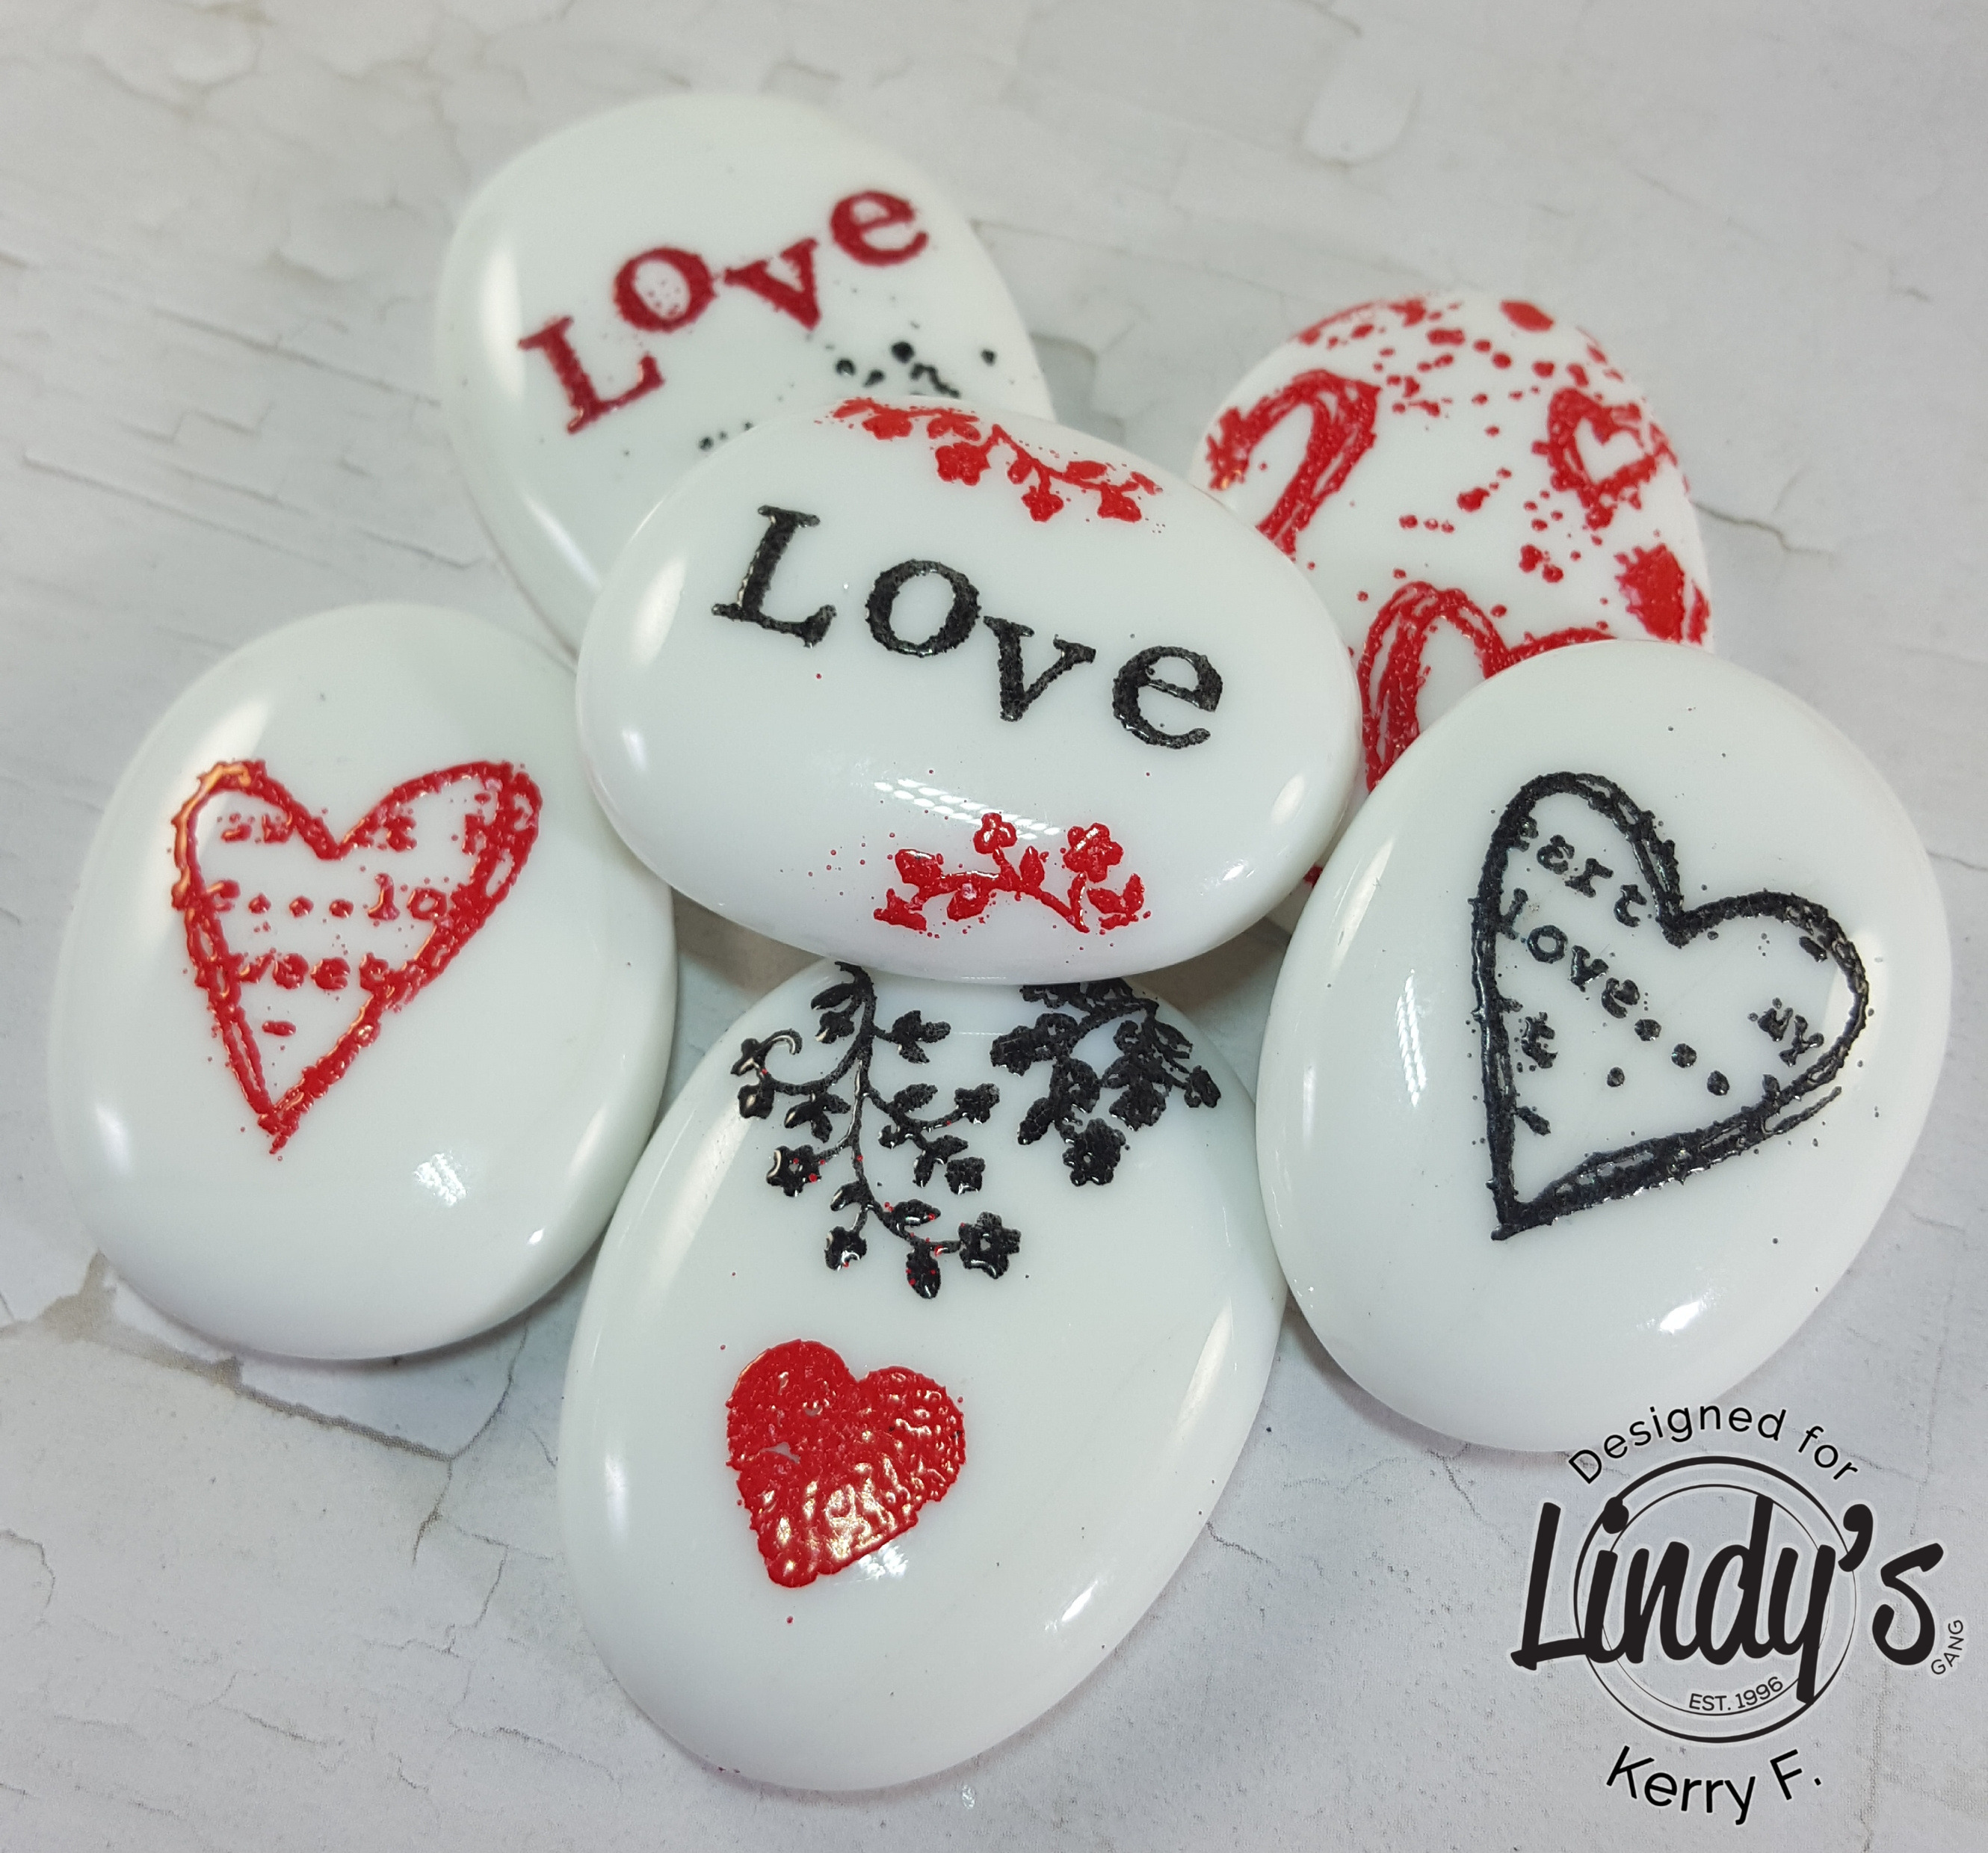
The embossed image will remain a little raised on the surface... soooo cute!

2

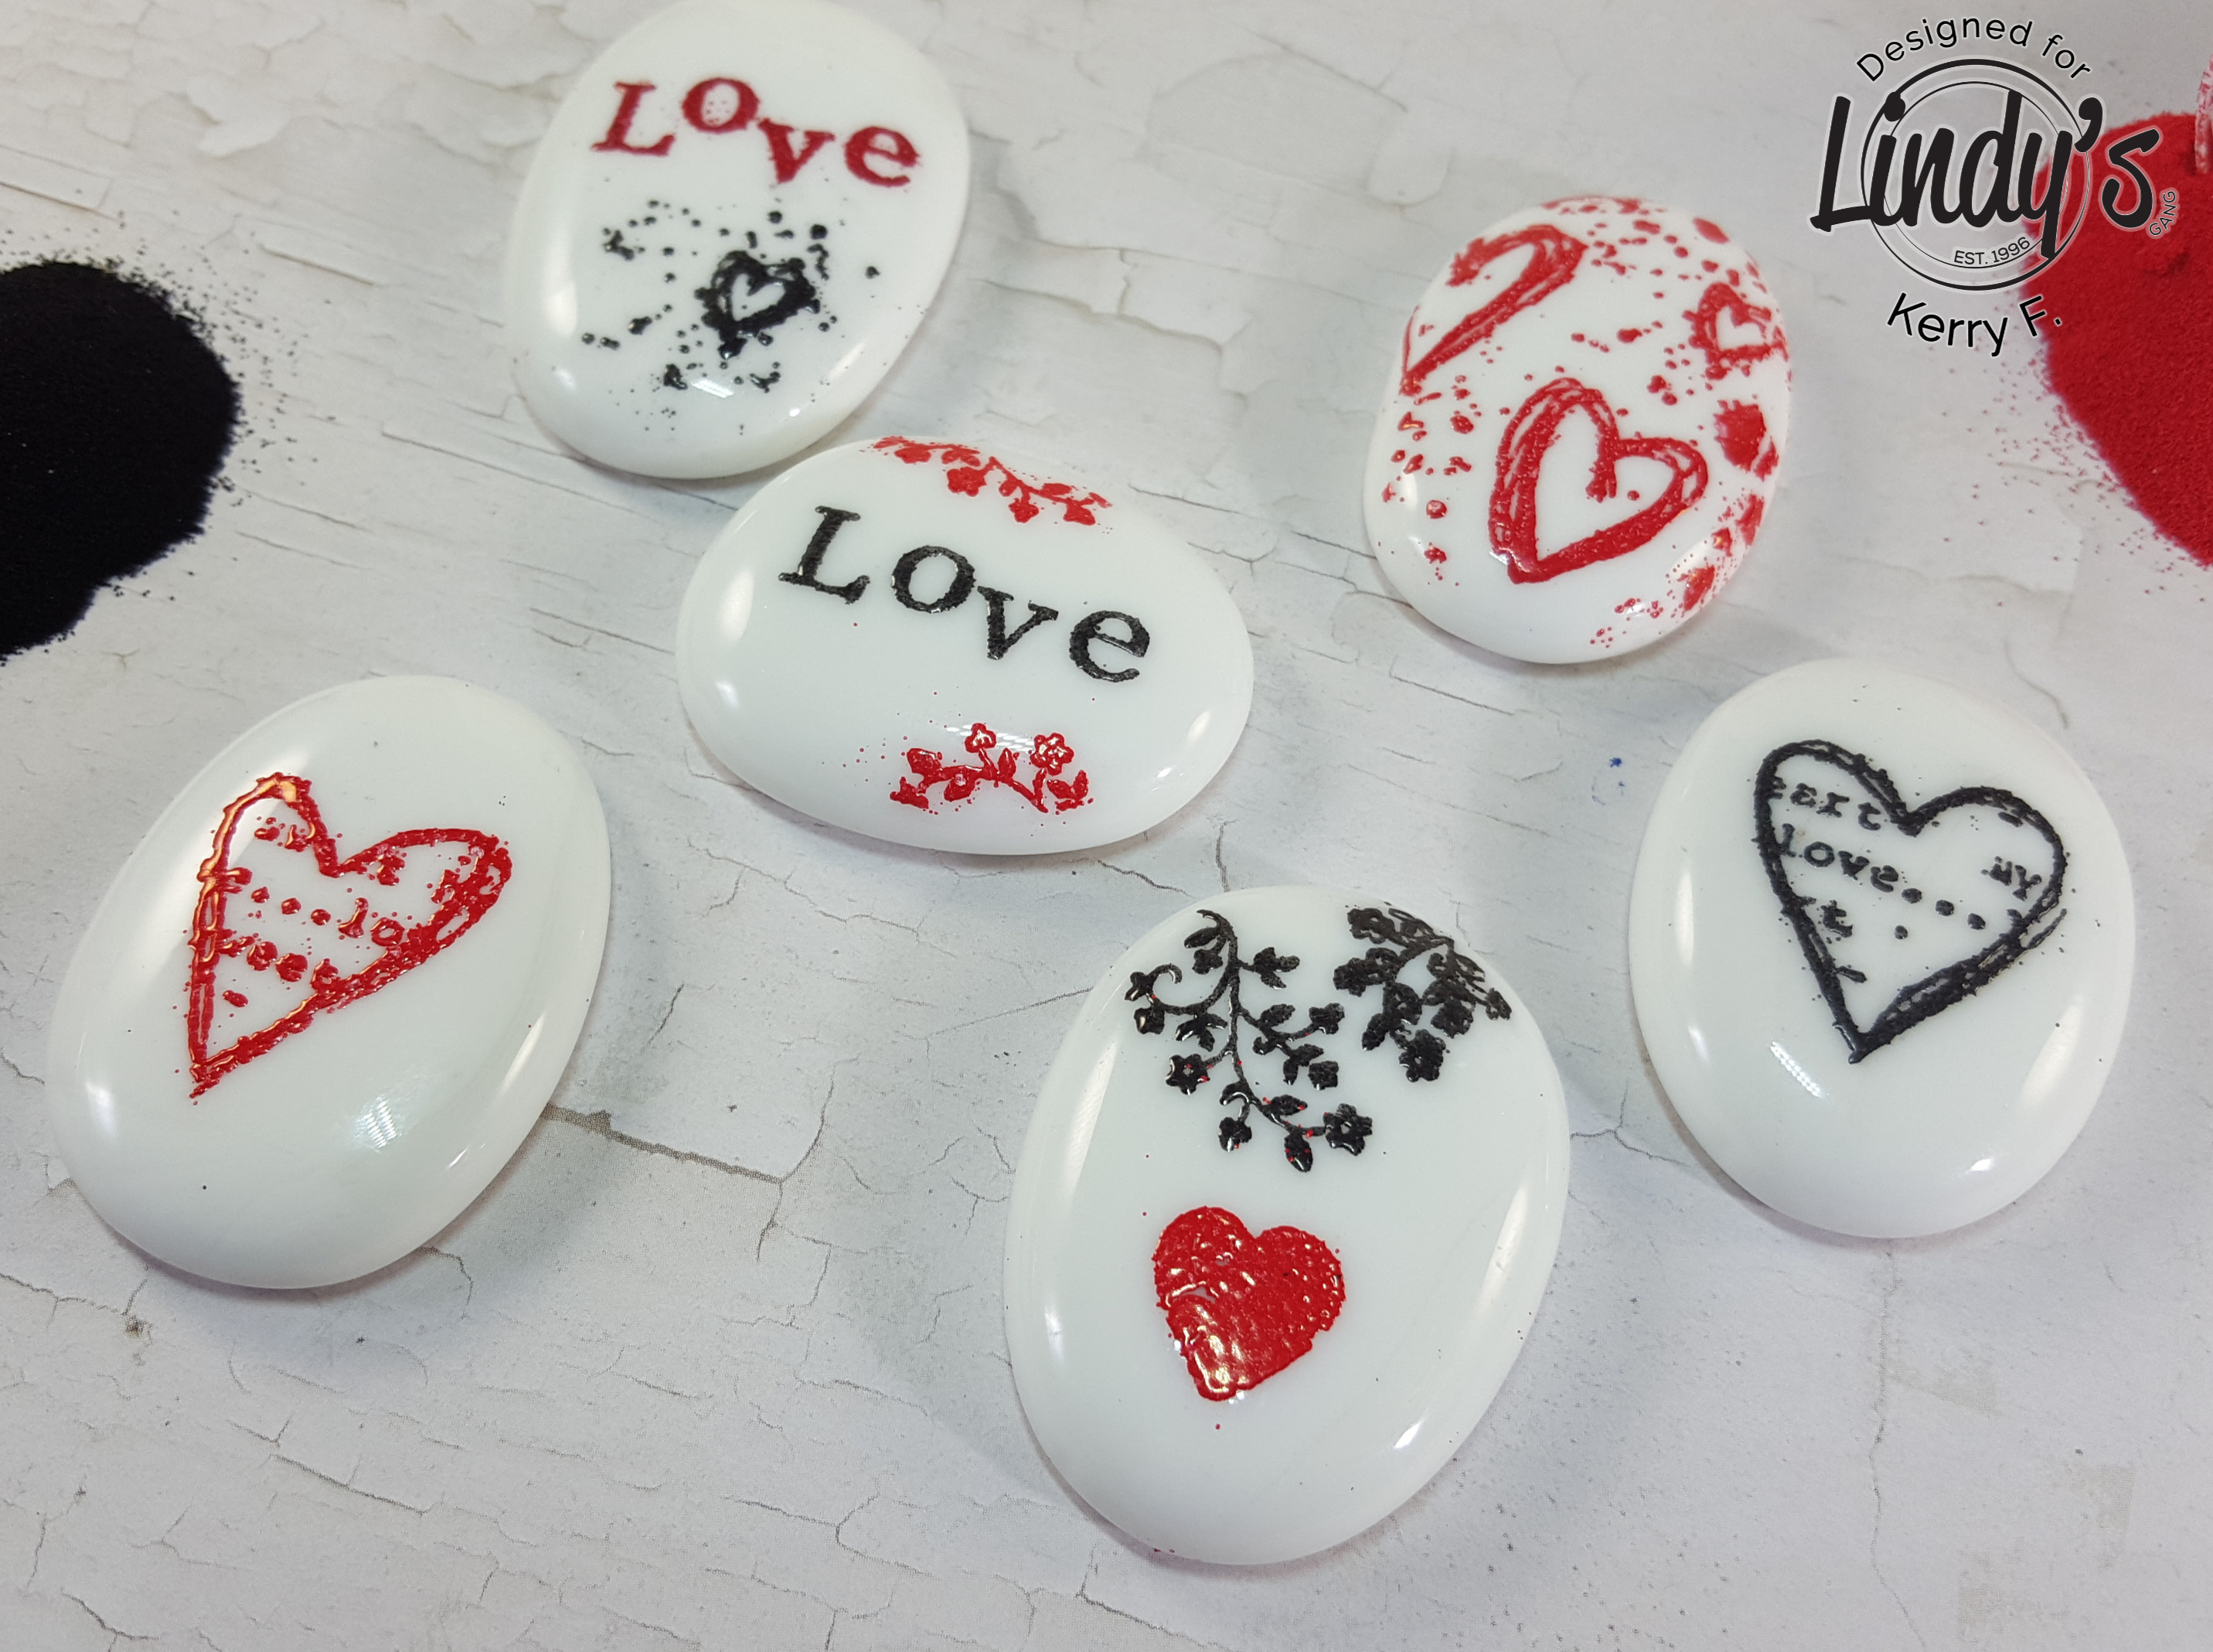
They look great on their own....

1(1)

or in a set :)

4

Lindys Products: Obviously Black Embossing Powder and Cuckoo Clock Cardinal Embossing powder
Other Products:Embossing Ink, heat tool, stamps. pebbles.

Thanks for dropping by and have a Magical Day x

Friday, 2 March 2018

March Color Challenge for Lindy's

Hello! This month's color challenge set from Lindy's is GORGEOUS!! Take a look for yourself! So happy and just YUM!!


I have created a journal page using these awesome colors.  


I have made the 3 larger flowers with some watercolor paper, so they are quite dimensional.


March challenge colors are:
Sprays - Luscious Lime, Luminous Lemon, Witch's Potion Purple, C'est la vie Cerise and Hi Maintenance Magenta
Embossing Powders - drop dead gorgeous green, luminous lemon, imperial crown, c'est la vie cerise and hi maintenance magenta


You can check out all the inspiration from the Lindy's design team HERE.

If you would like to participate in the challenge, come and join us on Facebook 

Thanks for dropping by, and have a Magical Day xx
 

Thursday, 15 February 2018

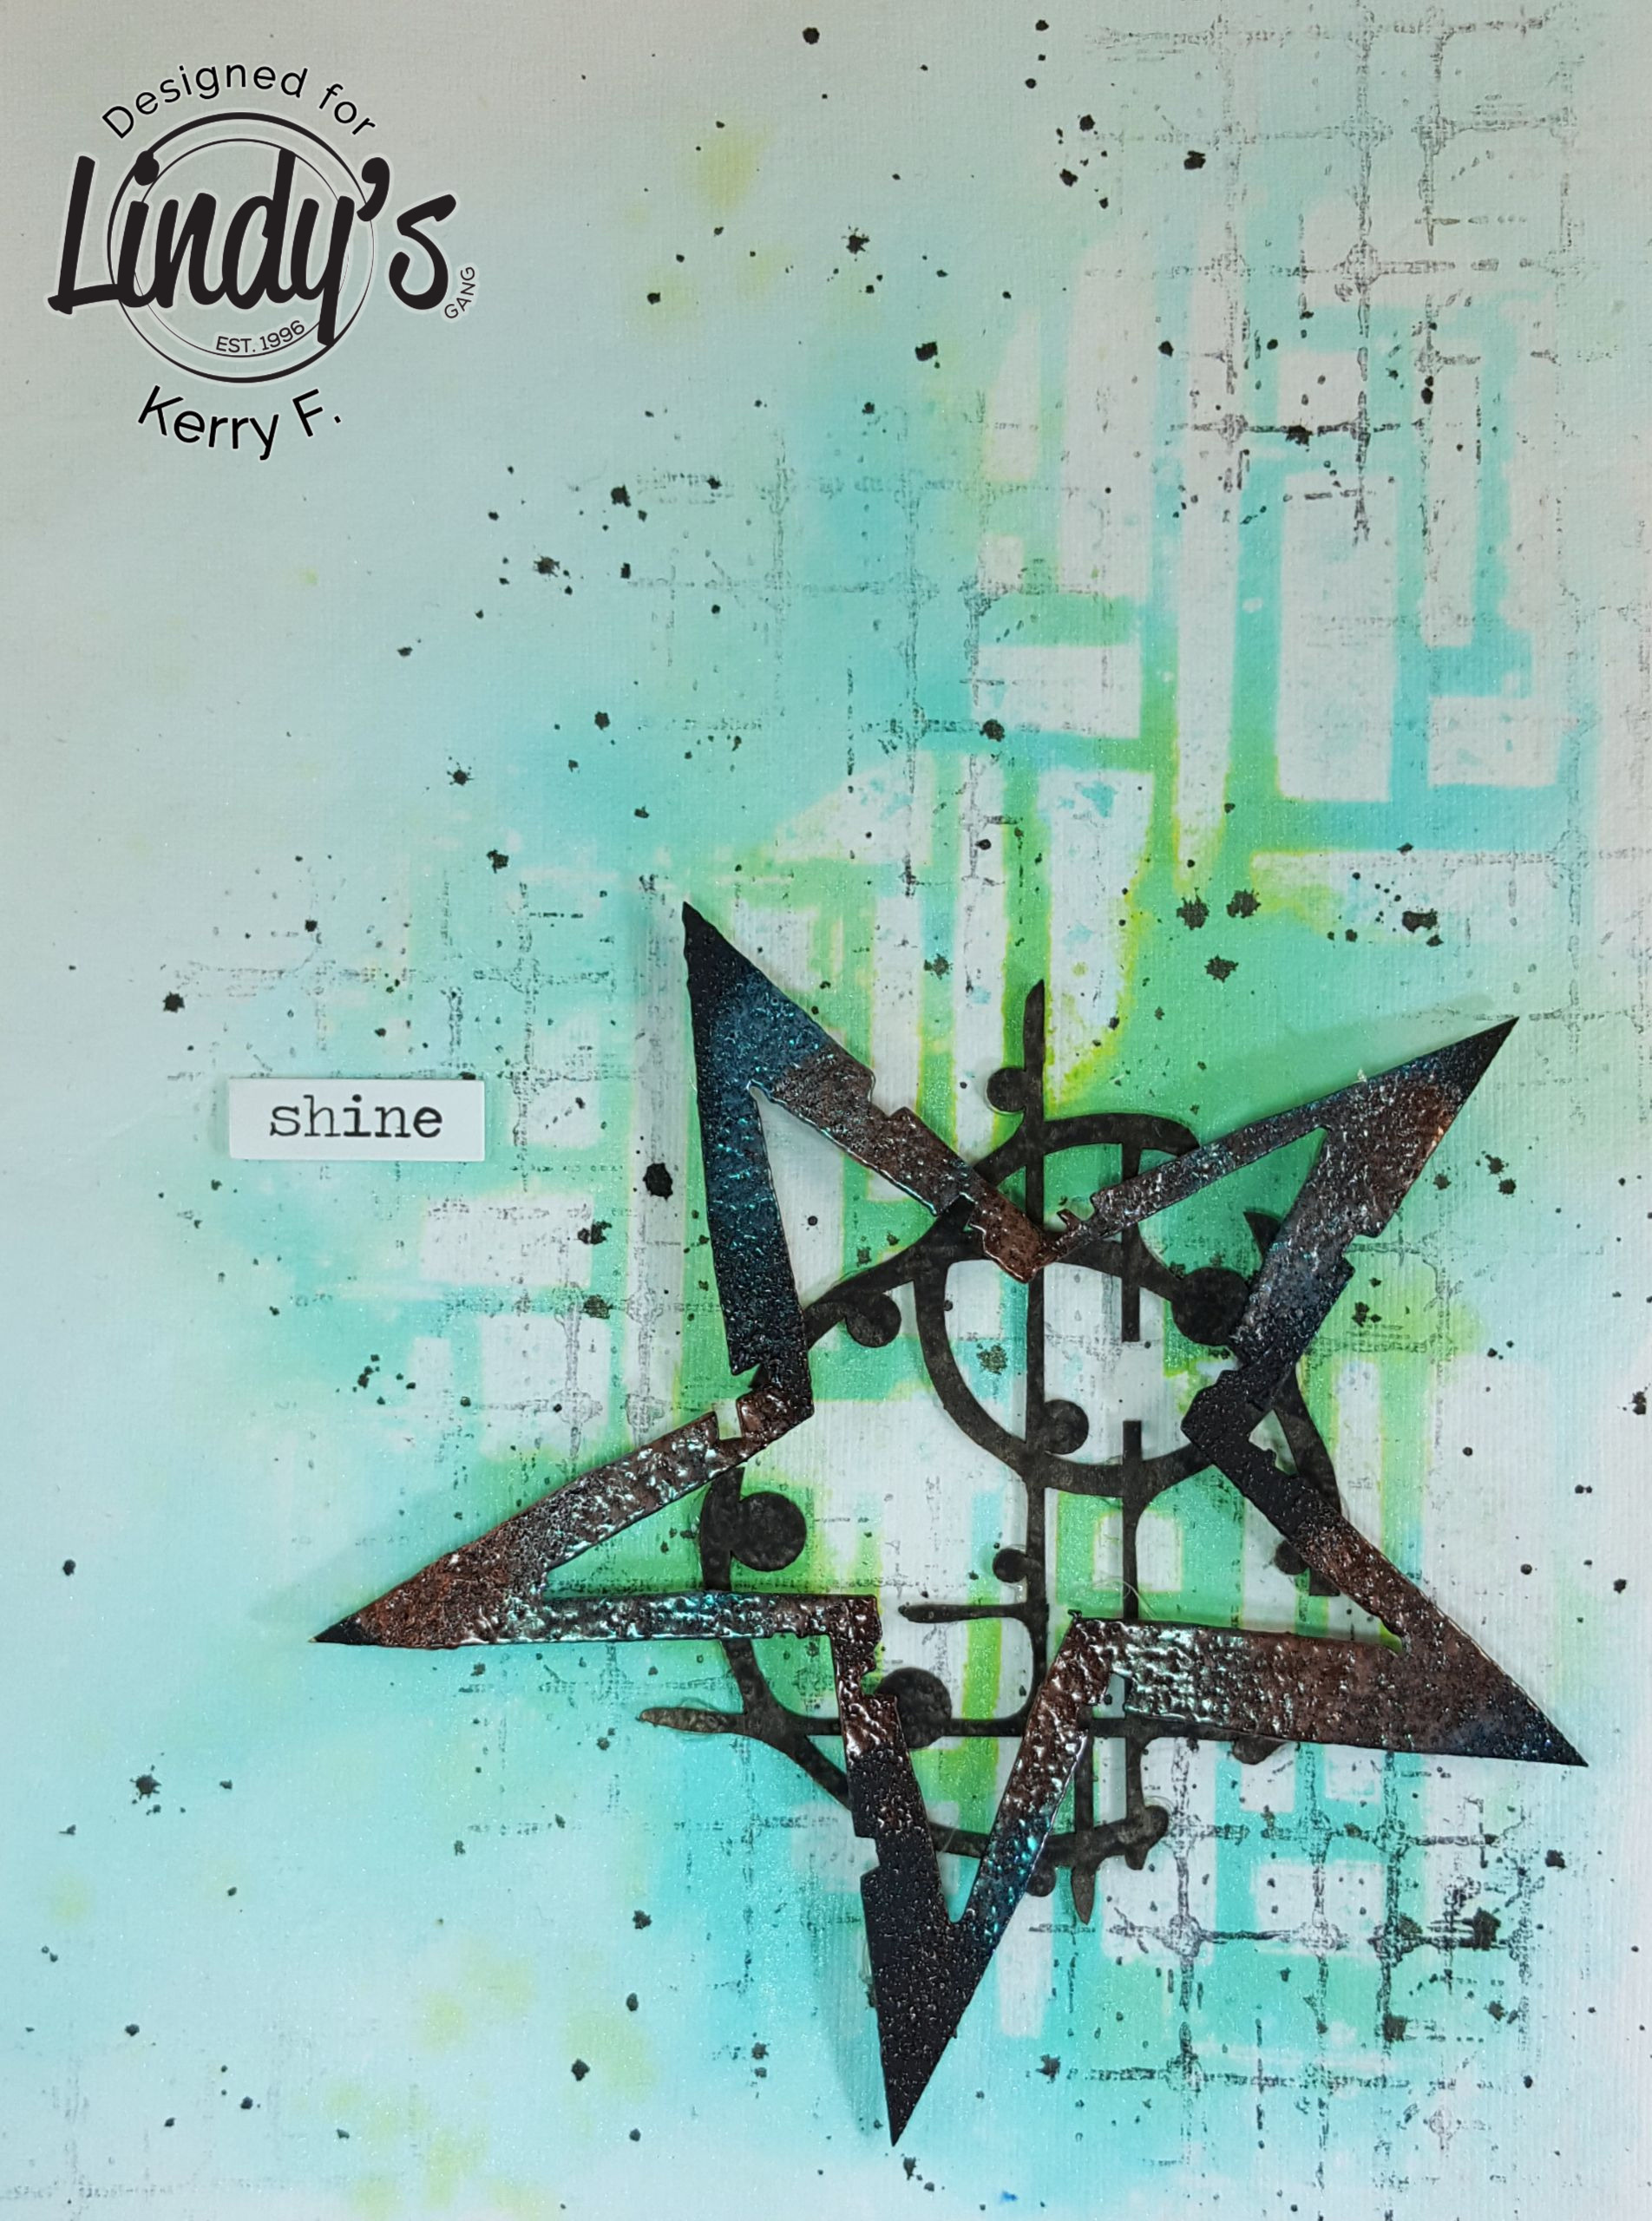
Shine - Journal page for Lindy's

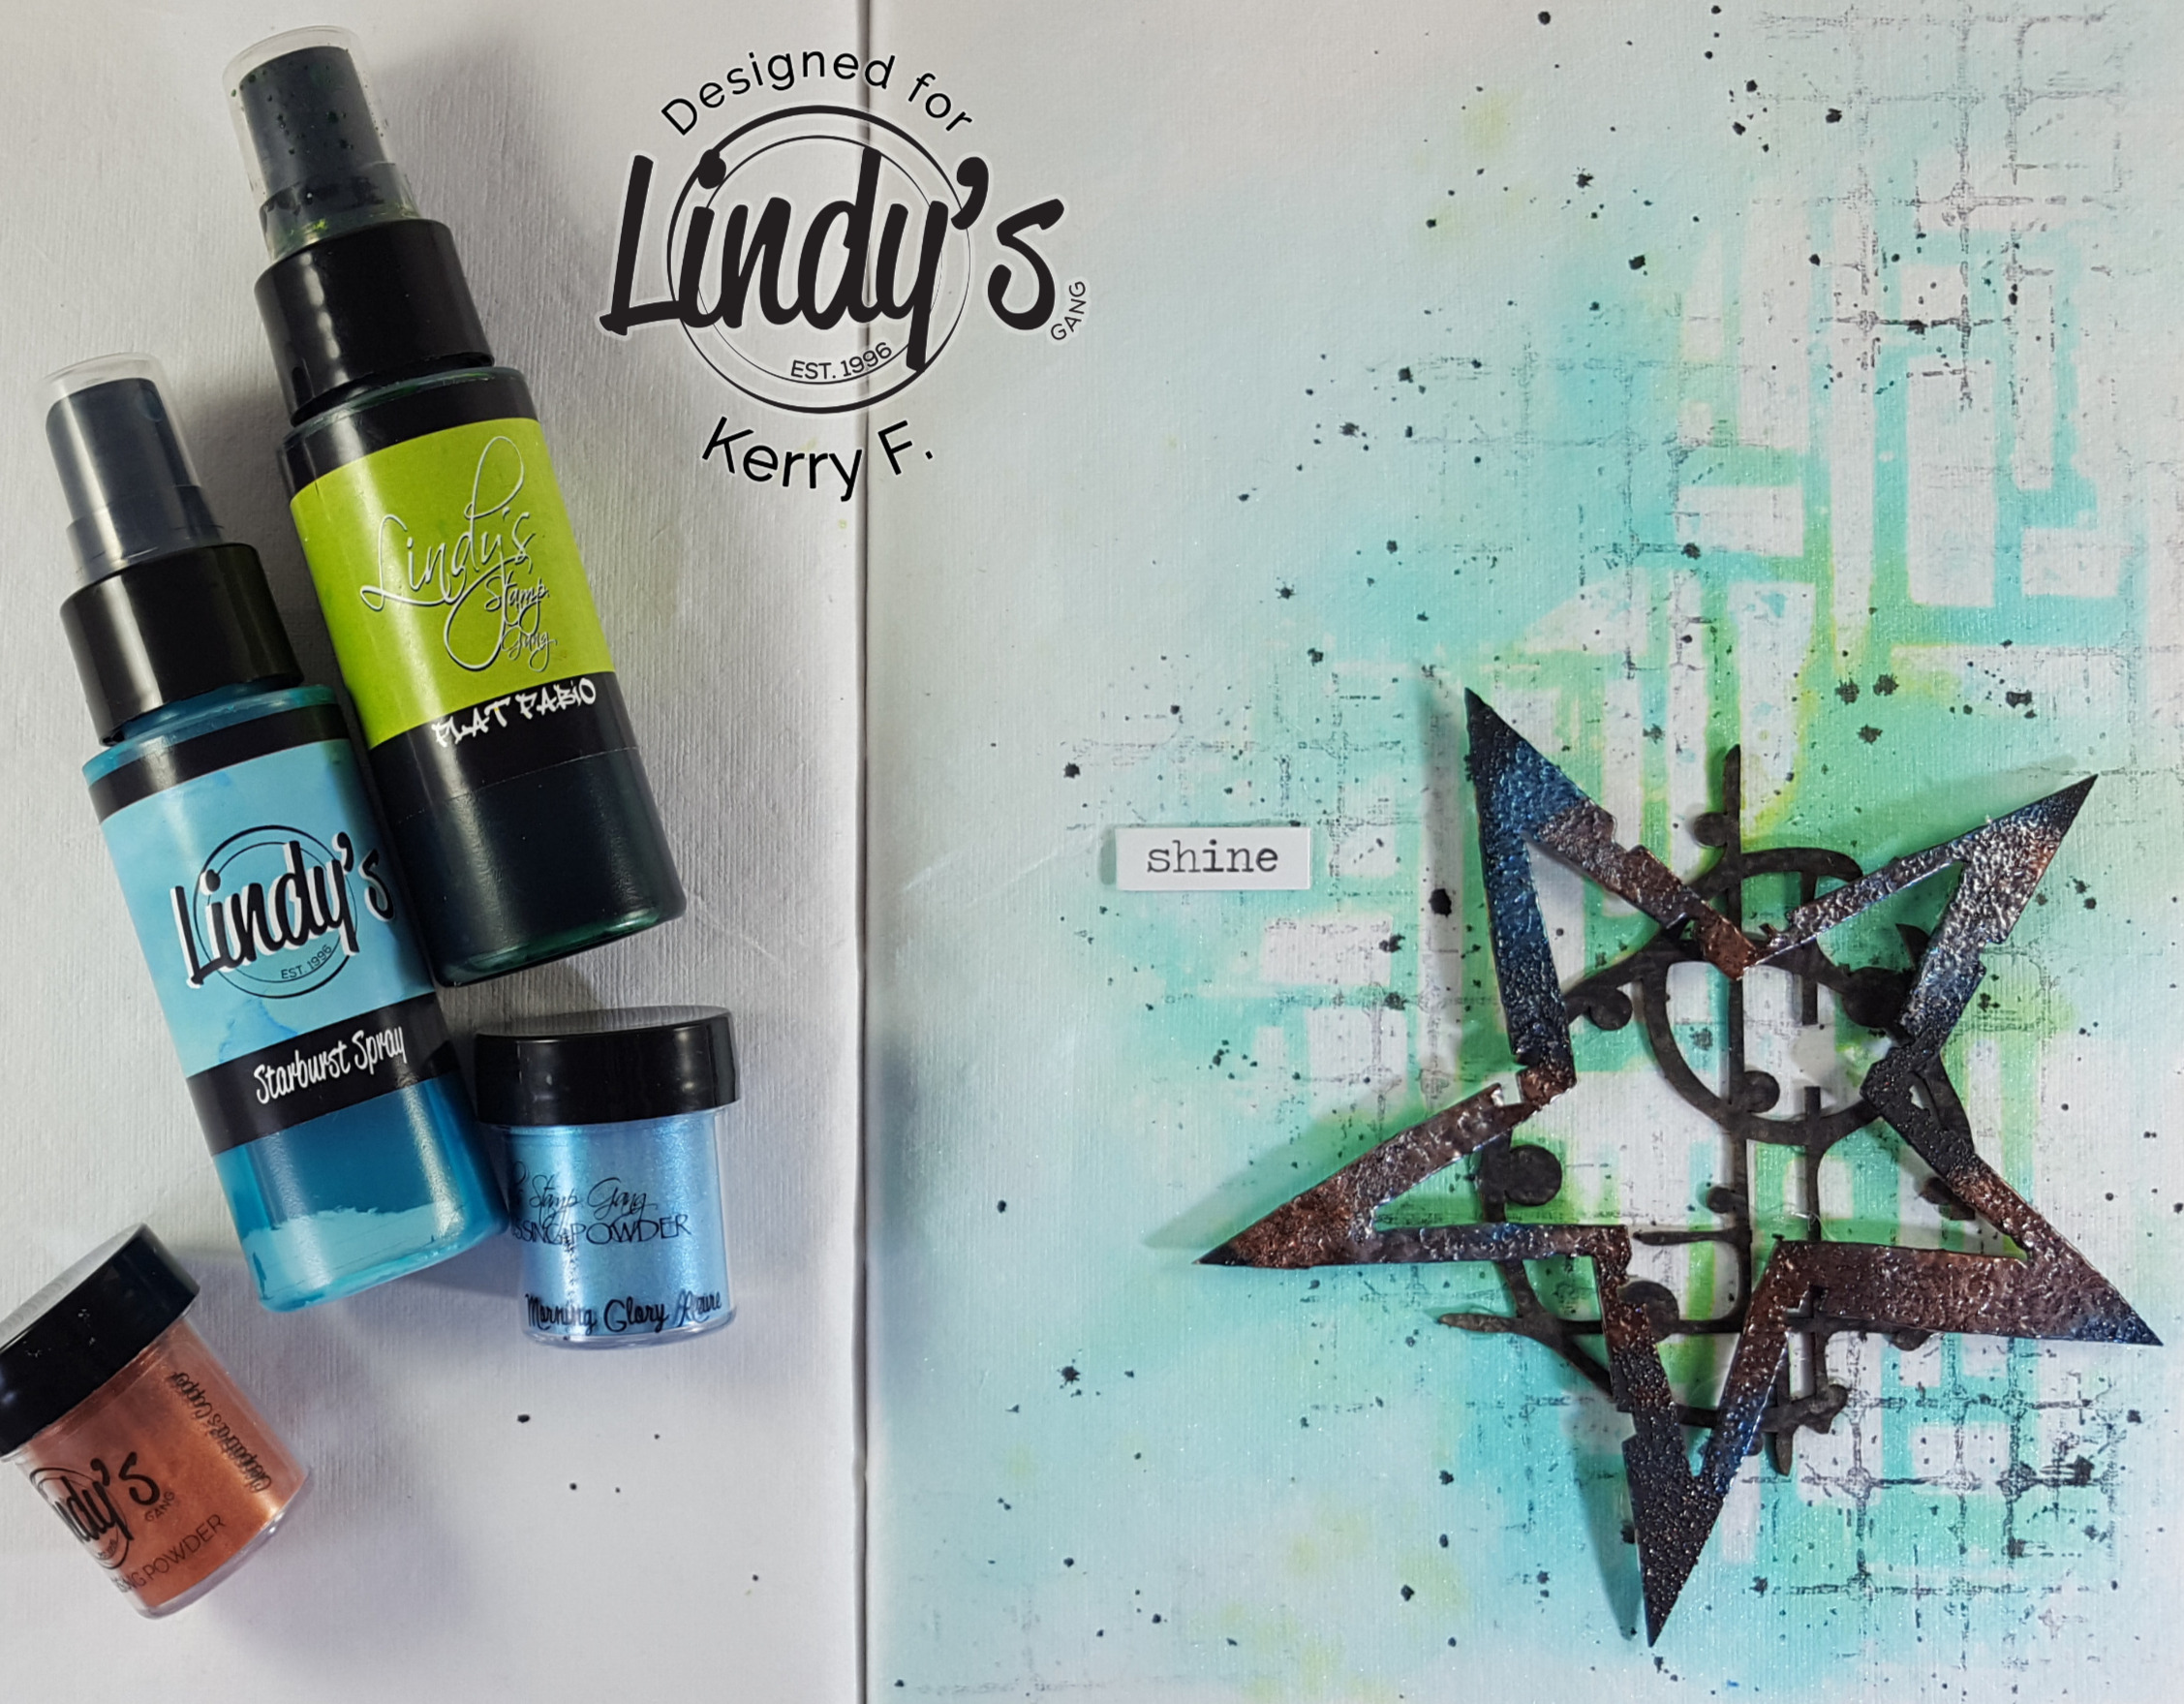
Hey there!  After a few weeks of holidays and getting the kids back to school its time to get back into the craft room for some serious play...errr, I mean work time! Today's project features some of the gorgeous Lindy's sprays and Embossing powders.

6

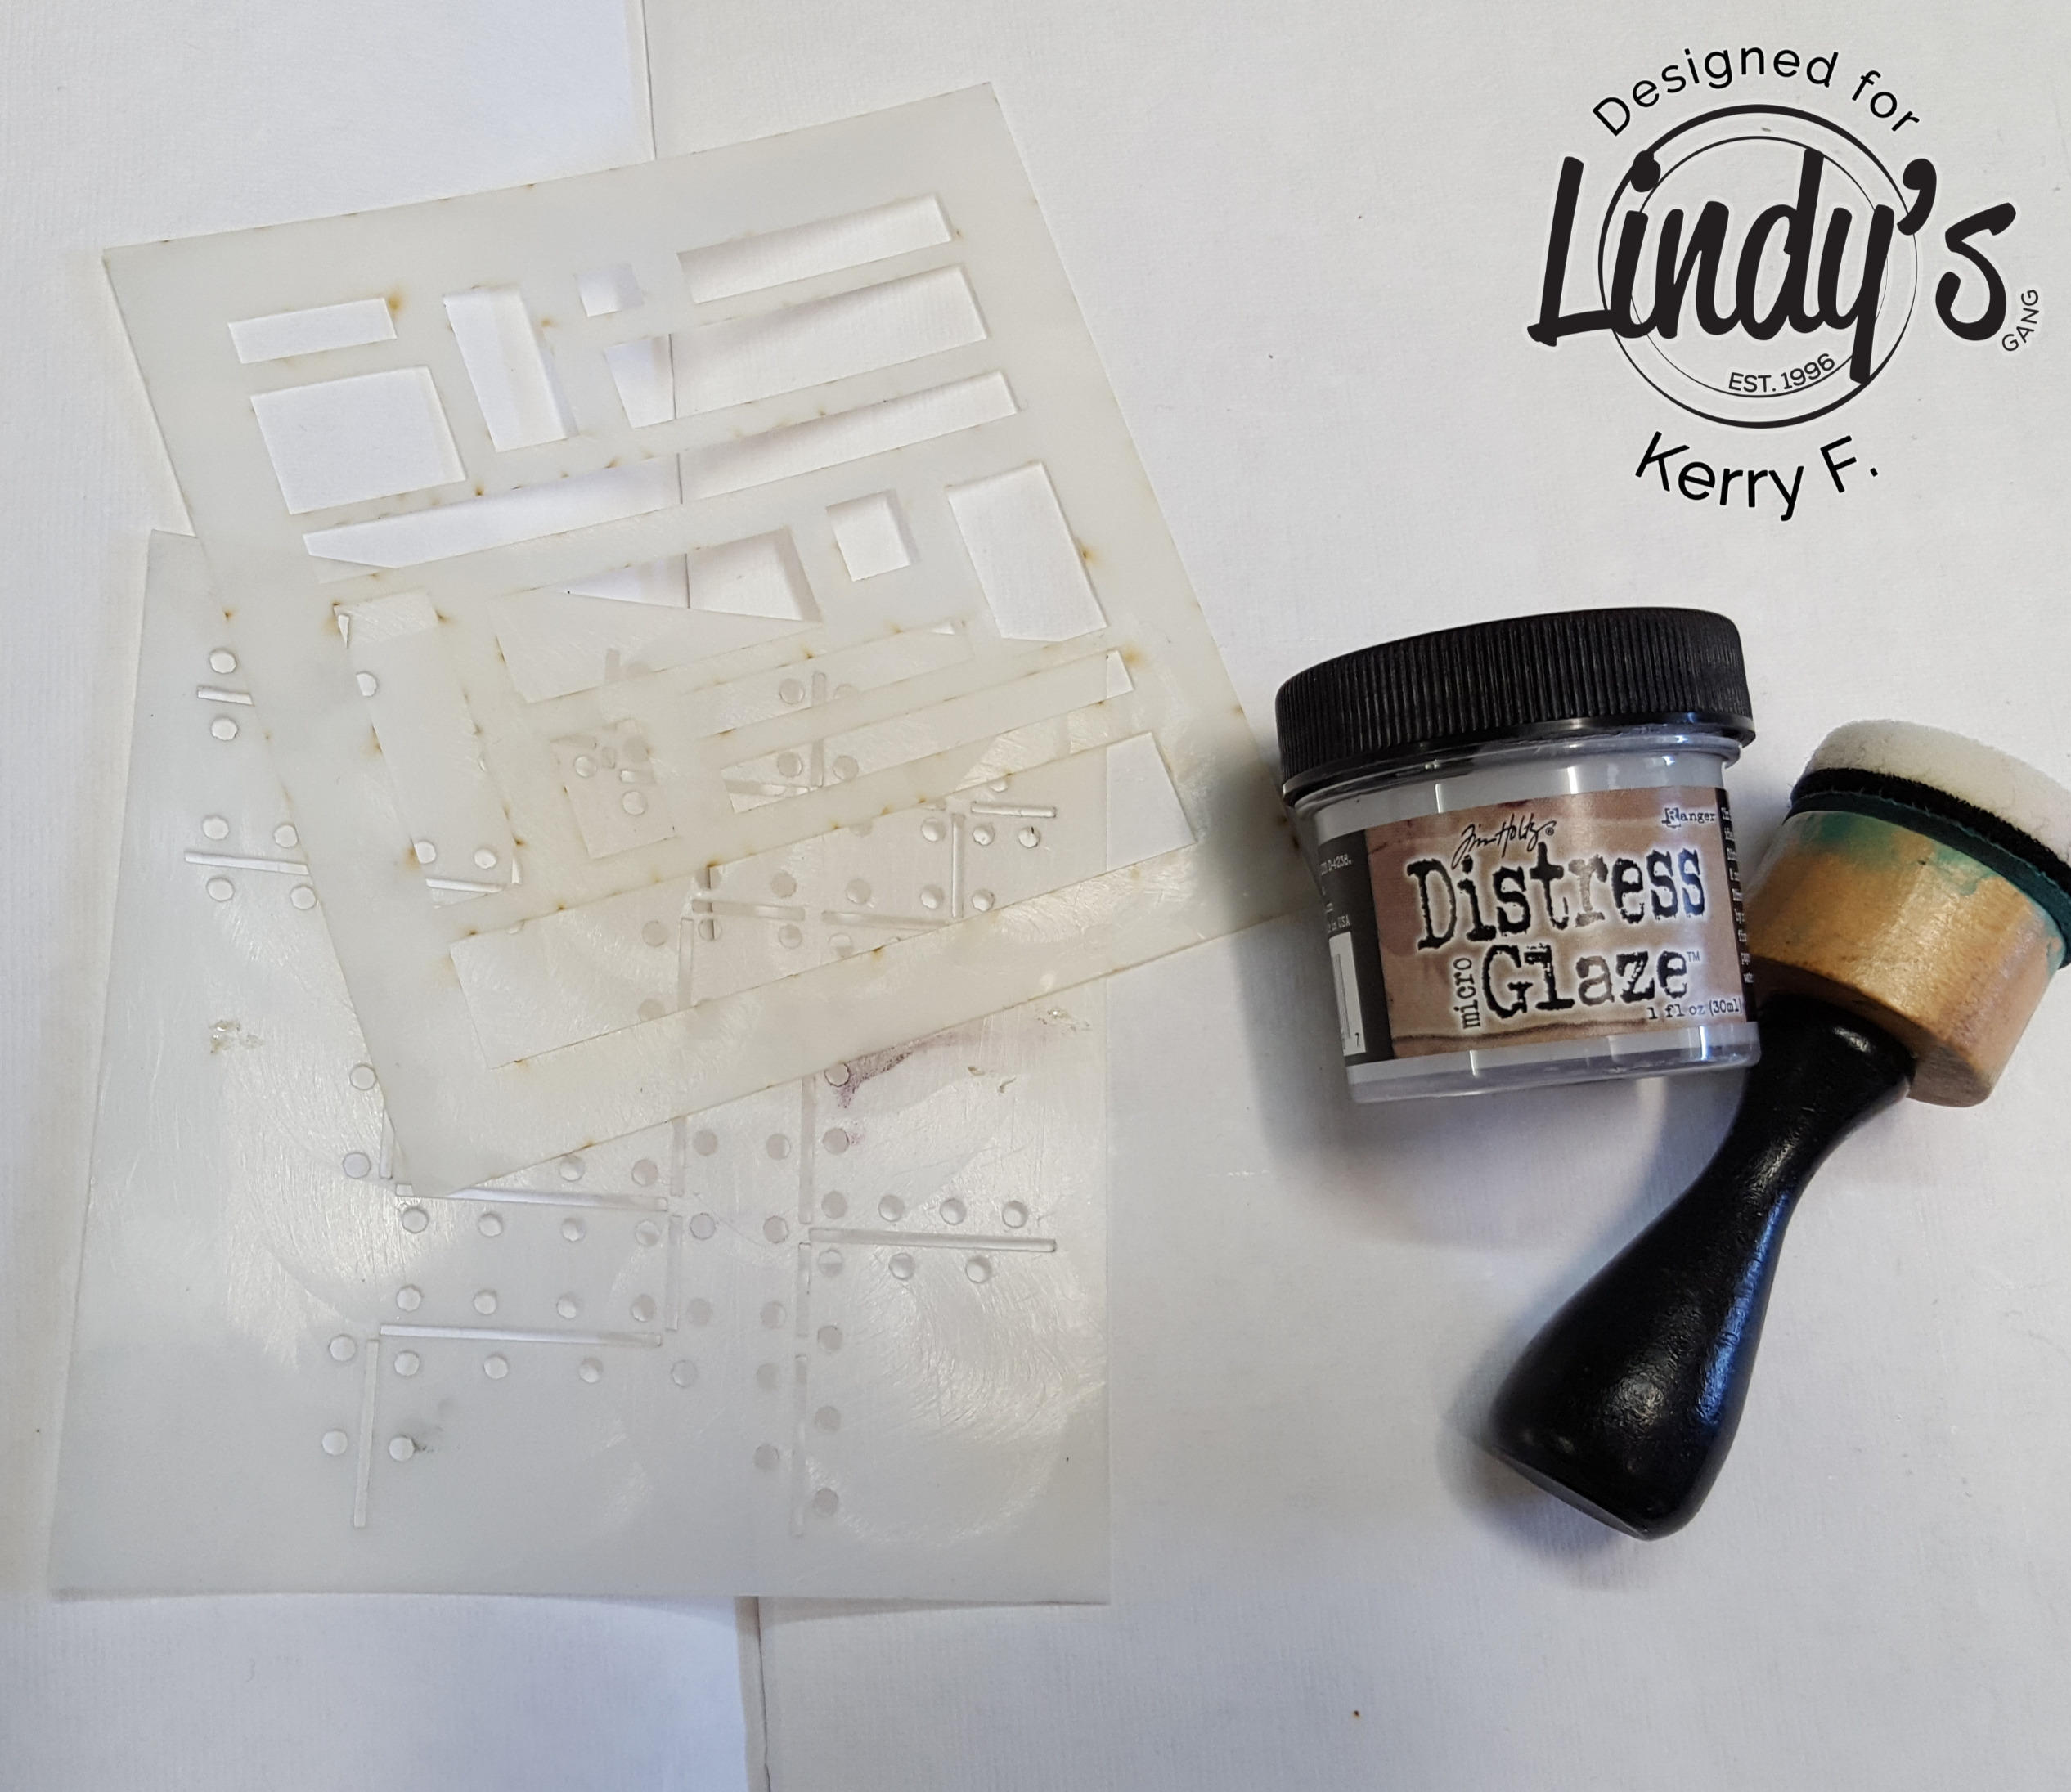
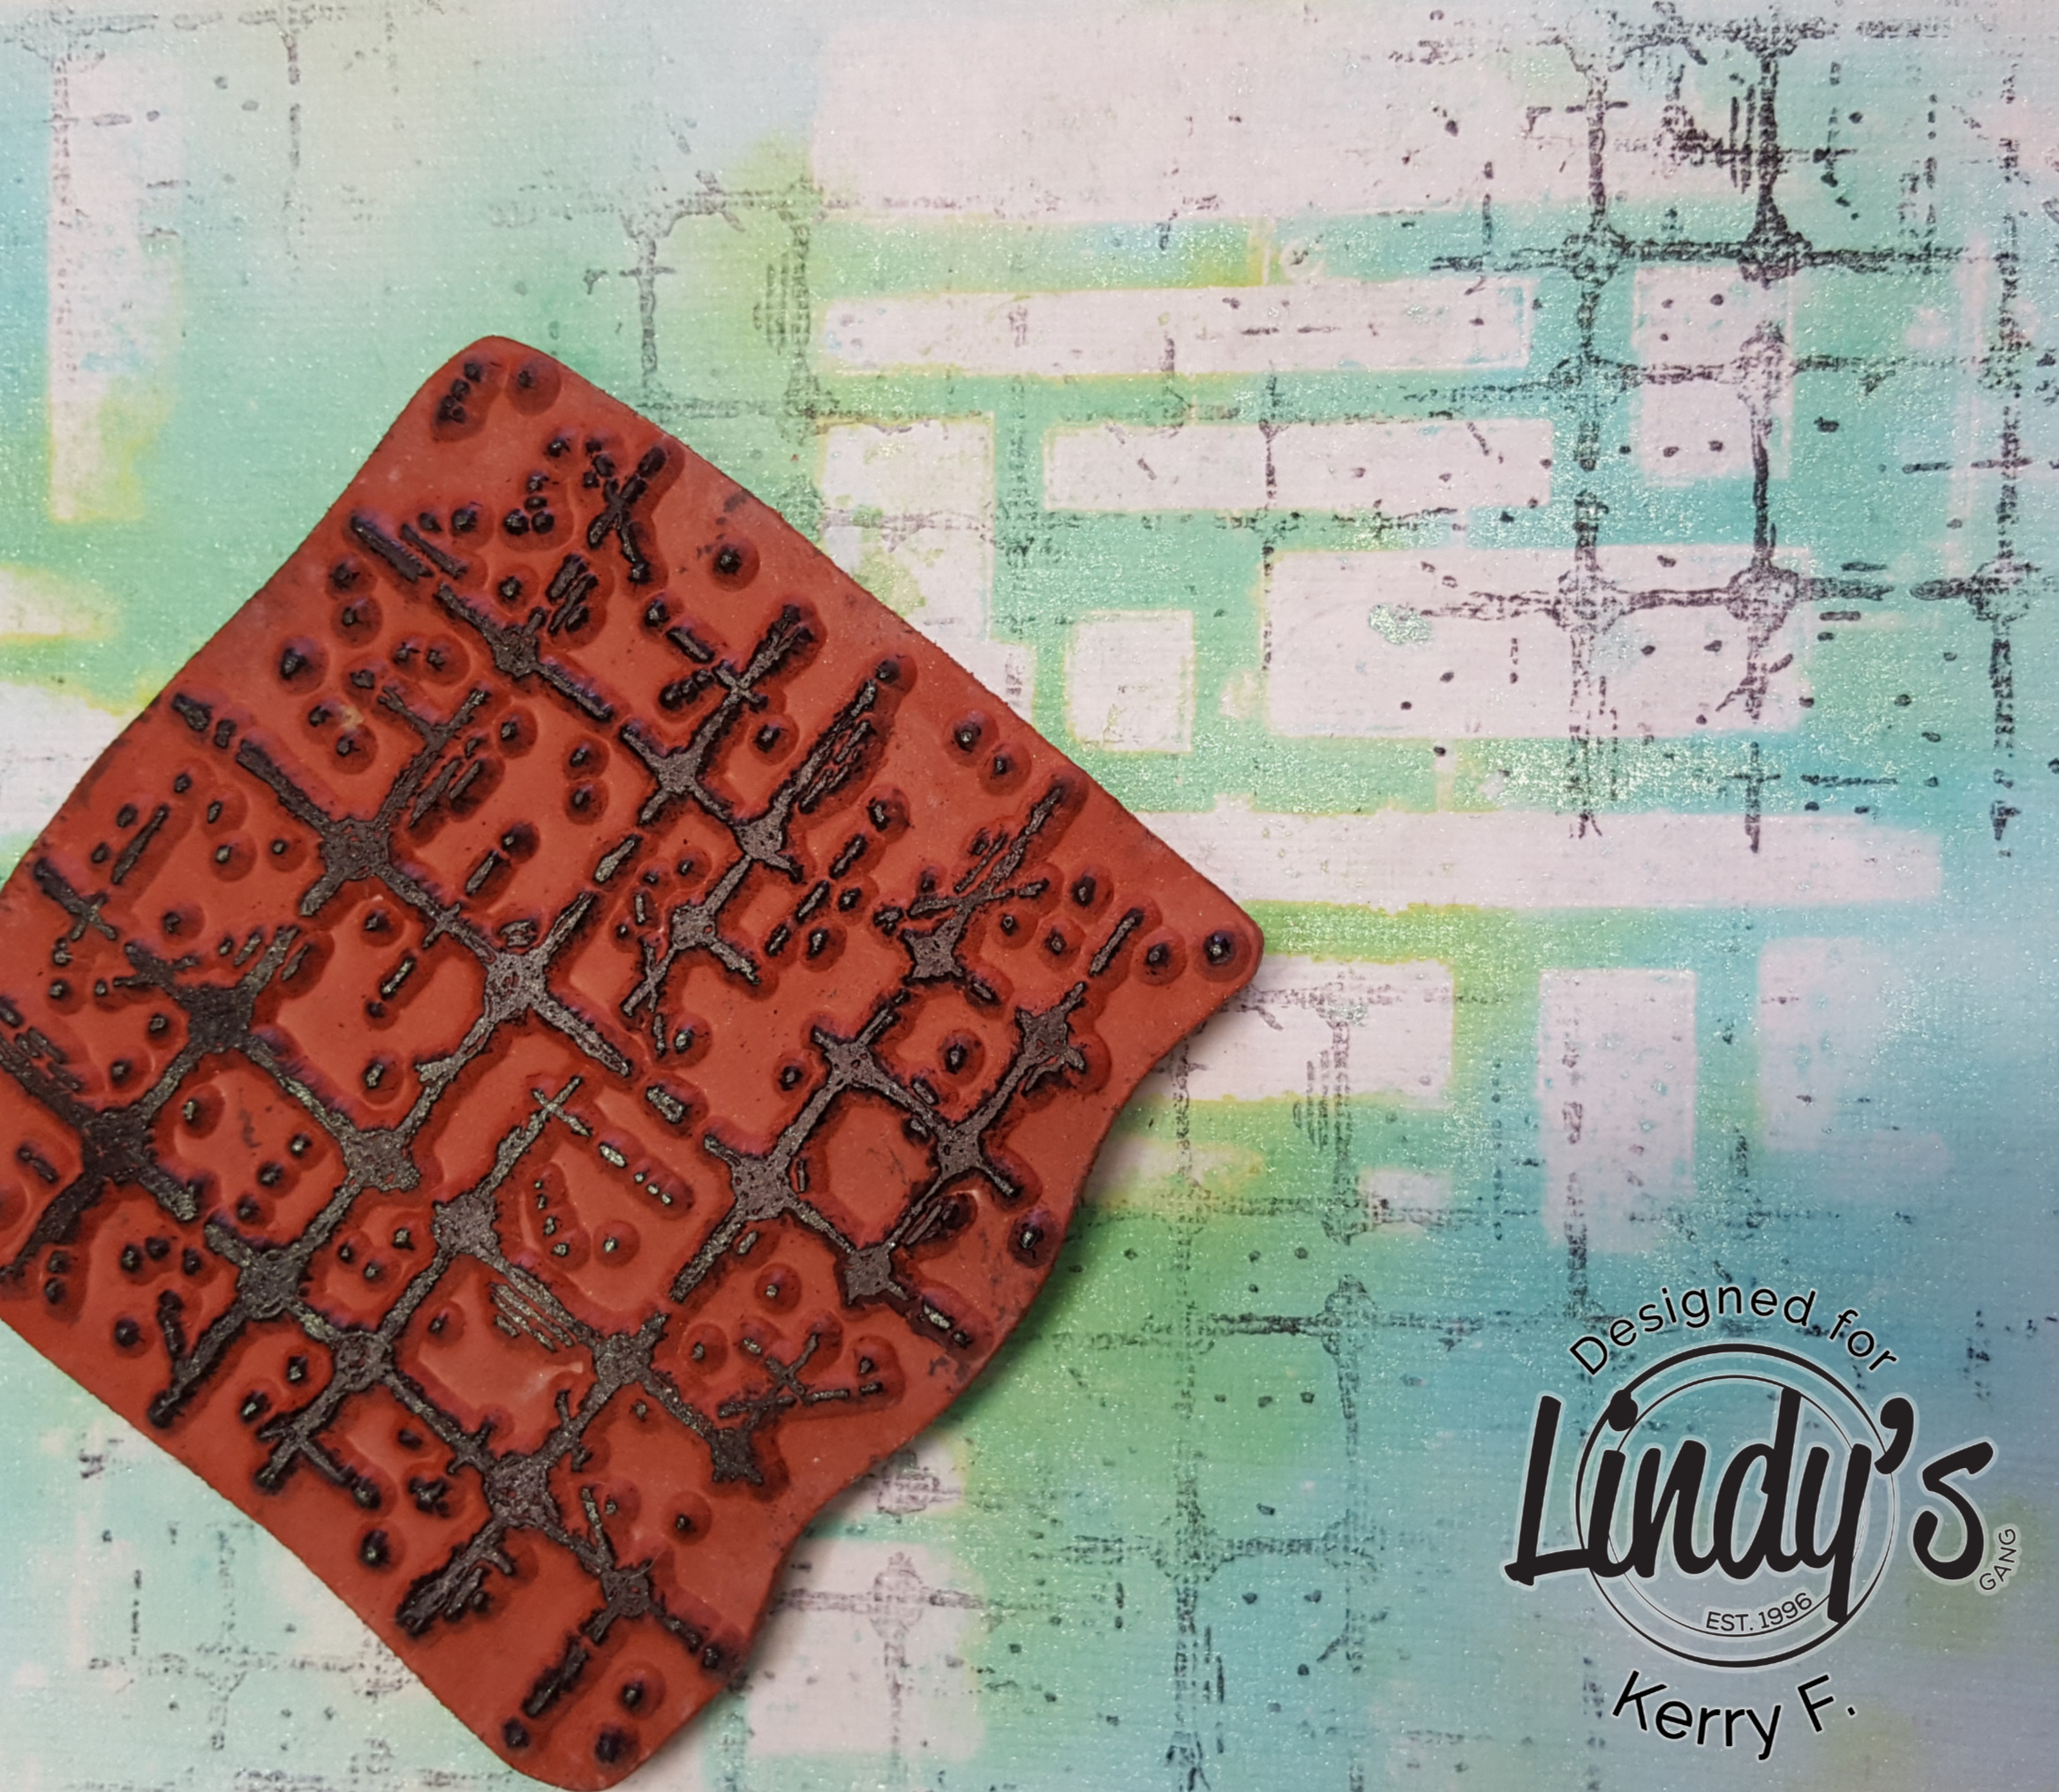
To start my page, I have selected a couple of Whichcraft stencils and some Distress micro glaze. Its a bit hard to see as the micro glaze is a clear 'creme' but I have applied it to my page through a stencil,  this will act as a resist to the sprays.

1 

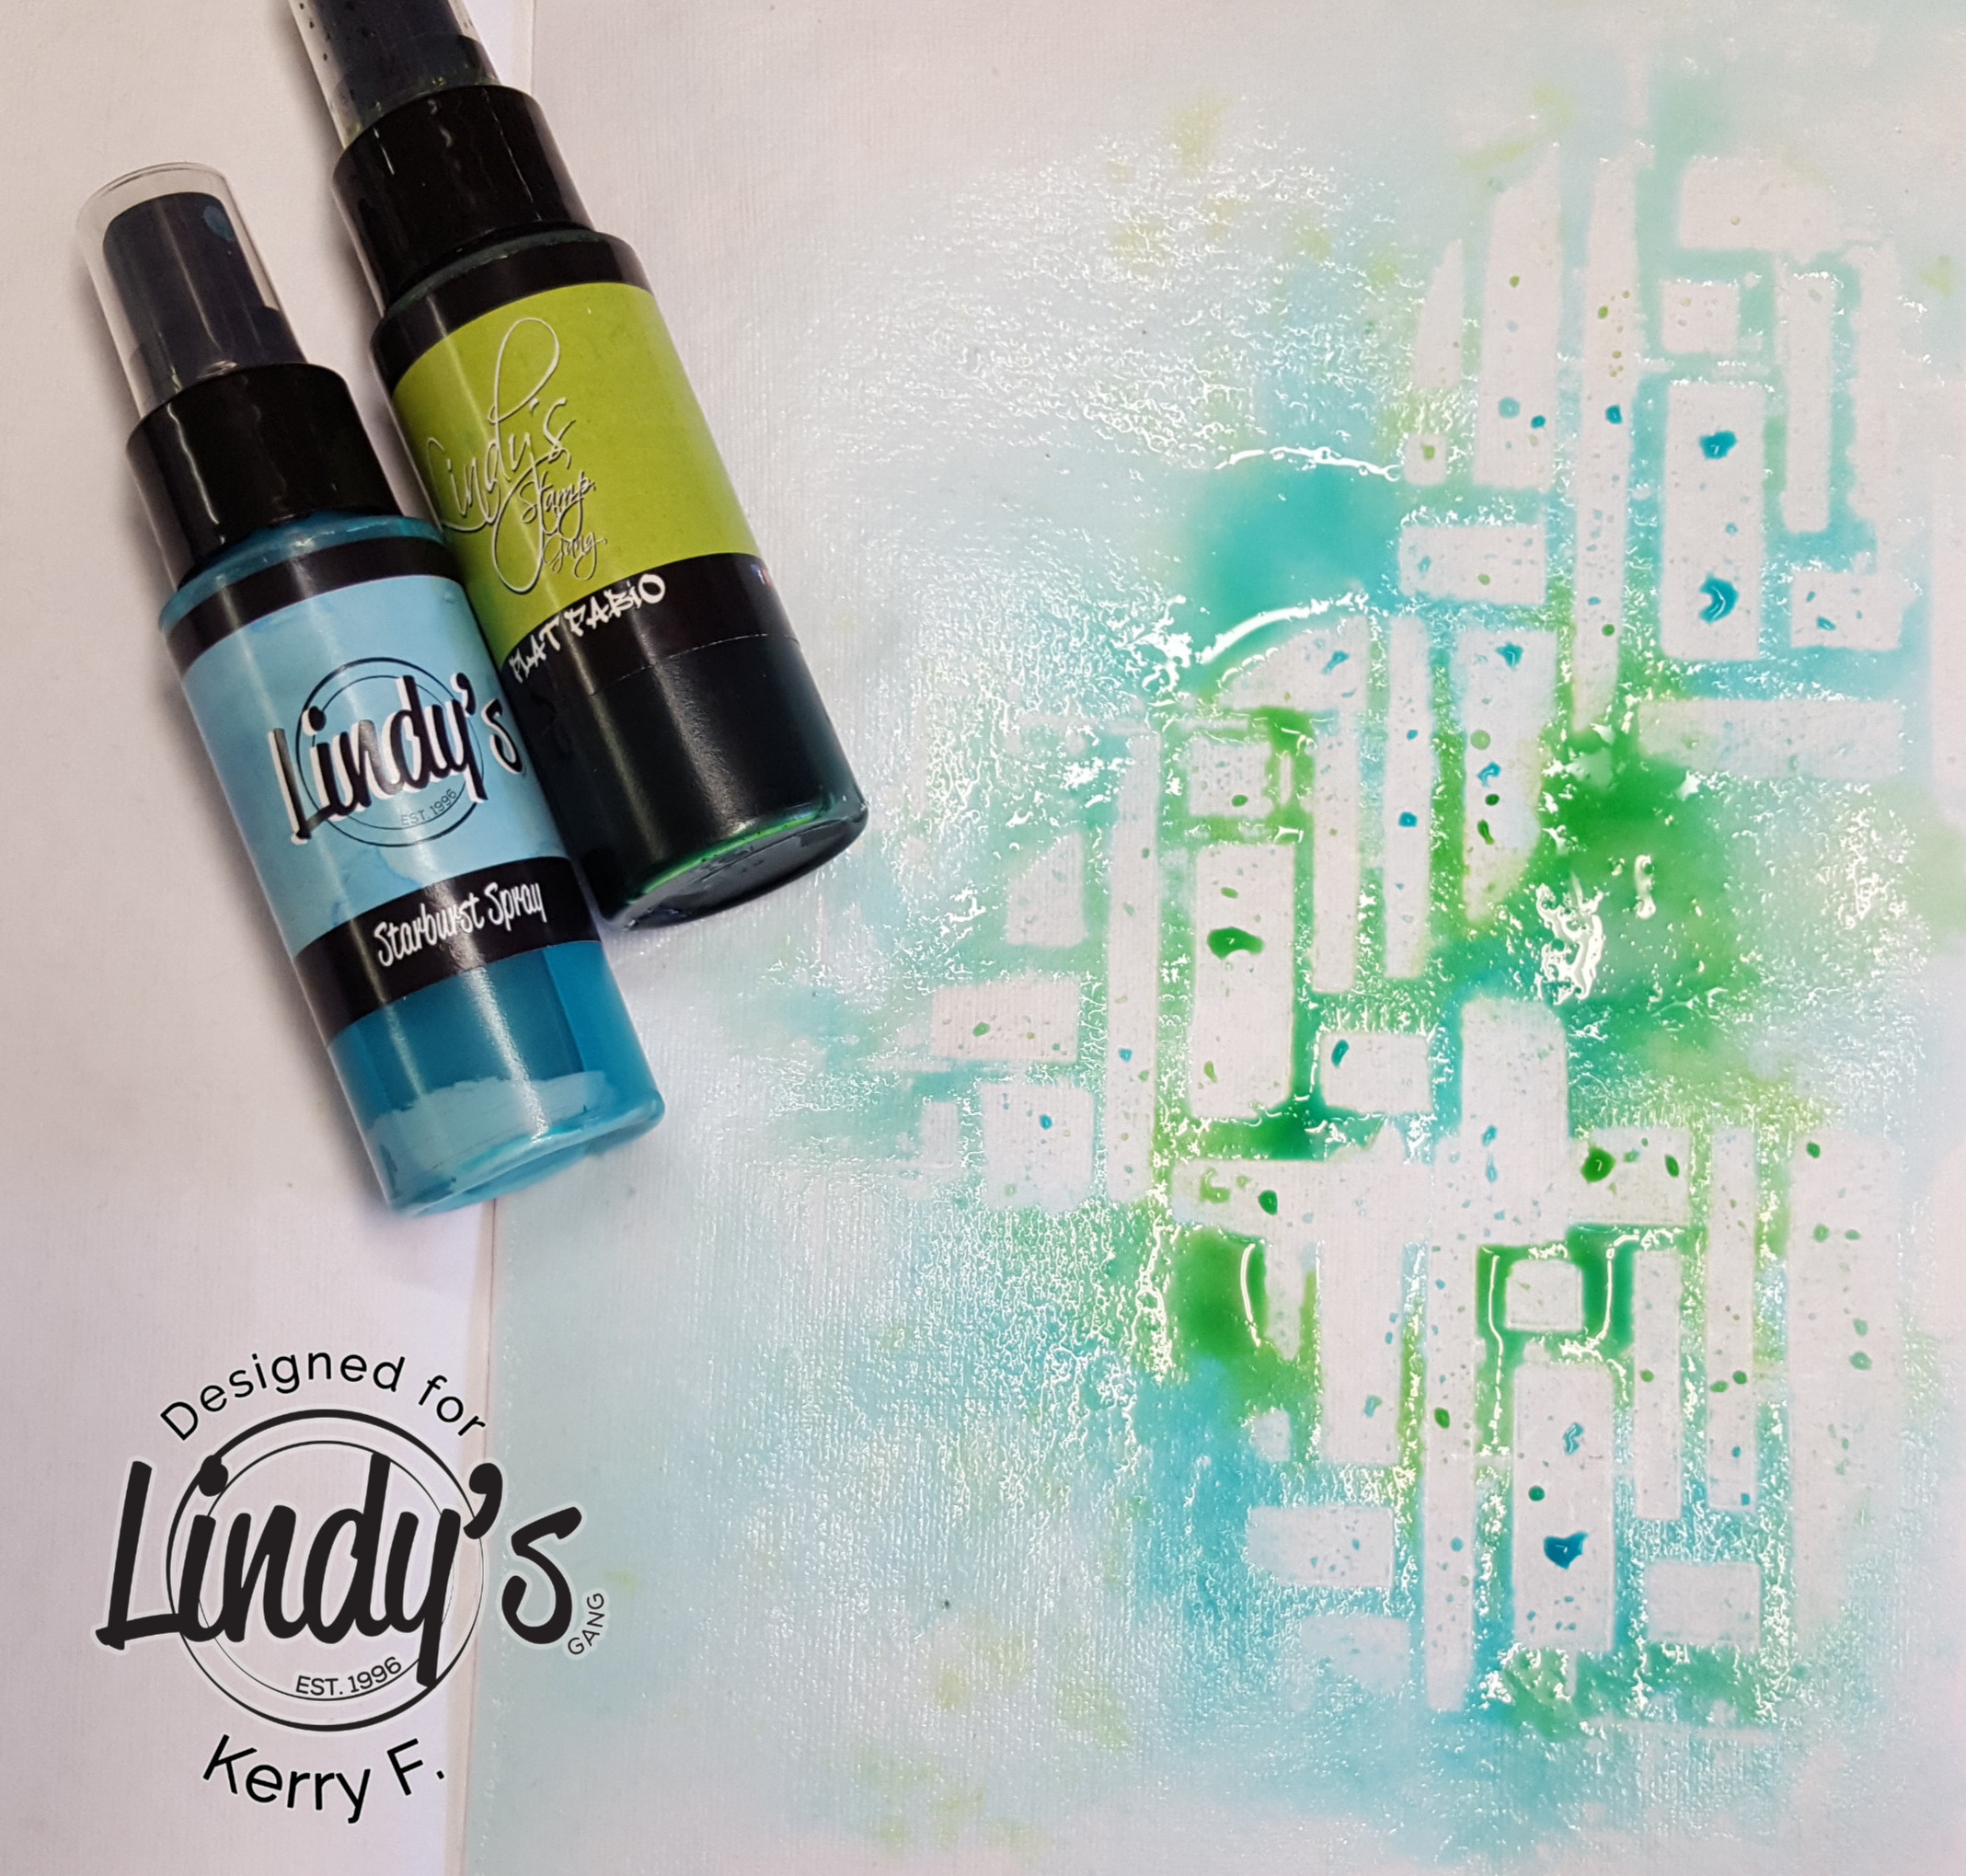
I have selected 2 sprays that I think work well together and are 2 of my all time faves, TiffanyLou Blue and Luscious Lime. Over the stenciled area spray a generous amount of water, then add your chosen colors to reveal the resist area.

2

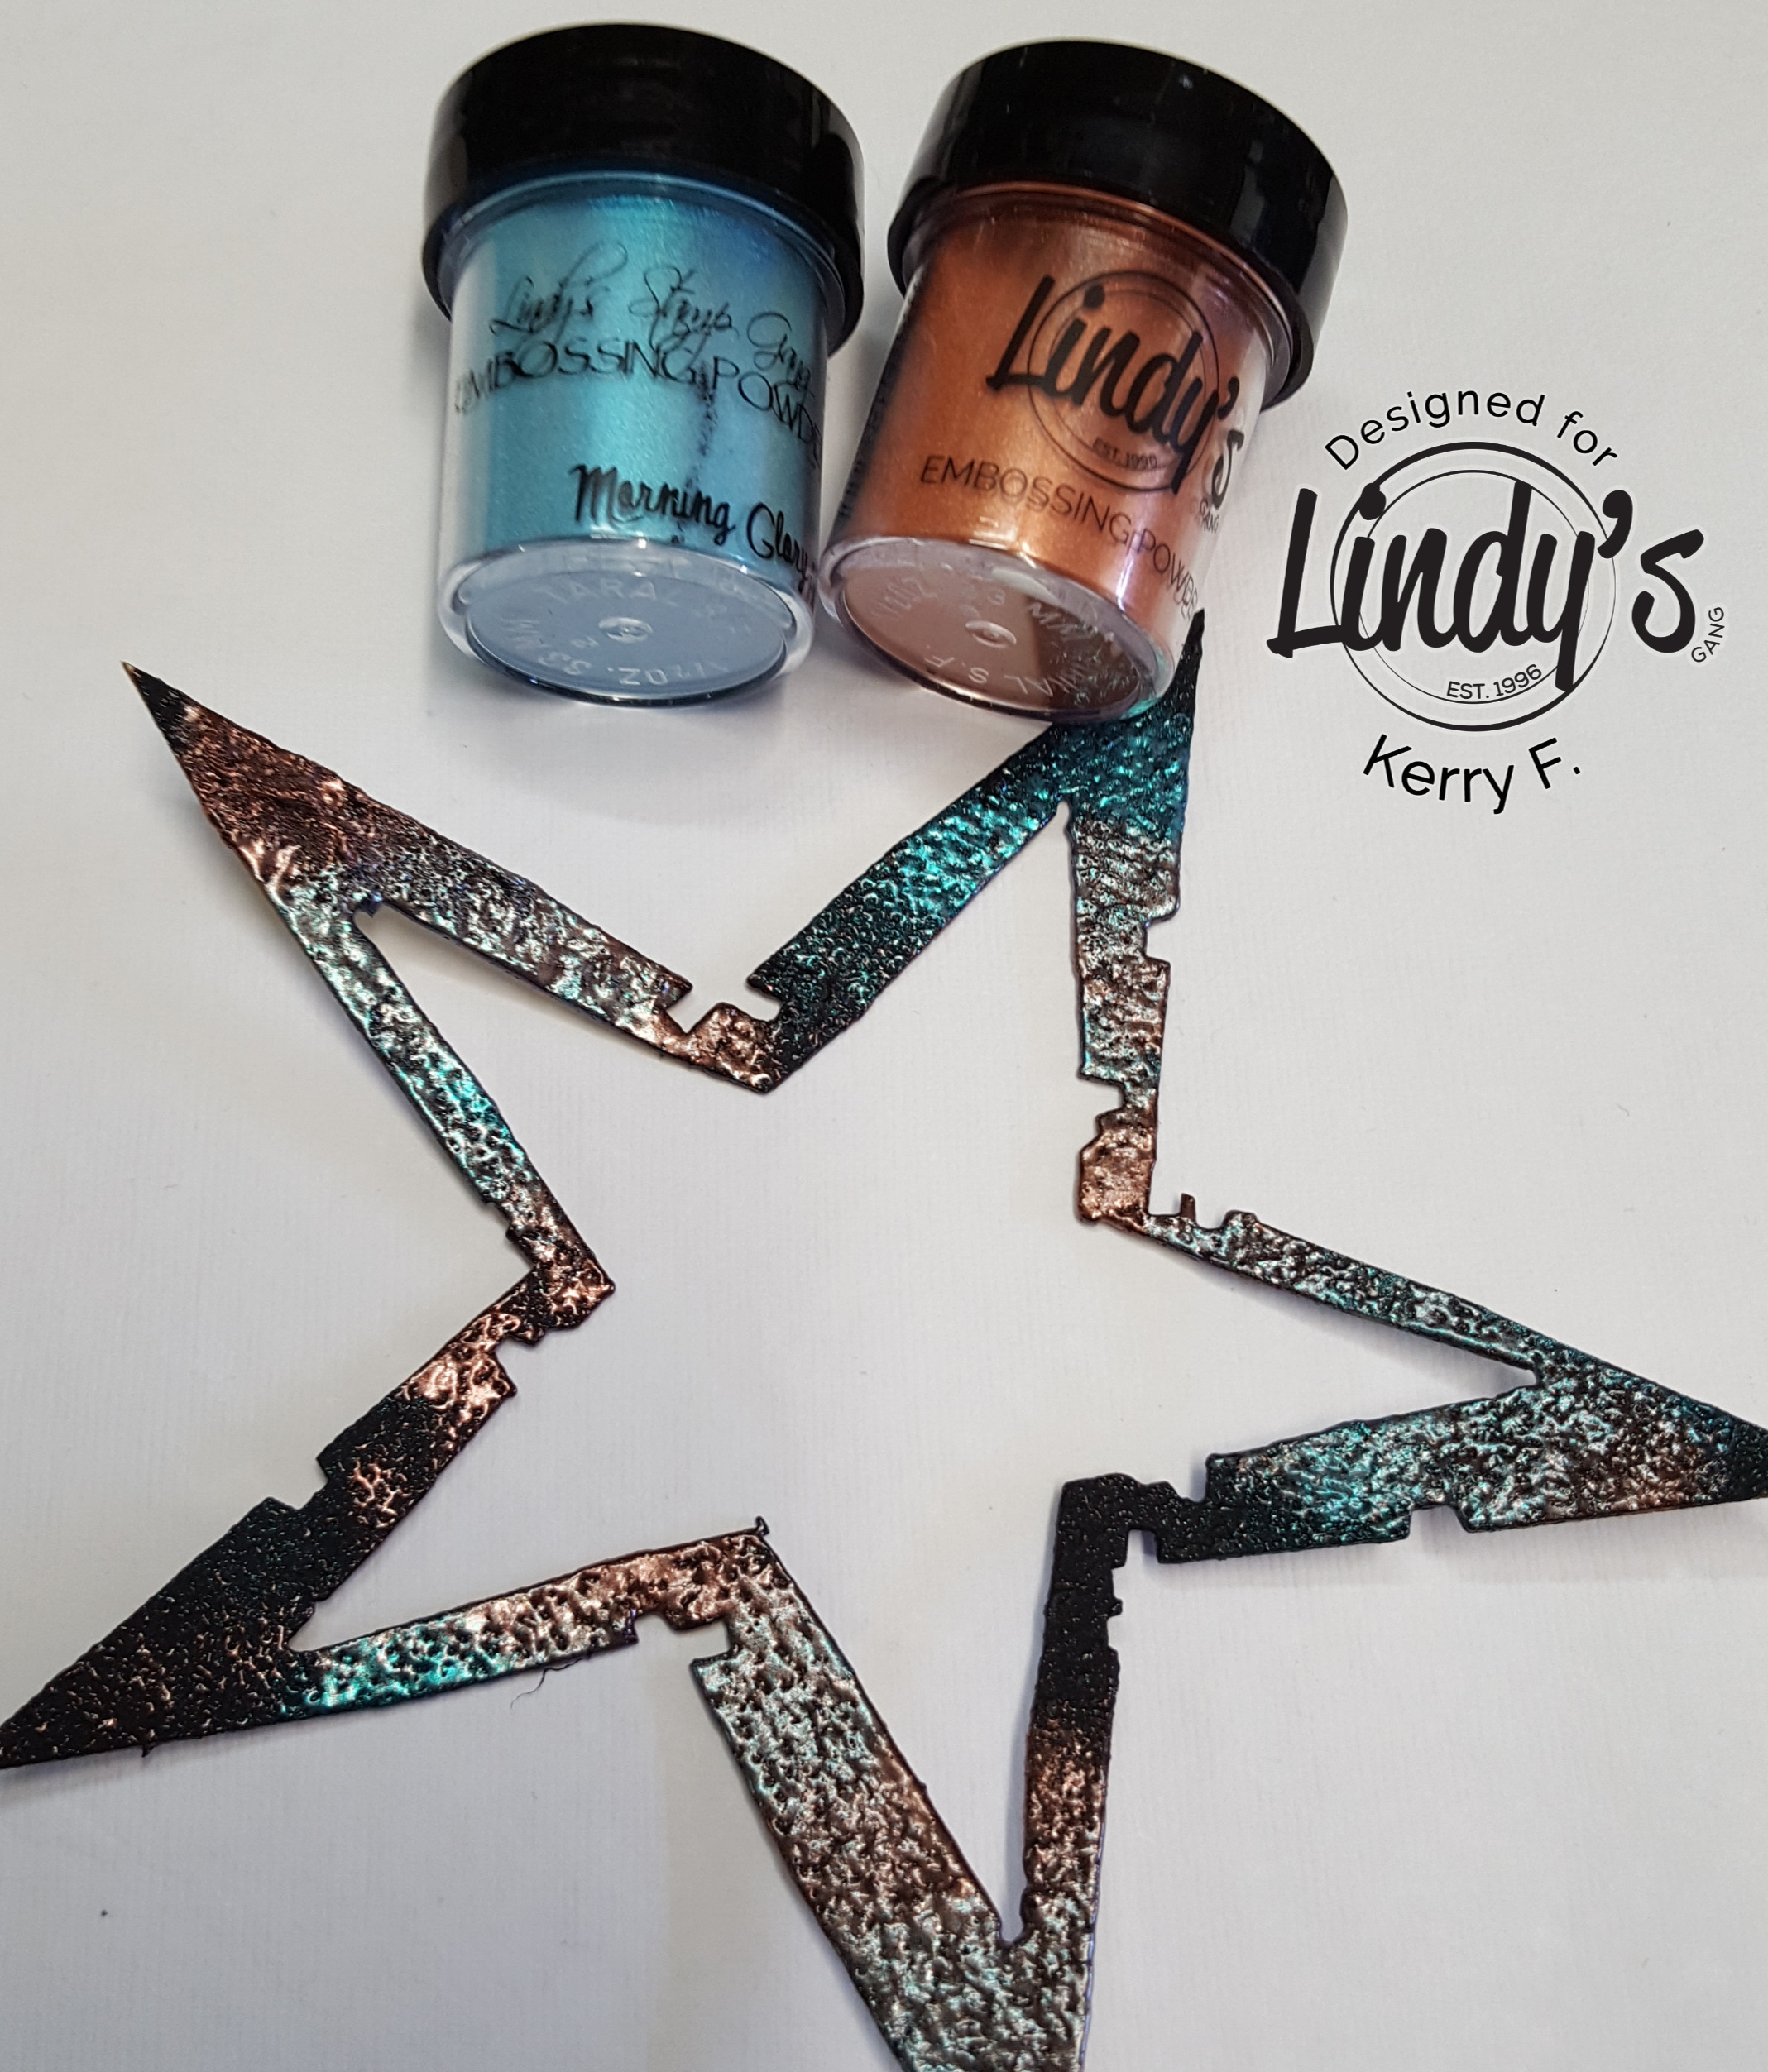
I have painted a chipboard star with black gesso making sure my application of the gesso was textured and thick. To the wet gesso I have added Morning Glory Azure and Cleopatra's Copper embossing powders making sure to leave a little of the black showing. Using the heat gun, melt the embossing powder and dry the gesso at the same time for added texture.

3

Look at that yummy texture :)

8a

Add a little background stamping to the page using archival ink.

4

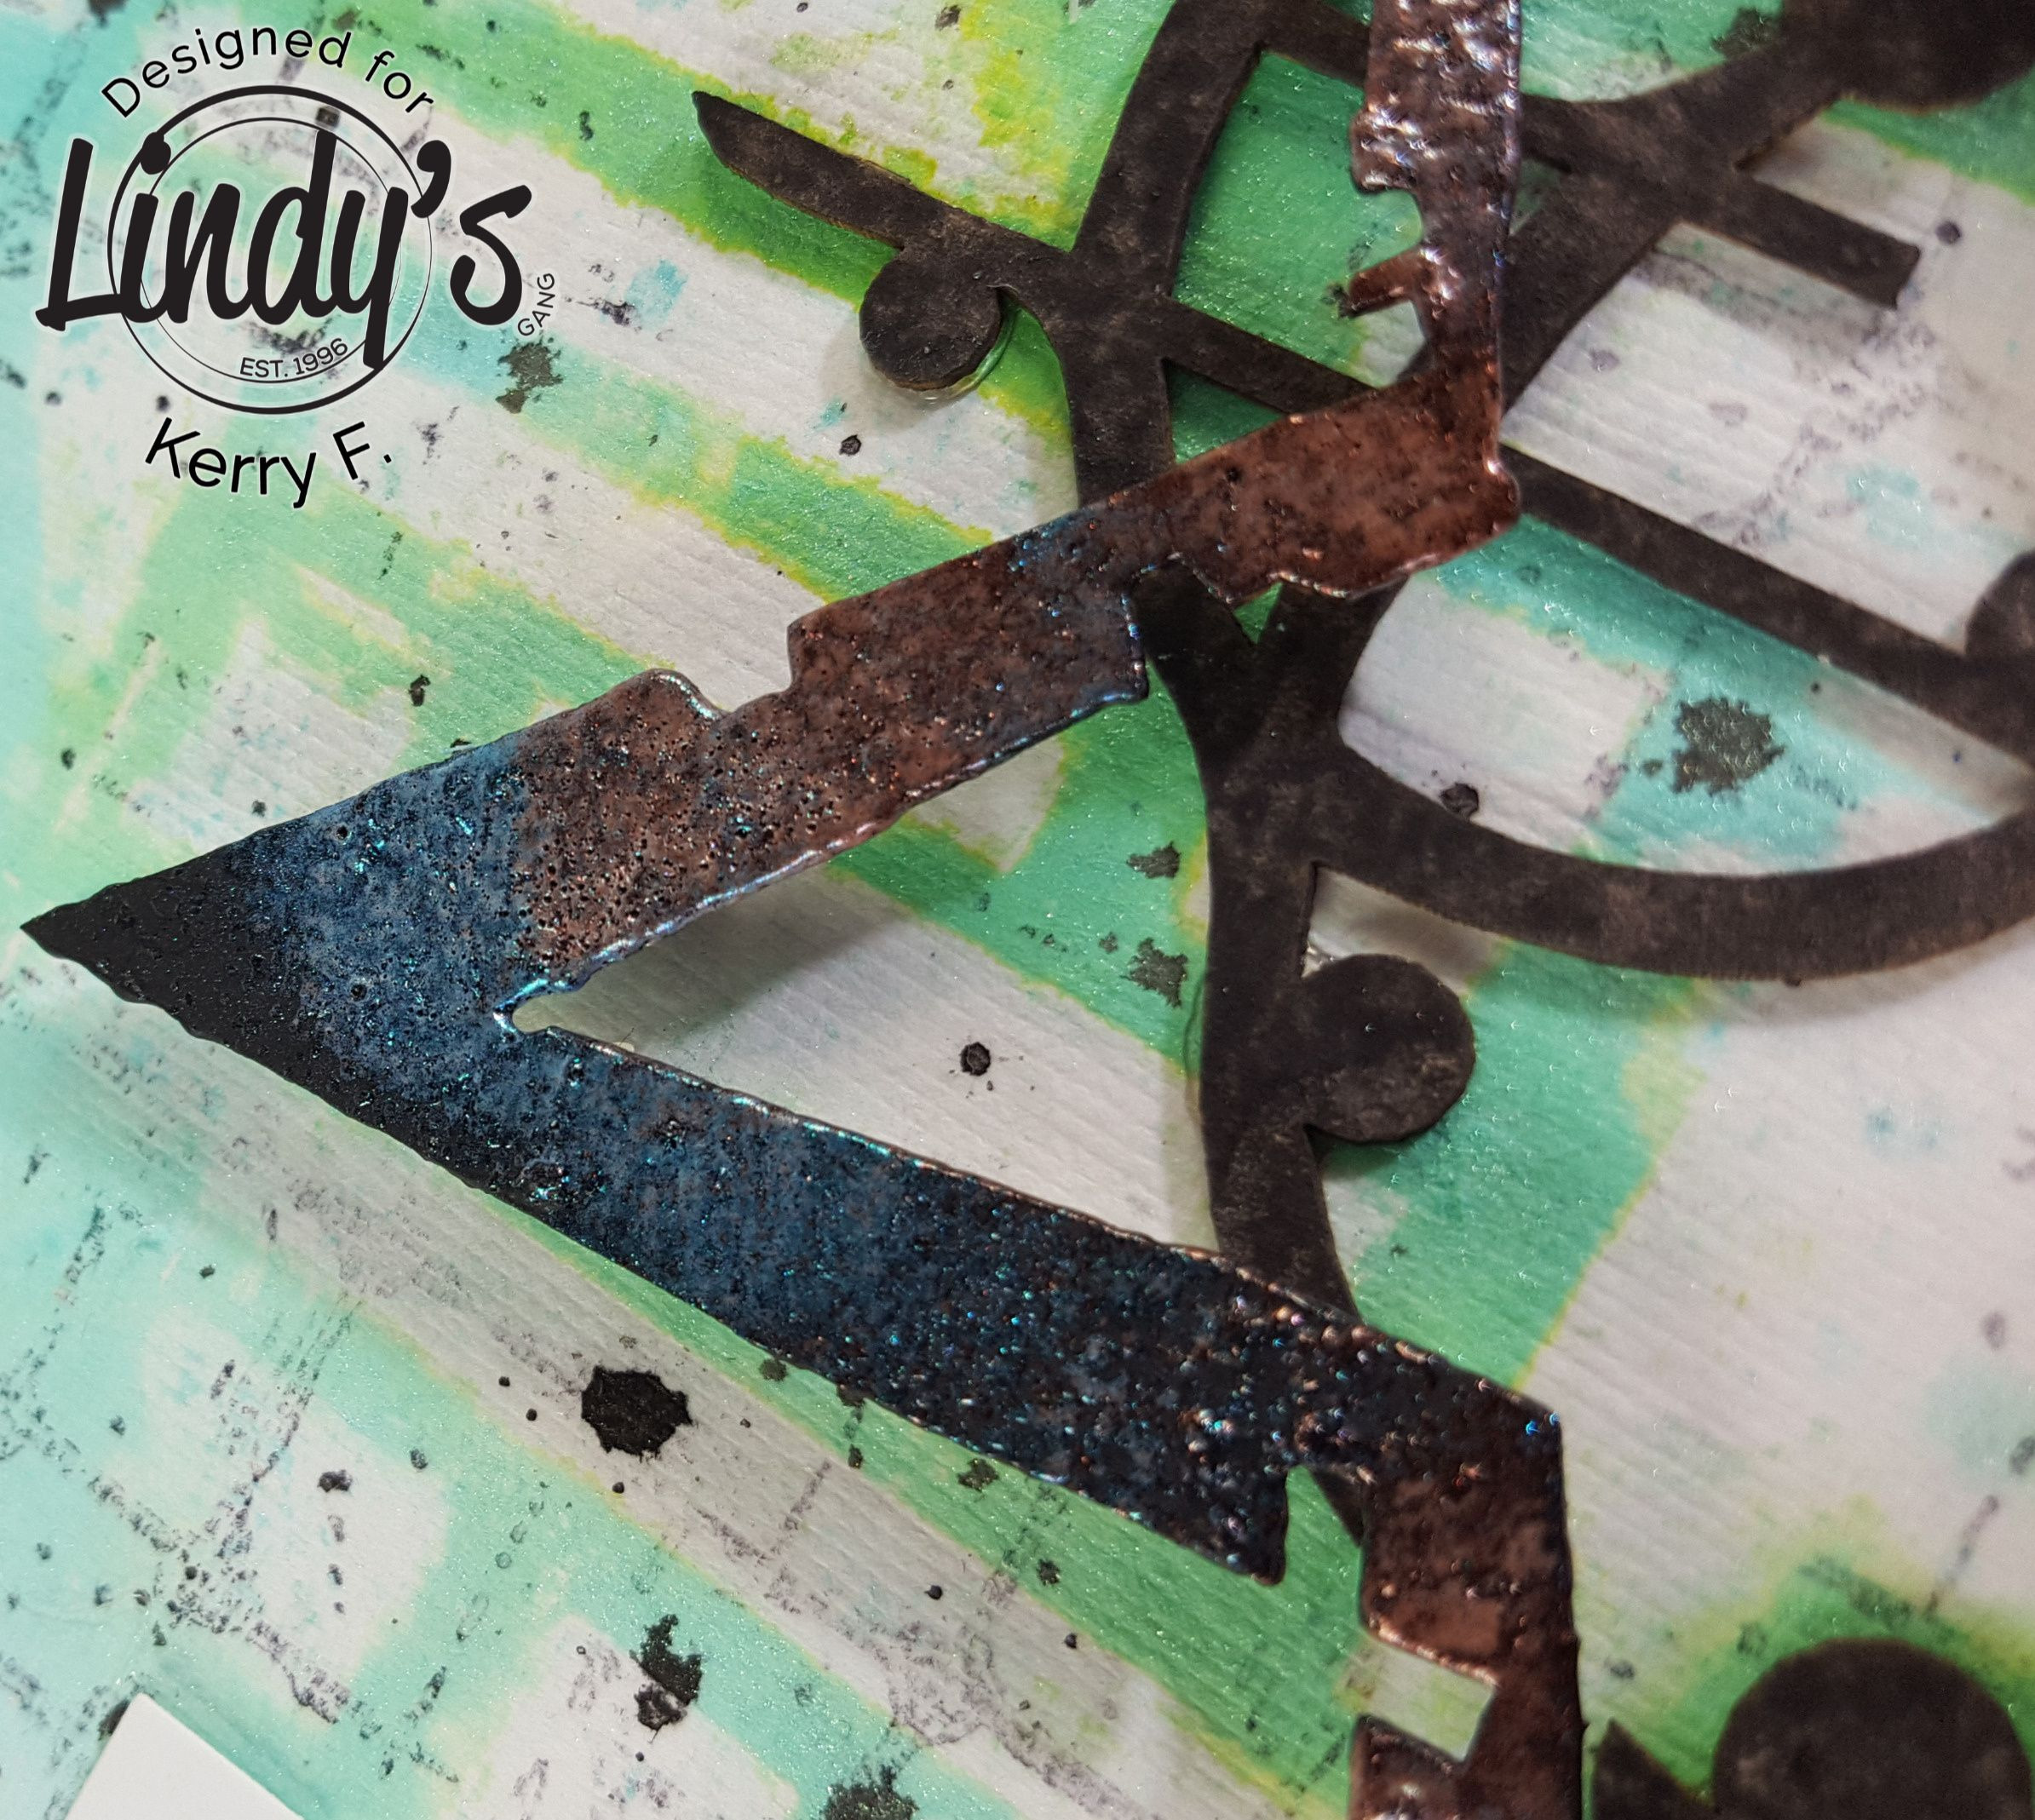
To finish off I have added some black splashes of ink, a word sticker and layered the star onto another piece of Whichcraft chipboard.

5a

Lindy's Products:TiffanyLou Blue and Luscious Lime  sprays. Morning Glory Azure and  Cleopatra's Copper embossing powders.
Other Products: Whichcraft Chipboard, micro glaze, archival ink, stamp, sticker, gesso
Thanks for dropping by and have a magical day!
Thursday, 18 January 2018

Serenity - for Lindy's

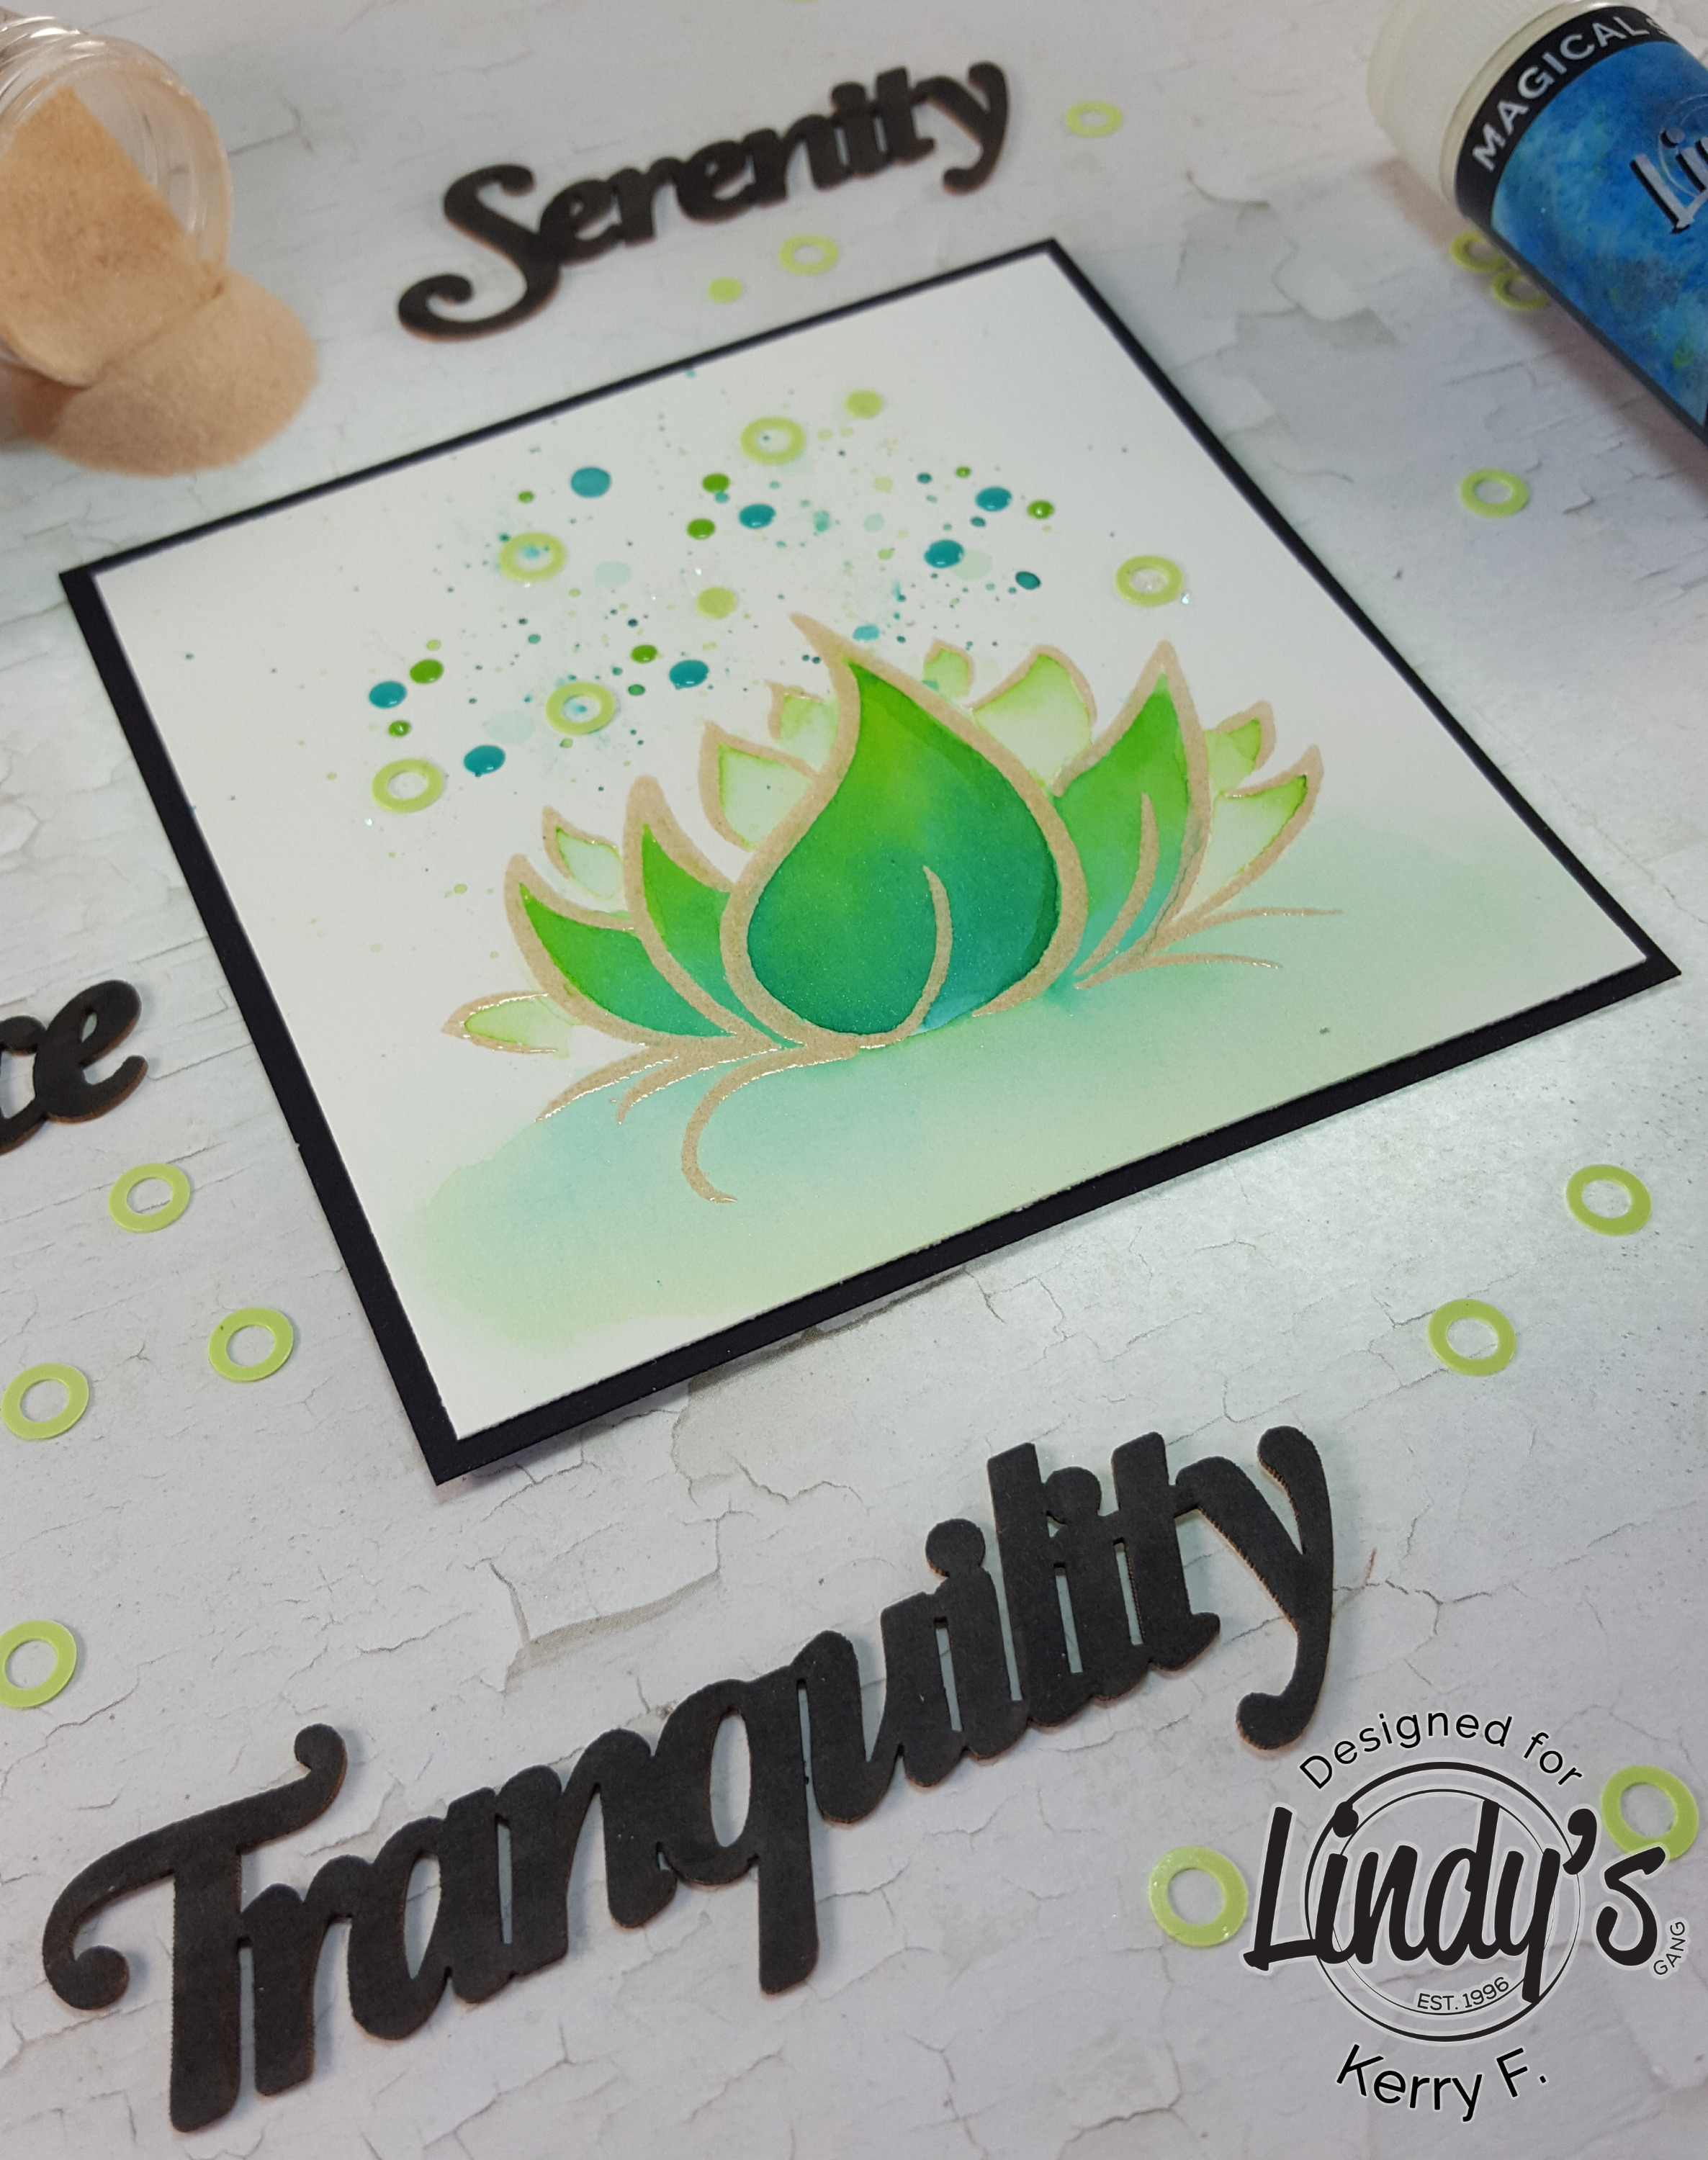
Hello Lindy's Tribe! I am thrilled to be back with you for another term with Lindy's! Today's project will feature some of the Original Magicals, Magical Shakers and Embossing powder.

7

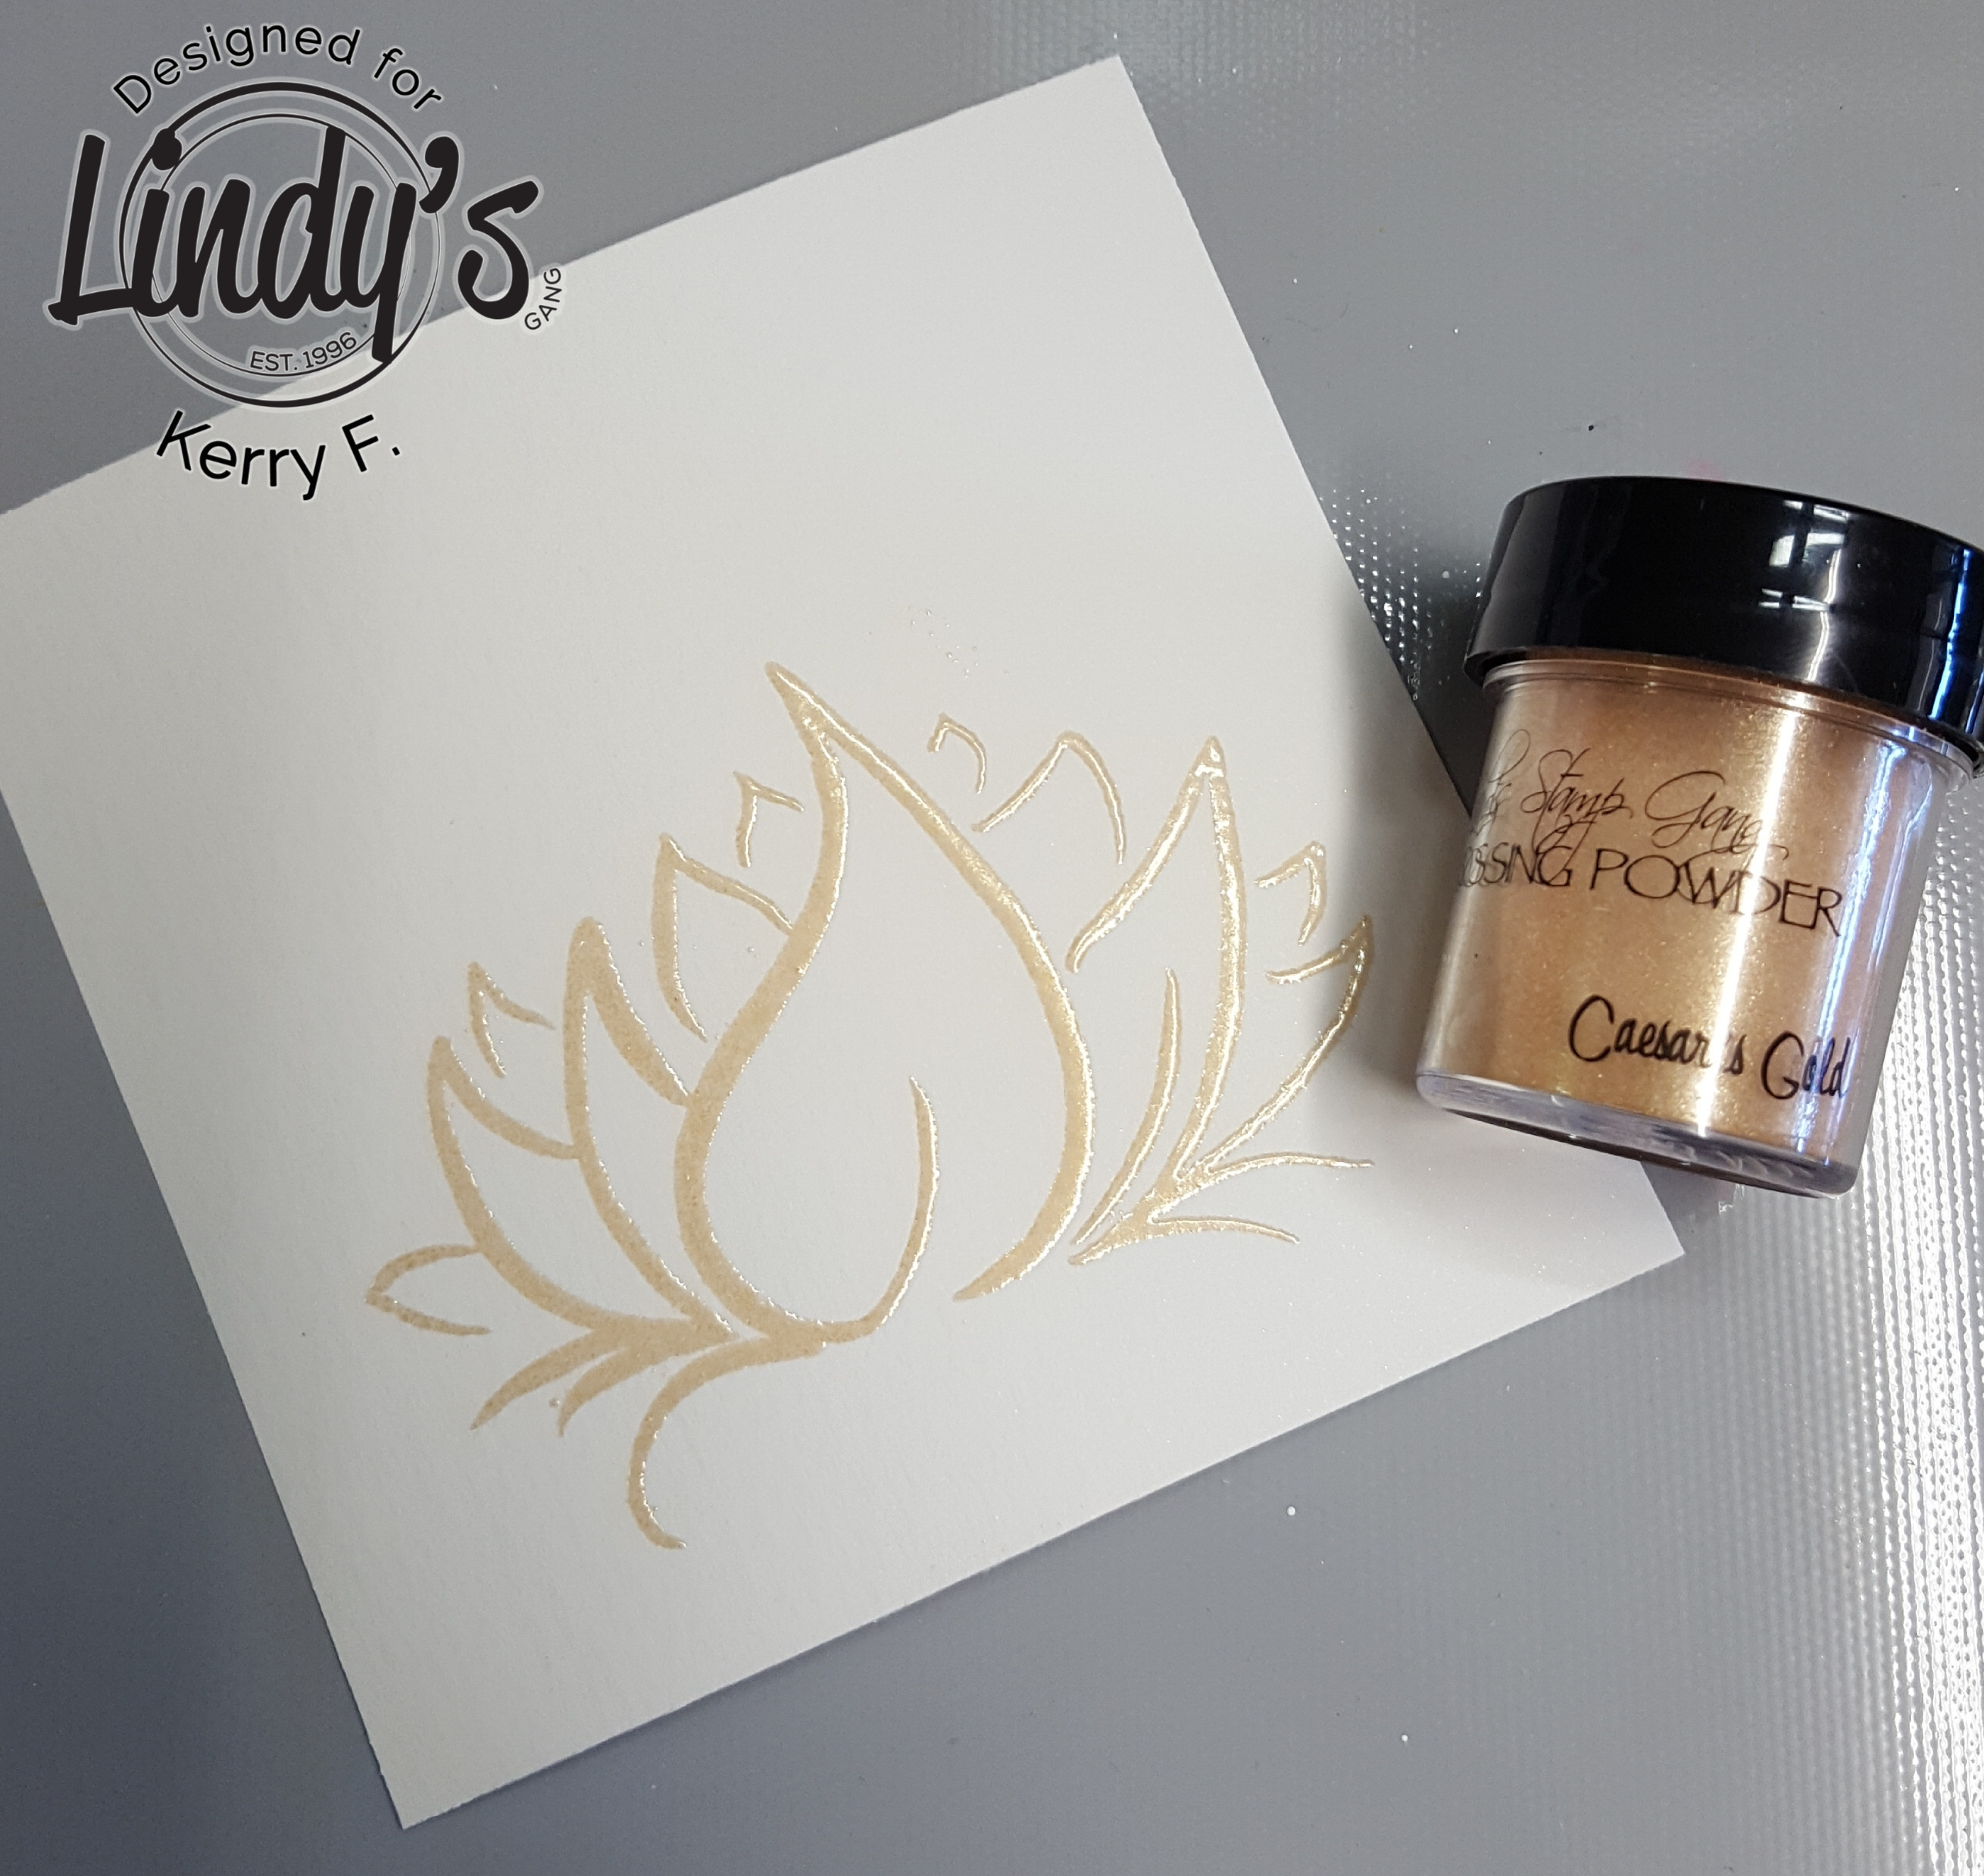
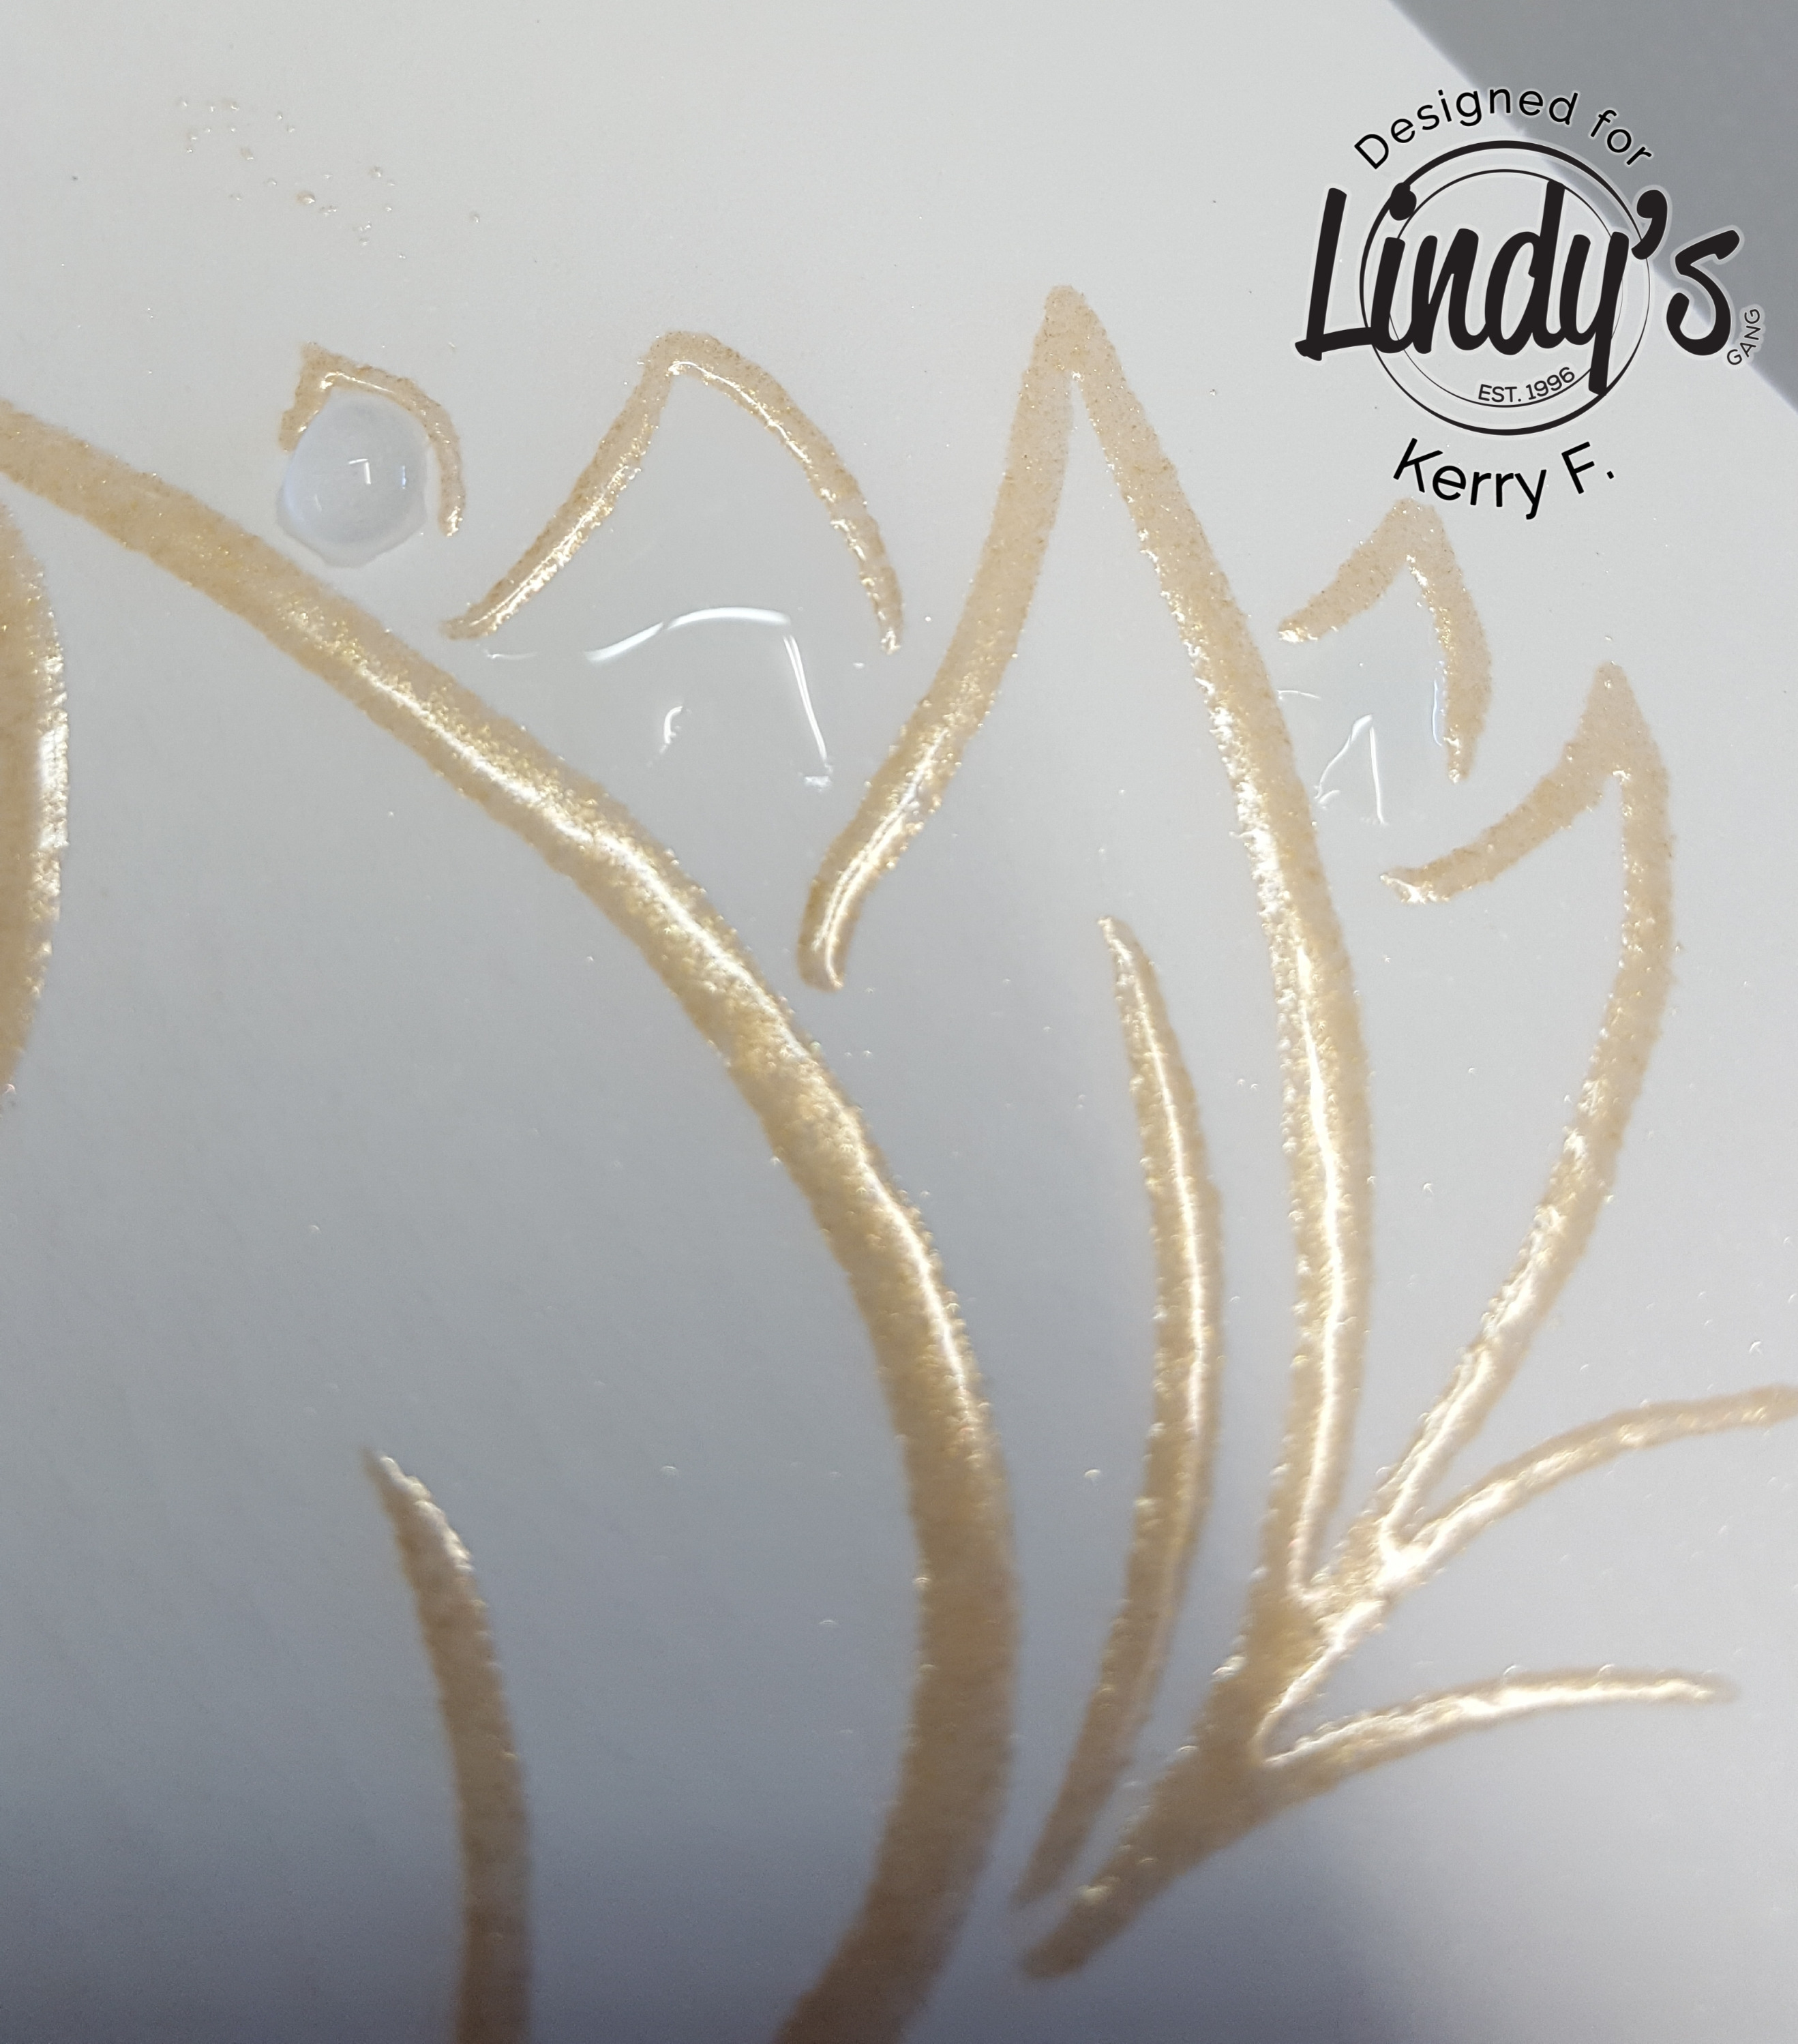
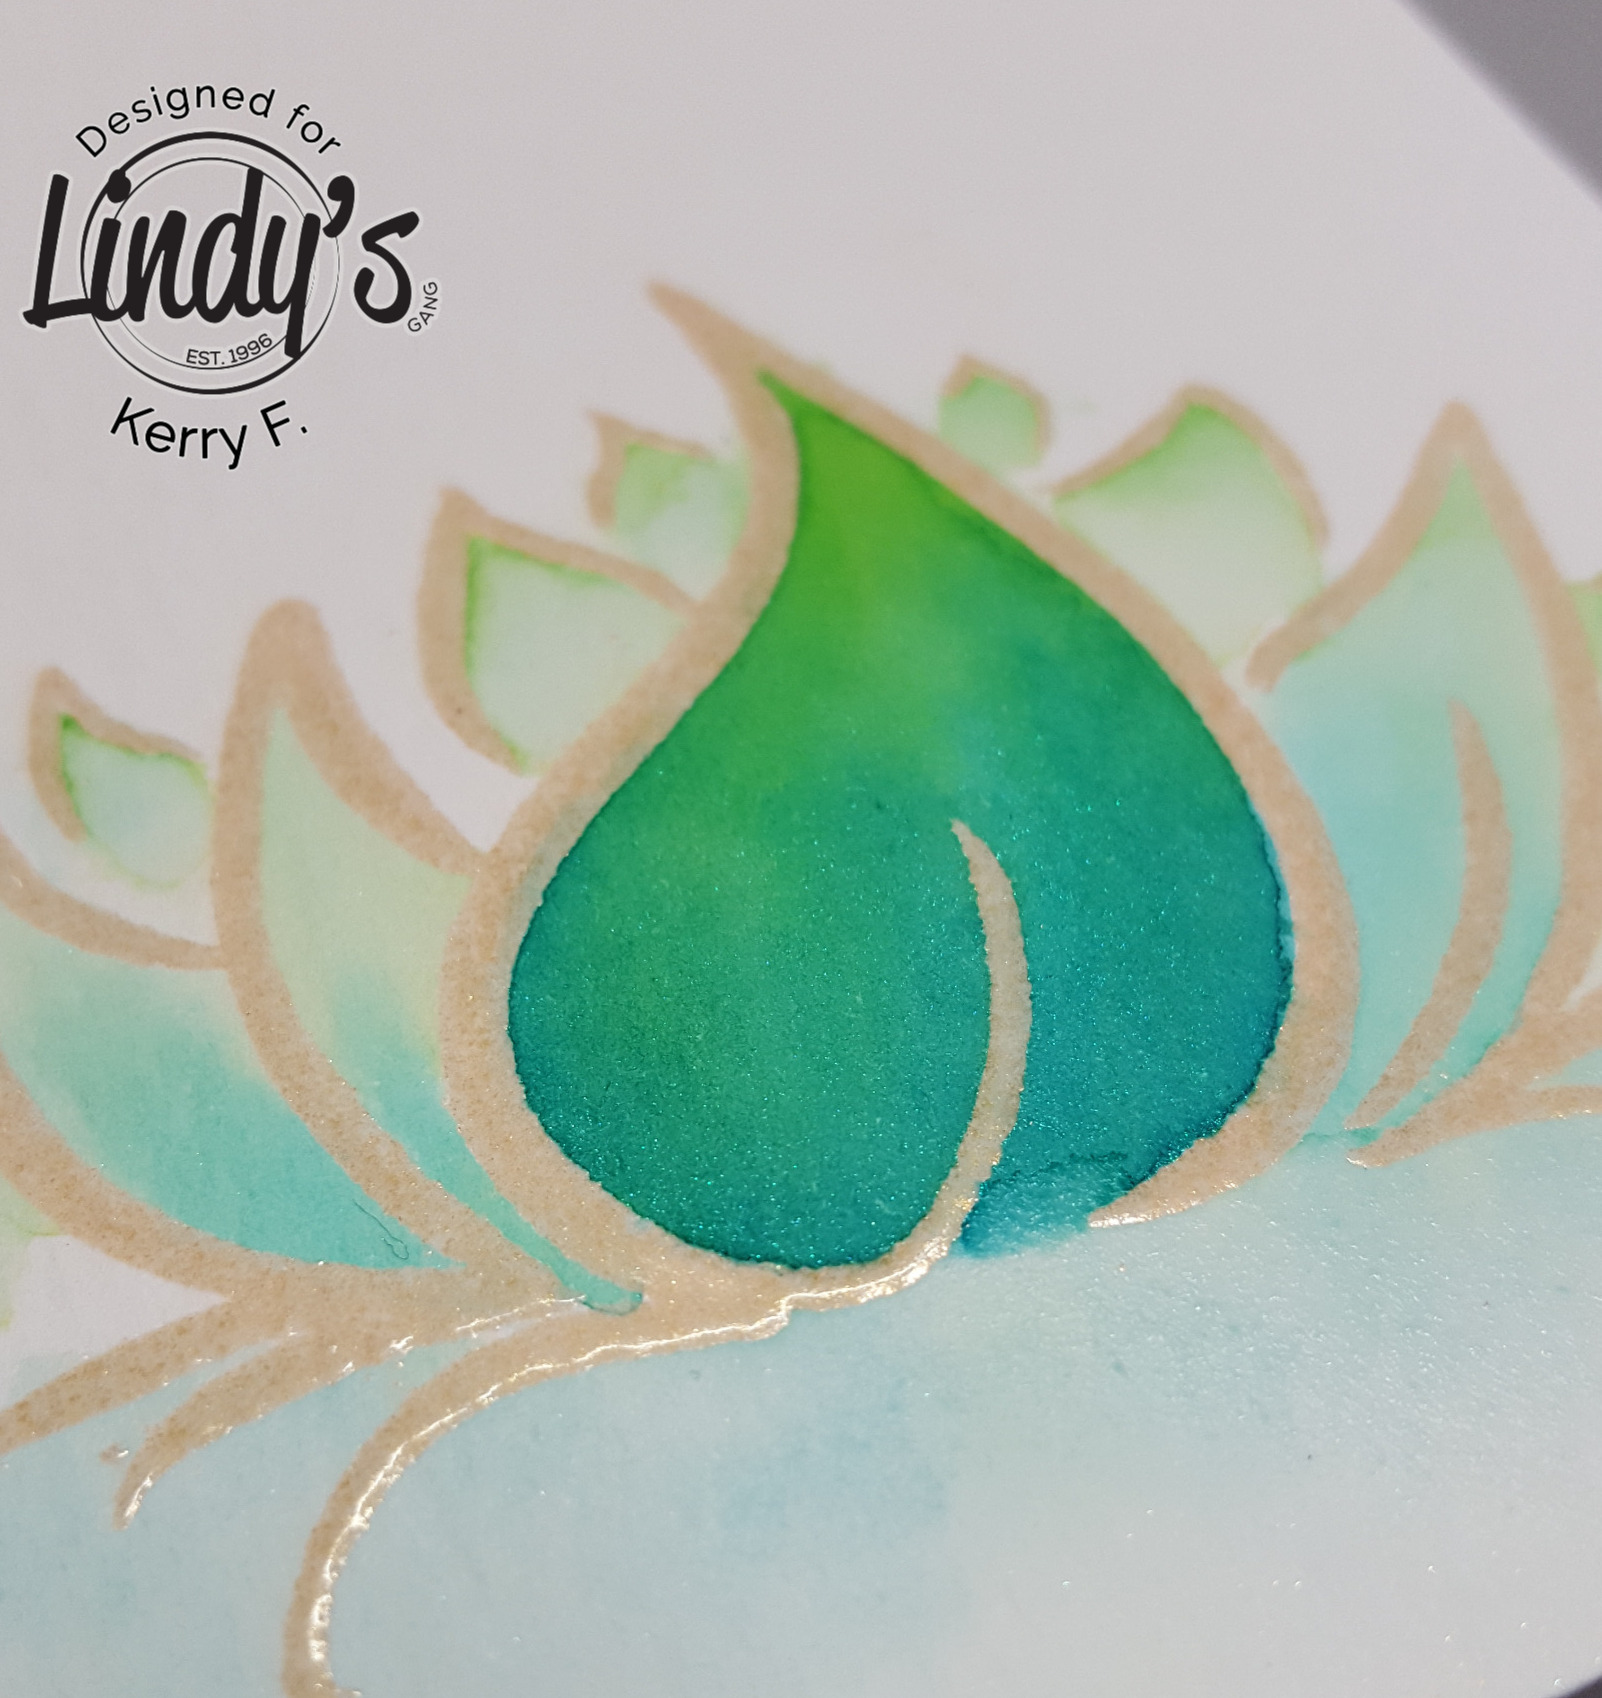
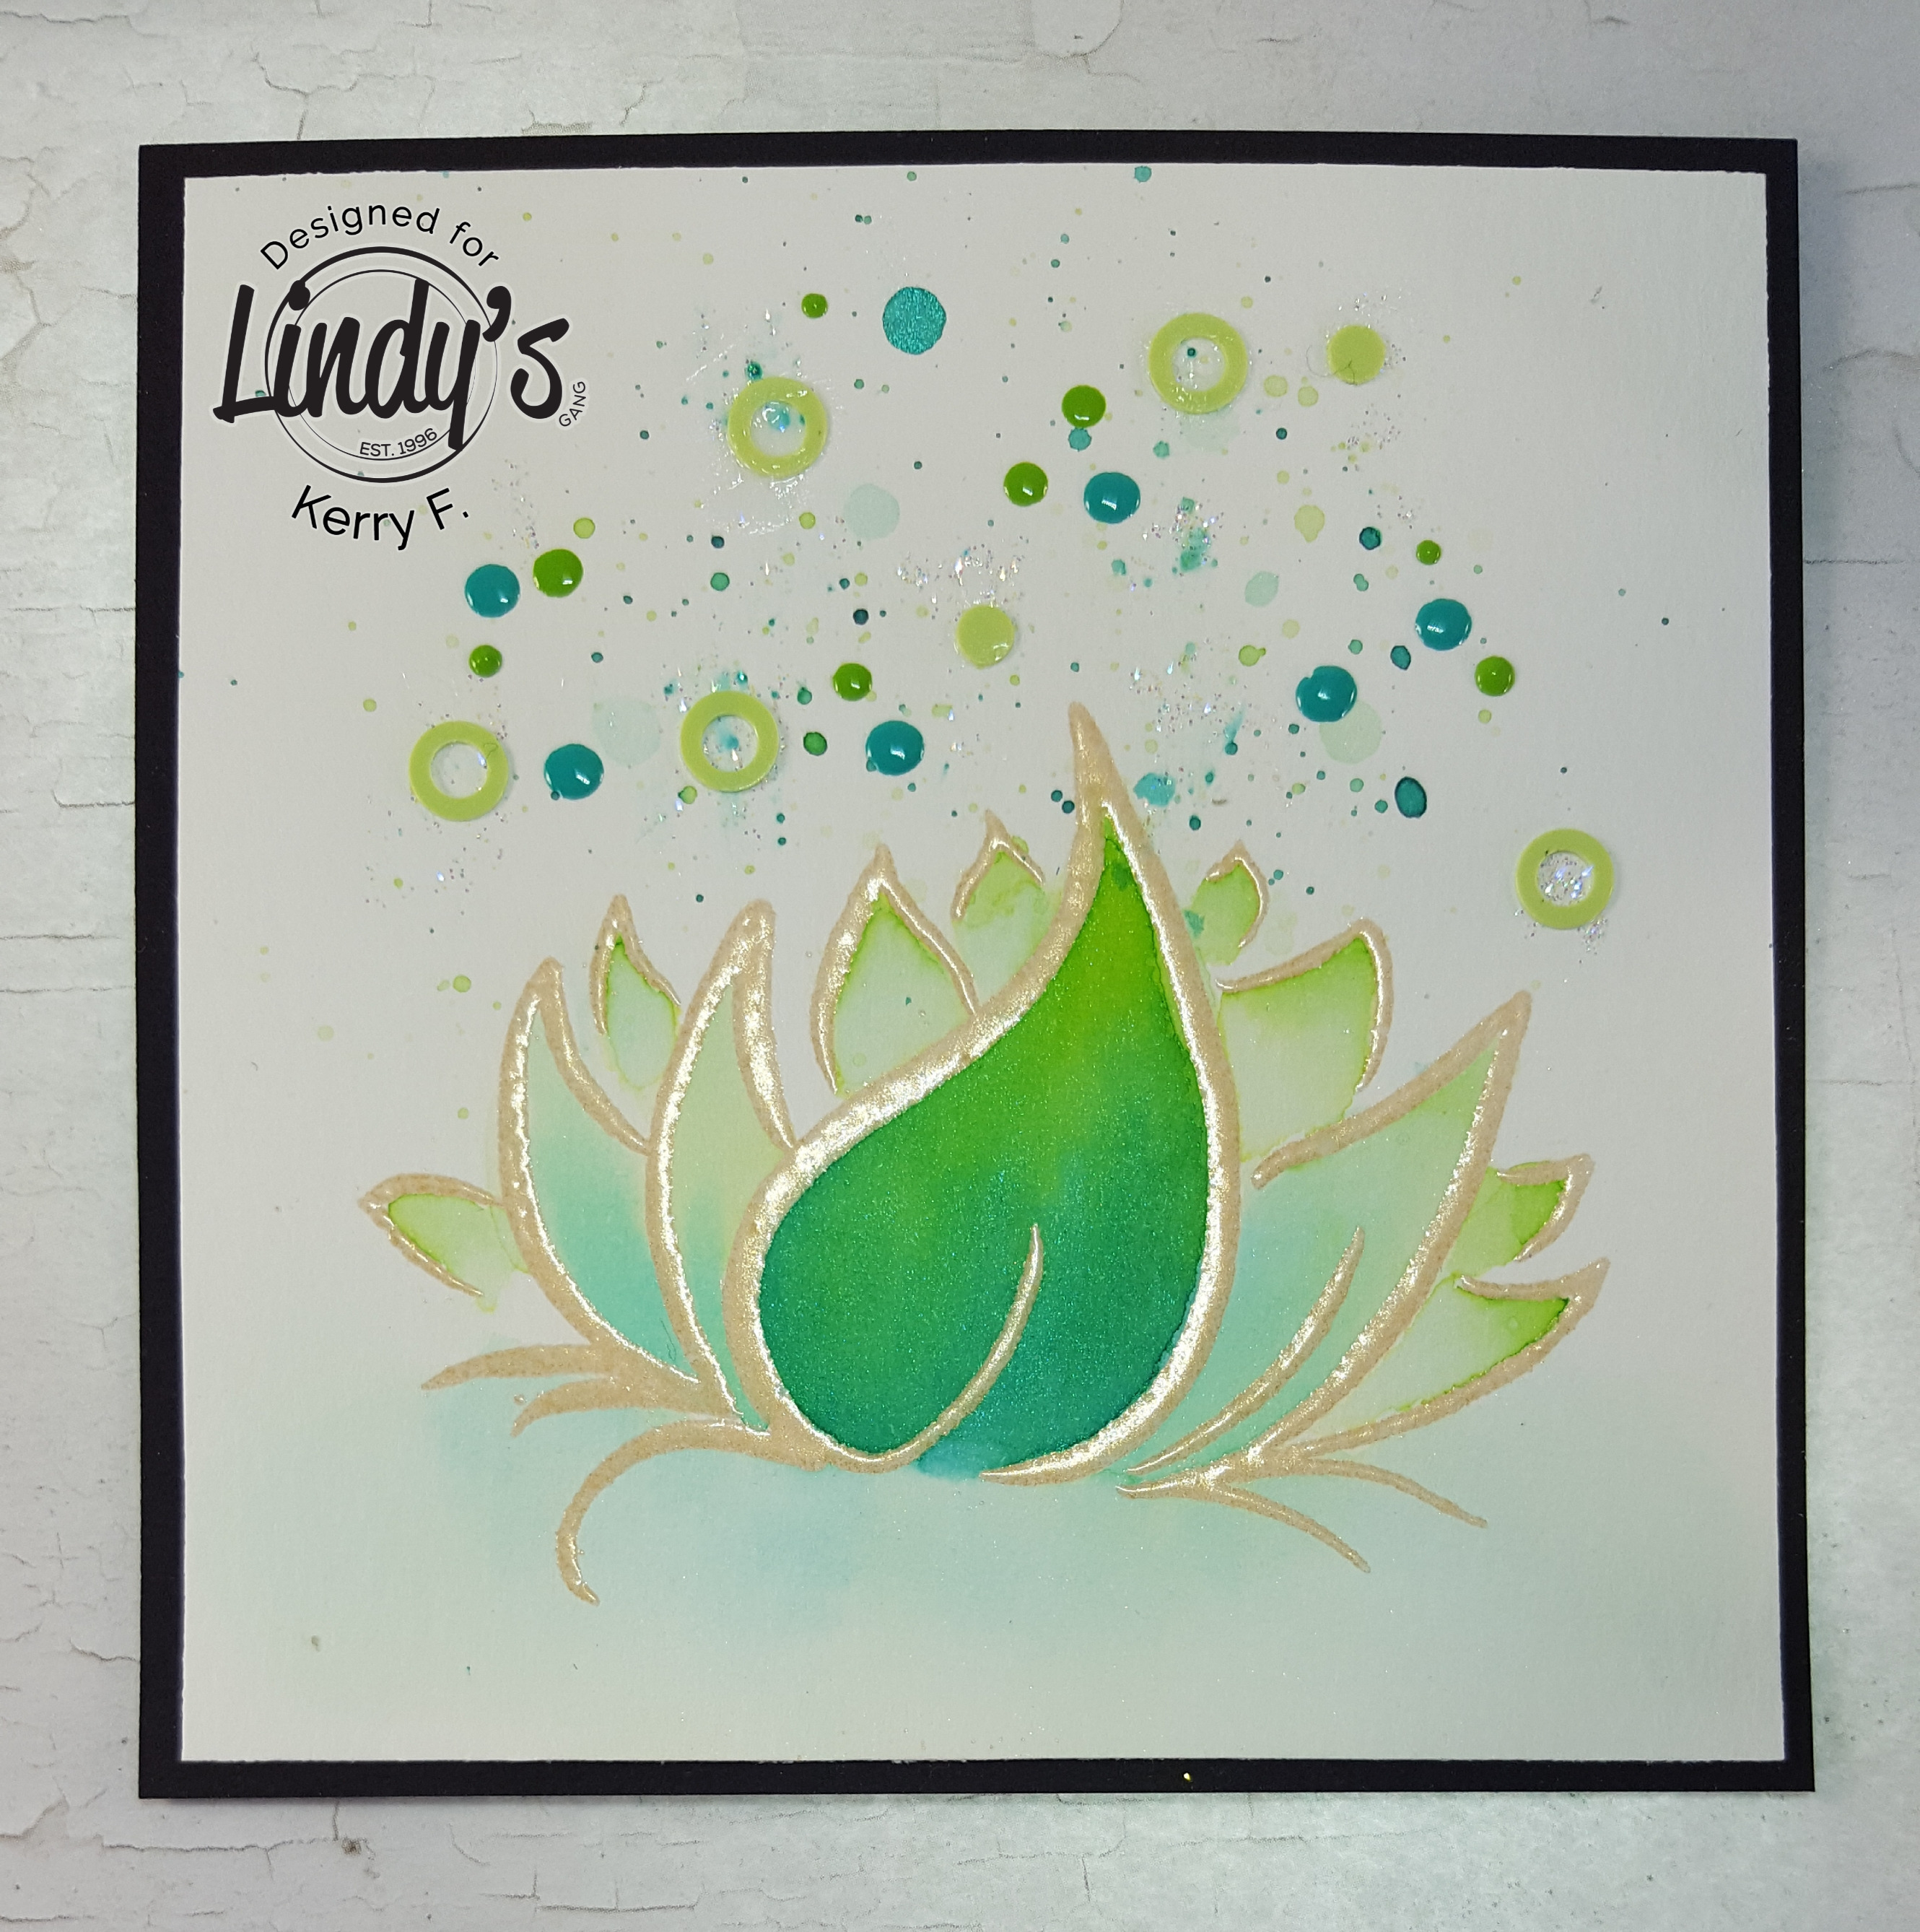
To start, I have heat embossed an artistic lotus stamp onto a piece of 300gsm hotpressed watercolor paper using Lindy's awesome Caesar's Gold Embossing Powder.

1

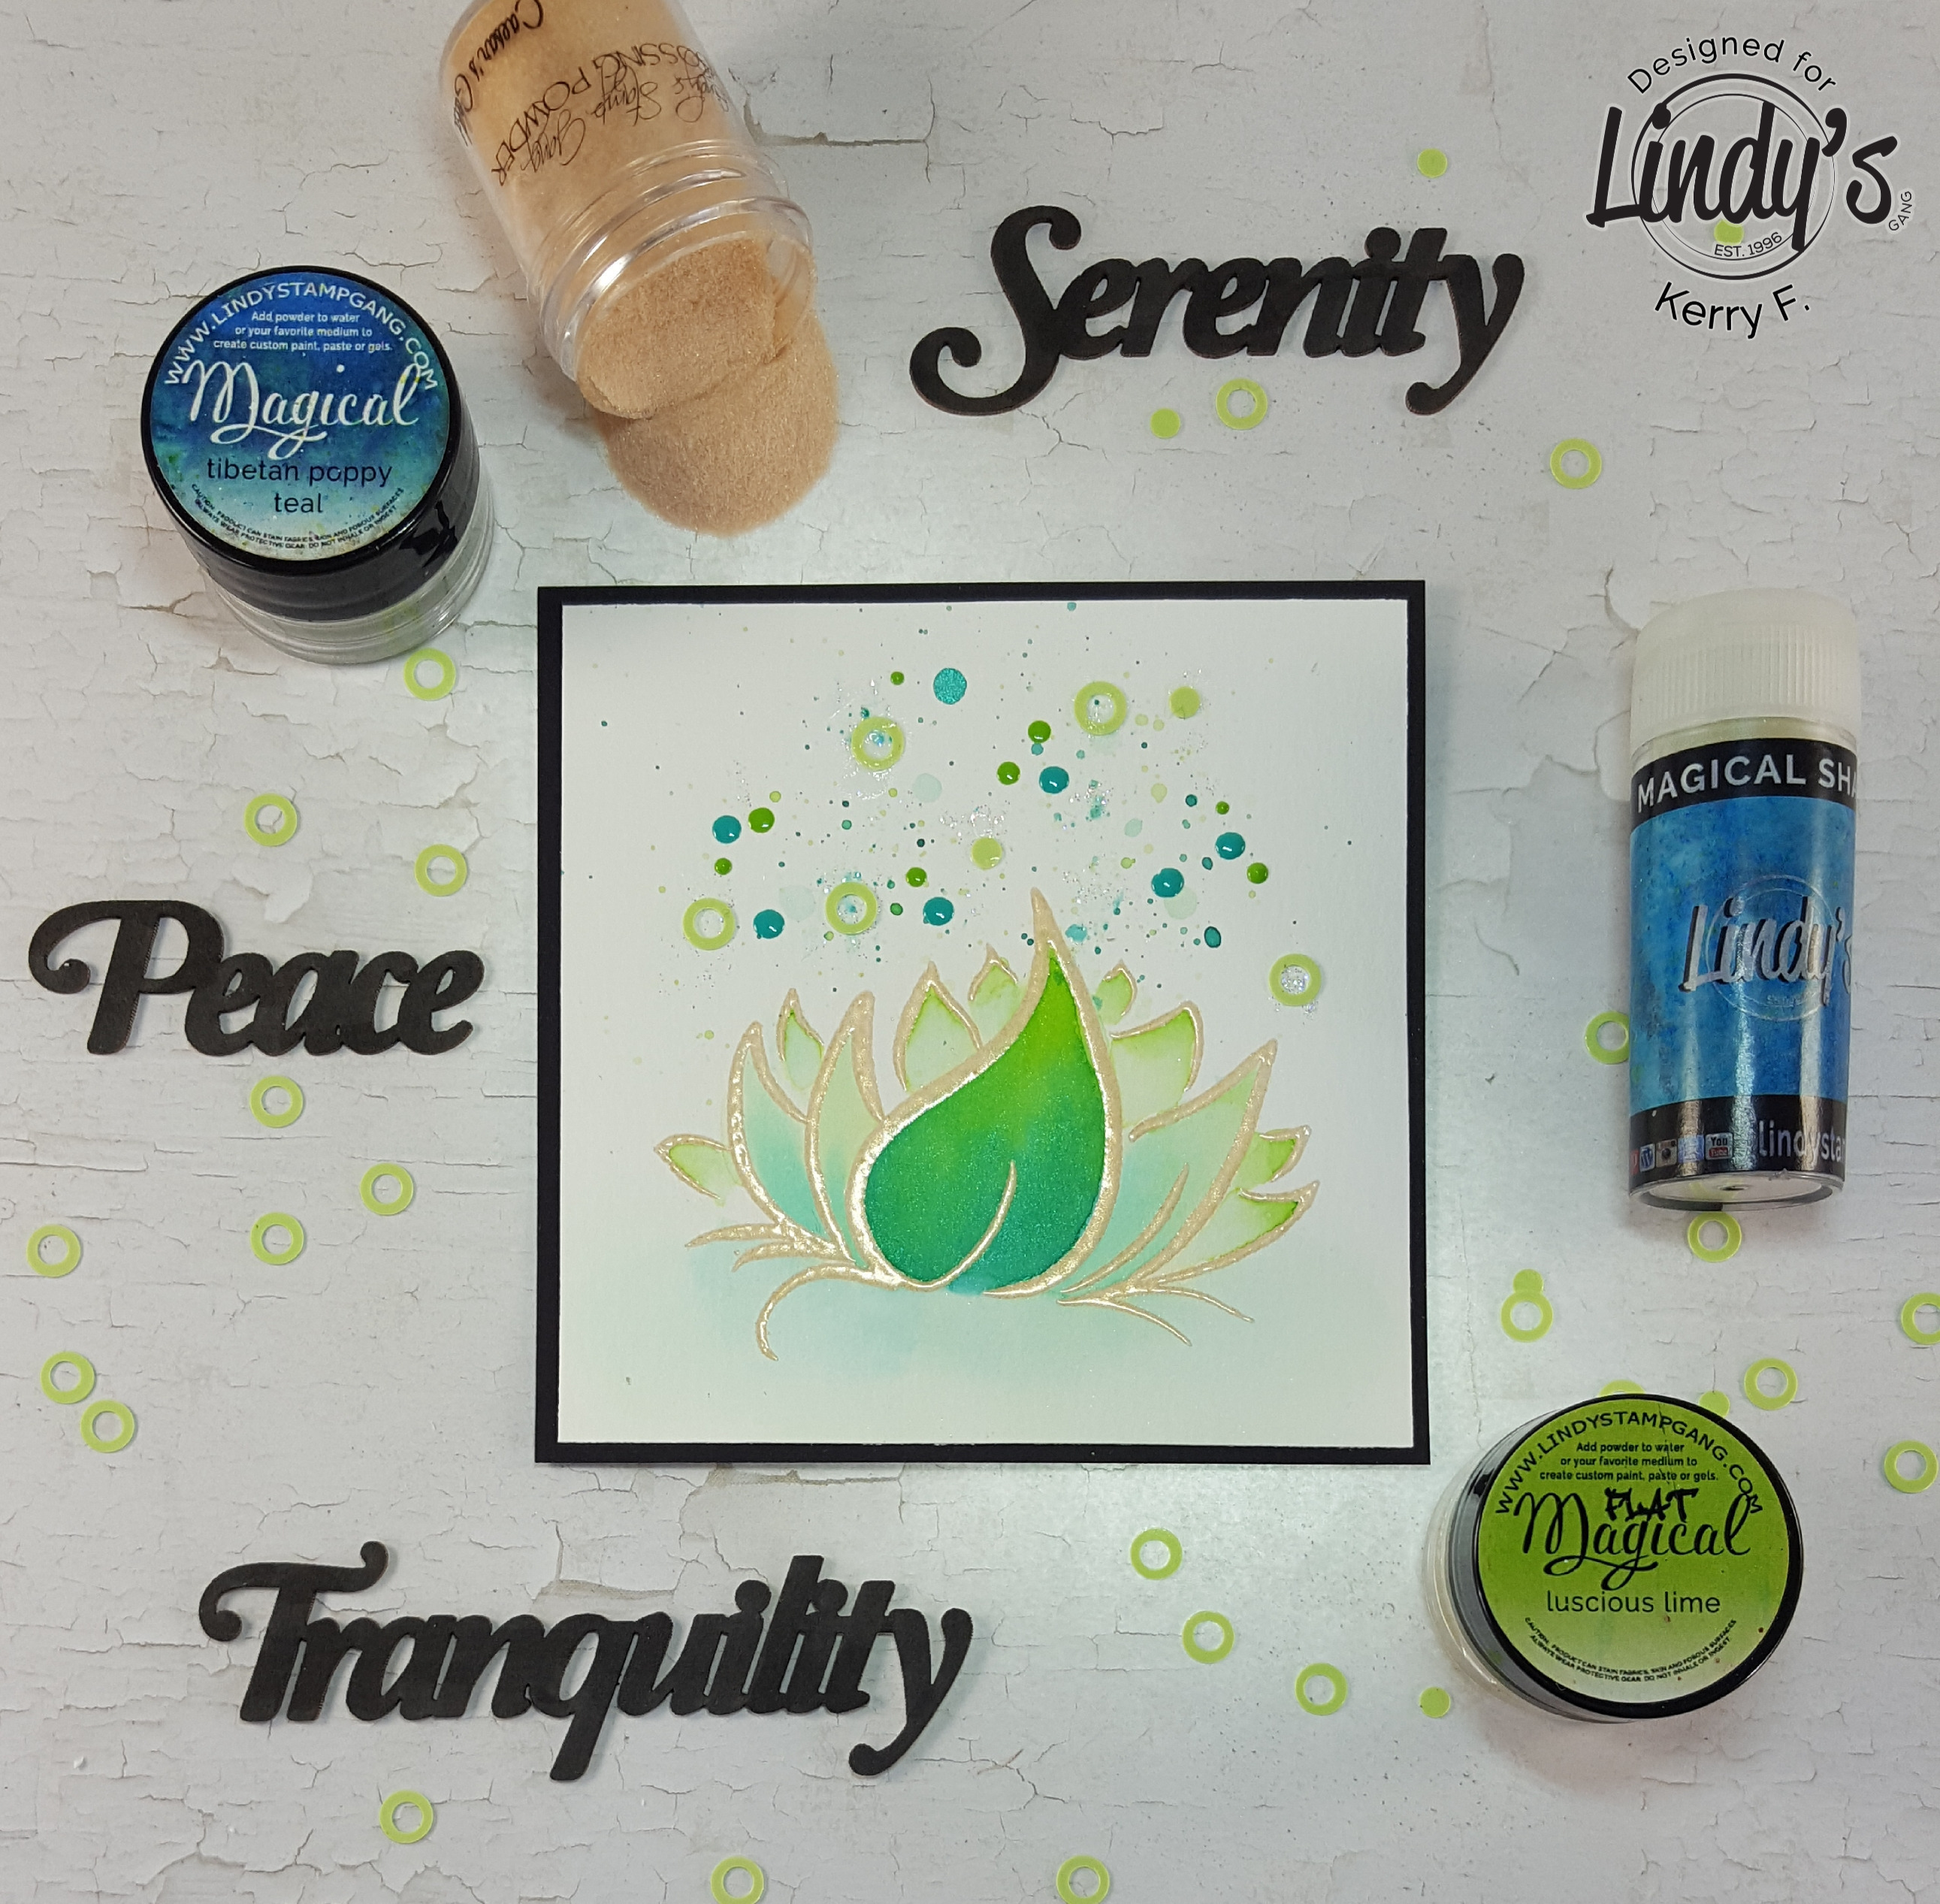
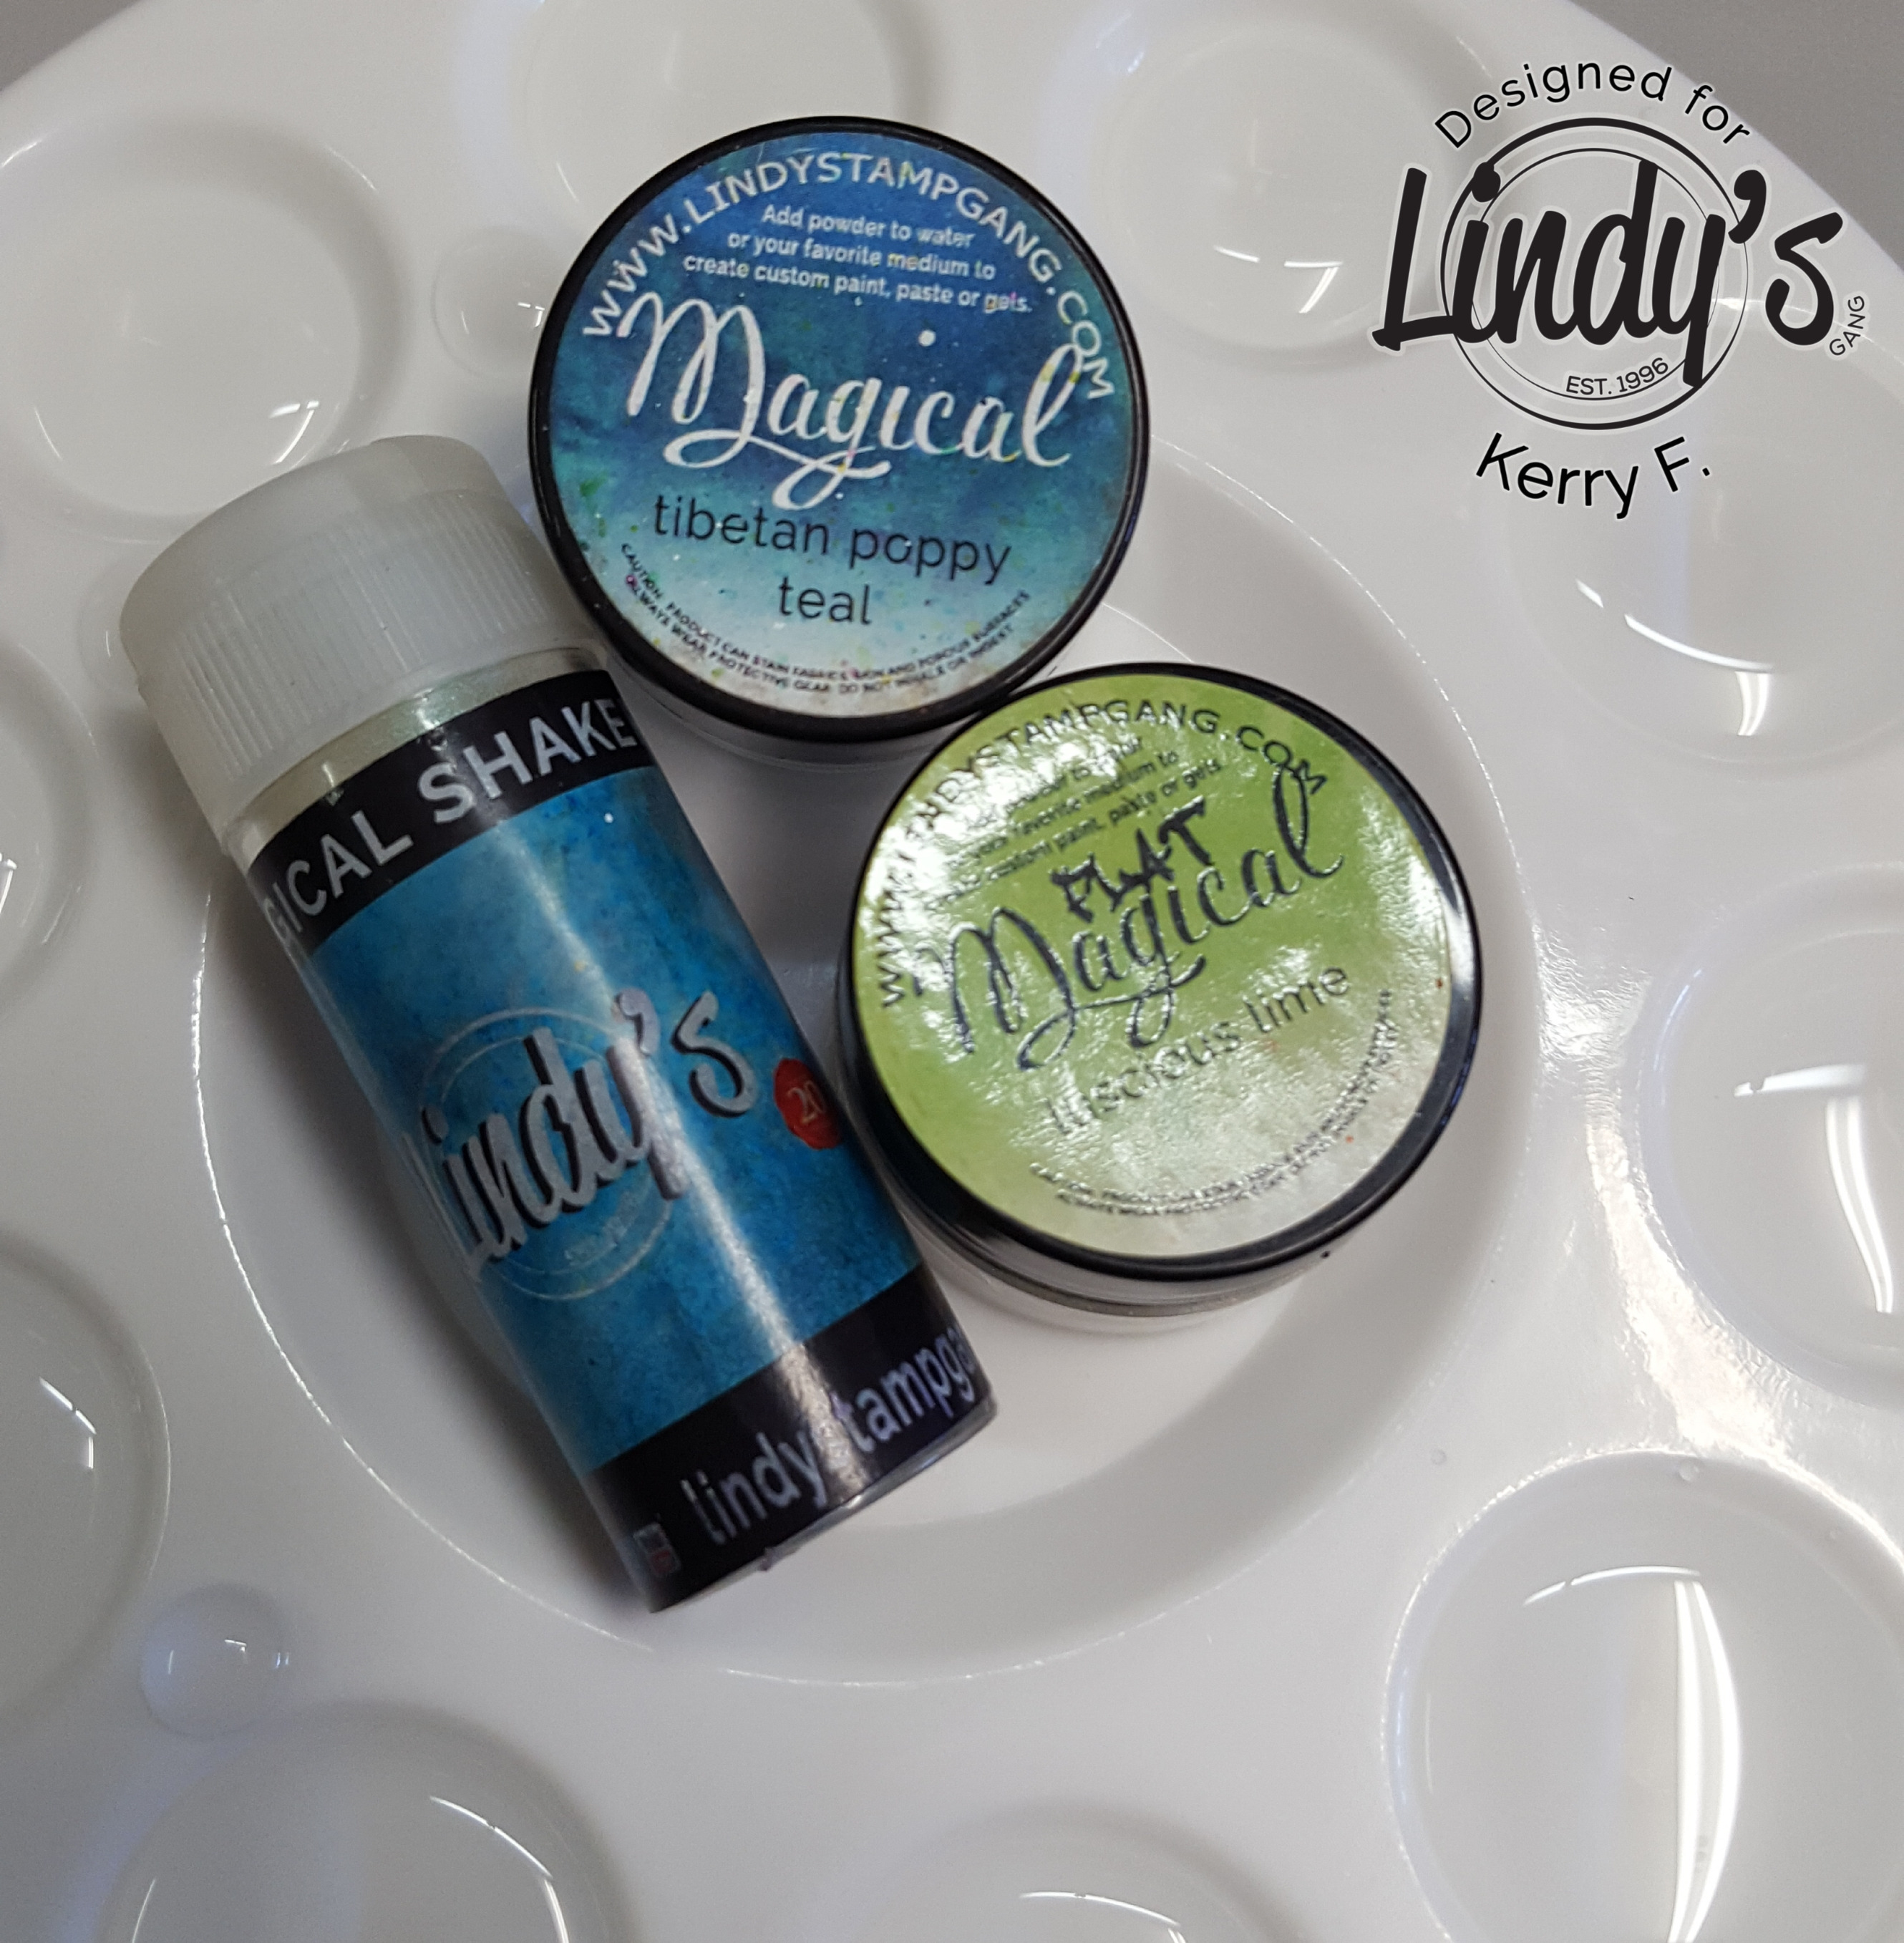
Then I have mixed my Magicals on a palette with a generous amount of water.  Remember that these little pots are potent and you only need a tiny bit of the powder.  Today I have chosen Tibetan poppy teal (from the Autumn Leaves Magical Set), Luscious Lime (from the Caribbean Cruise Flat Magical Set) and the Guten Tag Teal Magical Shaker.

2

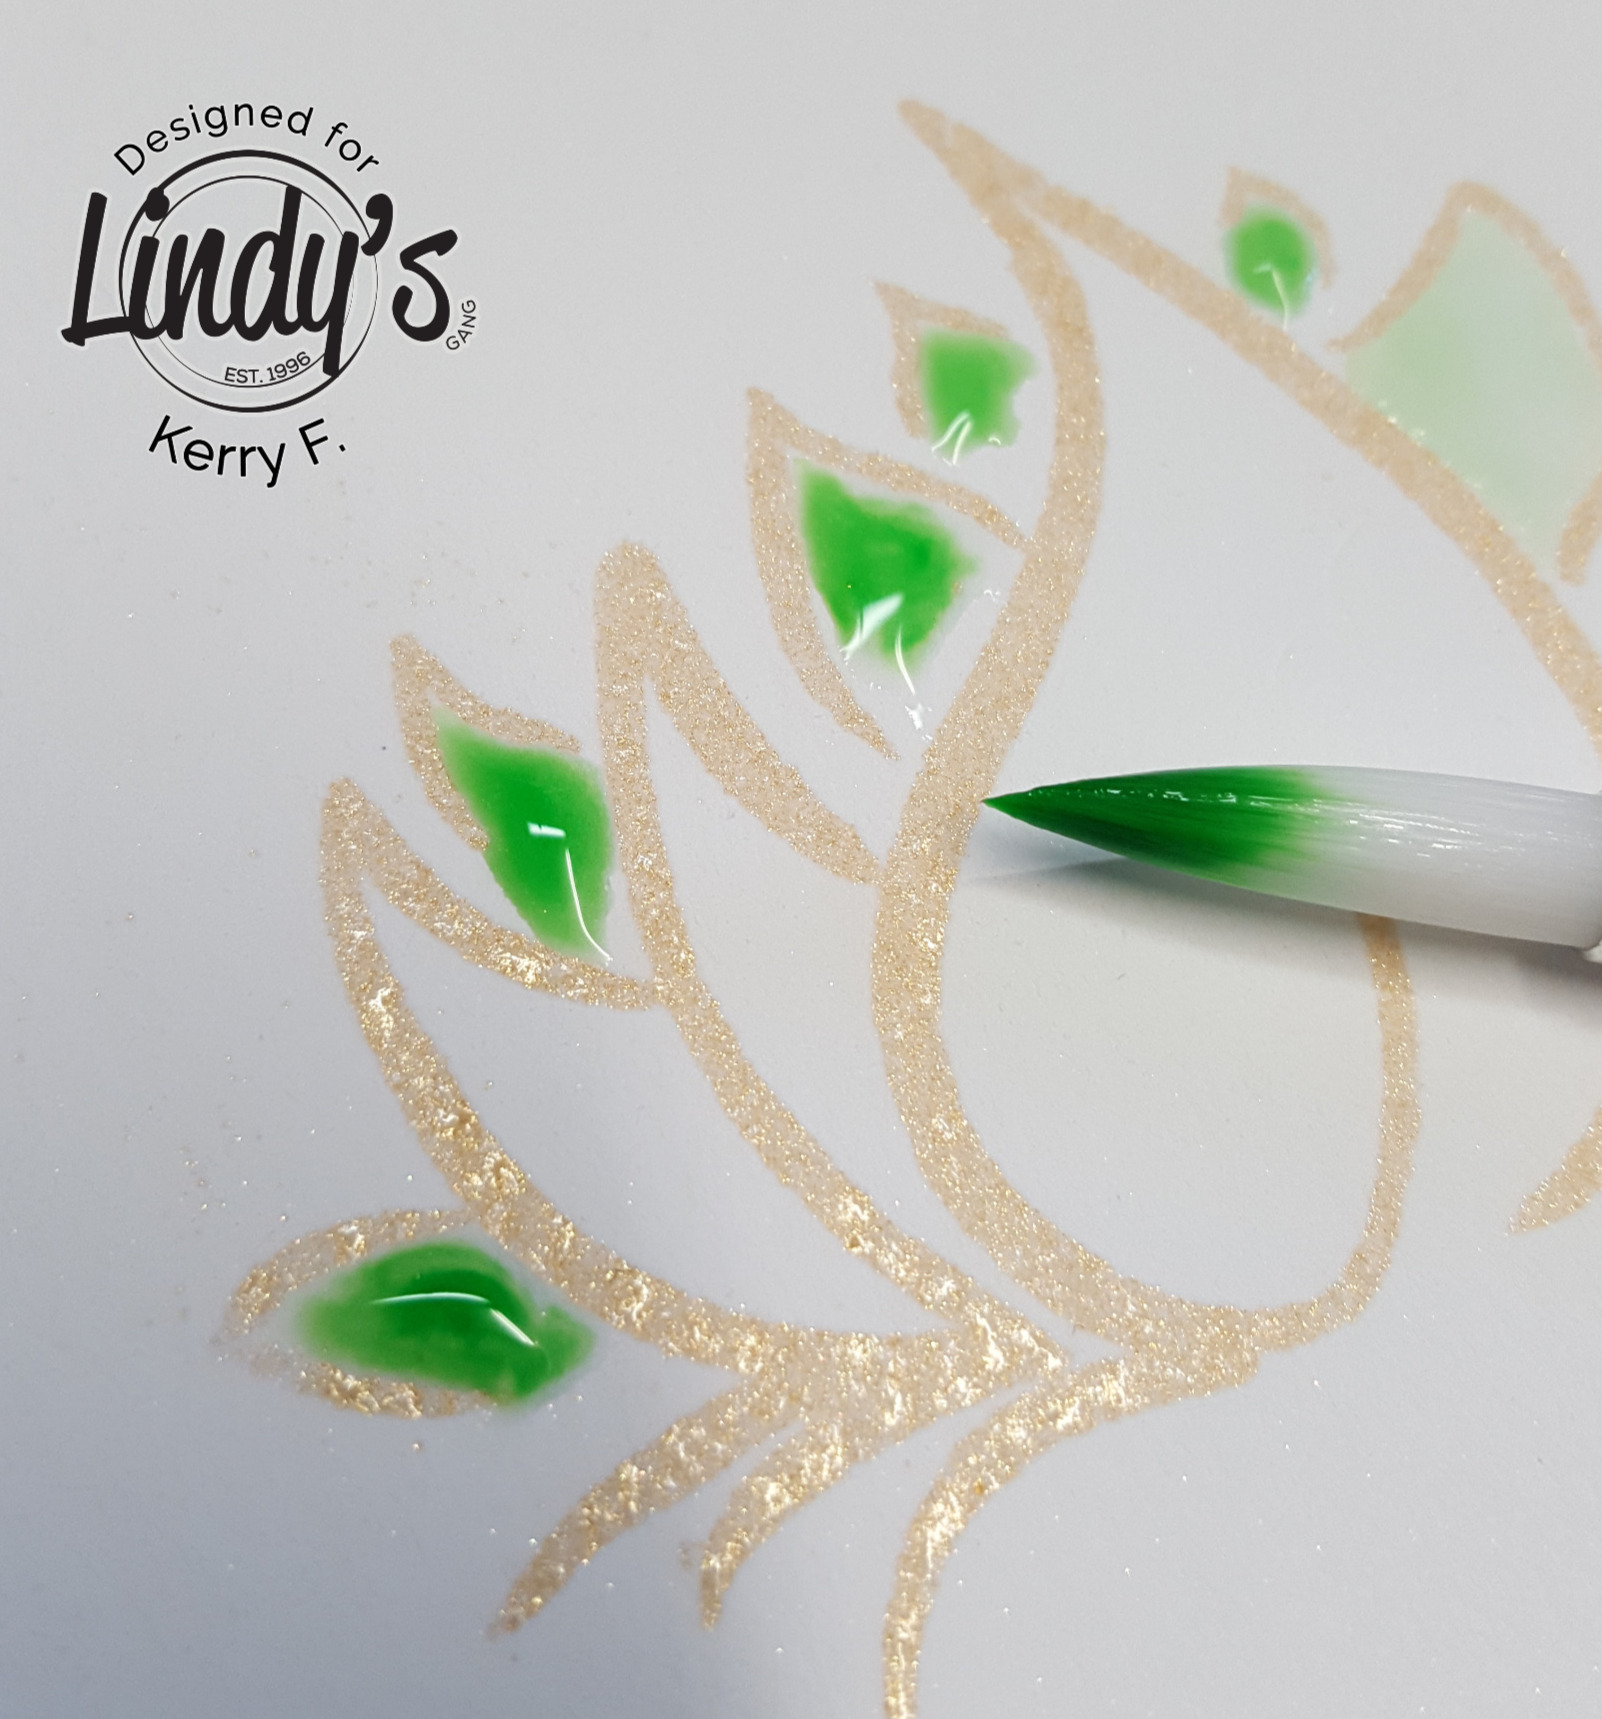
I have used a 'wet on wet' technique to add color to the lotus, this simply means I have added water to the paper first to wet the surface, then I am adding the color to the wet paper, hence the term 'wet on wet'.

3

You can see below that the color mixes with the water that was placed down on the paper first, this allows us to easily remove some of the color from the paper and we get a really soft light color as the result. You can use a little paper towel to absorb some of the water and color back up from the paper or dry off your brush on the paper towel and use the brush to absorb the color back up. For these background leaves I have used the lightest color, Luscious Lime.

4

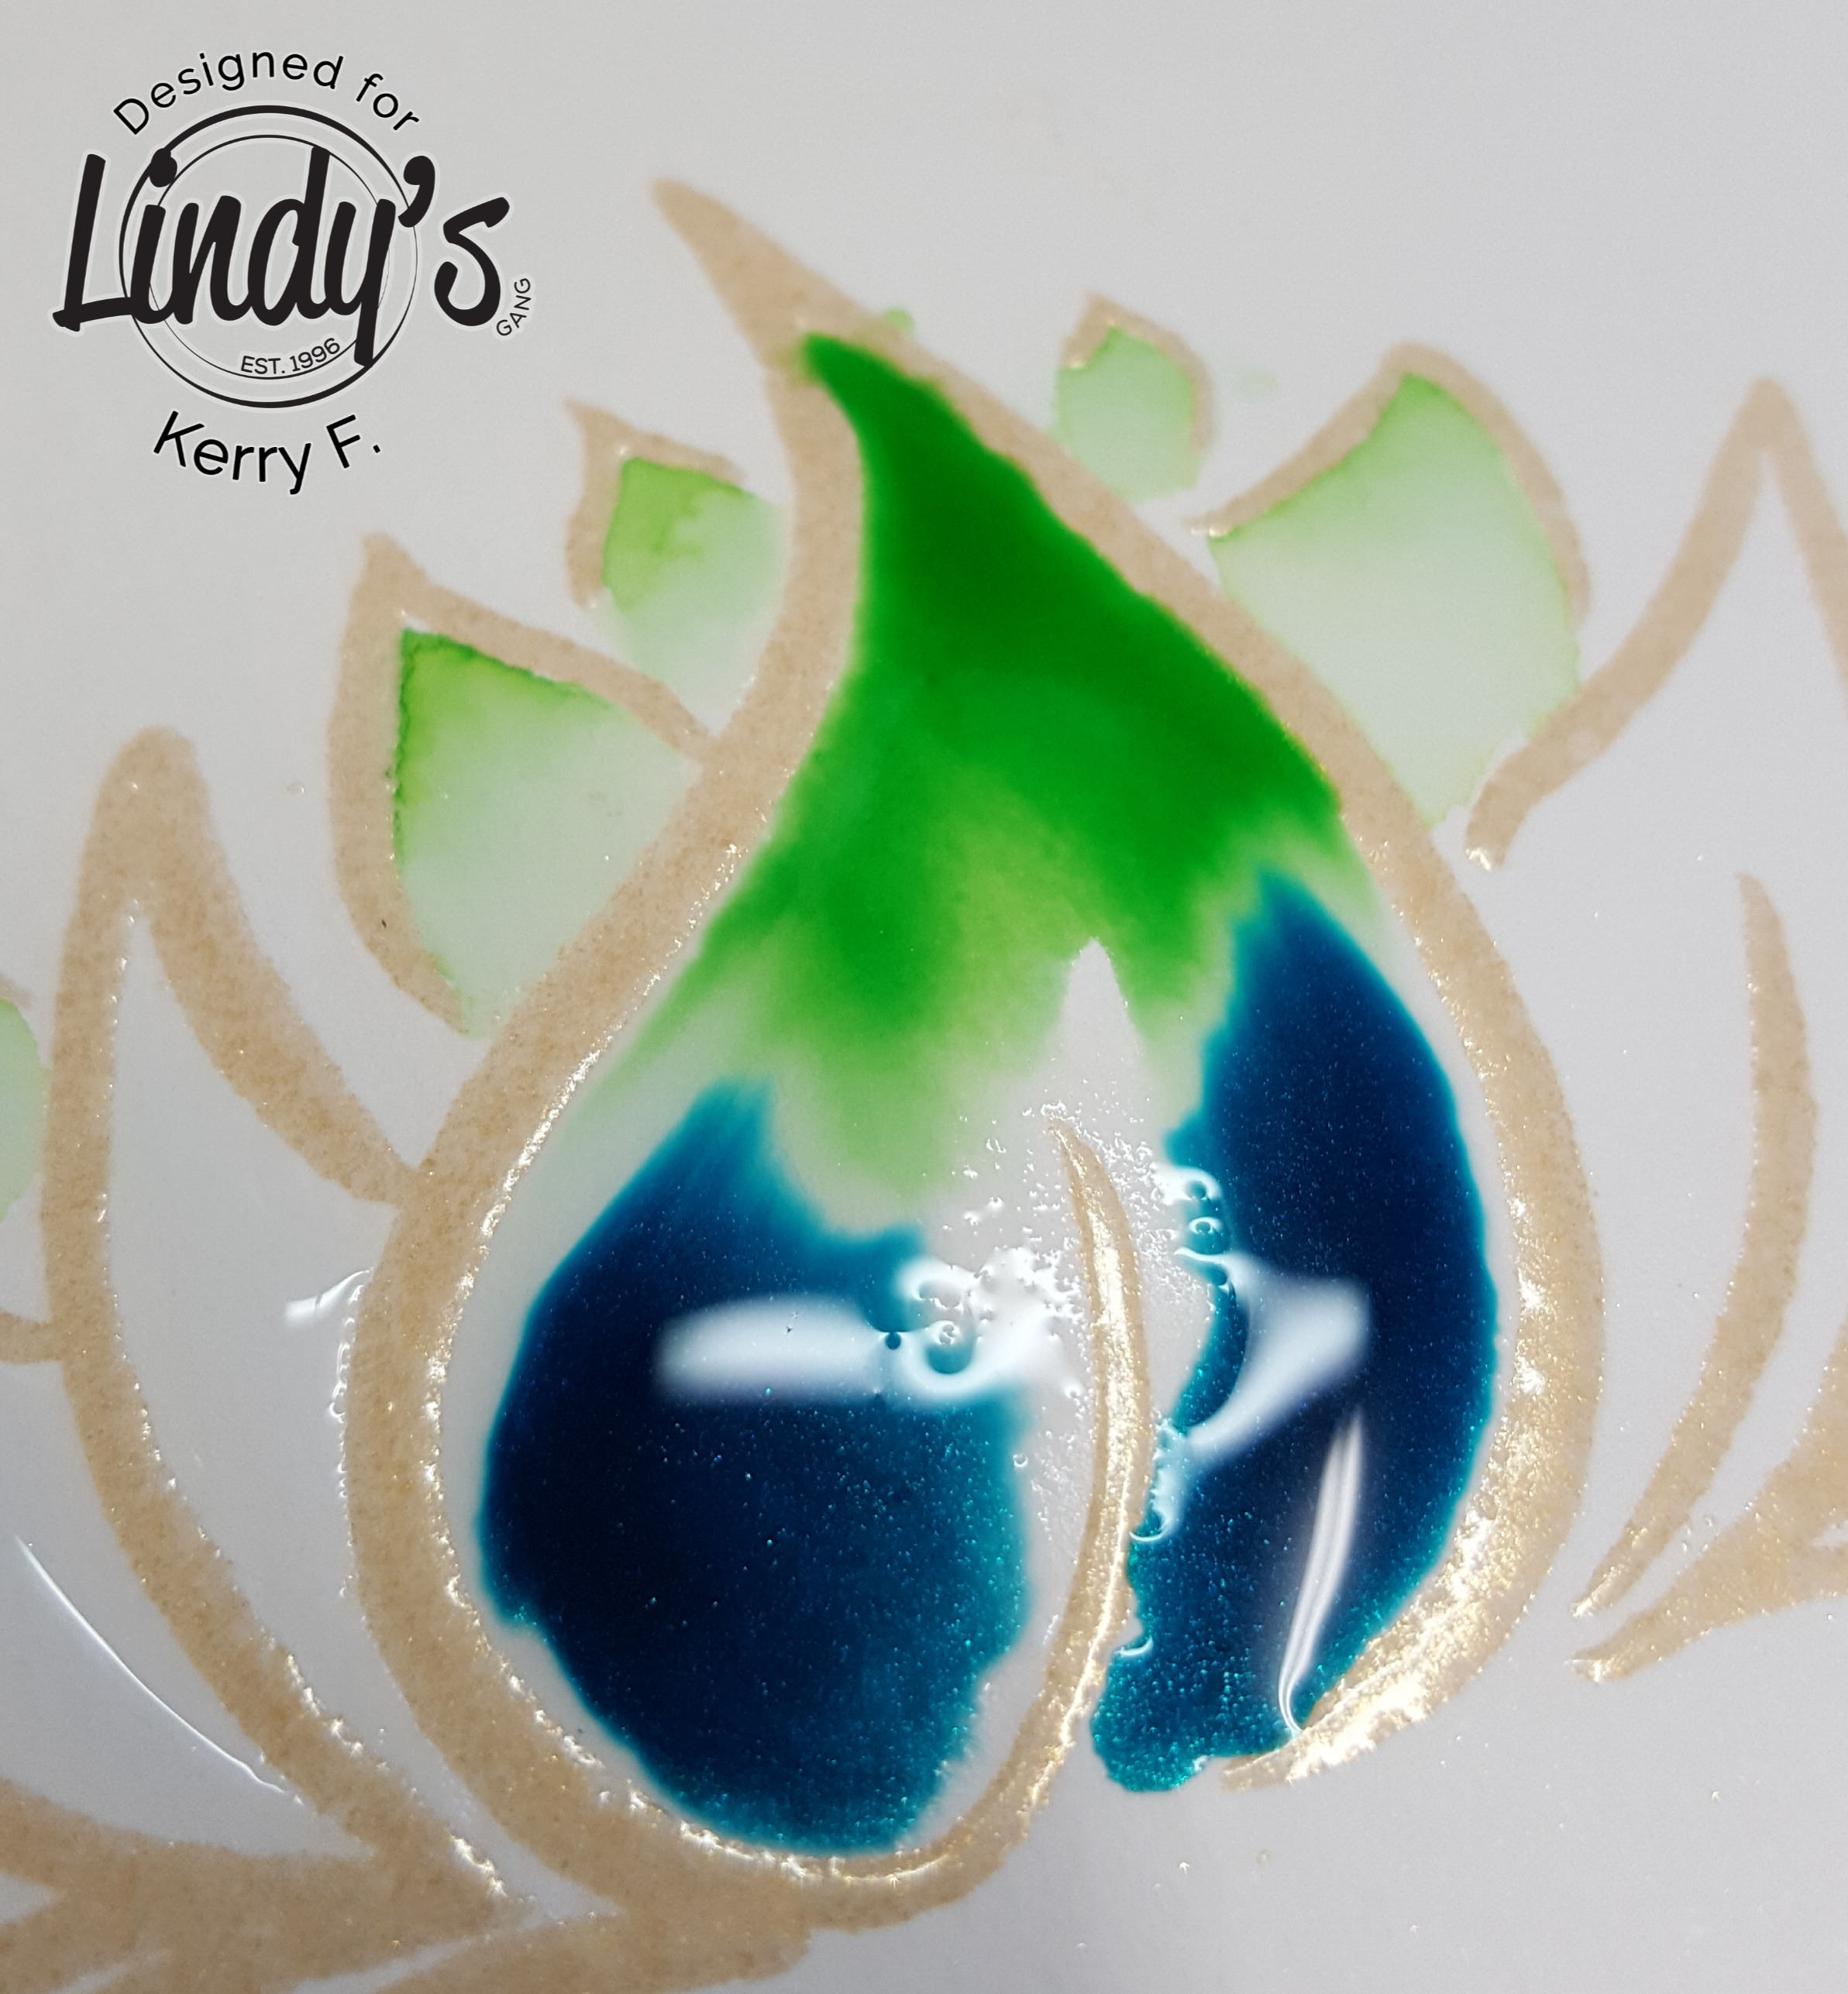
For the leaves in the foreground, I have used the darkest color on the bottom, which was a mix of both the Tibetan Poppy Teal and the Guten Tag Teal, and the top of the leaves is coloured using the Luscious Lime. I have a generous puddle of water on the leaf for the colors to mix and bleed into each other. The embossing powder acts as a bit of a well, keeping the water inside the leaf shape.

5

Once I am happy with the gradient from light to dark, I absorb up the excess water and dry off with the heat tool, And using a very water laden brush, drag a very little amount of the color underneath the lotus to give some shadowing effect.

6

To finish off, flick a small amount of the color above the lotus and add some sequins, enamel accents and glitter and mount onto some black card.

8

Lindy's Products used: Tibetan poppy teal (from the Autumn Leaves Magical Set), Luscious Lime (from the Caribbean Cruise Flat Magical Set), Guten Tag Teal Magical Shaker and Caesar's Gold Embossing Powder
Other Products: Watercolor paper, Versamark Ink, Sequins, stickles, enamel accents, black cardstock, stamp.

10

Thanks for dropping by and have a Magical Day xx

Tuesday, 2 January 2018

Lindy’s 2018 Design Team Welcome Hop

Come and join the Lindy’s 2018 DT Welcome Hop. Hello creative people!  I am so thrilled to be back for another term with Lindy's and I can’t wait to introduce you to all the new DT members!!! To join the hop, please visit all the Designers blogs and leave a little love, (it’s such a big team that we are giving you a few days to do this) you might also want to check out their Facebook and Instagram accounts for a peek at some fabulous art.
On Day ONE of the hop, Lindy’s will introduce the new Ambassadors, on Day TWO Lindy’s will introduce the Video Designers and on Day Three Lindy’s will introduce the new Photo Designers!

These are some of the projects I have created using beautiful products from Lindy’s ...


Hop starts on 2nd January 2018 and finishes at midnight 6th January. Please visit each team member's Facebook, blog and Instagram to see their amazing art and leave a little love to welcome them to the Lindy's Gang!
Go into the PRIZE draws by:
Prizes will be drawn randomly and include:
  • 1 x $50 Lindy's Gift Voucher for a lucky Instagram follower
  • 1 x $50 Lindy's Gift Voucher for a lucky FaceBook follower
  • 2 x $25 Lindy's Gift Vouchers for two lucky Blog followers
Prize winners will be announced on the 9th Jan!!!!!

Hop Order

Day One: Lindy's Ambassadors

Our Ambassadors are our CHEER SQUAD you can take an in-person class with any of our amazing Ambassadors, please contact them for details:

Day Two: Video Design Team

Our Video Designers are our TEACHERS and will be giving you all mini-classes online, one project at a time:

Day Three: Photo Design Team

Our Photo Designers are our INSPIRATION and they will be showing you how beautiful Lindy's look and inspiring you to create:
FINISH @ Lindy’s Creative Gang: https://www.facebook.com/groups/Lin...
 
... Phew, Such a huge team with so much talent, Lindy's will be your one stop blog and shop for all you creatives this year! Good Luck and have a Magical day x

Monday, 1 January 2018

January Color Challenge For Lindy's

Hello! I hope you have all had a fabulous holiday season and are ready to jump back into your craft room and get crafting!  Hands up all those who got some Lindy's for Christmas or perhaps a little bit of cash to spend on some yummy new craft supplies??!? The January Color Challenge palette is totally FABULOUS!! I could play with these colors all day!  Here is a project I have created using the gorgeous January colors!


Using a mix of sprays and embossing powders, I just love how this anchor looks :)


Remember to pop over to the Lindy's blog to see what the other girls have made with this palette.


You can find all the Lindy's Products here :)


Thanks for dropping by and have a magical day xx