Now its time to meet my Team Mates for 2018..

Lindy's Ambassadors
Our Ambassadors are our CHEER SQUAD you can take a class with any of our amazing Ambassadors, please contact them for details:
- Aga Baraniak (Poland): http://agabaraniak.com/en/
- Natalie May (Australia): http://www.happydaks.blogspot.com/
- Phoebe Tonosaki (Japan): http://tonosakiphoebe.blogspot.jp/
- Yulianna Eframova (Russia): http://www.yulianna.pro/
Video Design Team
Our Video Designers are our TEACHERS and will be giving you all mini-classes online, one project at a time:
- Aleksandra Mihelič: http://papermade-fairytale.blogspot.si/...
- Elena Martynova: http://blogmadevselenaya.blogspot.ru/...
- Kasia Bogatko-Skoczypiec: www.kasiabogatko.com
- Marta Turska-Grochocka: http://ja-majka.blogspot.com/
- Nirvana: http://scrapuleuxmonde.blogspot.fr/
- Olga Bielska: http://exploding-box.blogspot.com/
- Sivan Amedi: http://mylittlecraftystudio.blogspot.com.au/...
- Valerie Ouellet: http://leblogdevall04.blogspot.ca/
Photo Design Team
Our Photo Designers are our INSPIRATION and they will be showing you how beautiful Lindy's look and inspiring you to create:
- Anat Weksler: http://www.anatechocolate.blogspot.co.il/...
- Asia Marquet: http://www.lemoncreation.com/
- Caroline Elliam: www.creationselliam.blogspot.ca
- Cindy Wille: http://www.cinscreations.com/
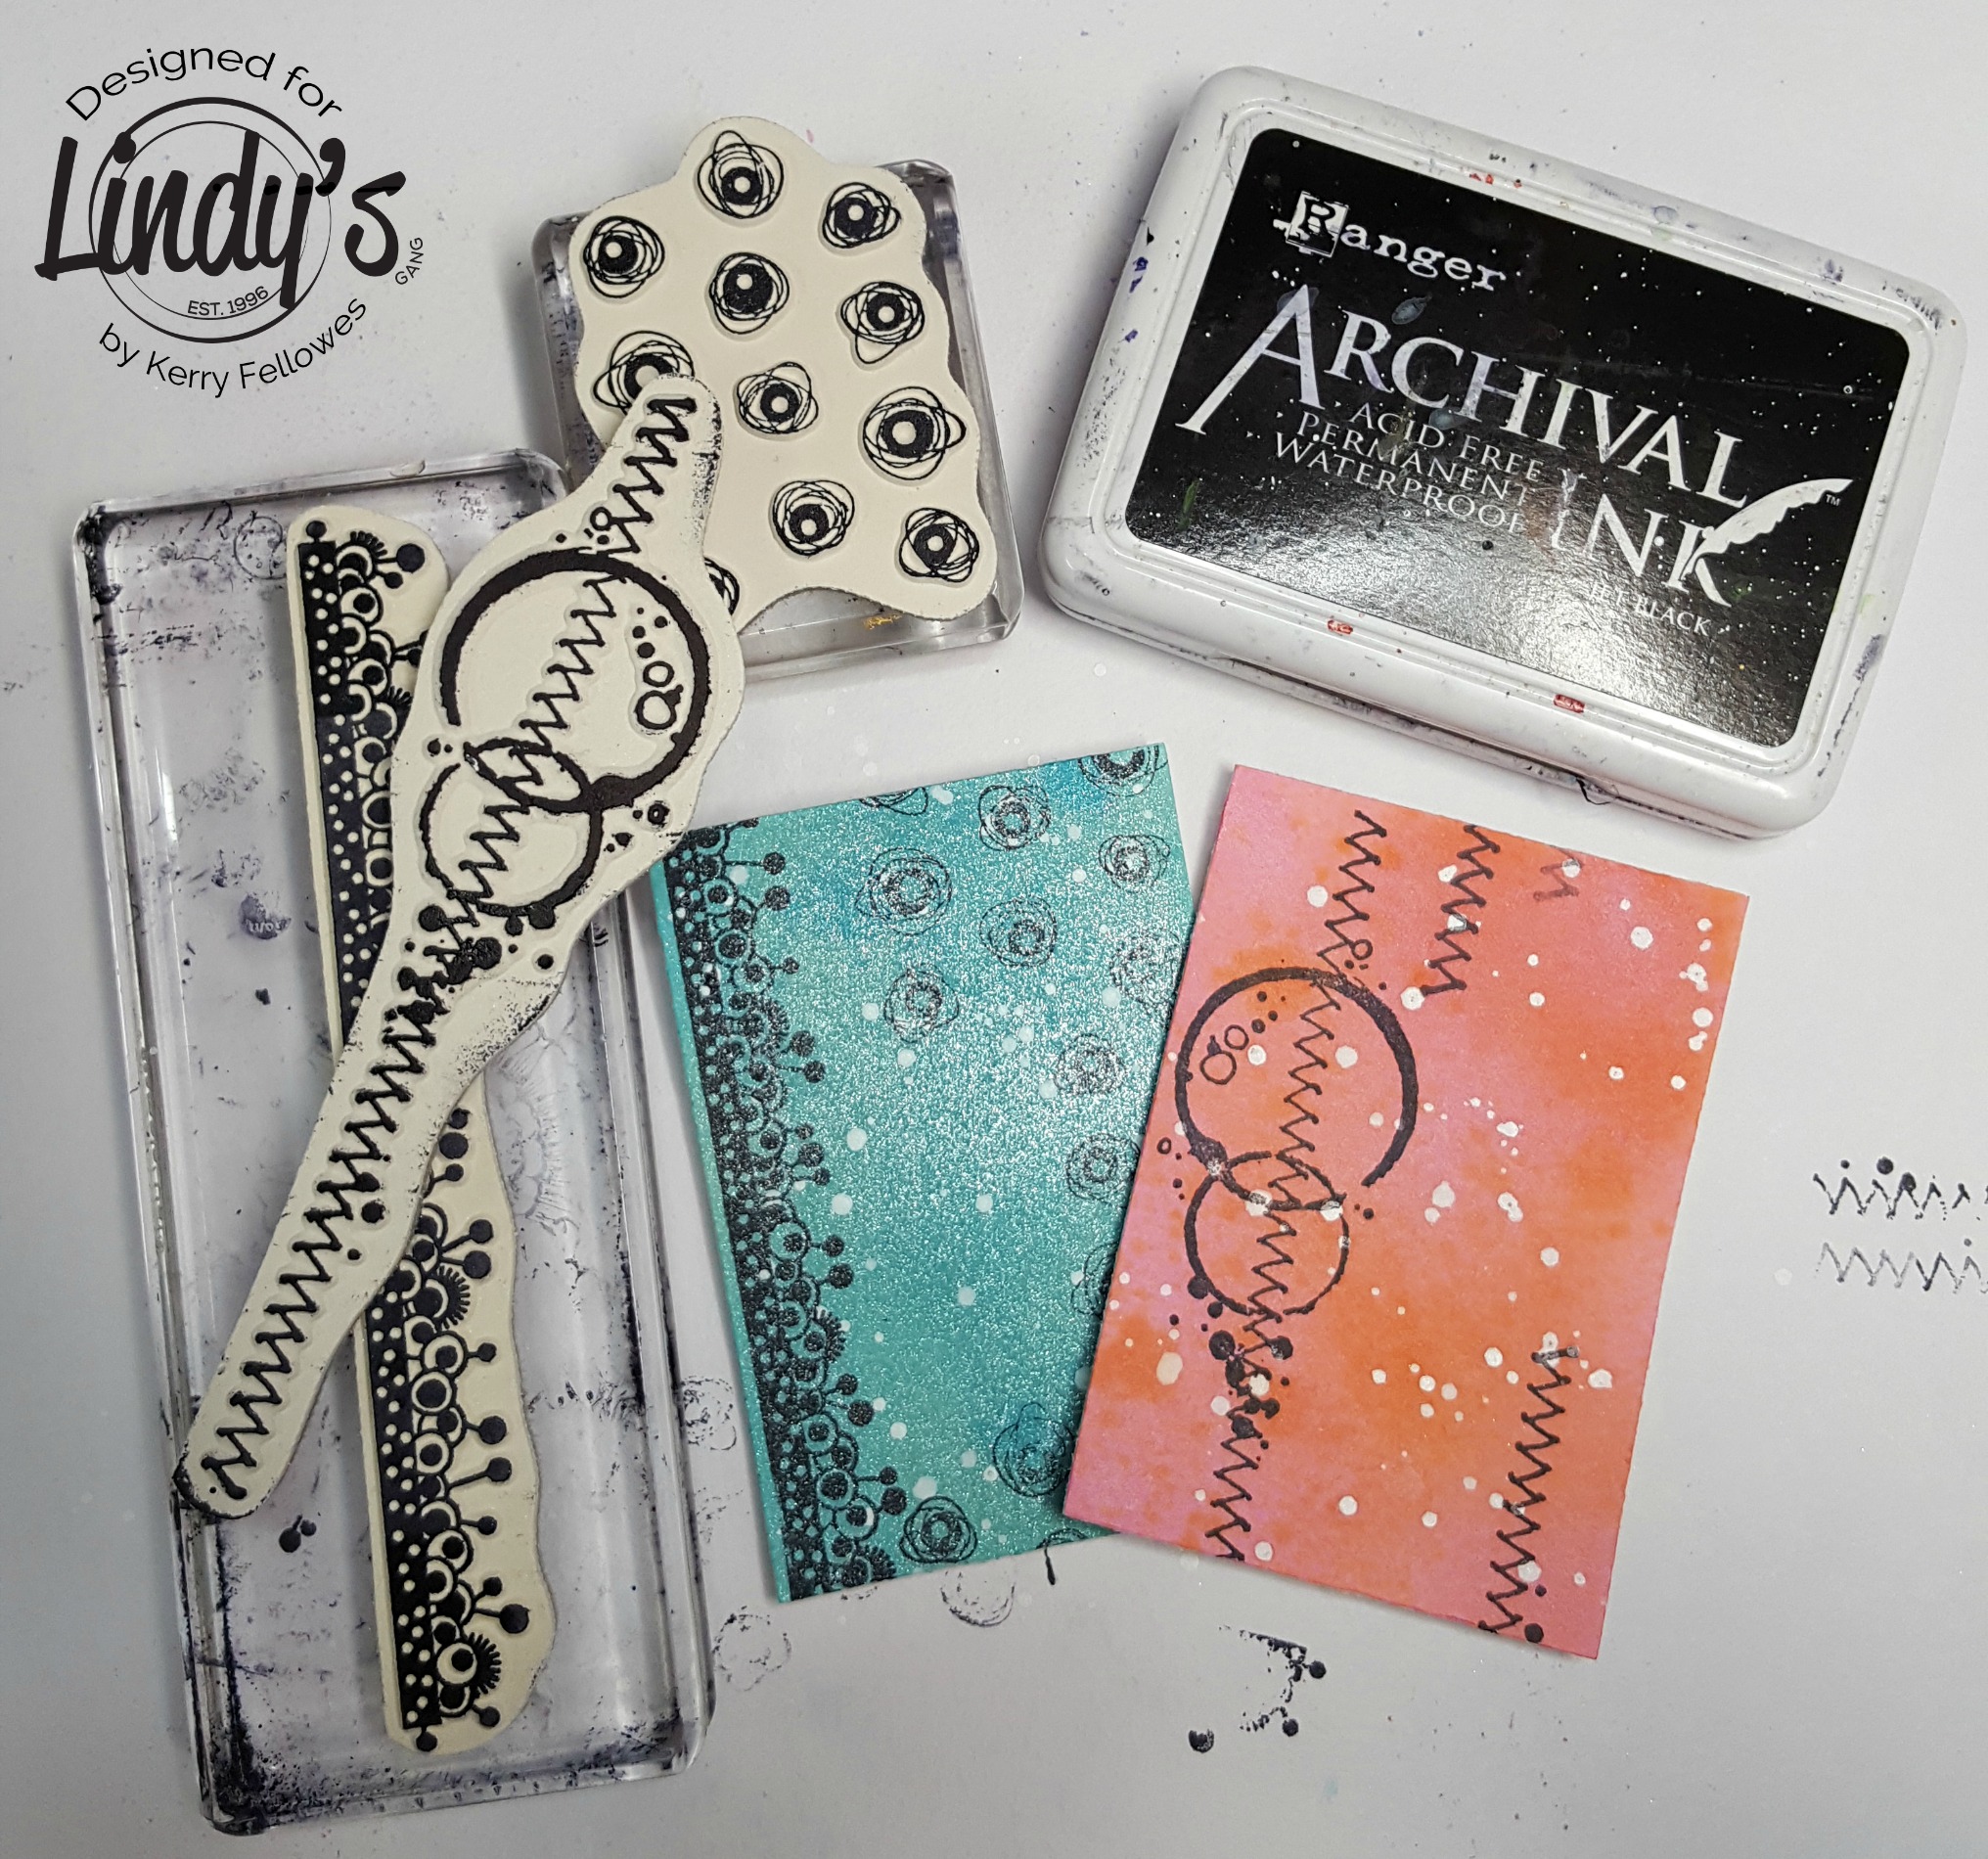
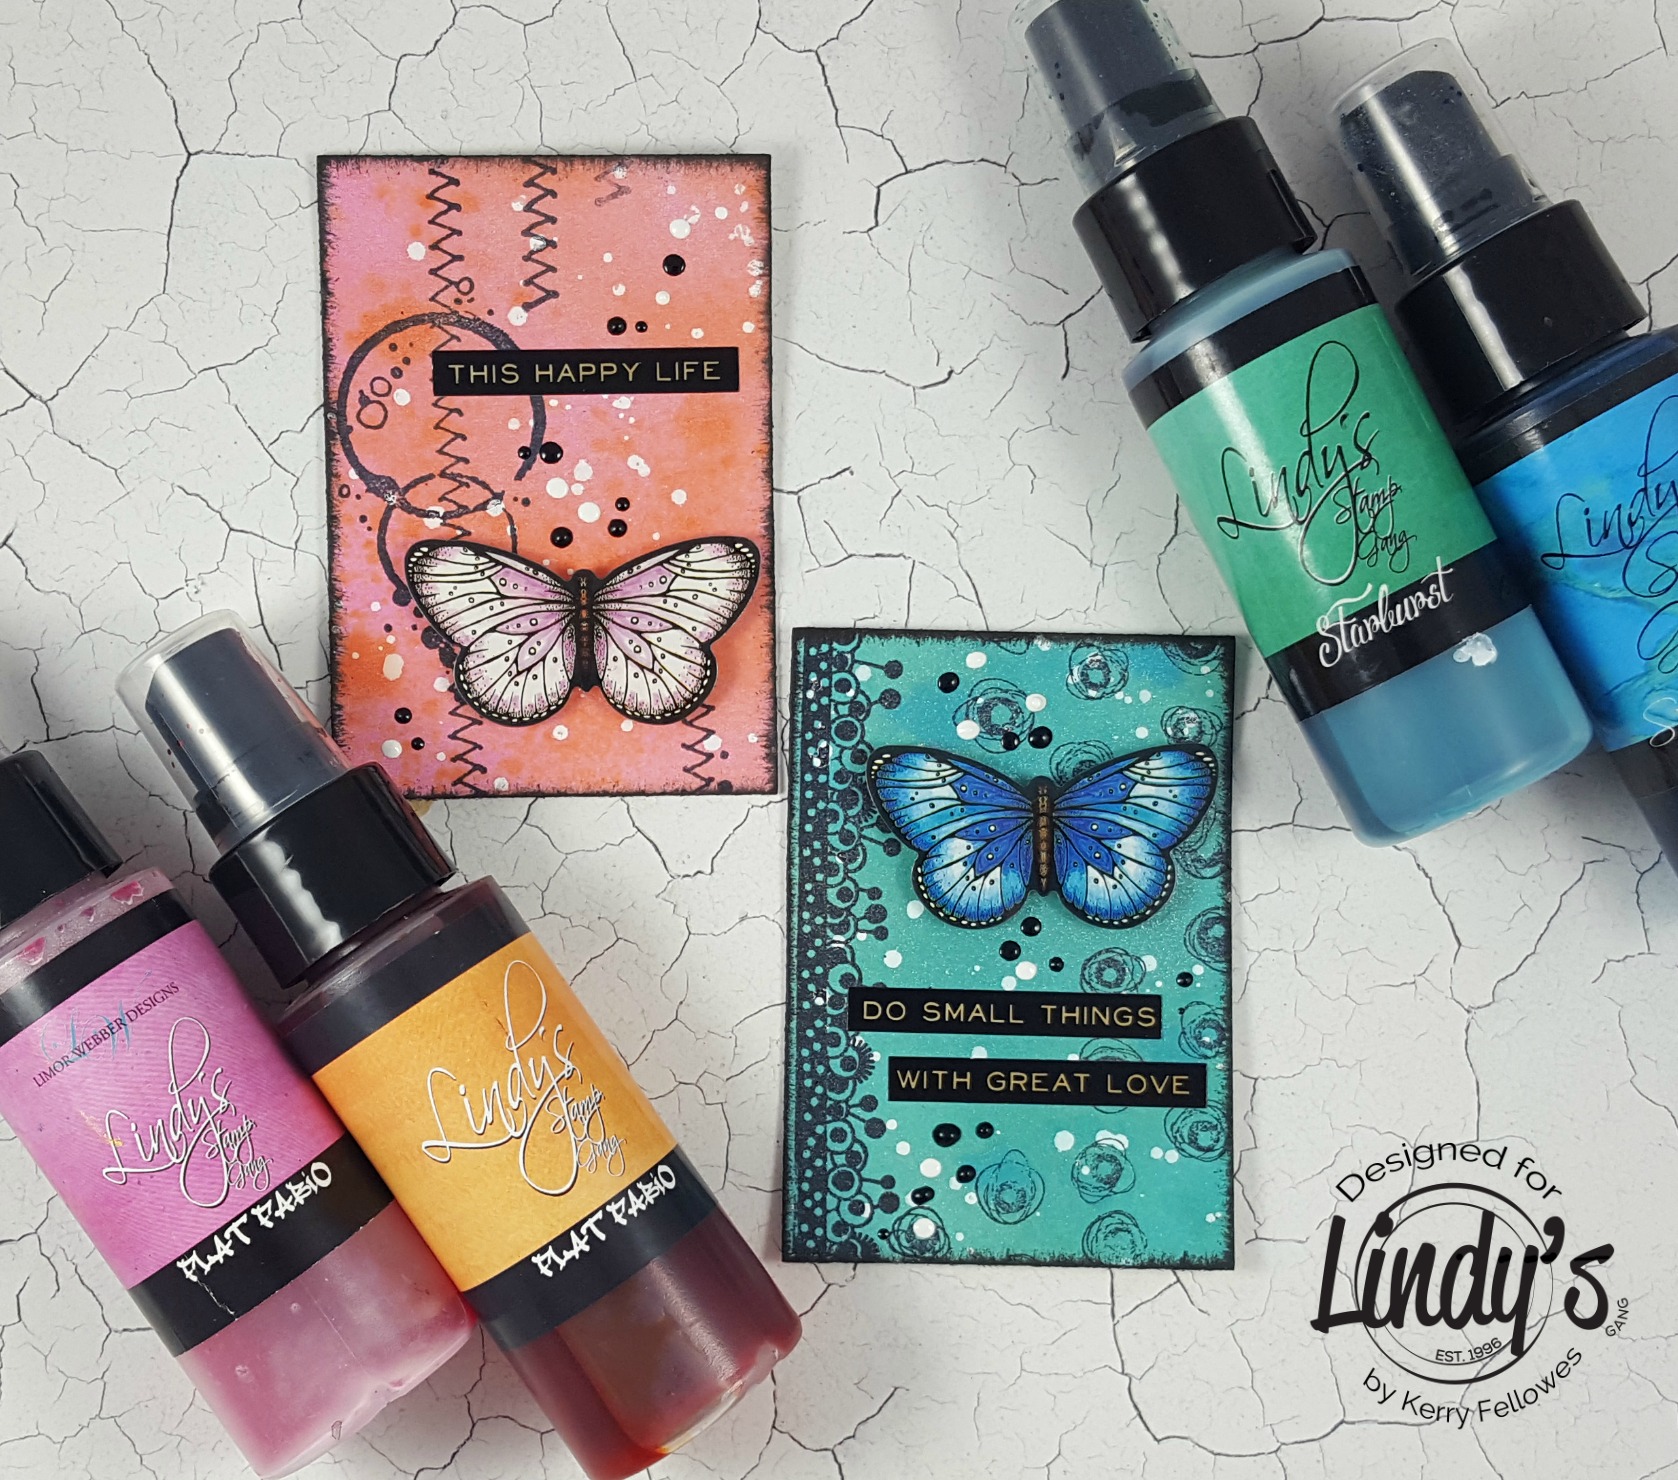
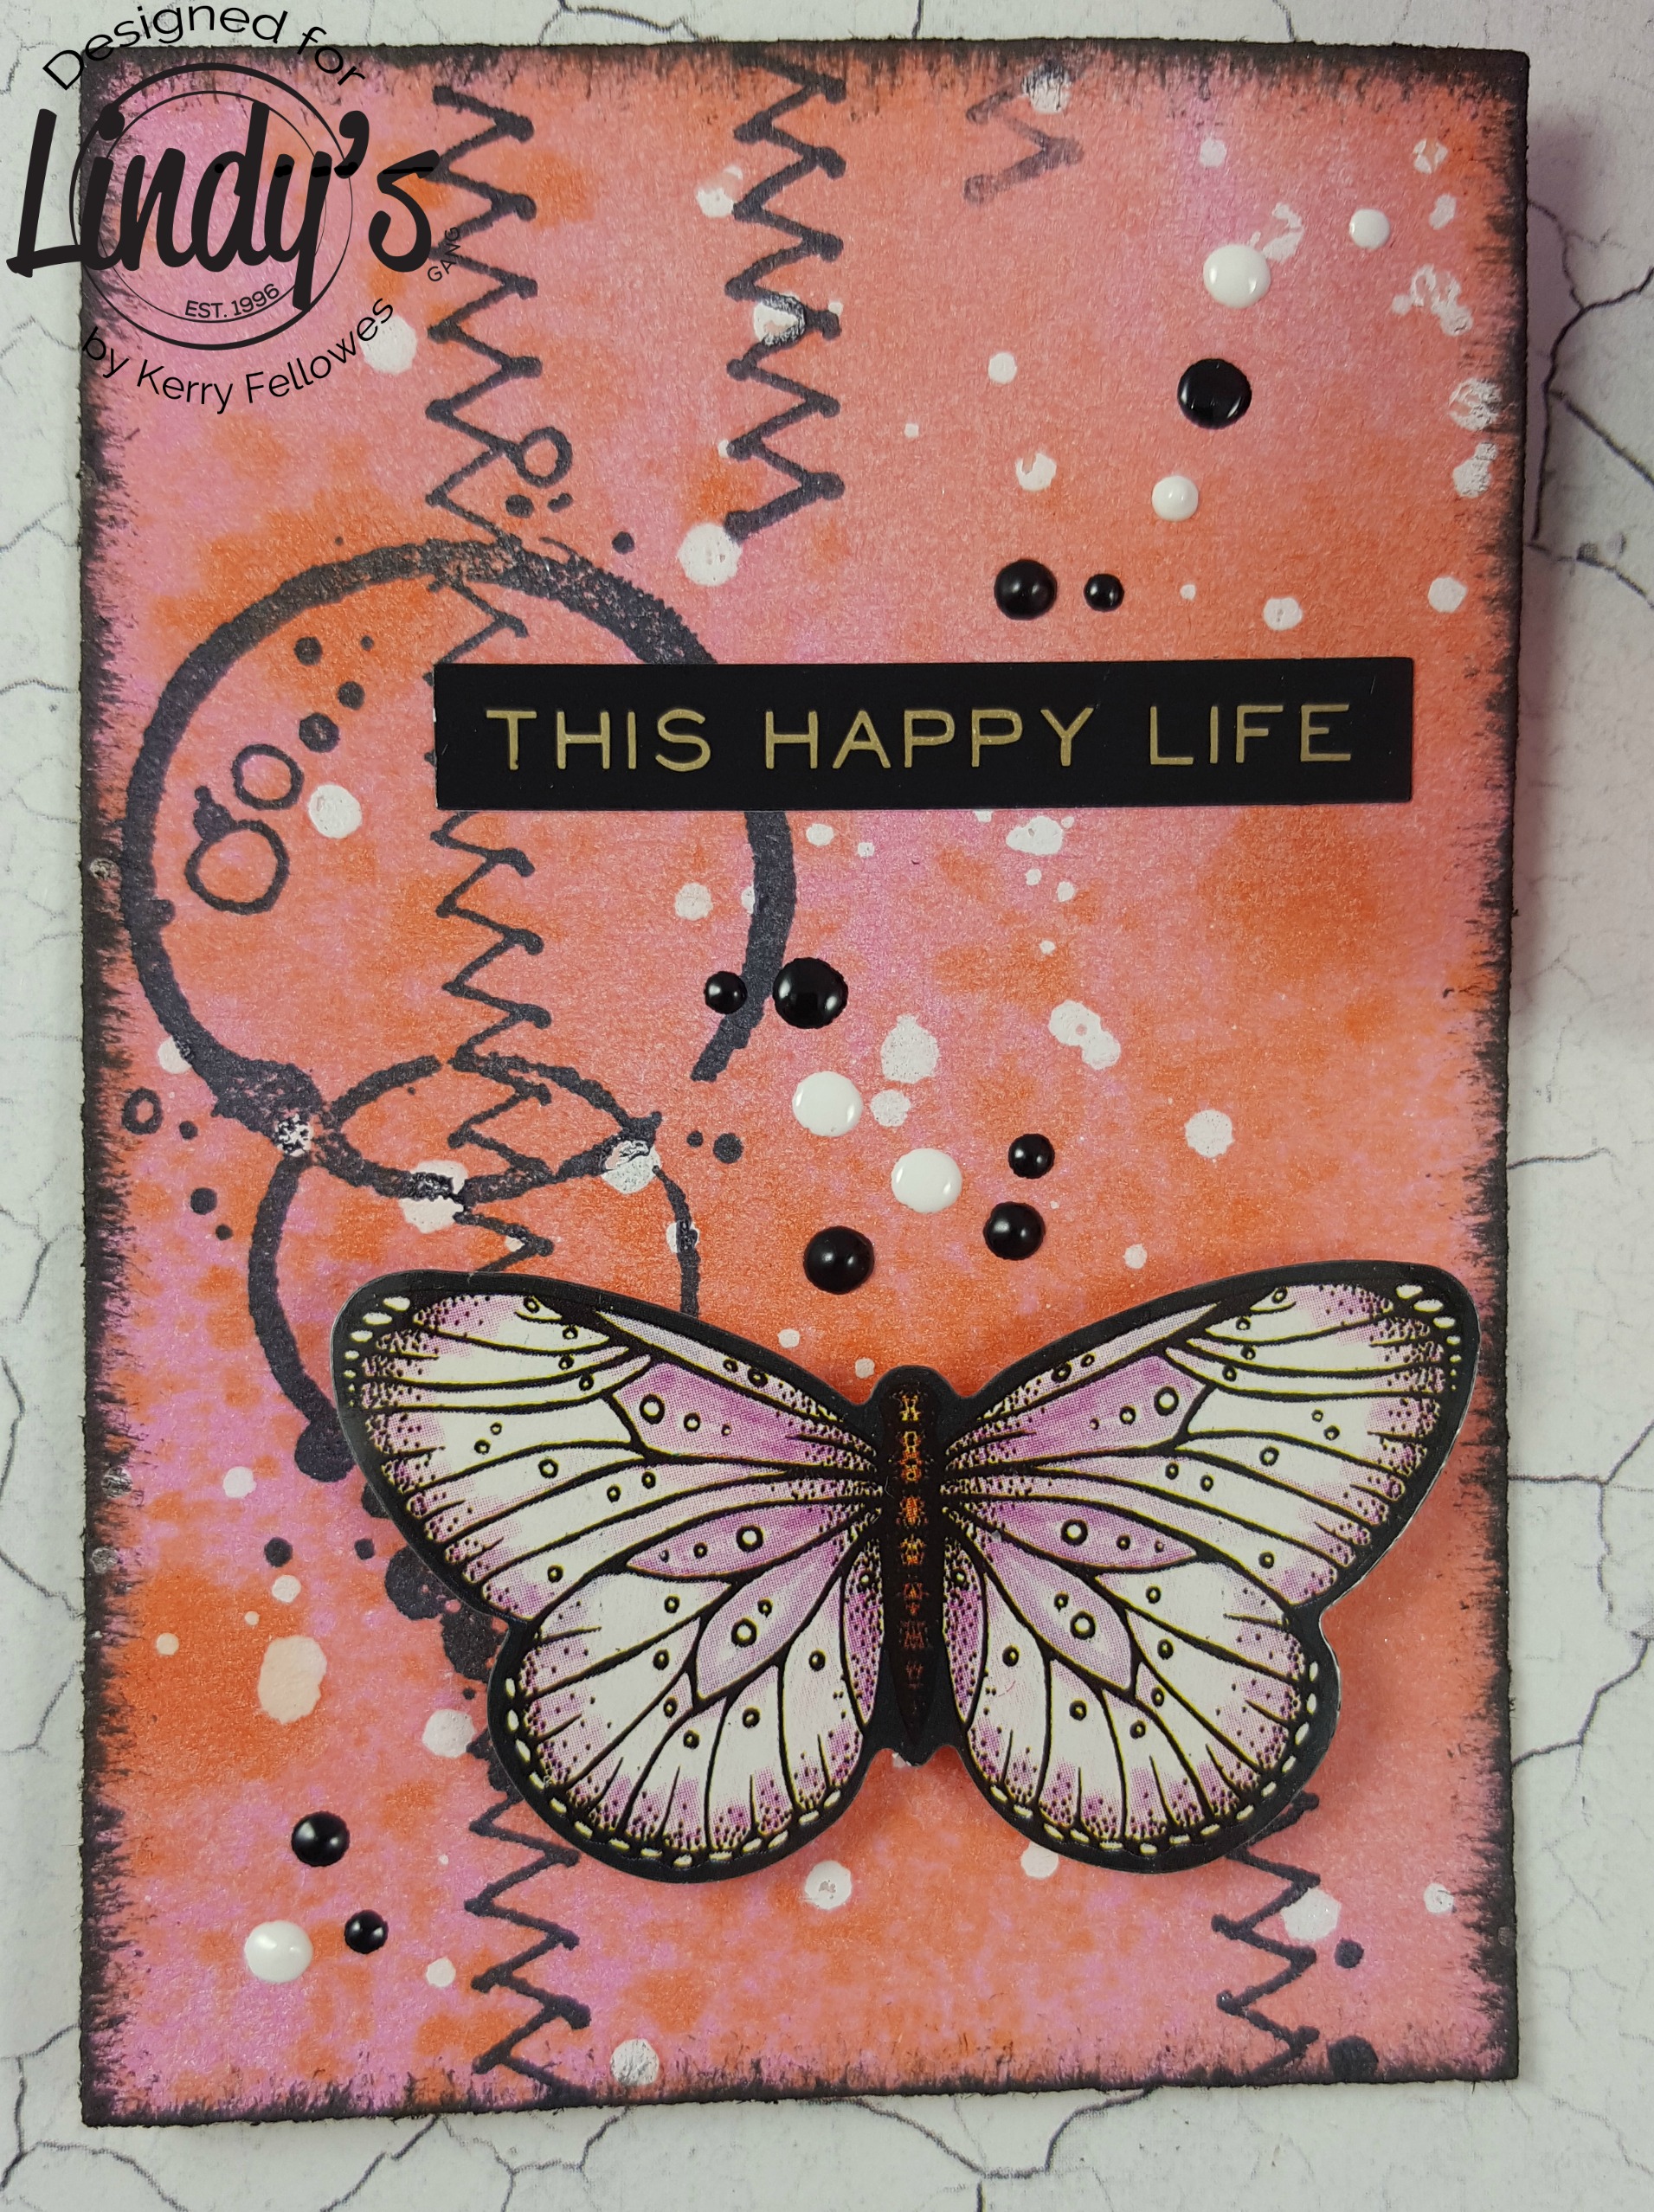
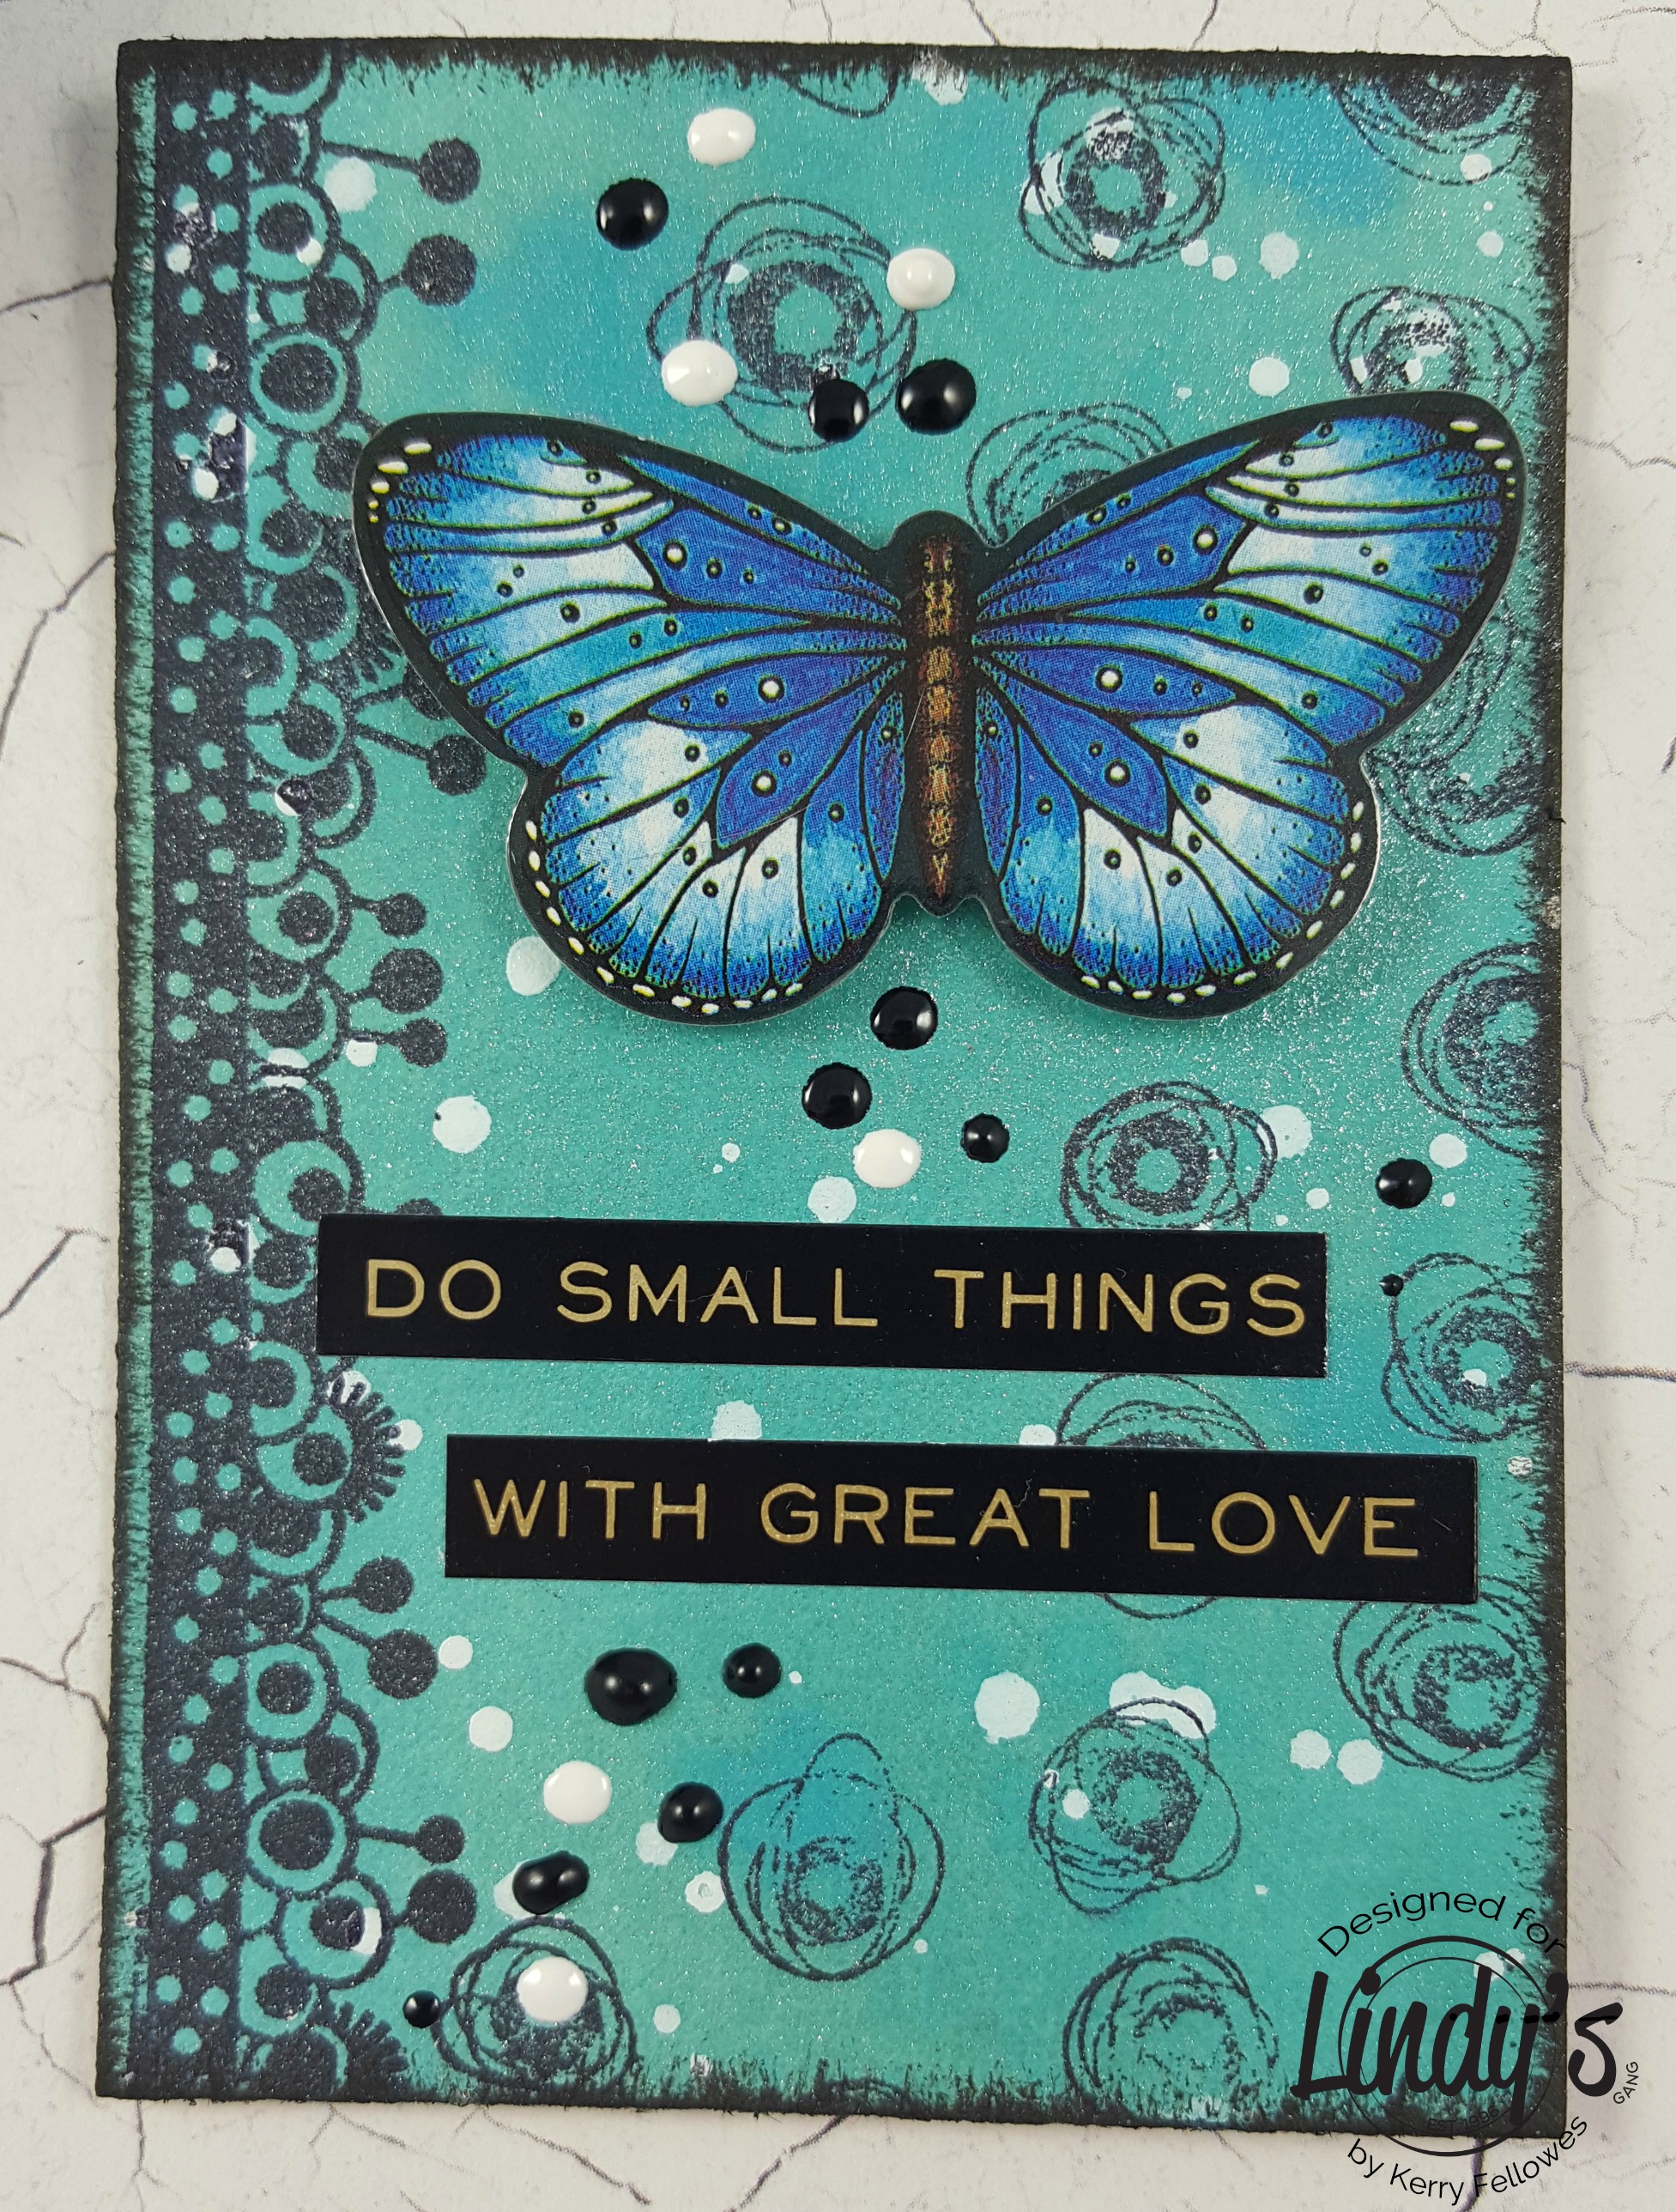
- Kerry Fellowes: http://whichcraftdoyoudo.blogspot.com.au/...
- Mel KD: https://andmelicious.wordpress.com/
- Olga Ravenskaya: http://olgaravenskaya.blogspot.ru/
- Pascale B. Scrap: http://pbhobby.blogspot.com/
Thanks for dropping by and look forward to sharing a magical 2018 with you all :)