
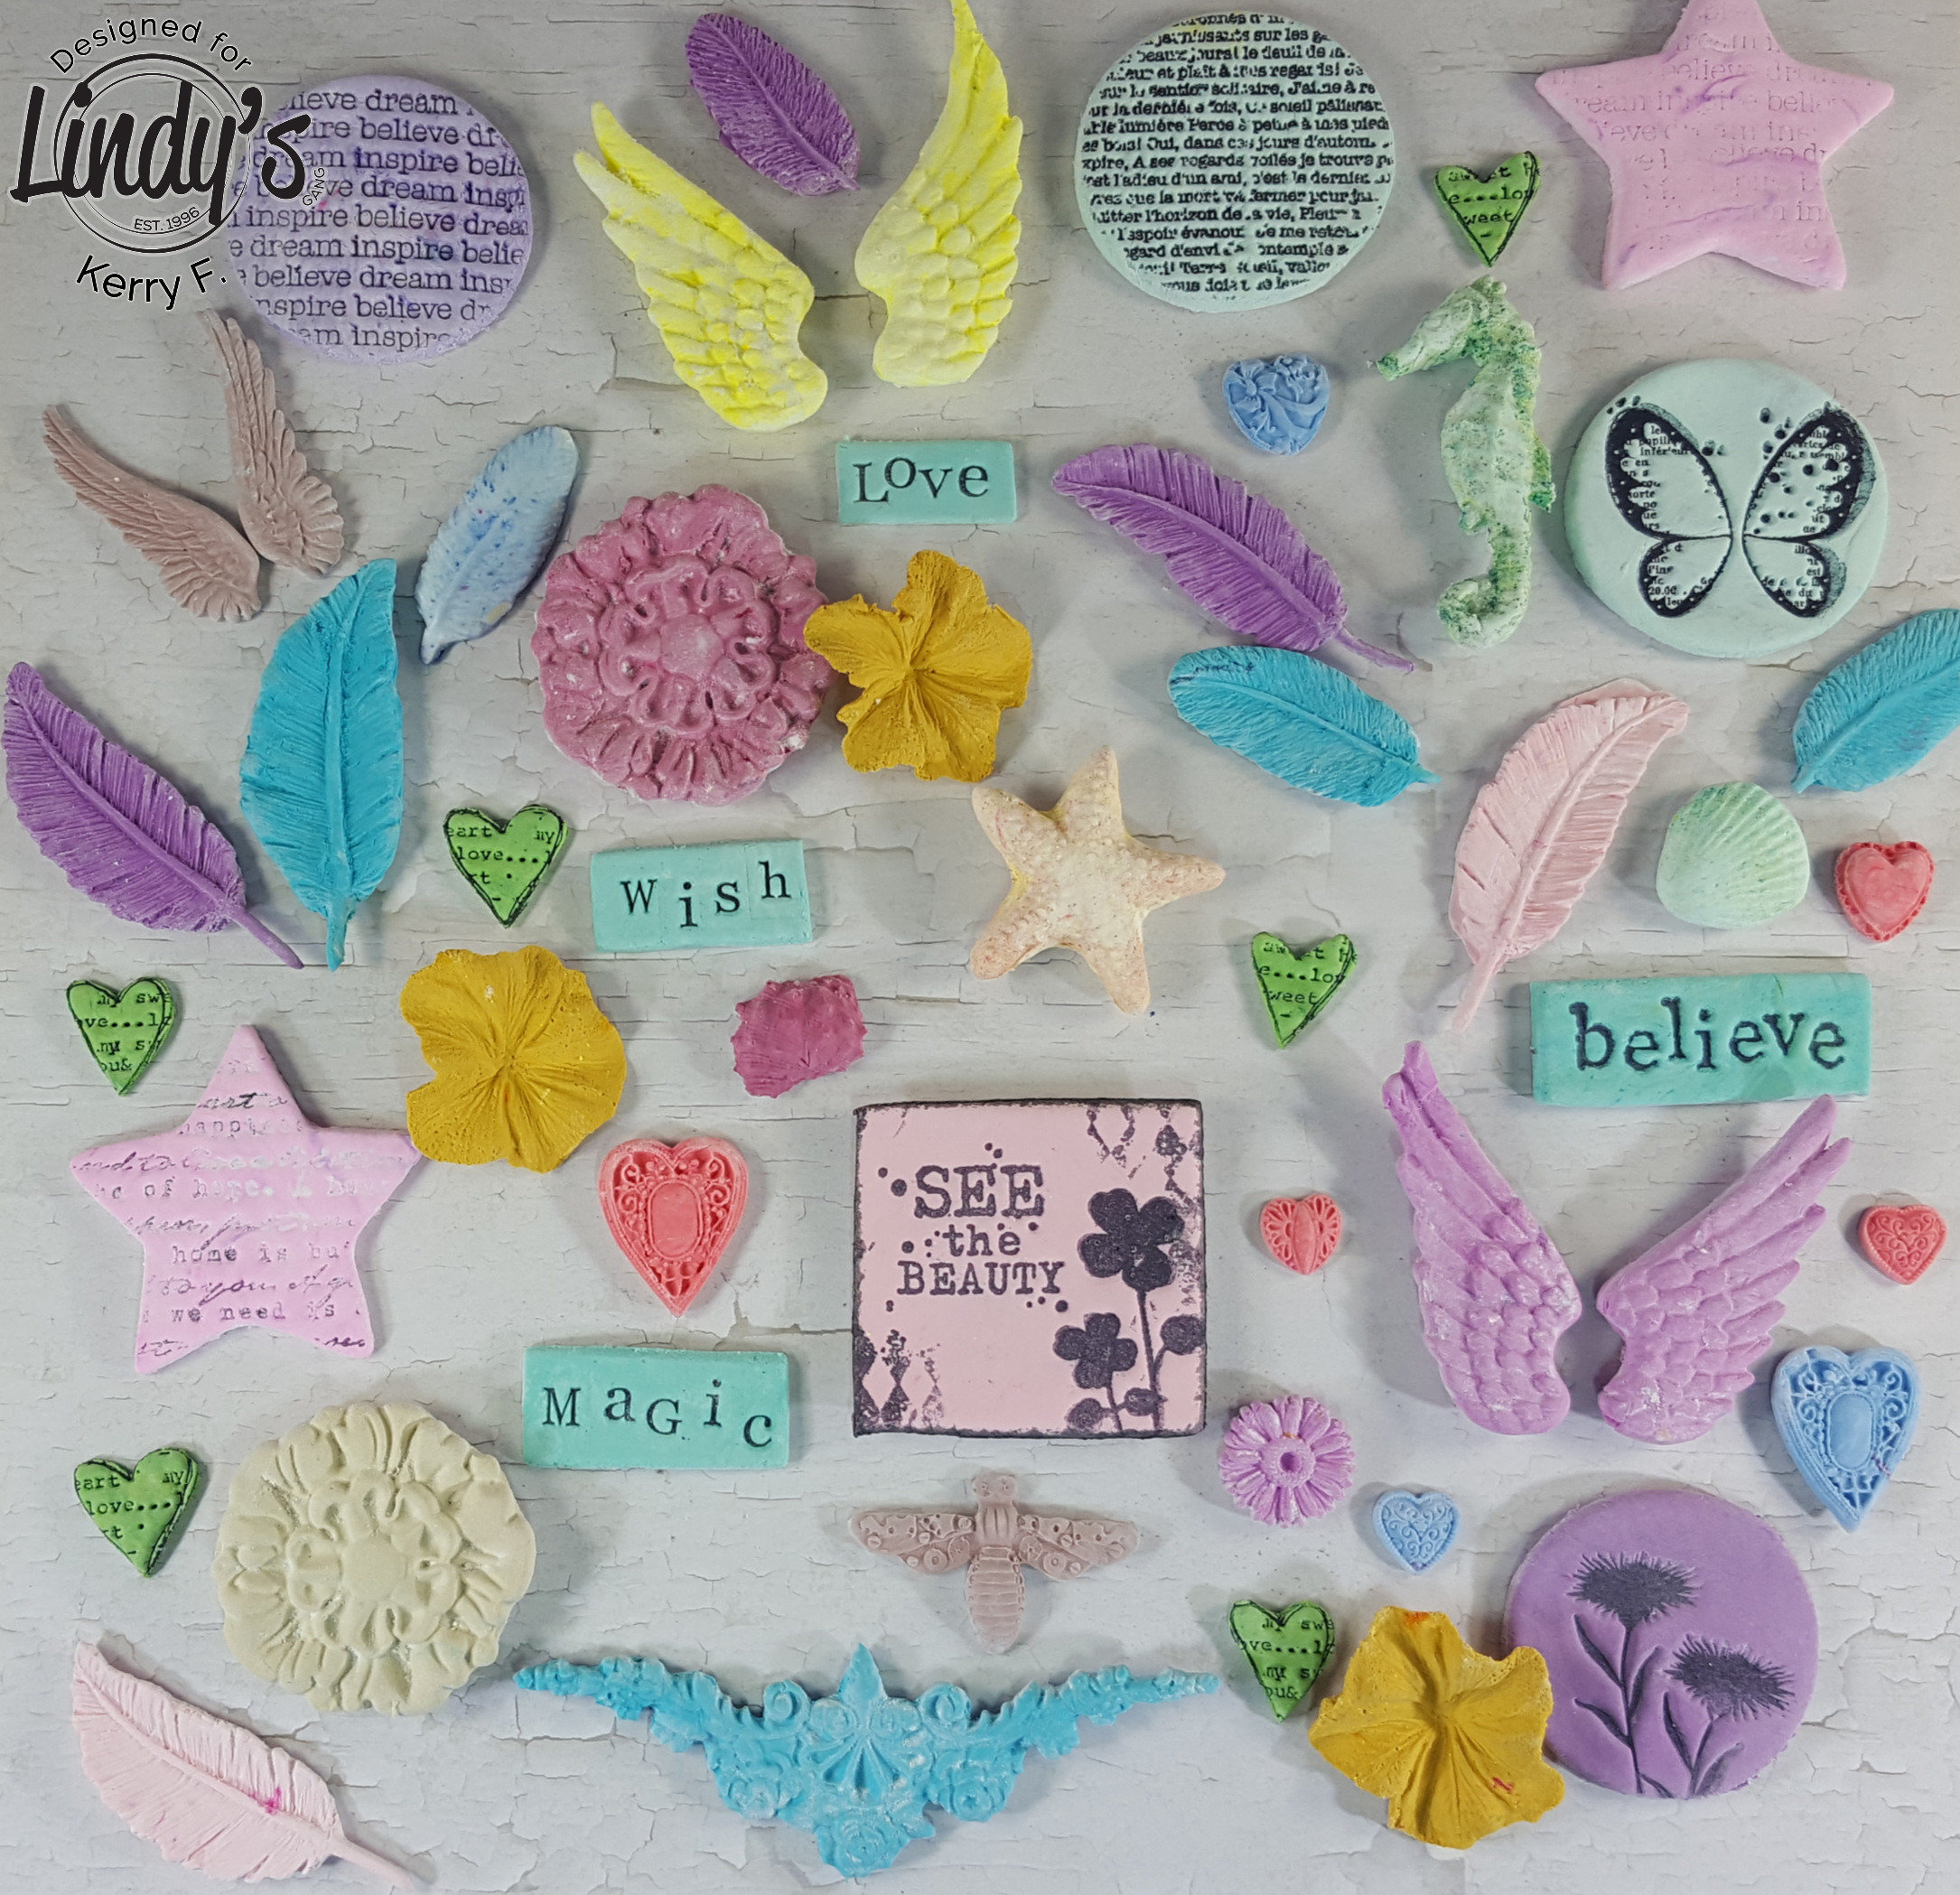
Hello! Its Kerry with you today. Some of you might remember a picture I shared at the end of last year showing a bunch of paper clay embellishments, well bust out the Paper Clay and your Magicals, today we will make some together that you can add to almost any project.
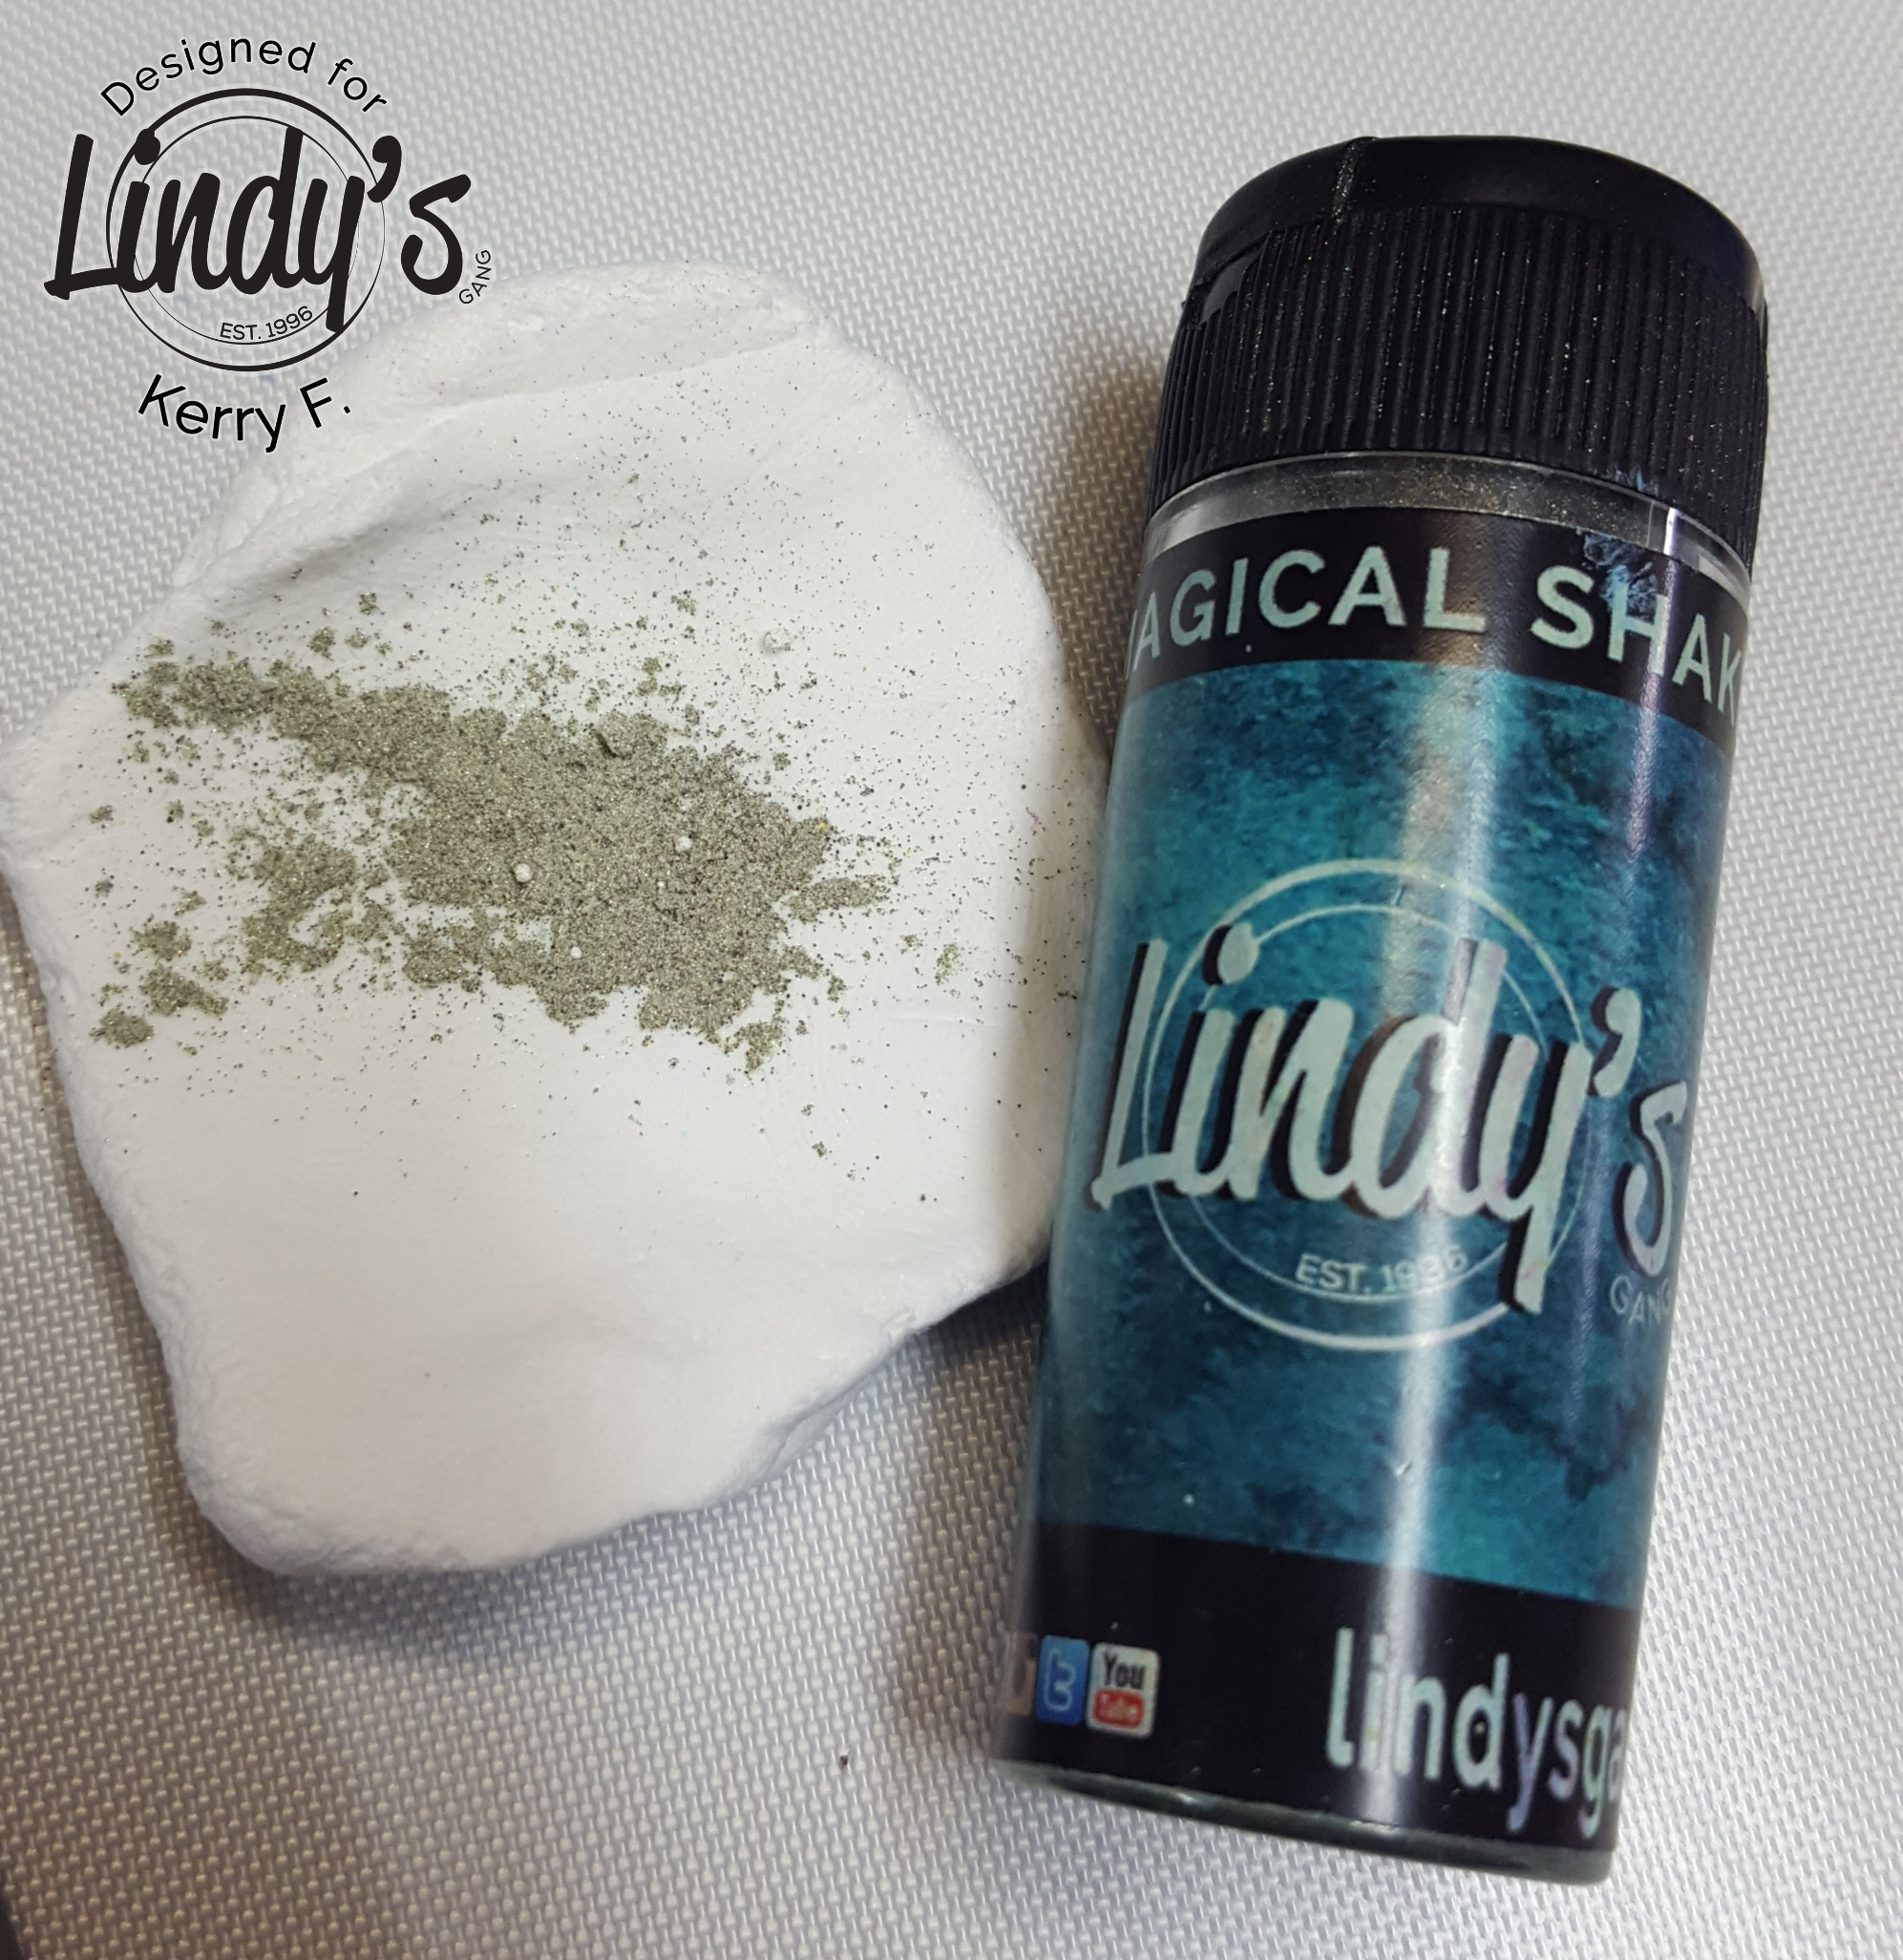
To begin, take a small amount of paper clay and add a small amount of any of your favorite magical powders, you can use either the Magical shakers or the Original Magicals.
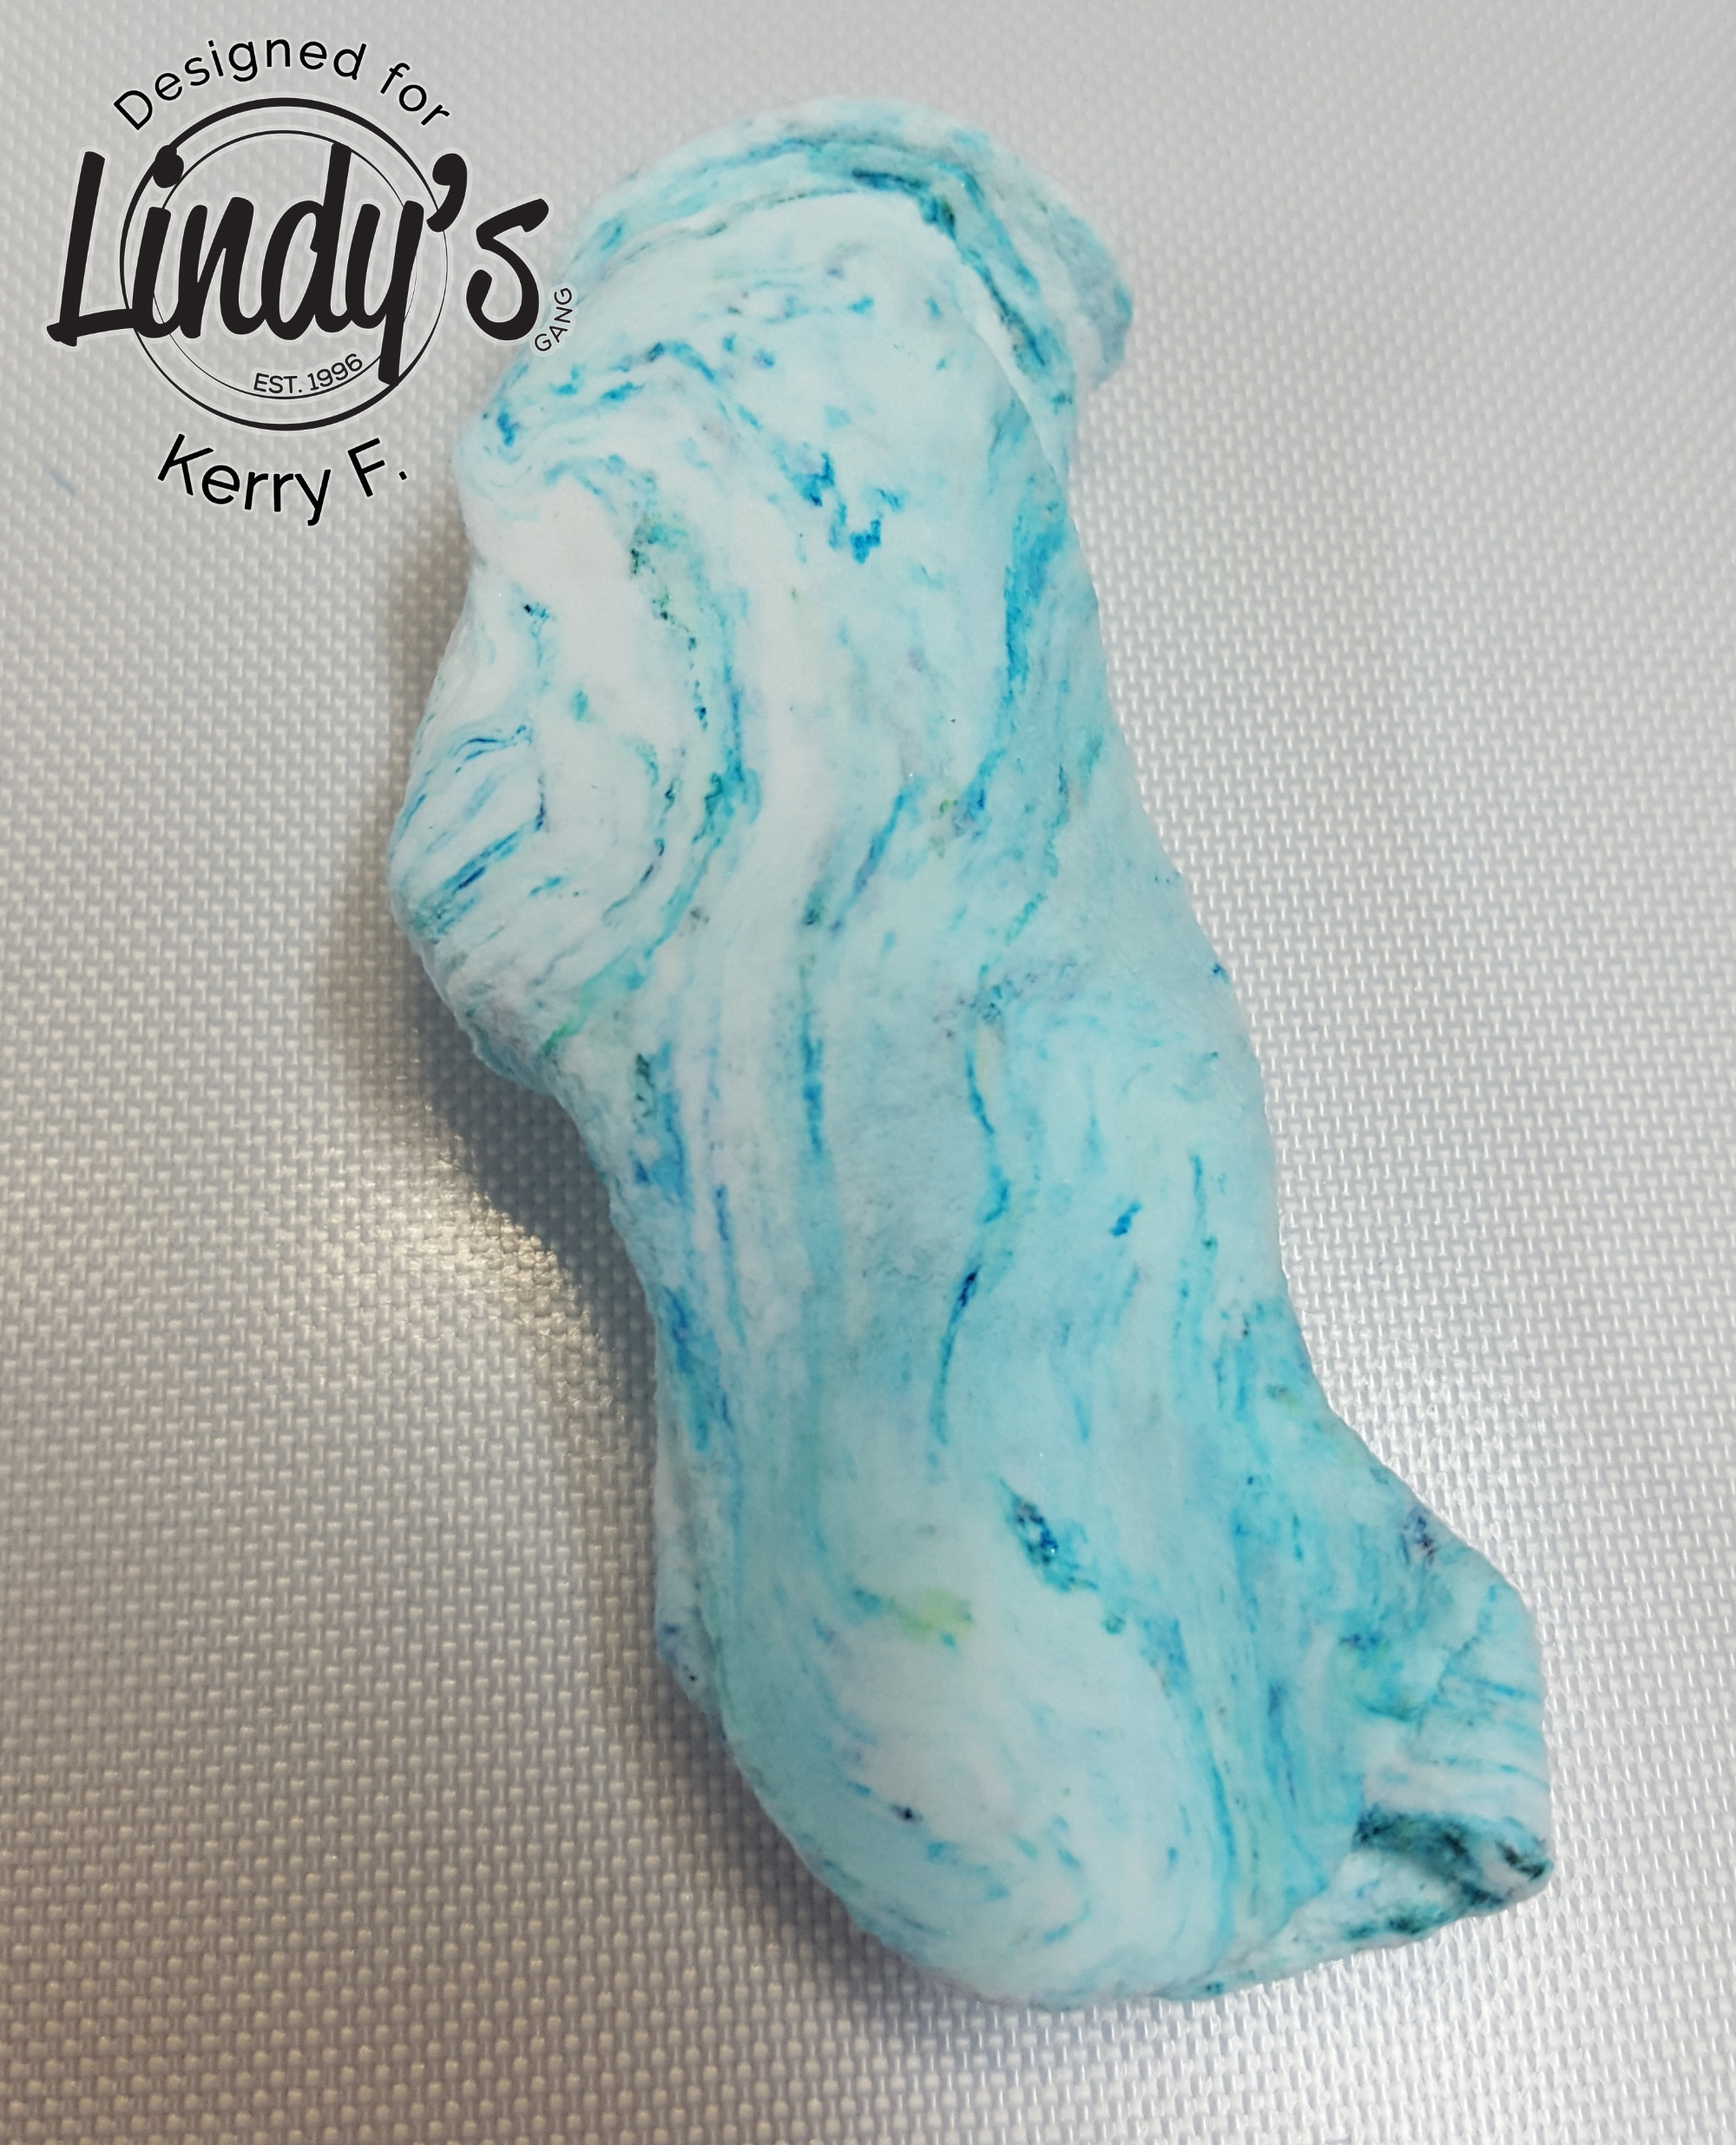
Fold the clay over itself to contain the powder inside the clay and begin to knead, you will see the color start to appear through the clay. You can leave it like this for some cool marbled effects or...
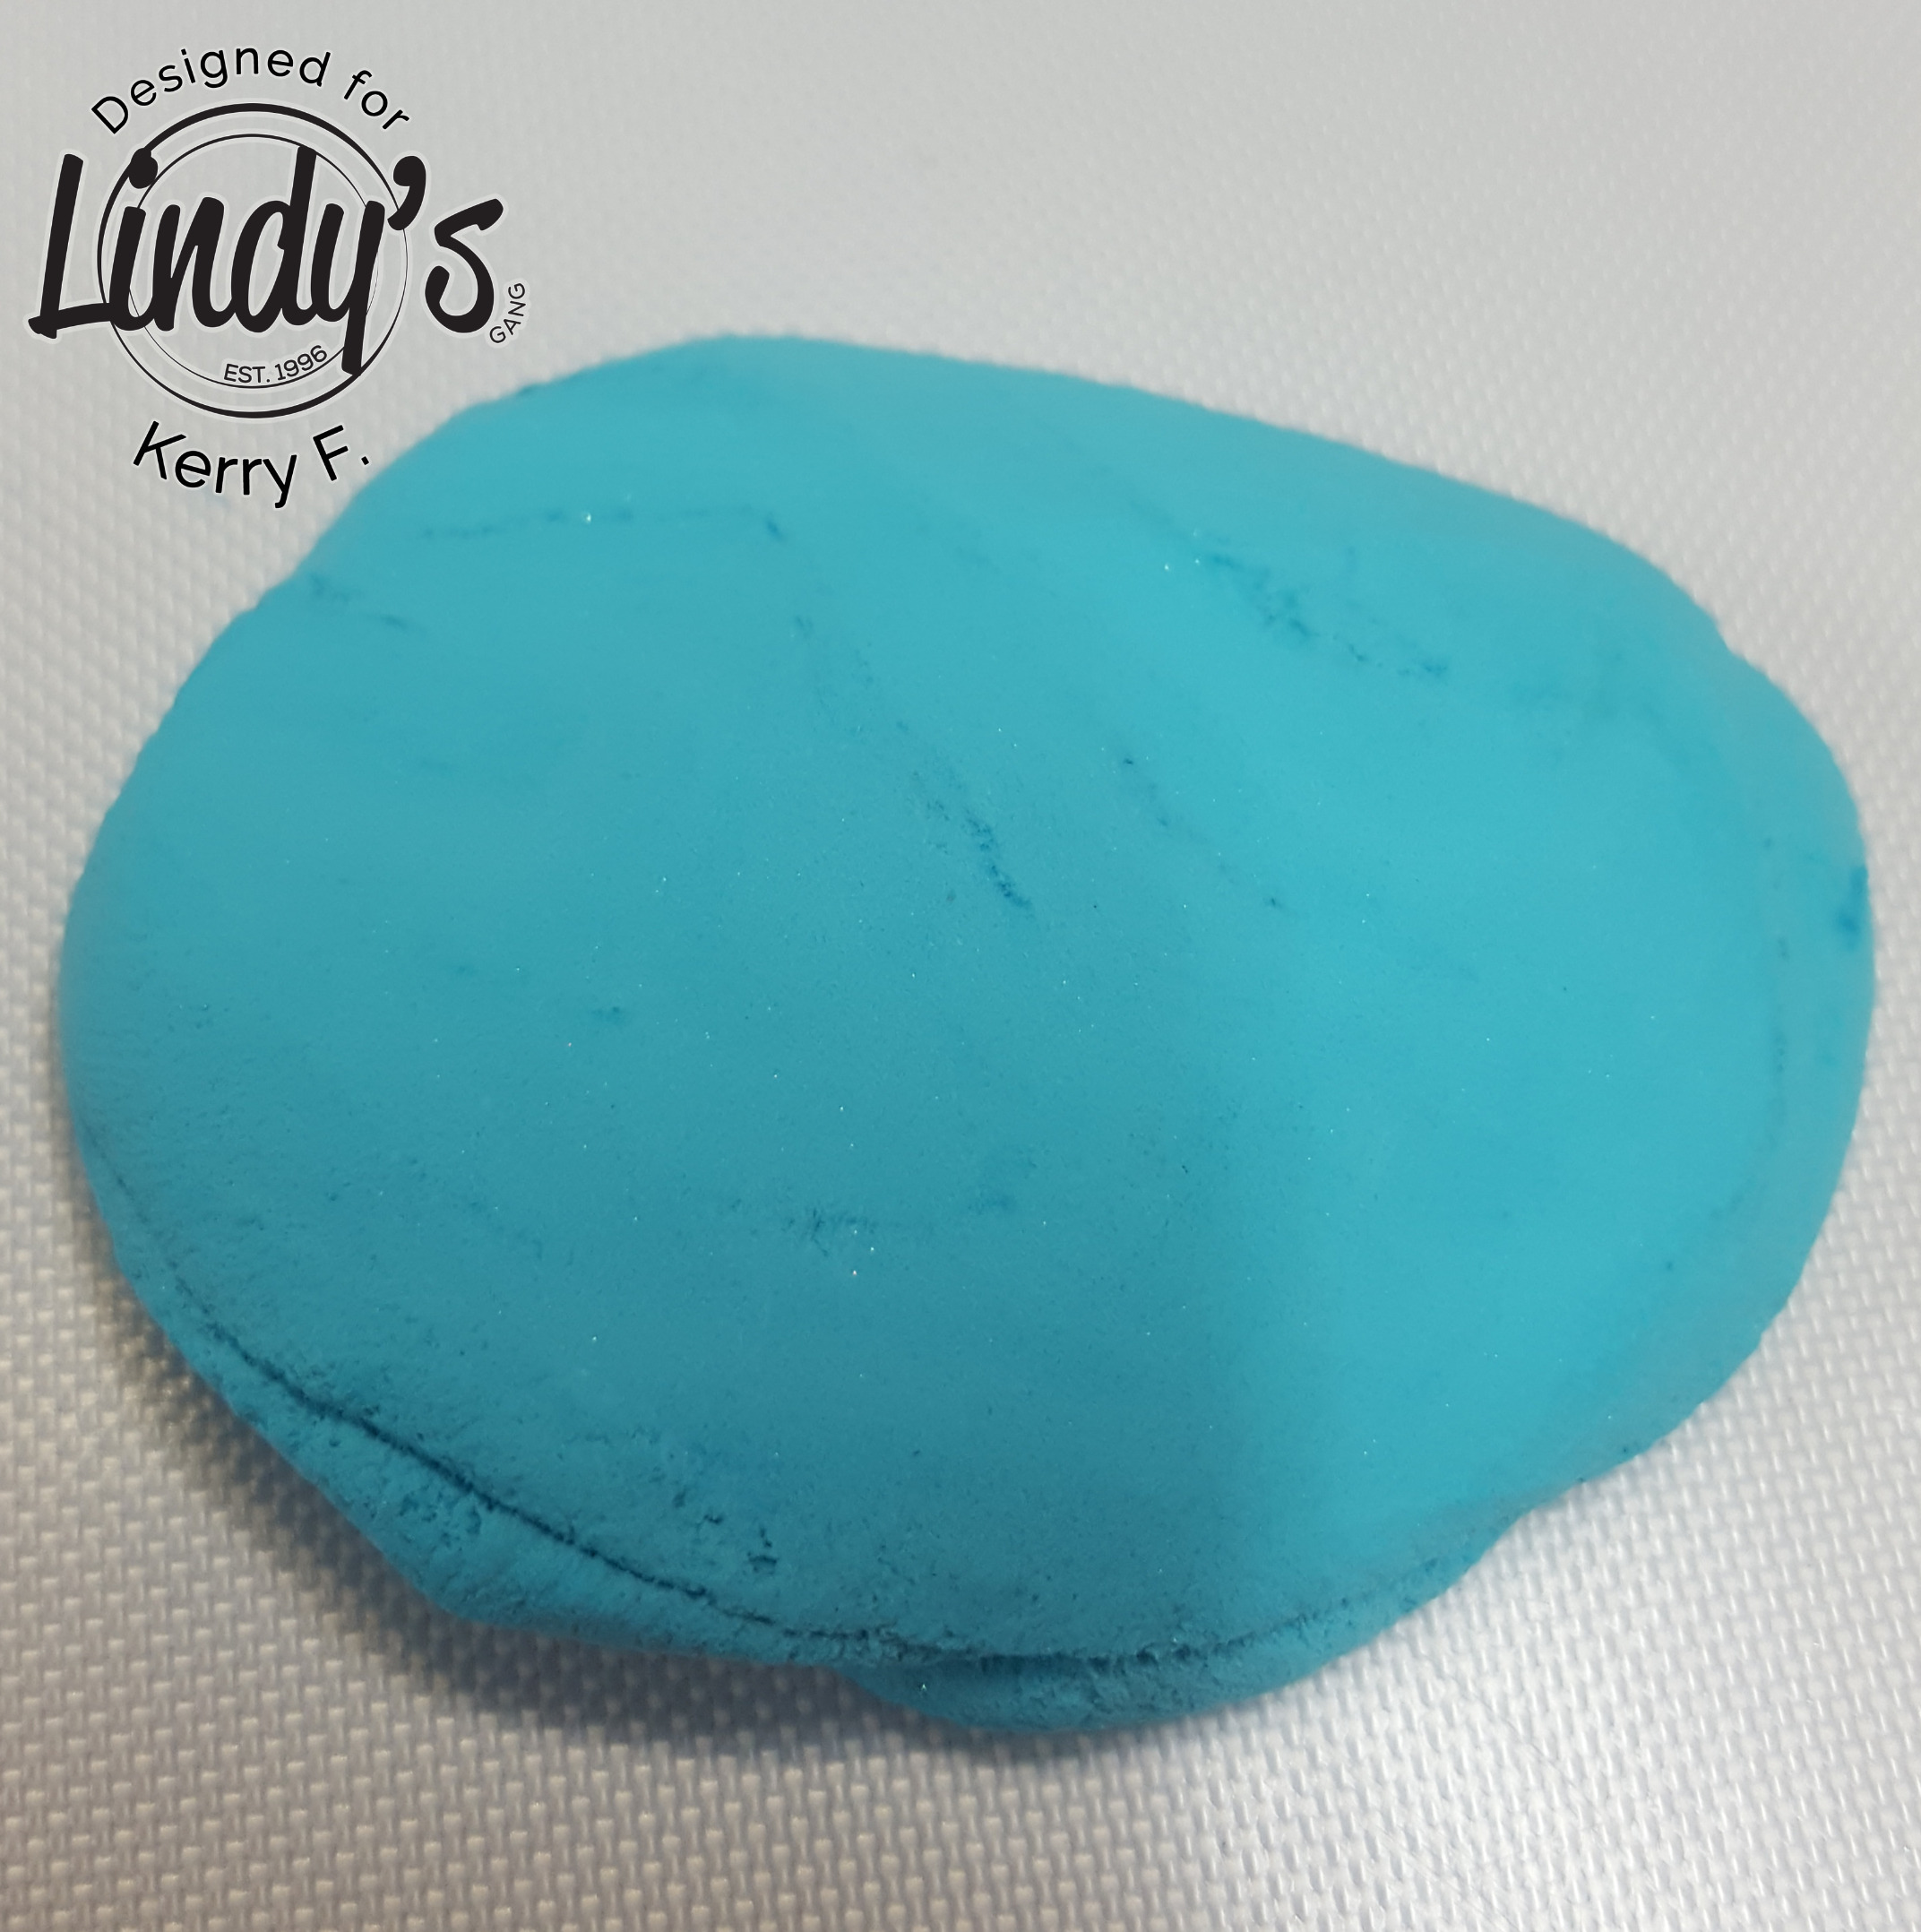
...continue to knead until the color is blended through.
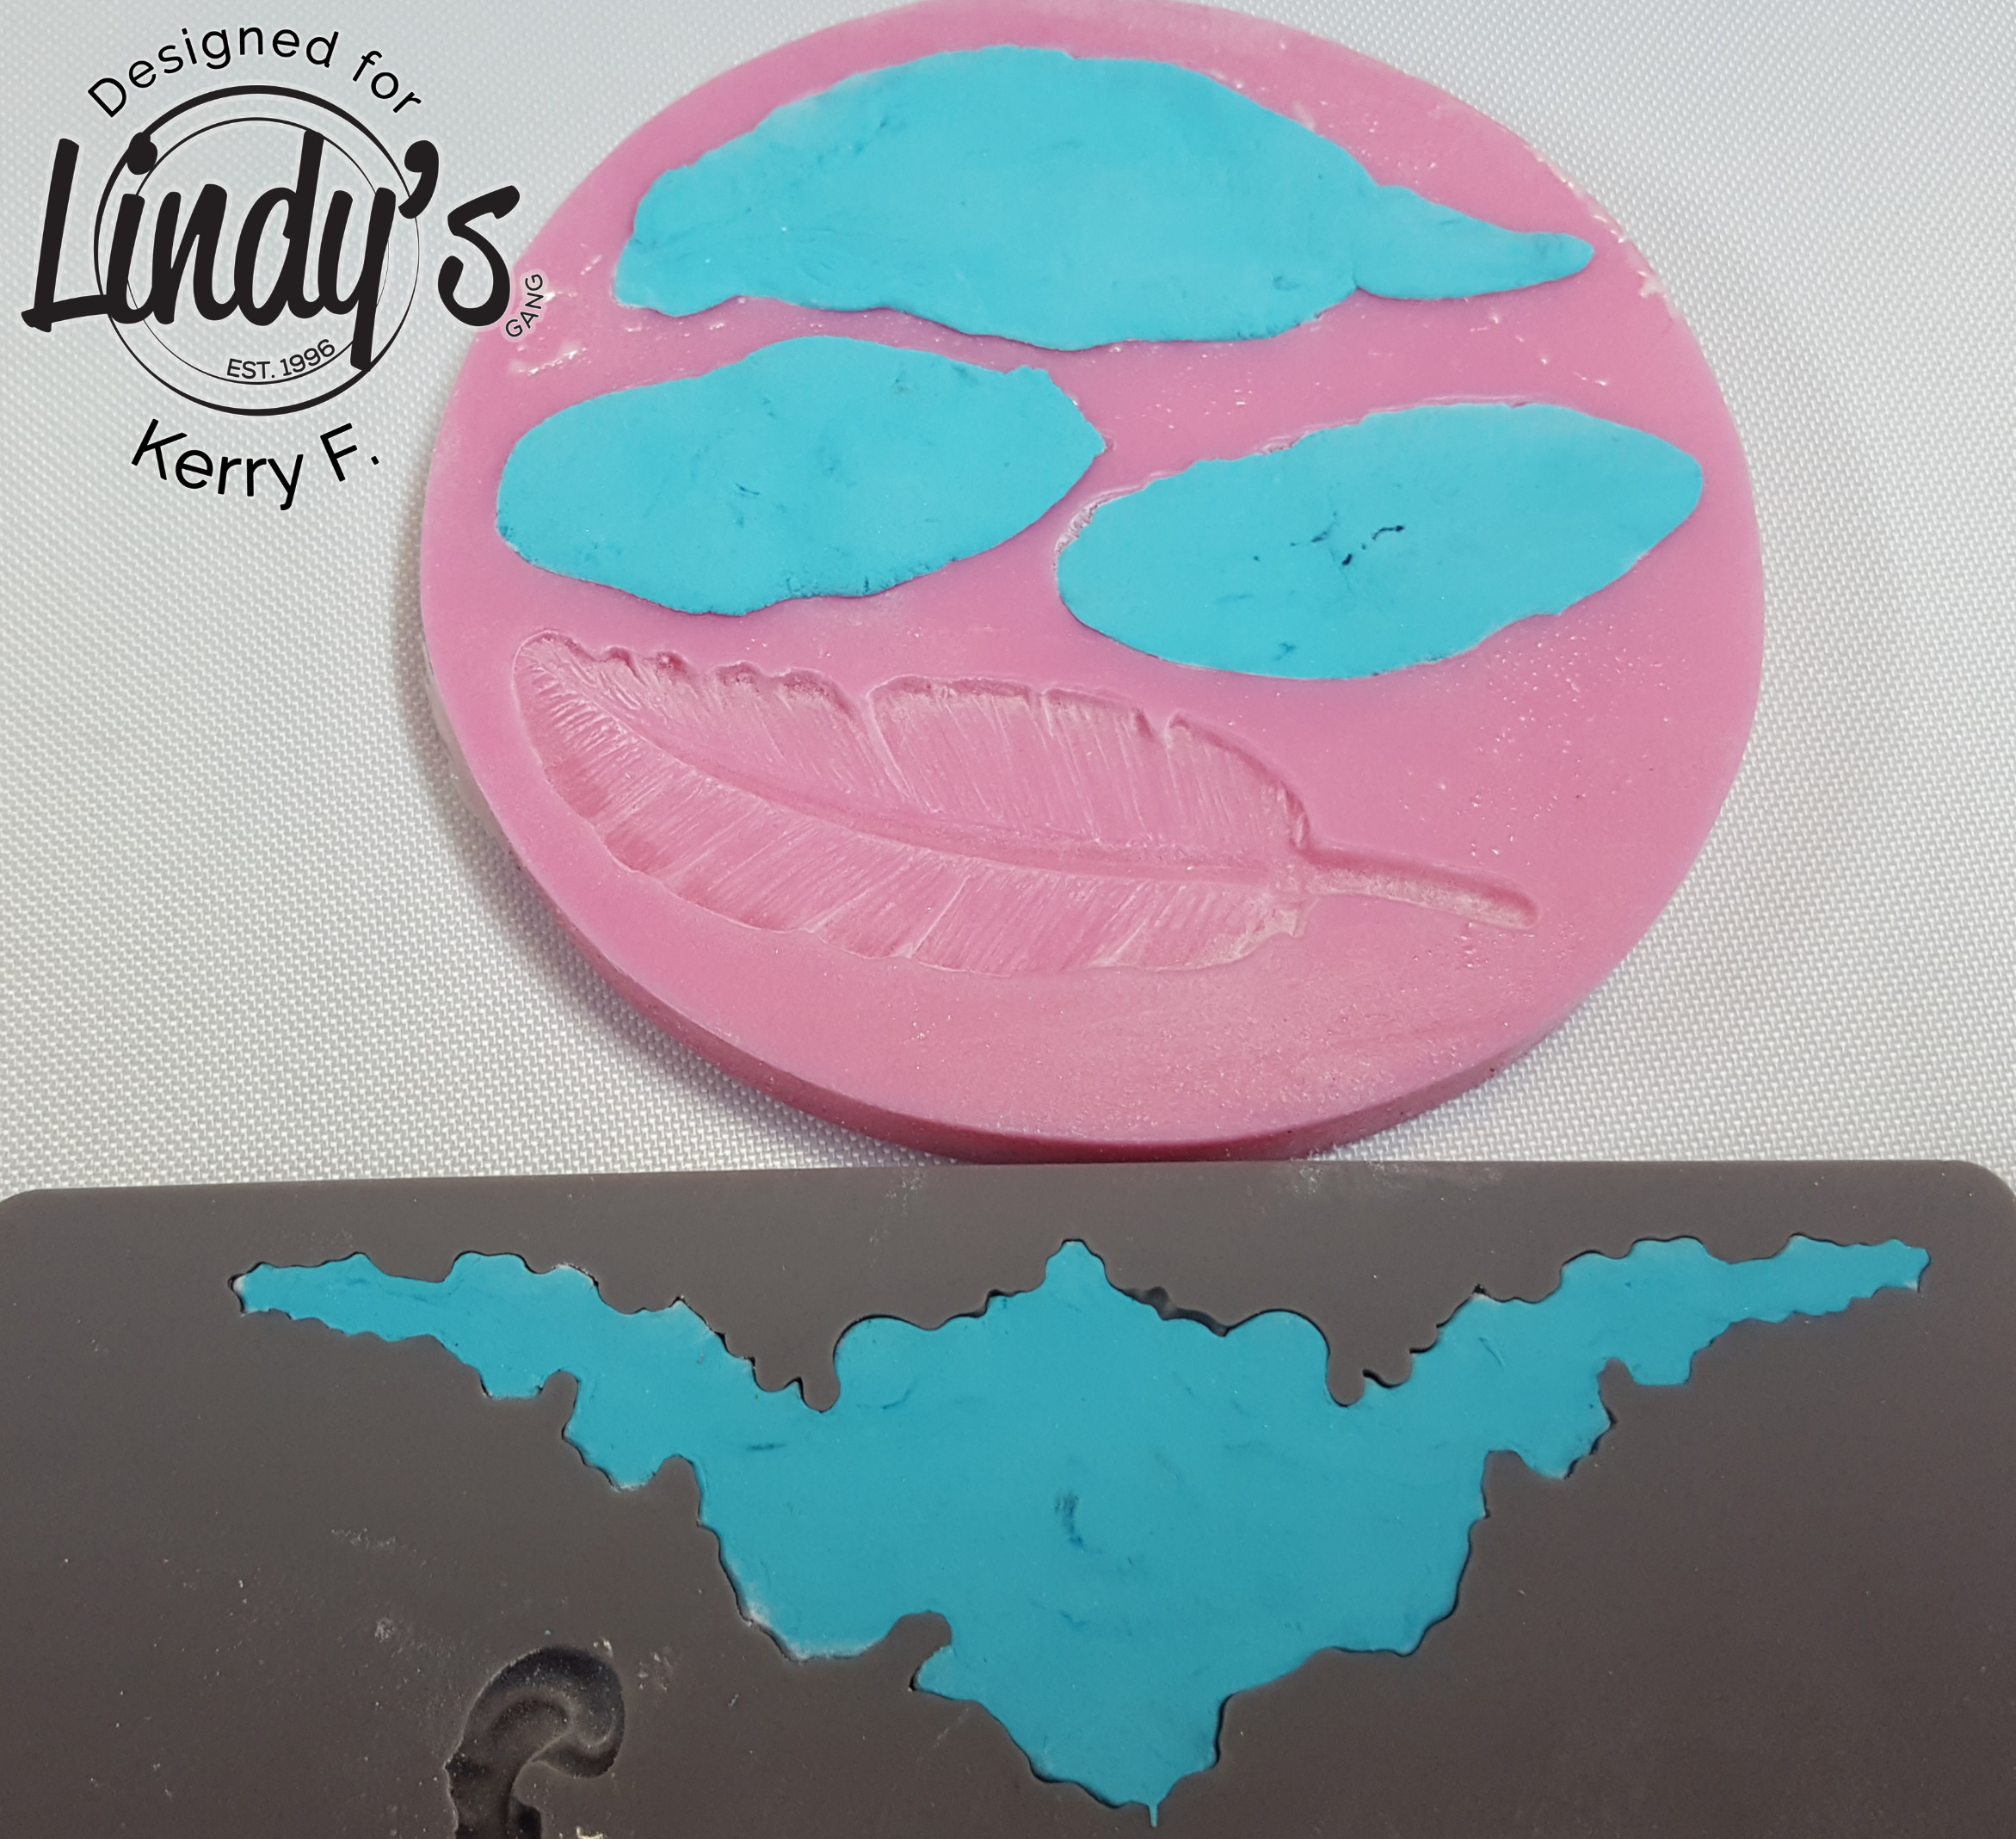
I have selected a couple of silicone molds and dusted them with a little cornflour (this will help with releasing the clay from the mold). Press the clay into the mold. Gently manipulate the mold to pop out the clay piece.
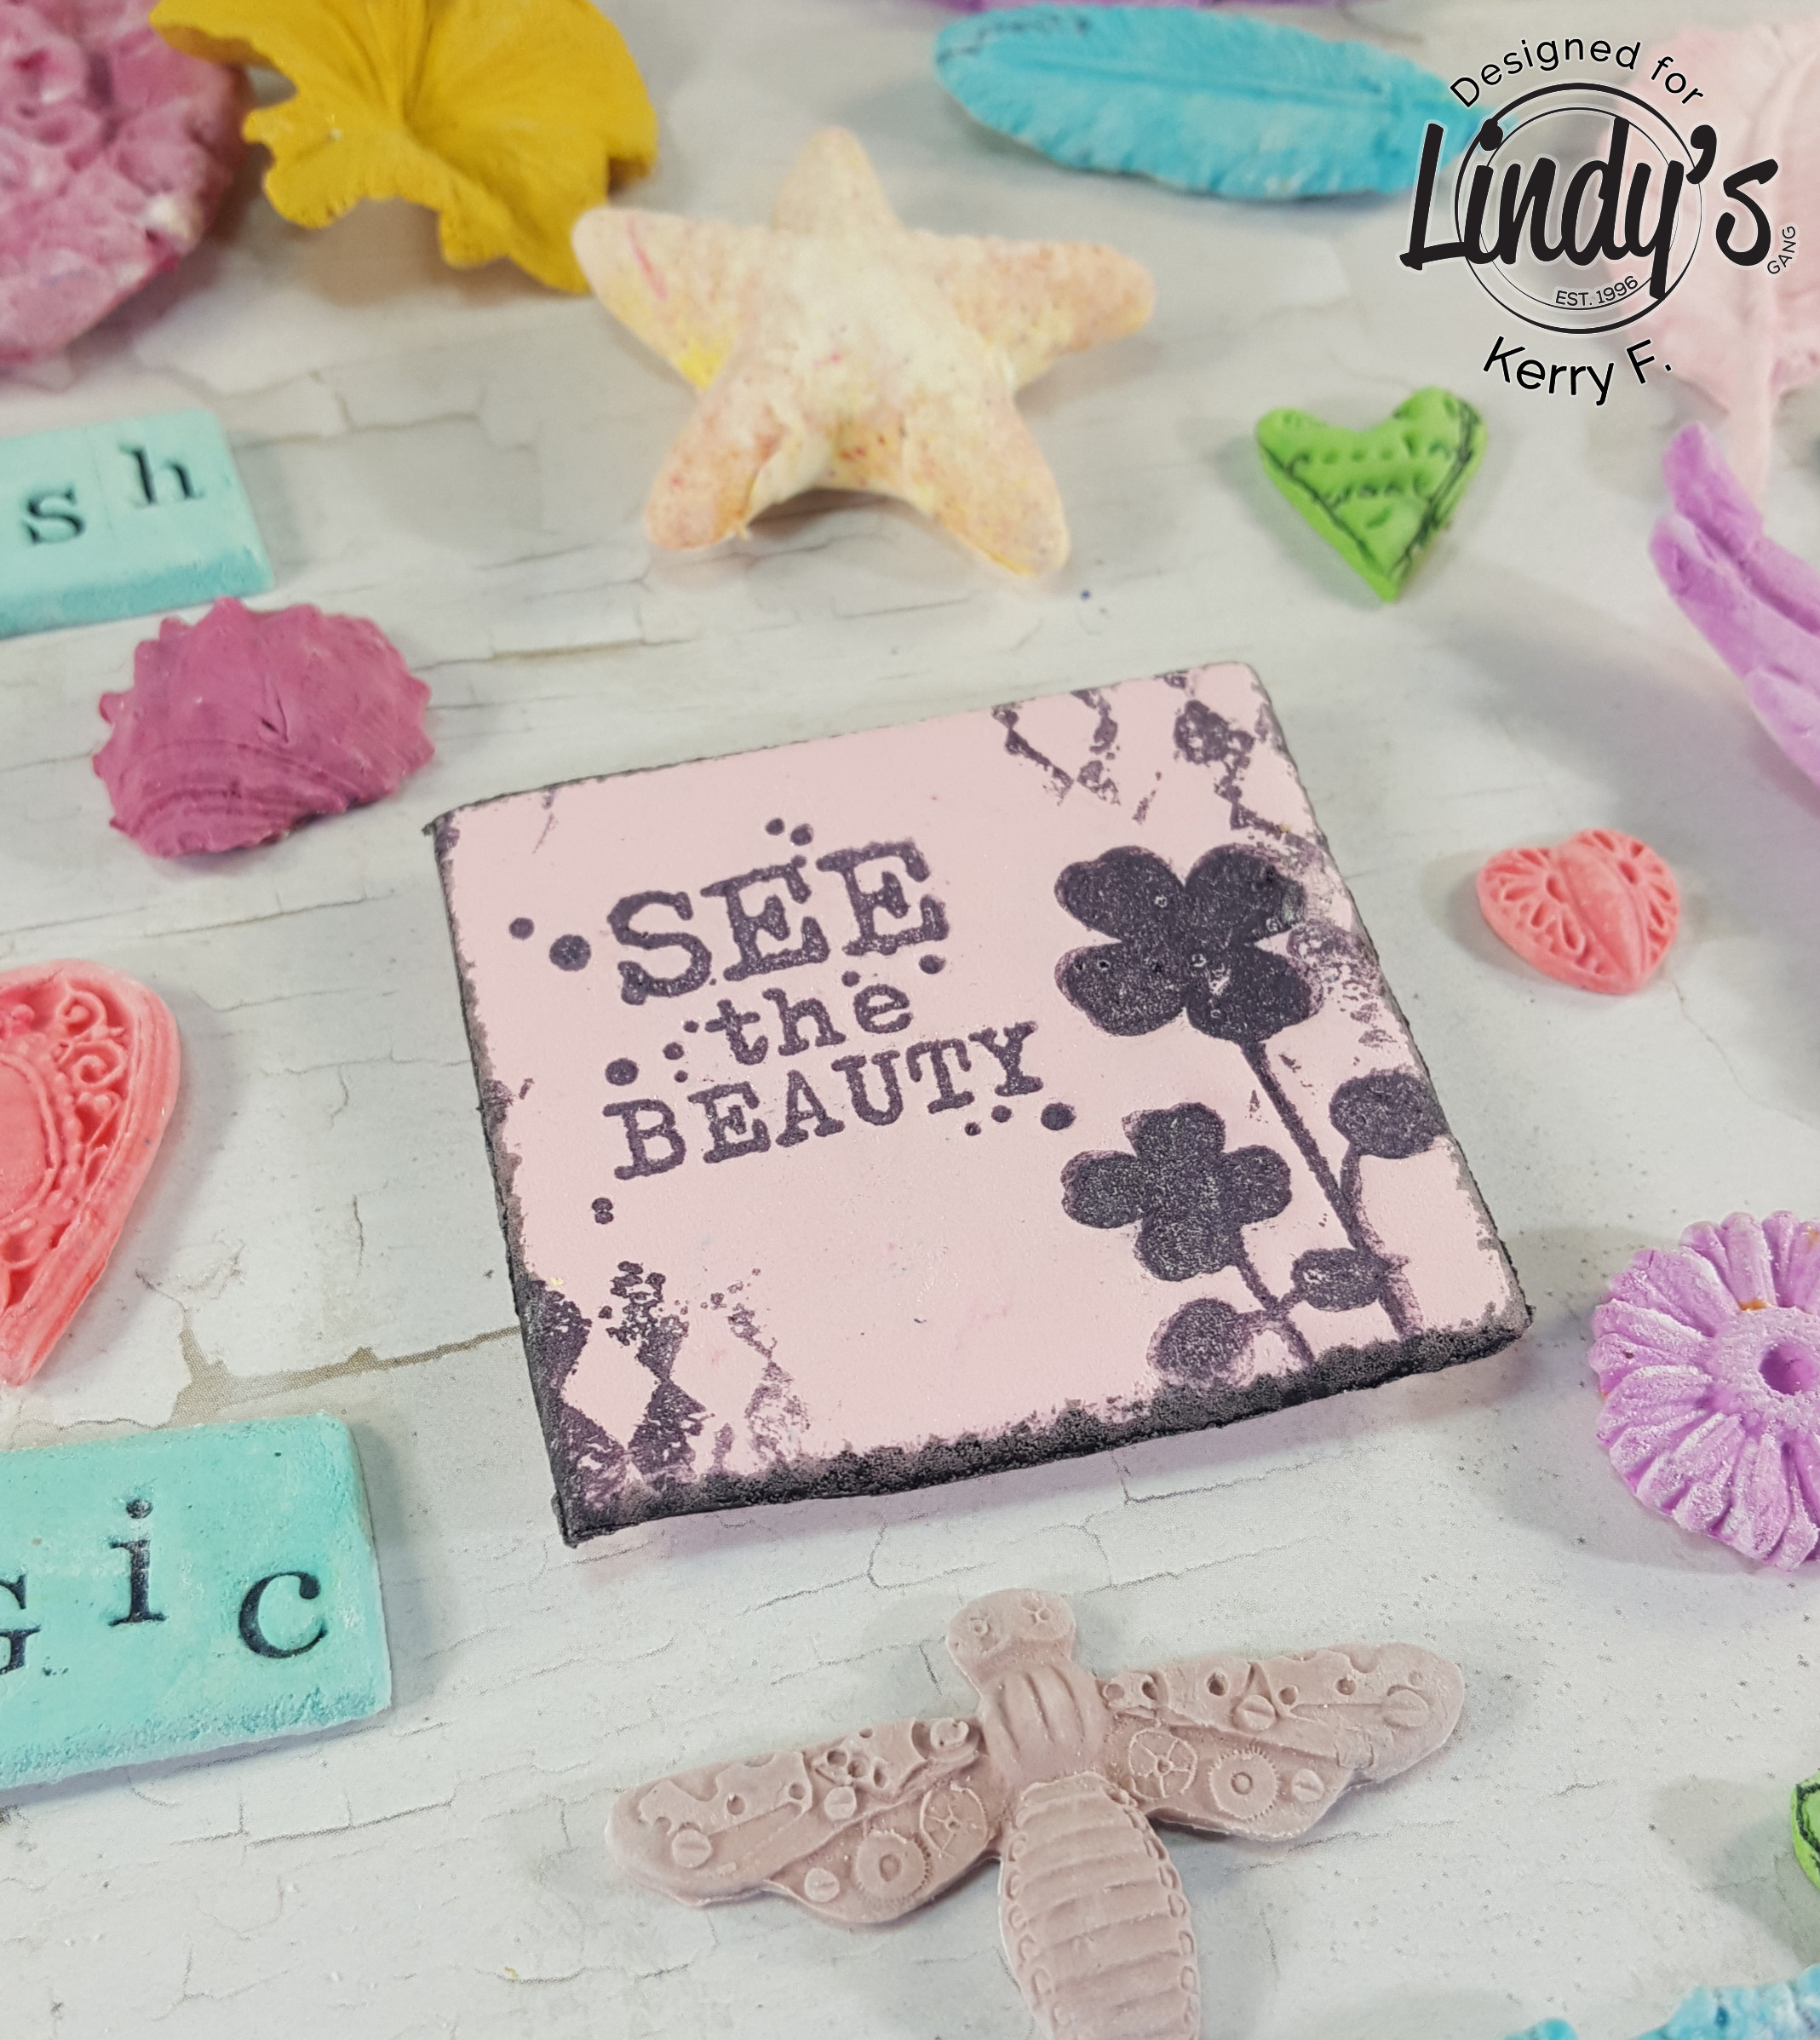
You can even stamp onto your colored clay. Color the clay as above and then flatten out your clay, I popped my clay between 2 pieces of bake paper and pressed down with a book. Select some stamps and archival ink and stamp carefully onto the still soft clay.

Once your clay is dry you will have some beautiful embellishments to add to your future projects :)

Other products: Paper clay, Archival Ink, stamps
Thanks for dropping by and have a magical day xx