Hello creative people! Welcome to my blog for those of you who are new, and thanks for taking a peek. I have had so much fun playing with the Stencil Girl Stencils and of course, my favorite Lindy's products!
I played and played and ended up with so many beautiful pages so I decided to make a journal! I have used heaps of Lindy's products for this project, I just kept grabbing my sprays and magicals, and making page after page after page, but you can use as little as 2 colors if you prefer.

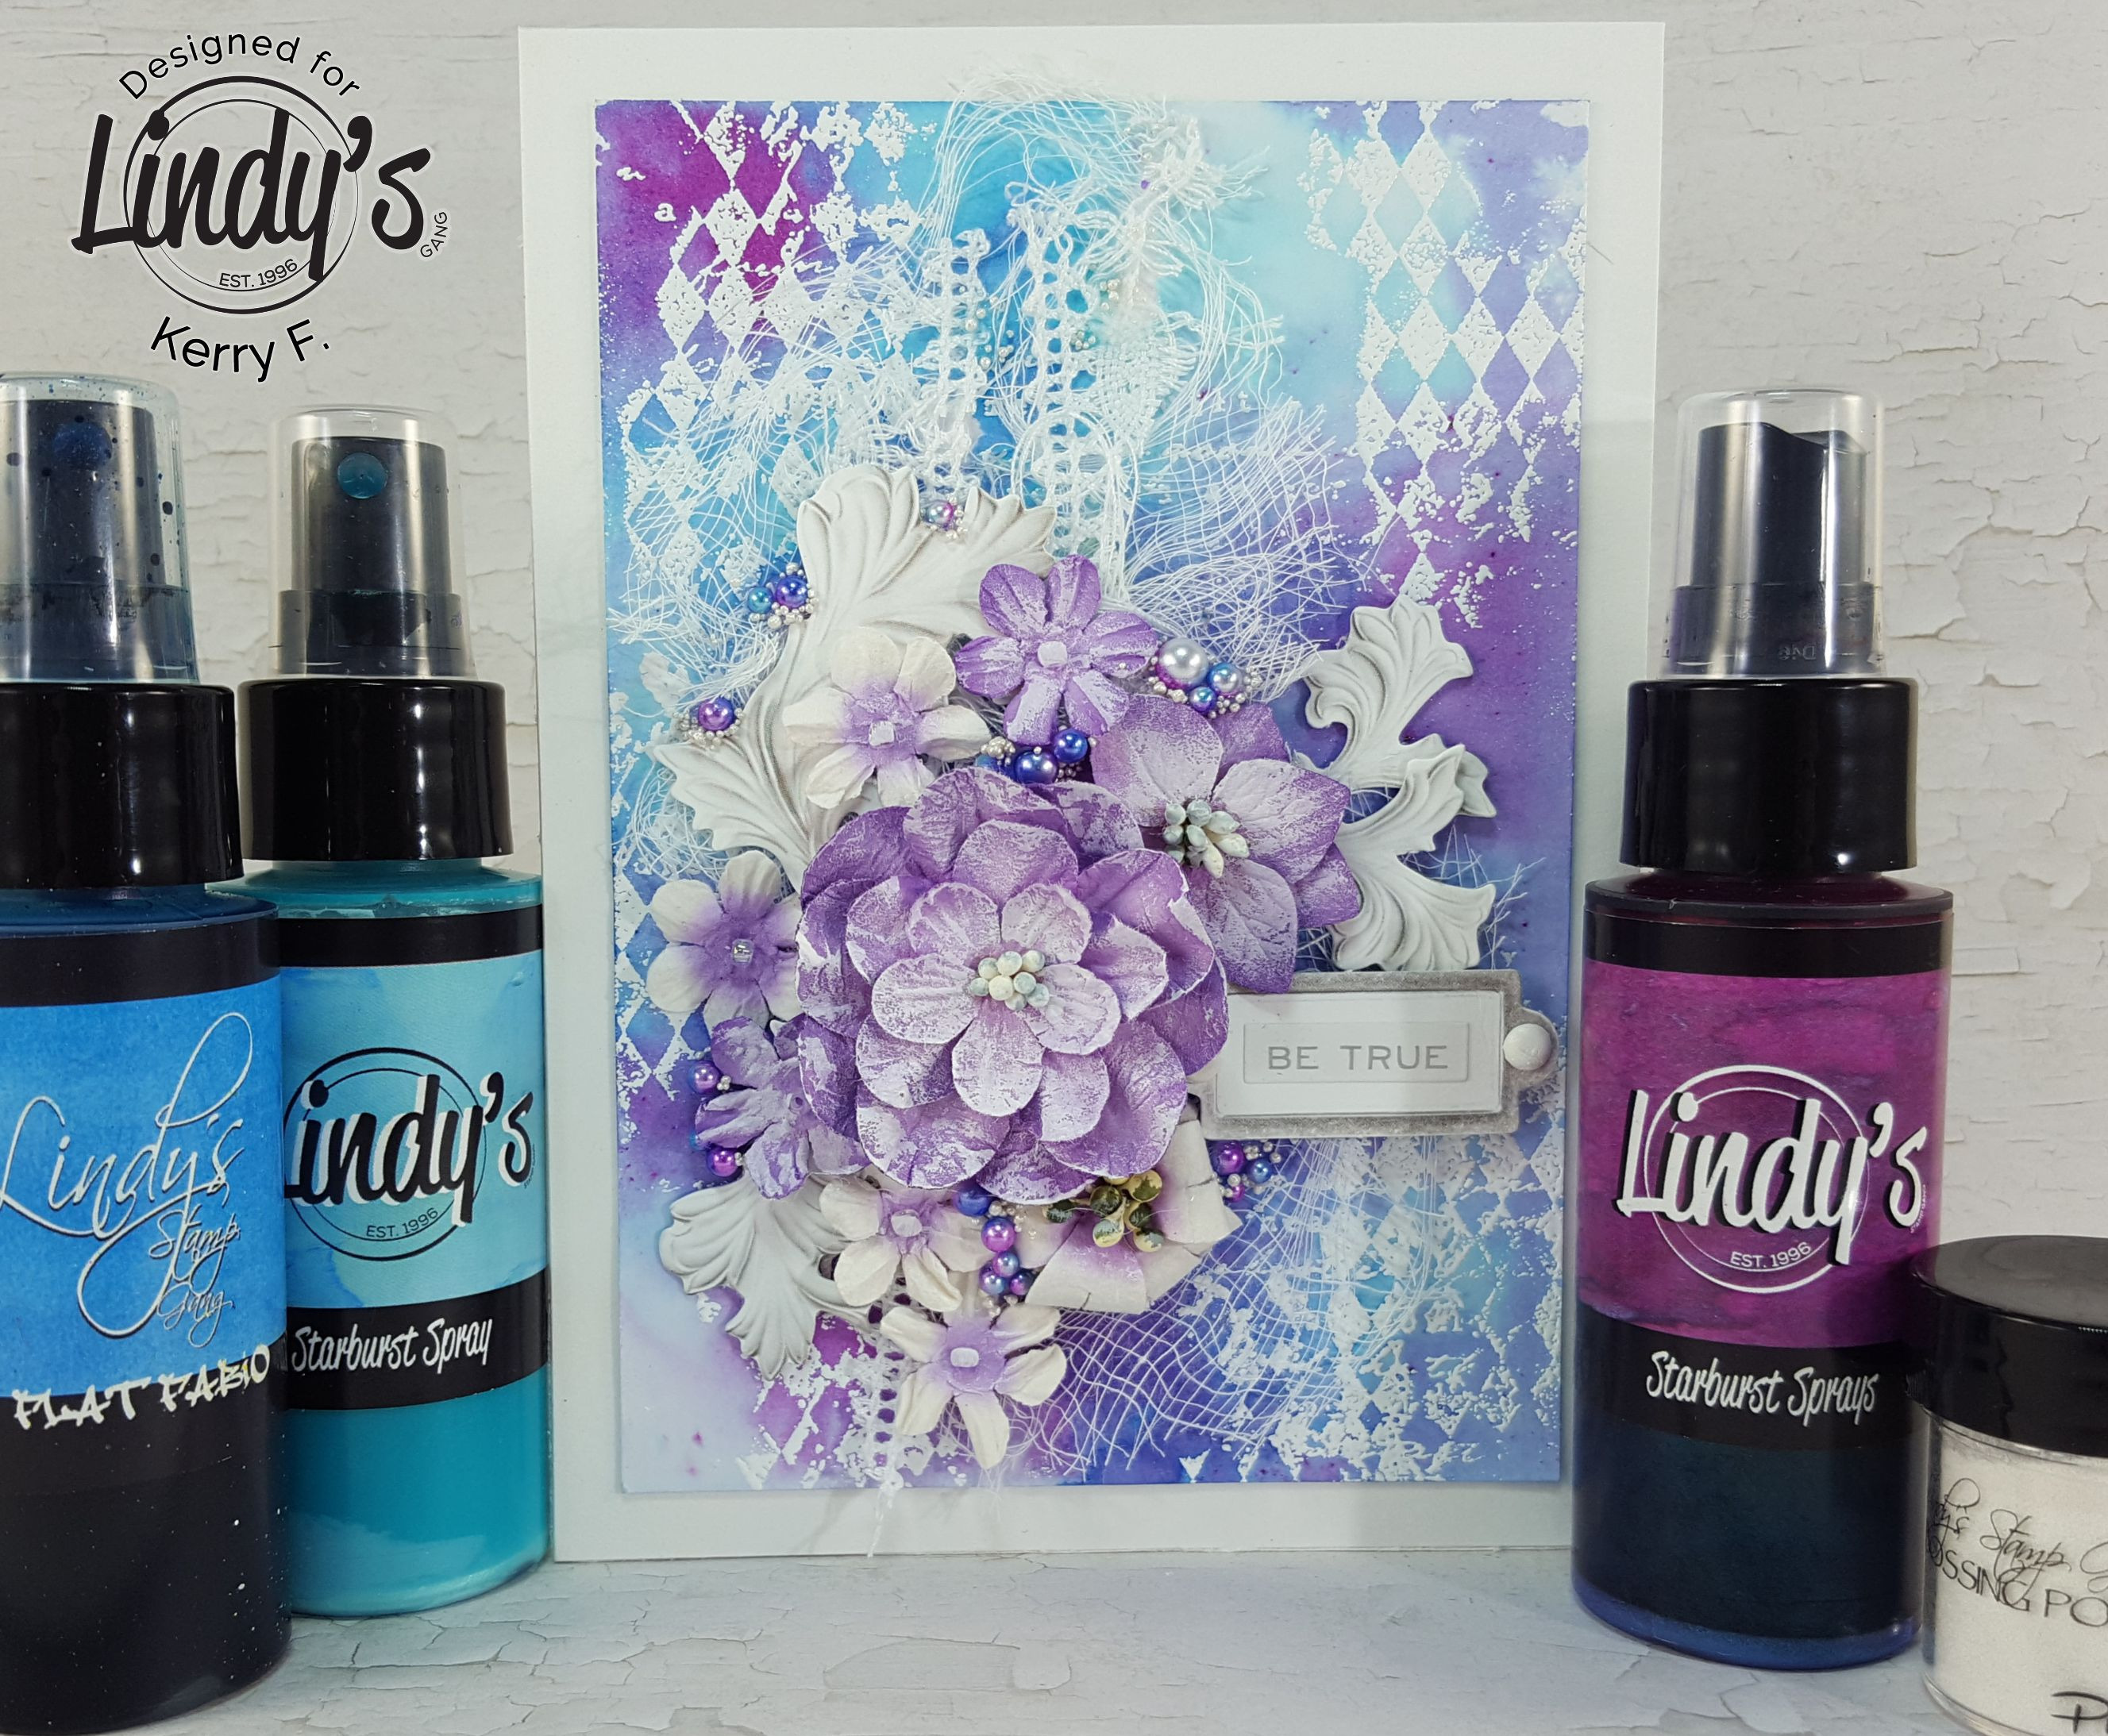
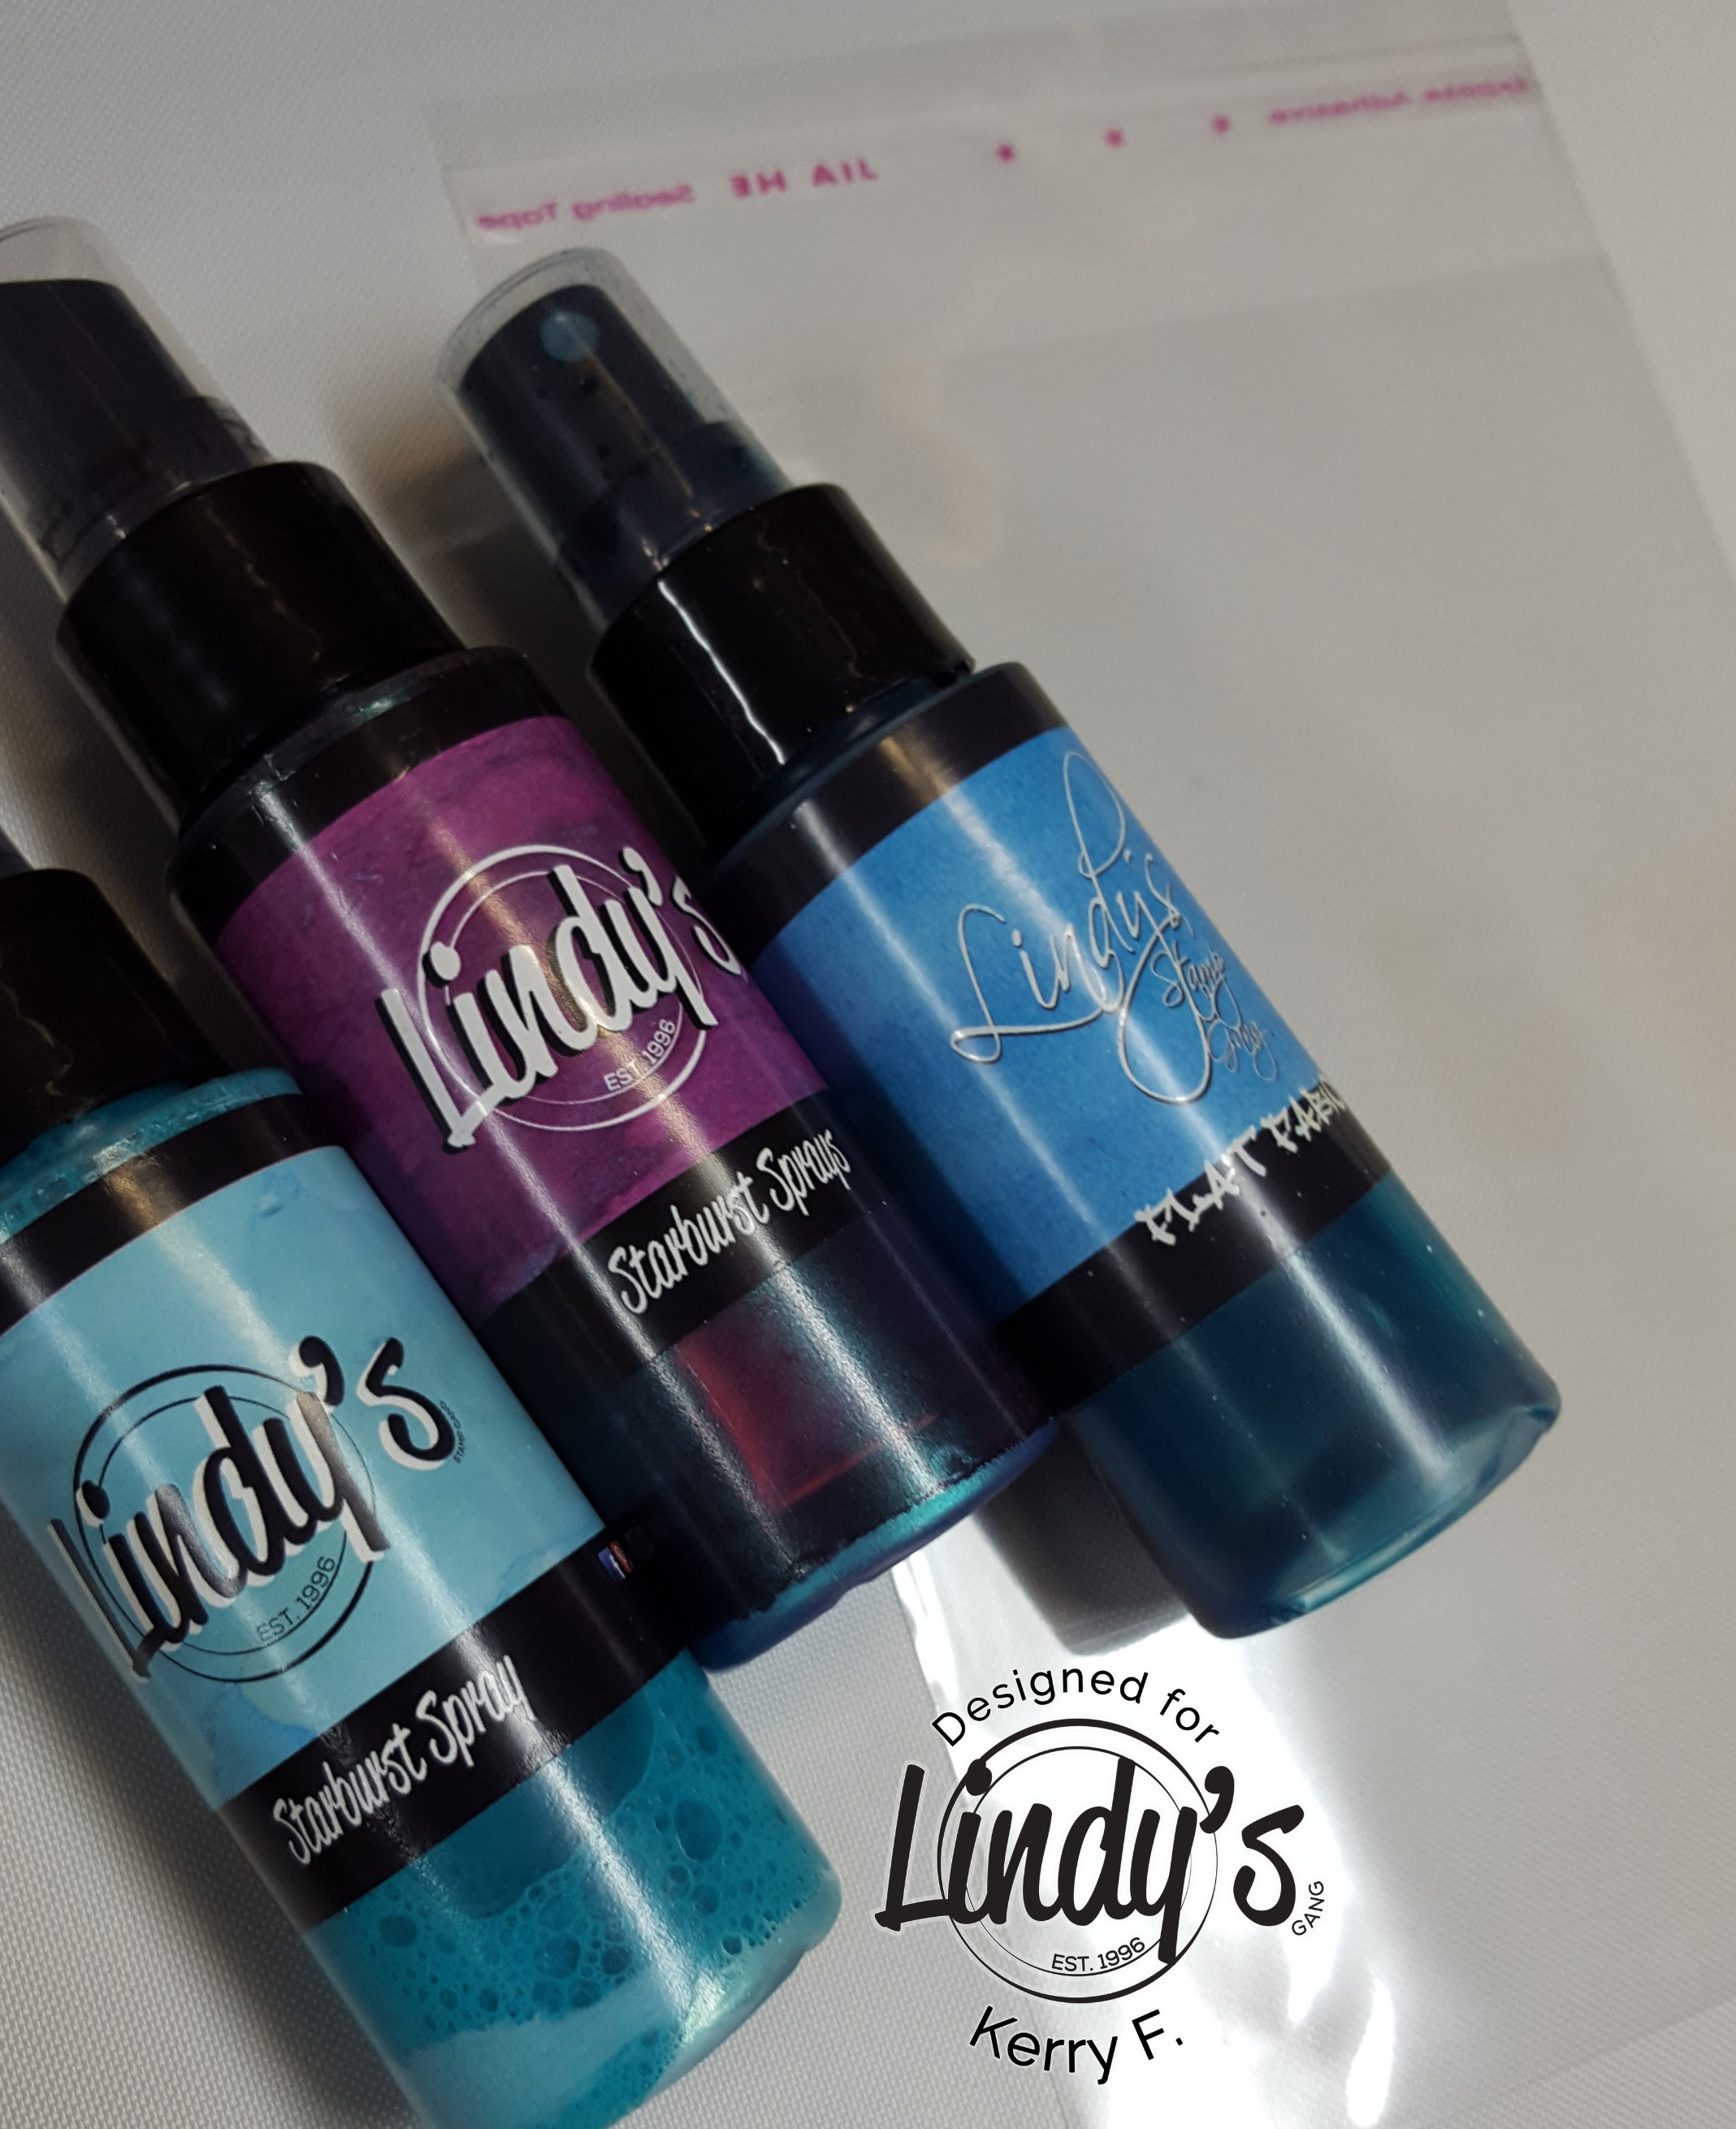
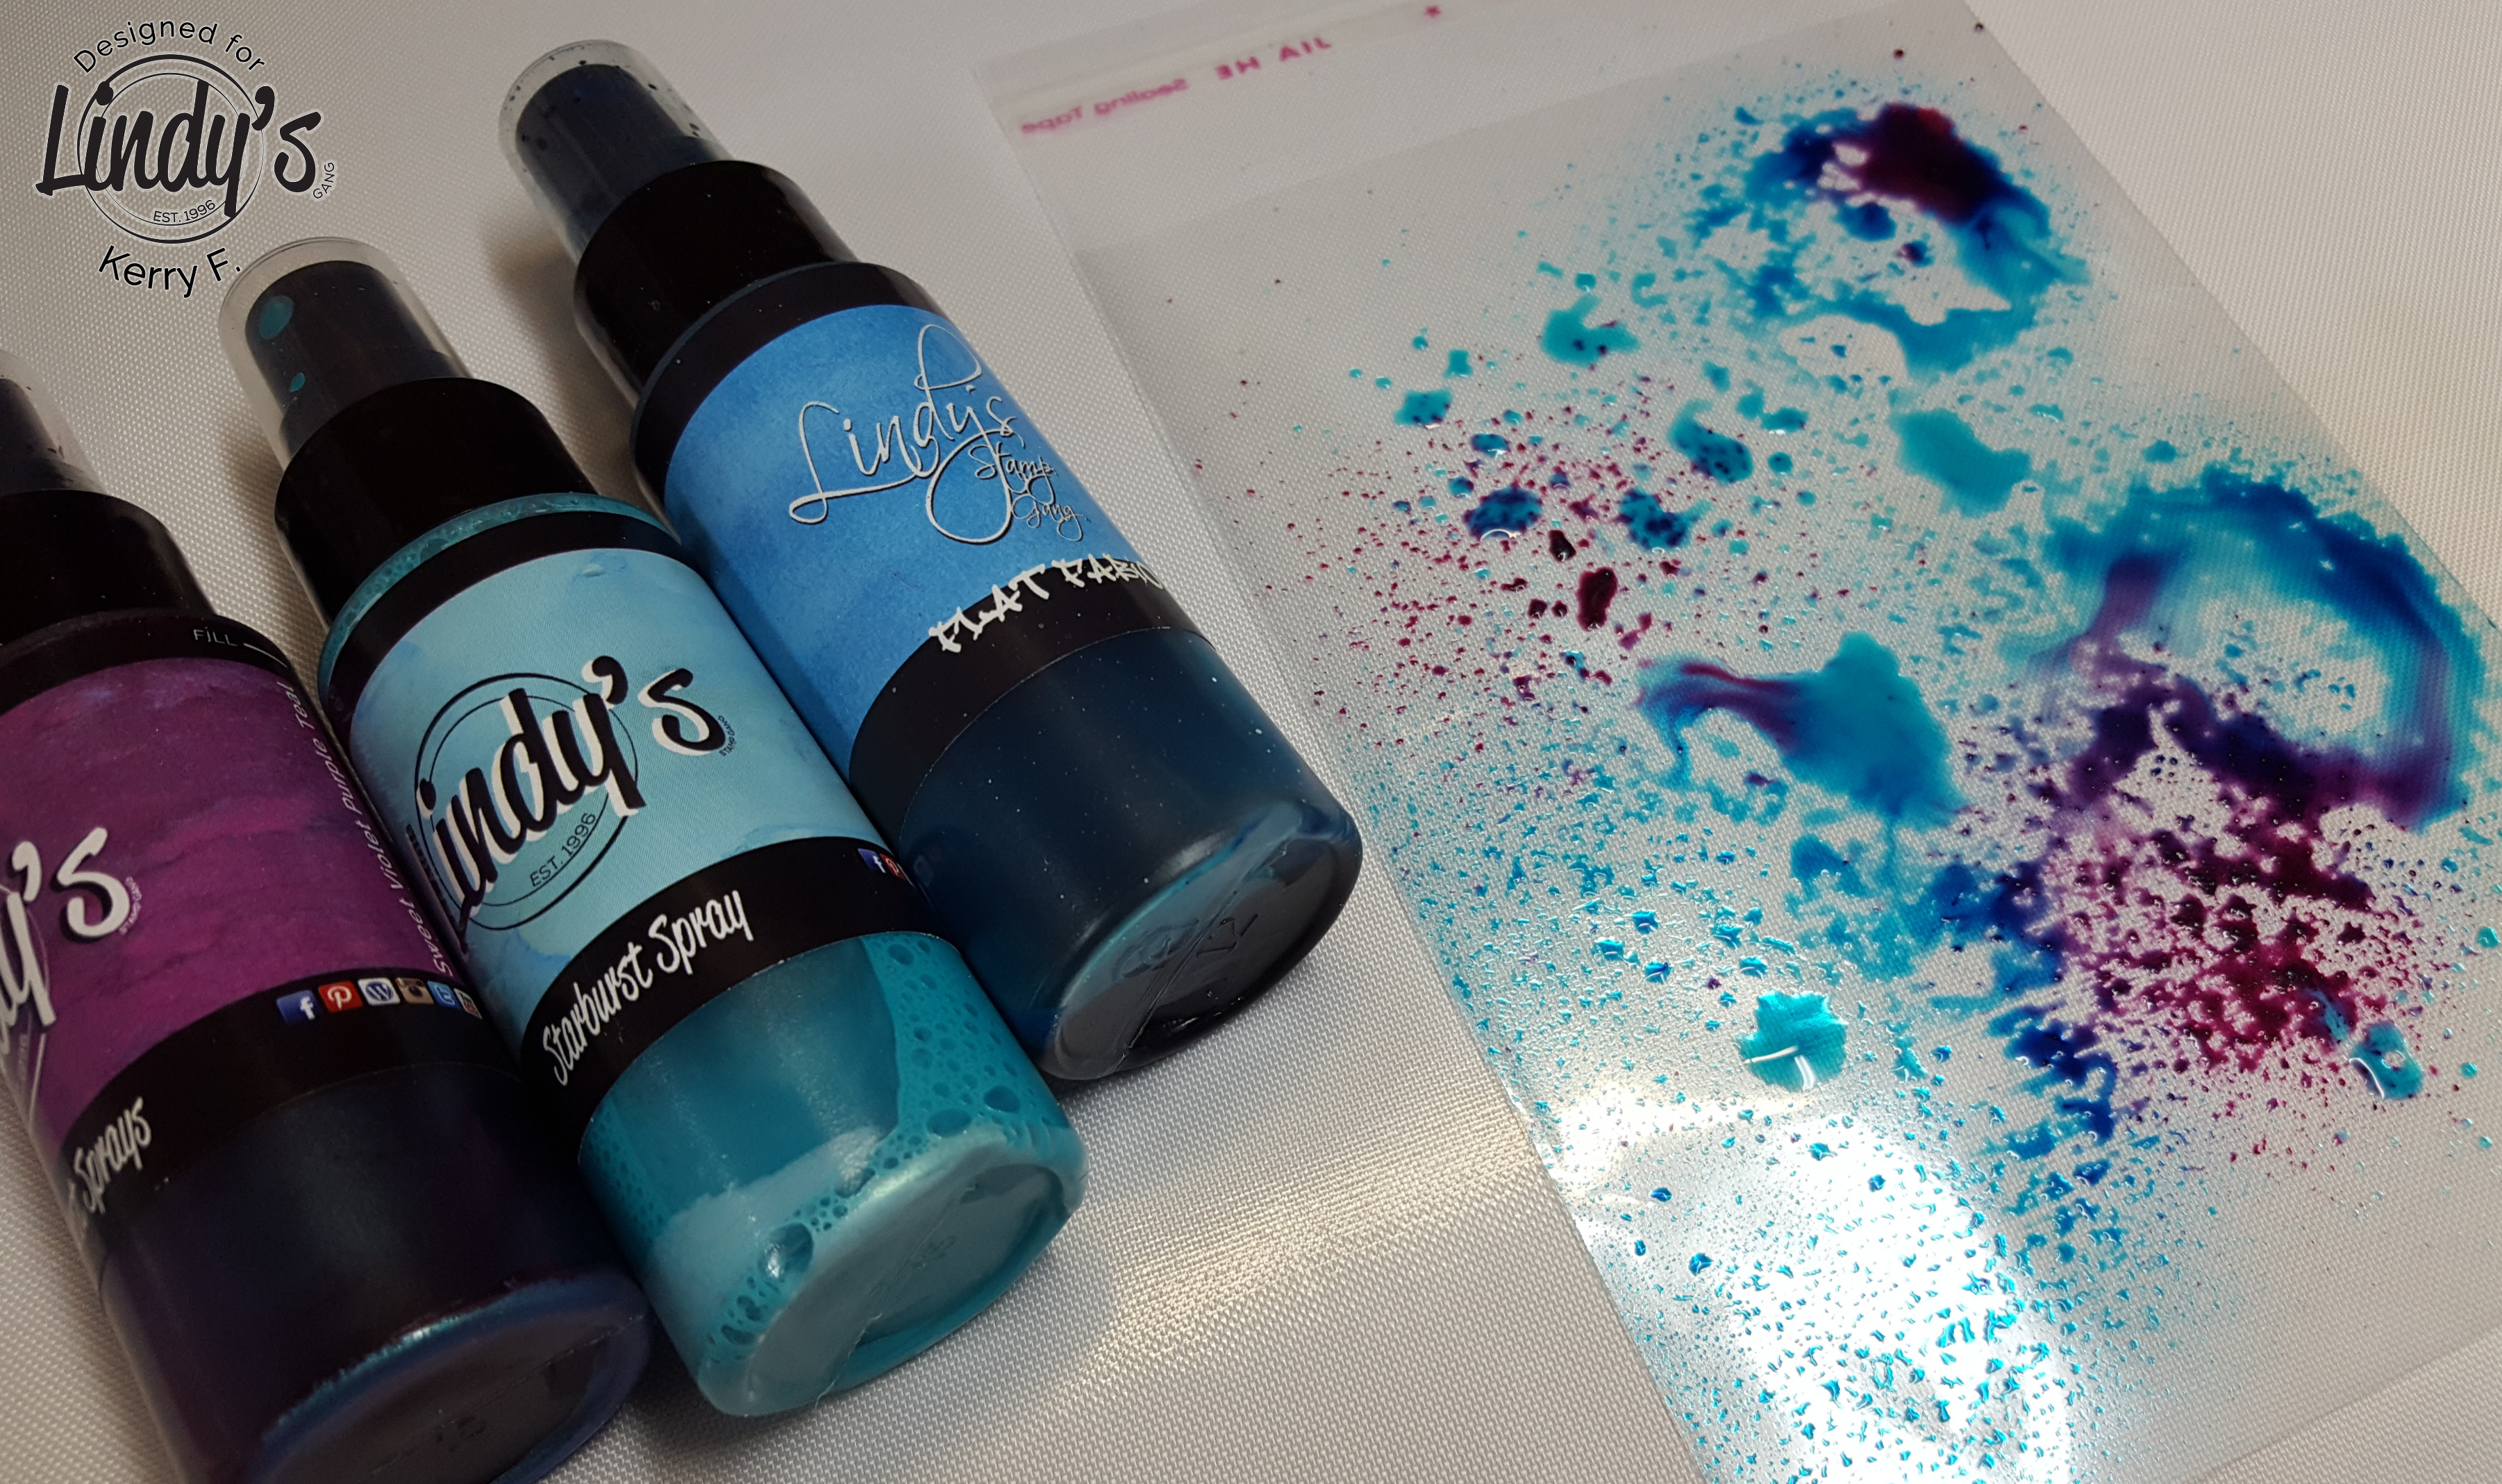
To start, grab your gelli plate, some white gesso, your favorite Lindy's sprays and magicals and some of the awesome Stencil Girl stencils. Today I am using Magical Shakers, Flat Fabio Sprays and Border Circles stencil, Circle 9 Stencil.

To begin printing, add some gesso to the gelli plate and then add your color, either spray or magical ...or both :)

Use a brayer to roll out the gesso and cover the gelli plate in a thin even layer.

Cover the plate with a piece of paper and smooth over the plate with your hands, for this project I have used regular 80gsm printer paper, and then carefully remove the paper from the plate, this will give you a solid background color on your paper.
You can even mist the plate with Lindy's sprays and then apply the paper directly over the misted surface, pull the print and have another background paper ready to go.

Use the gesso and a magical shaker on the plate to get a more varied color.

Once we have some background colors on our pages...

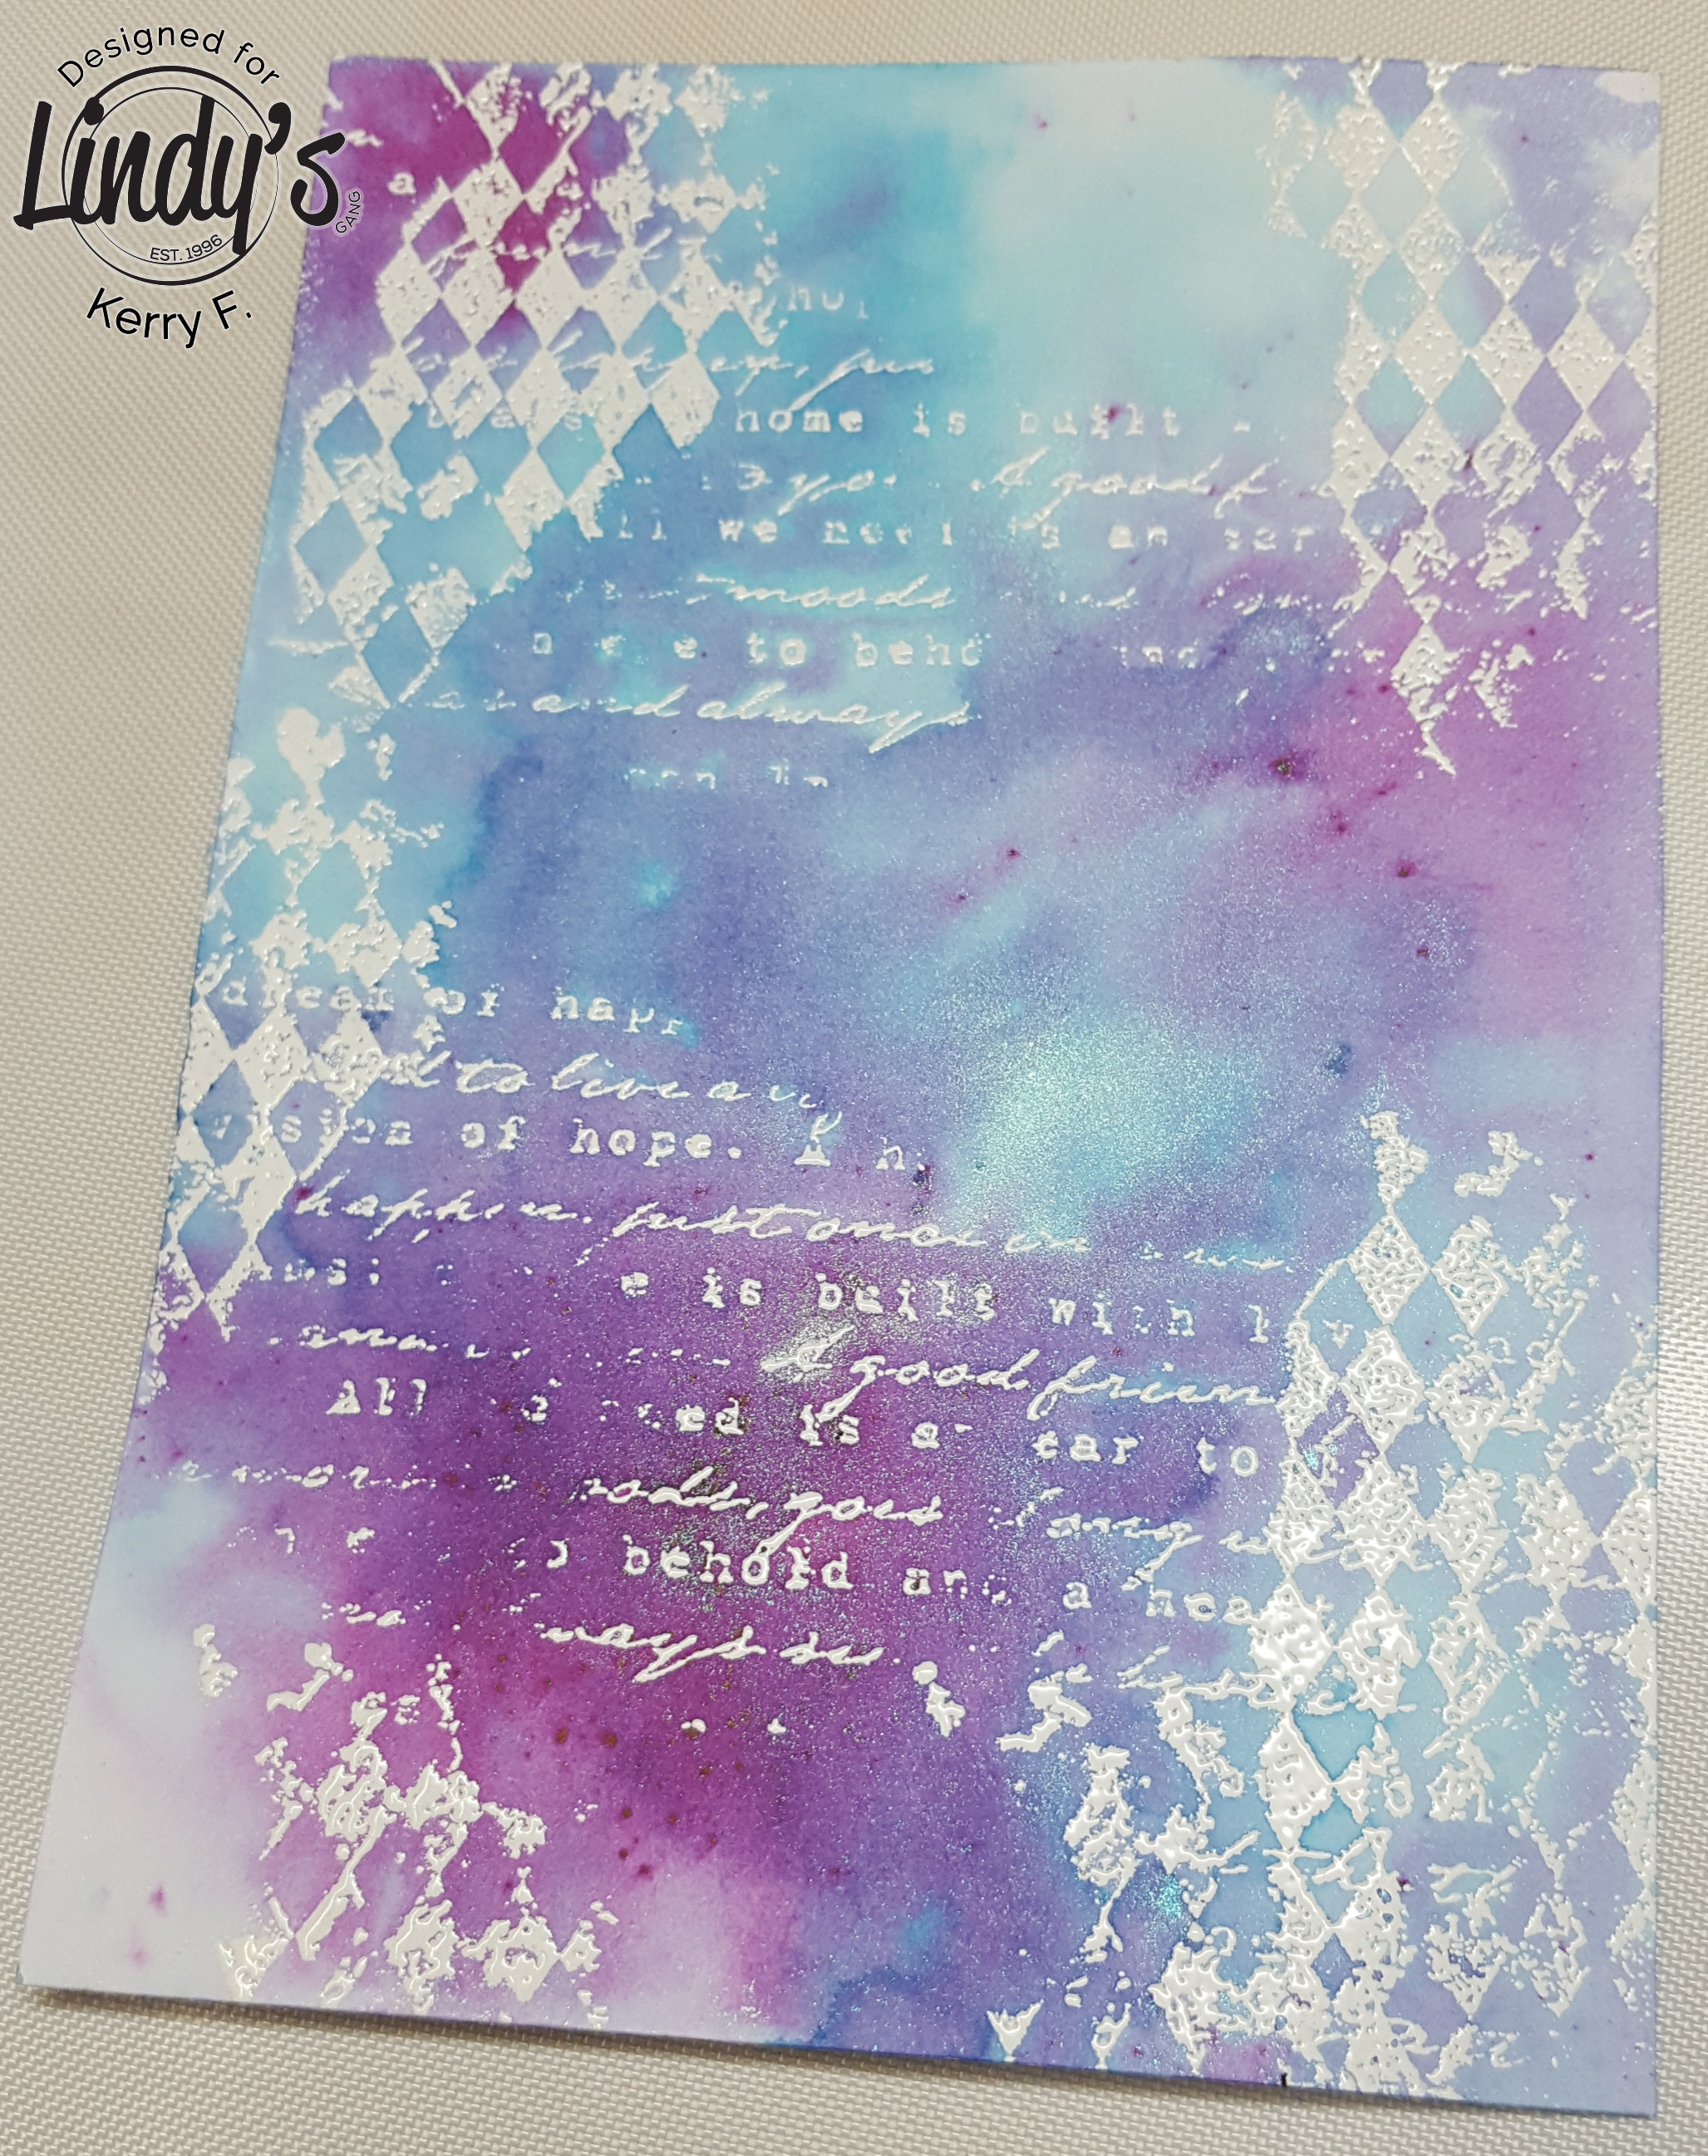
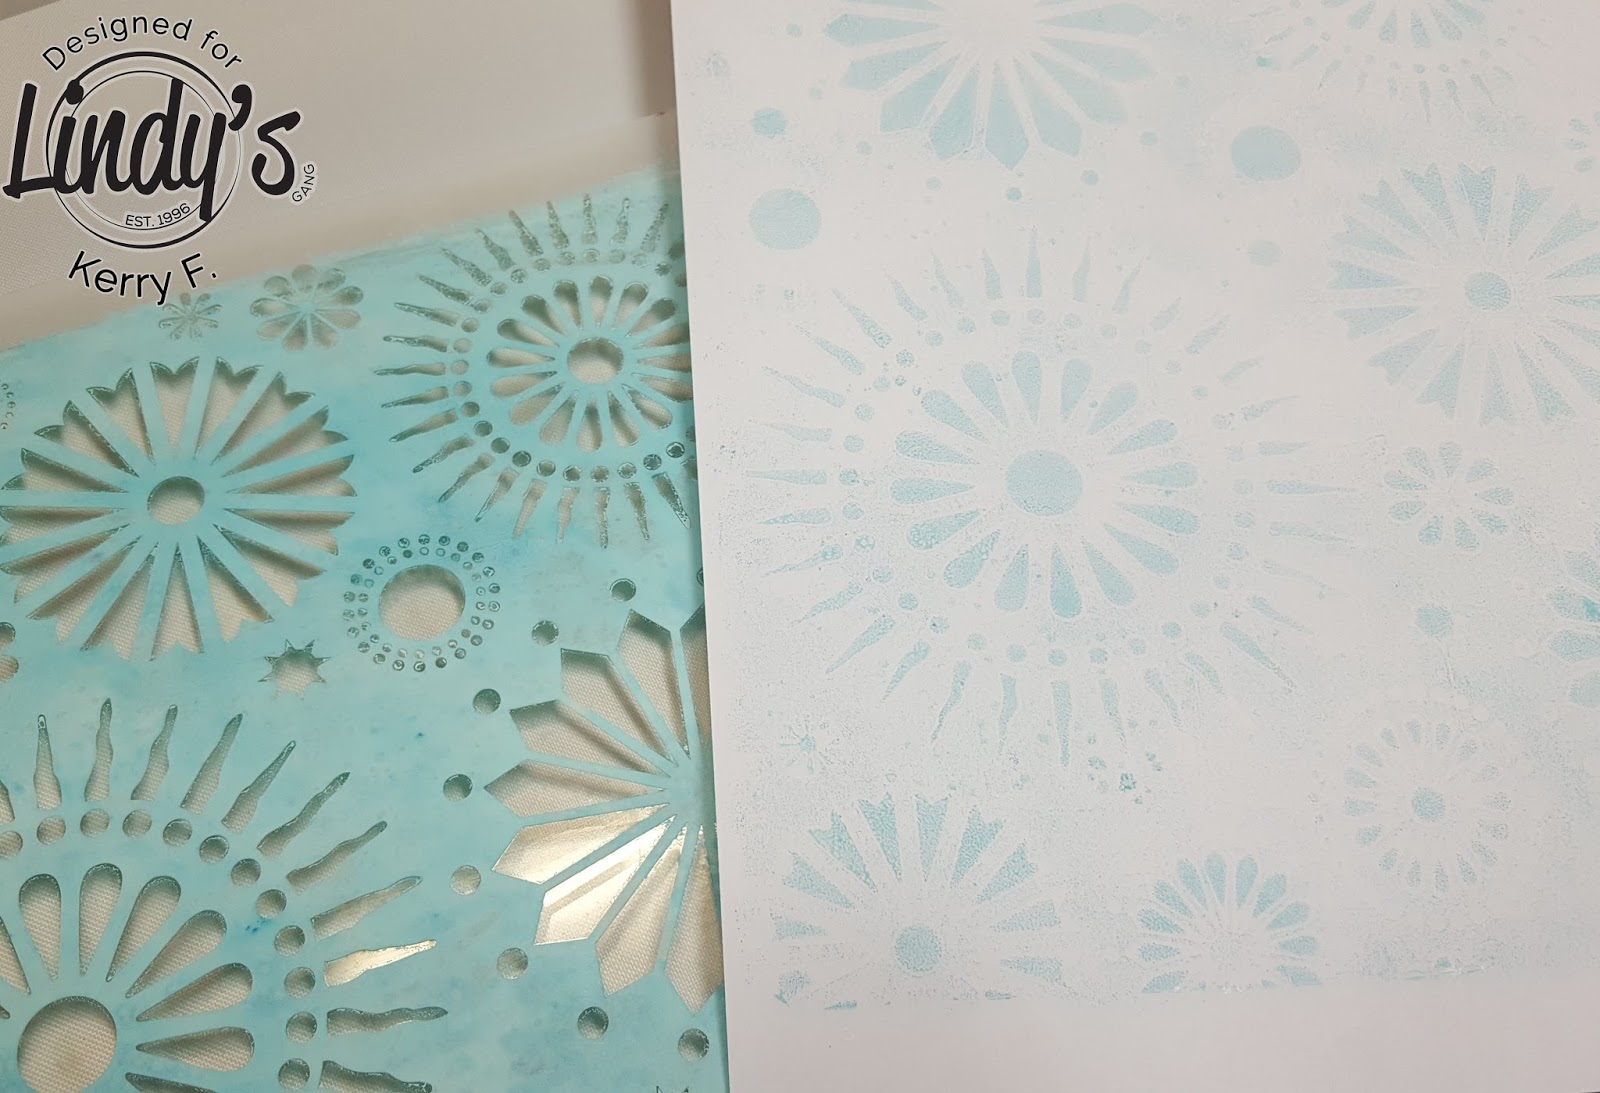
...its time to bring in our stencils, You can add the stencil directly over the top of the prepared gelli plate. Place a sheet of paper ontop of the stencil and smooth over the paper with your hands. Pull up the paper to reveal the pattern left from the stencil....cool huh?!!
For me, this process went on for a few hours, adding color, pulling a print, adding a stencil, pulling a print, more color, add a stencil, remove a stencil and on and on I played, it was wonderful!!! By the time I had finished I had a huge stack of lovely printed papers, and so many to choose from. I couldn't pick just one so...

...I decided to make a journal.

I selected some of the papers and folded them in half and glued them to a piece of chipboard using a glue stick so that the paper covered both sides of the chipboard

I trimmed the 'pages' down making sure I didn't cut the side that had the paper folded over the edge.

Then apply some texture paste through the stencil on some of the pages.

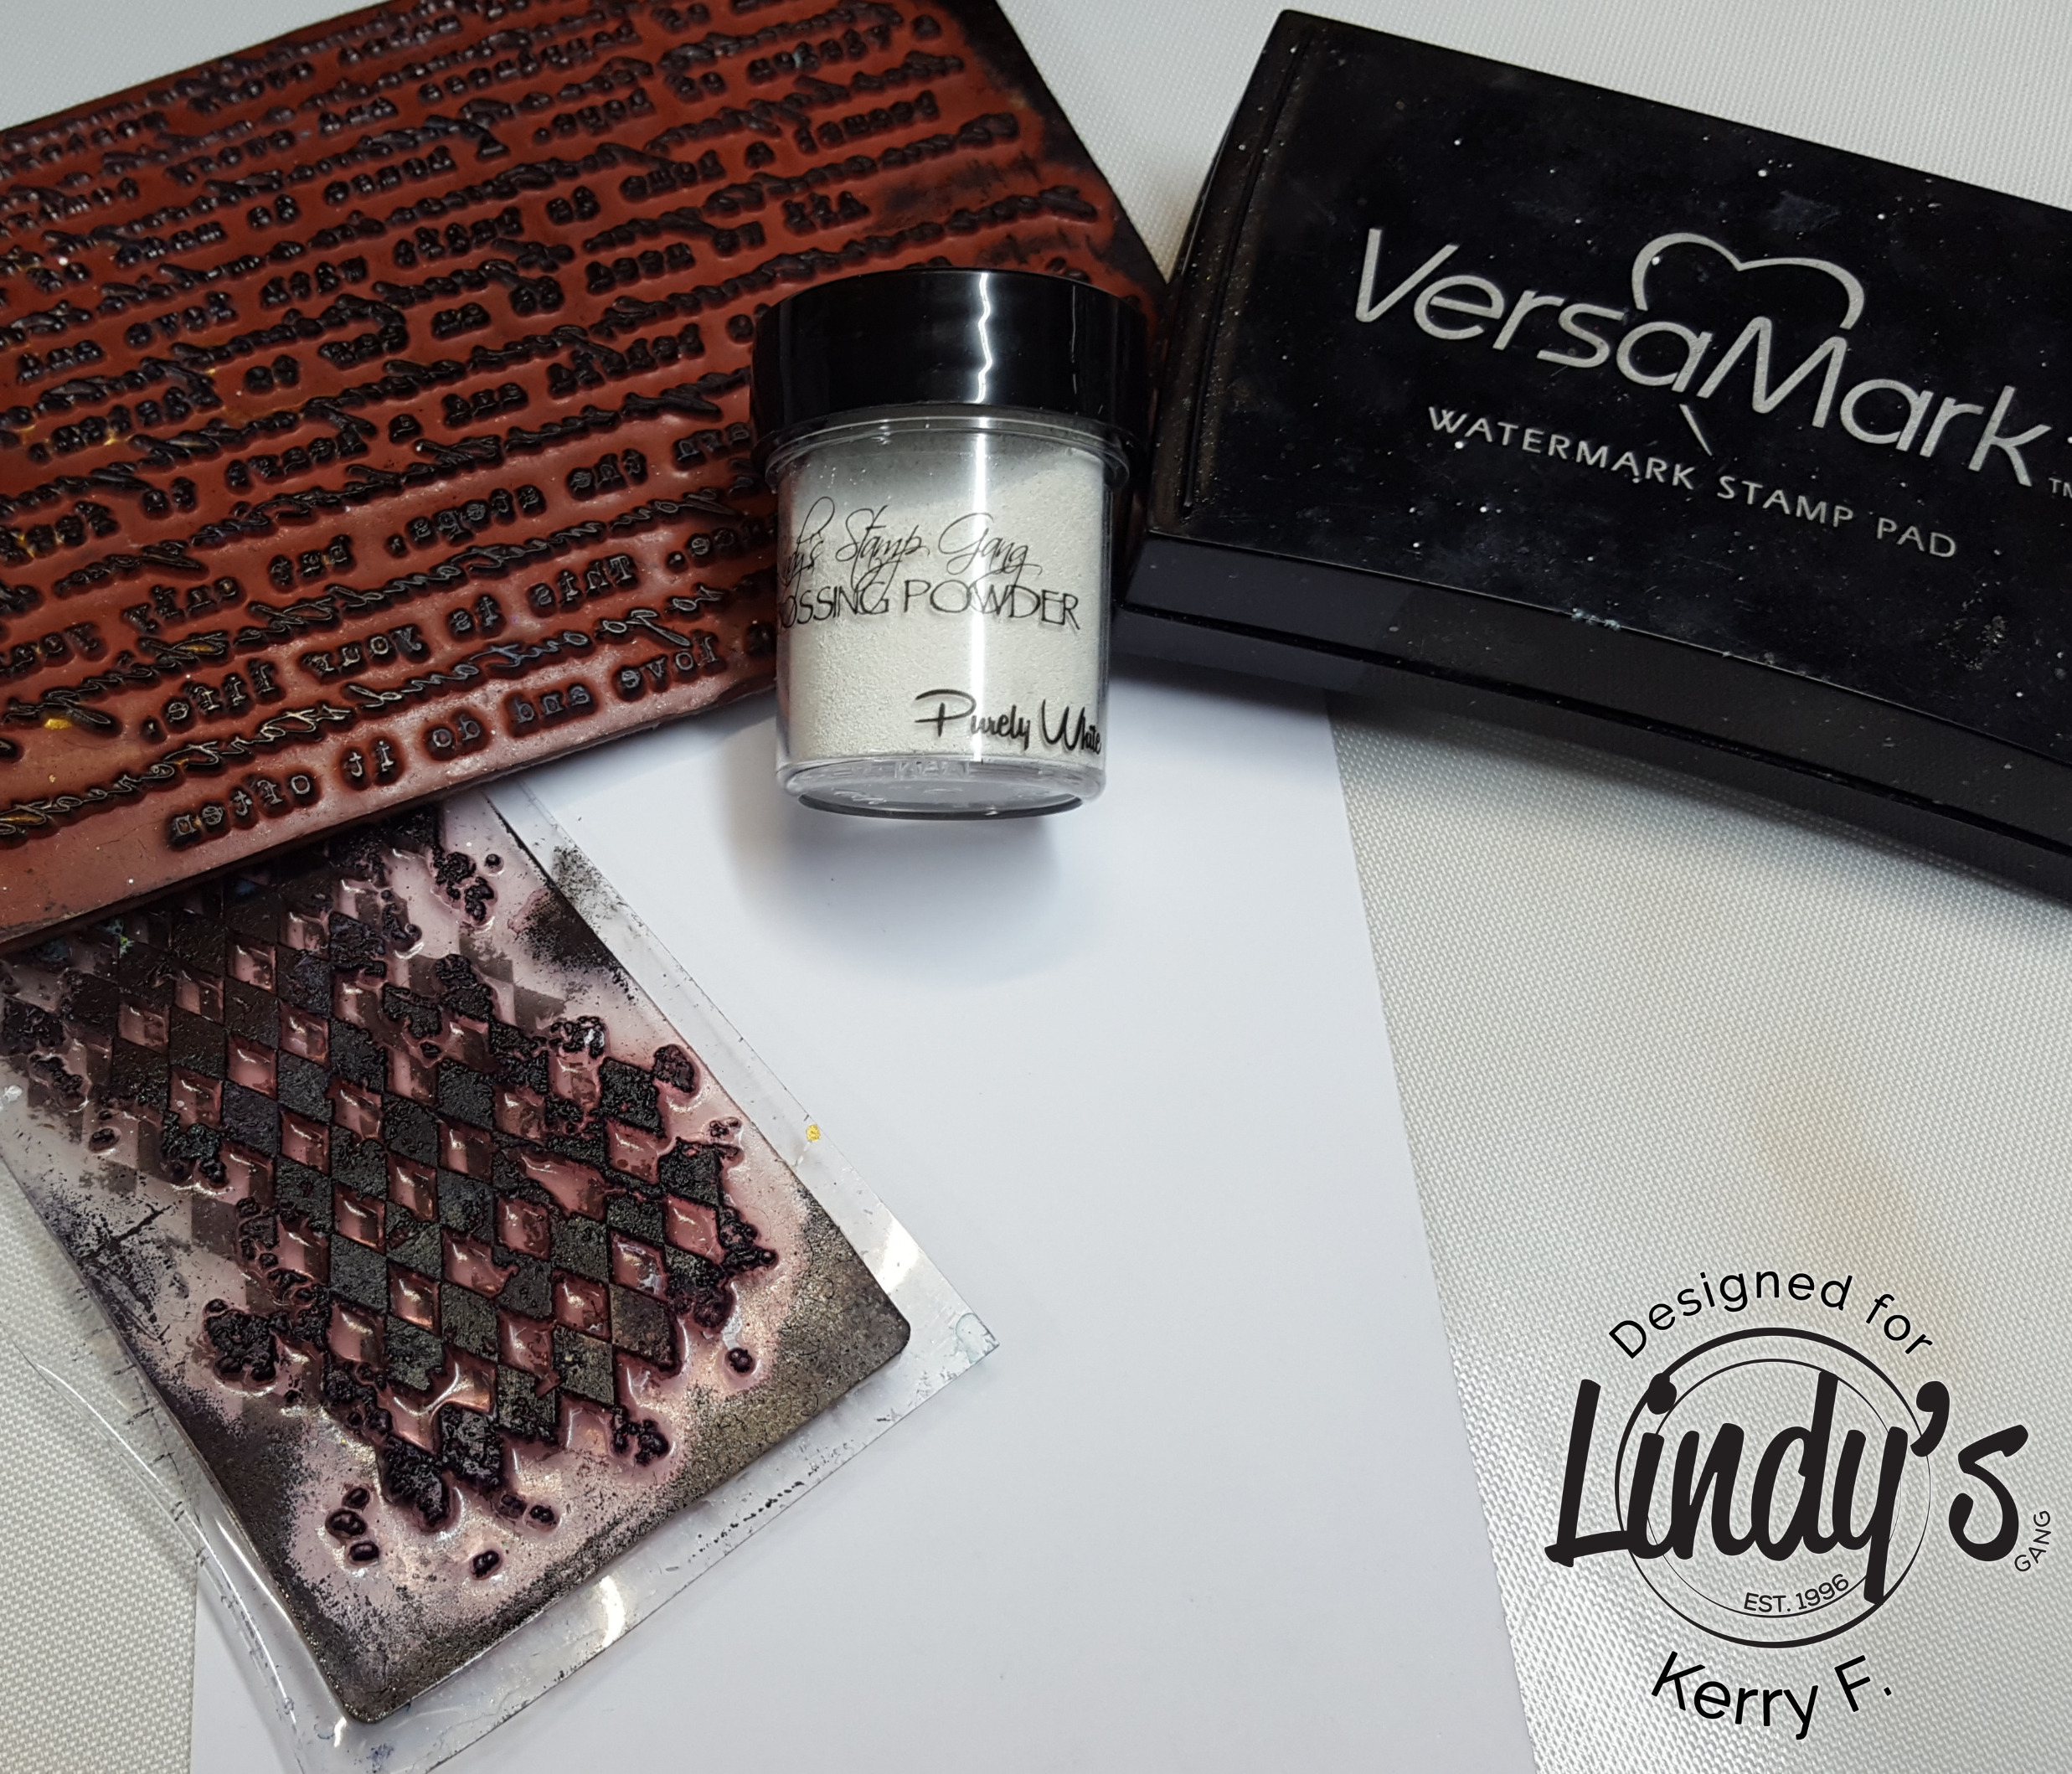
Add some stamping with Archival ink for added interest.

Add some black paint to the edges of the pages and bind them all together into a book. I have used a binding machine, but you could use a hole punch and add some rings instead. Here are just a few of the pages inside the bound journal.


I love how using the same stencil still gives a varied look to each page but they all go really well together.

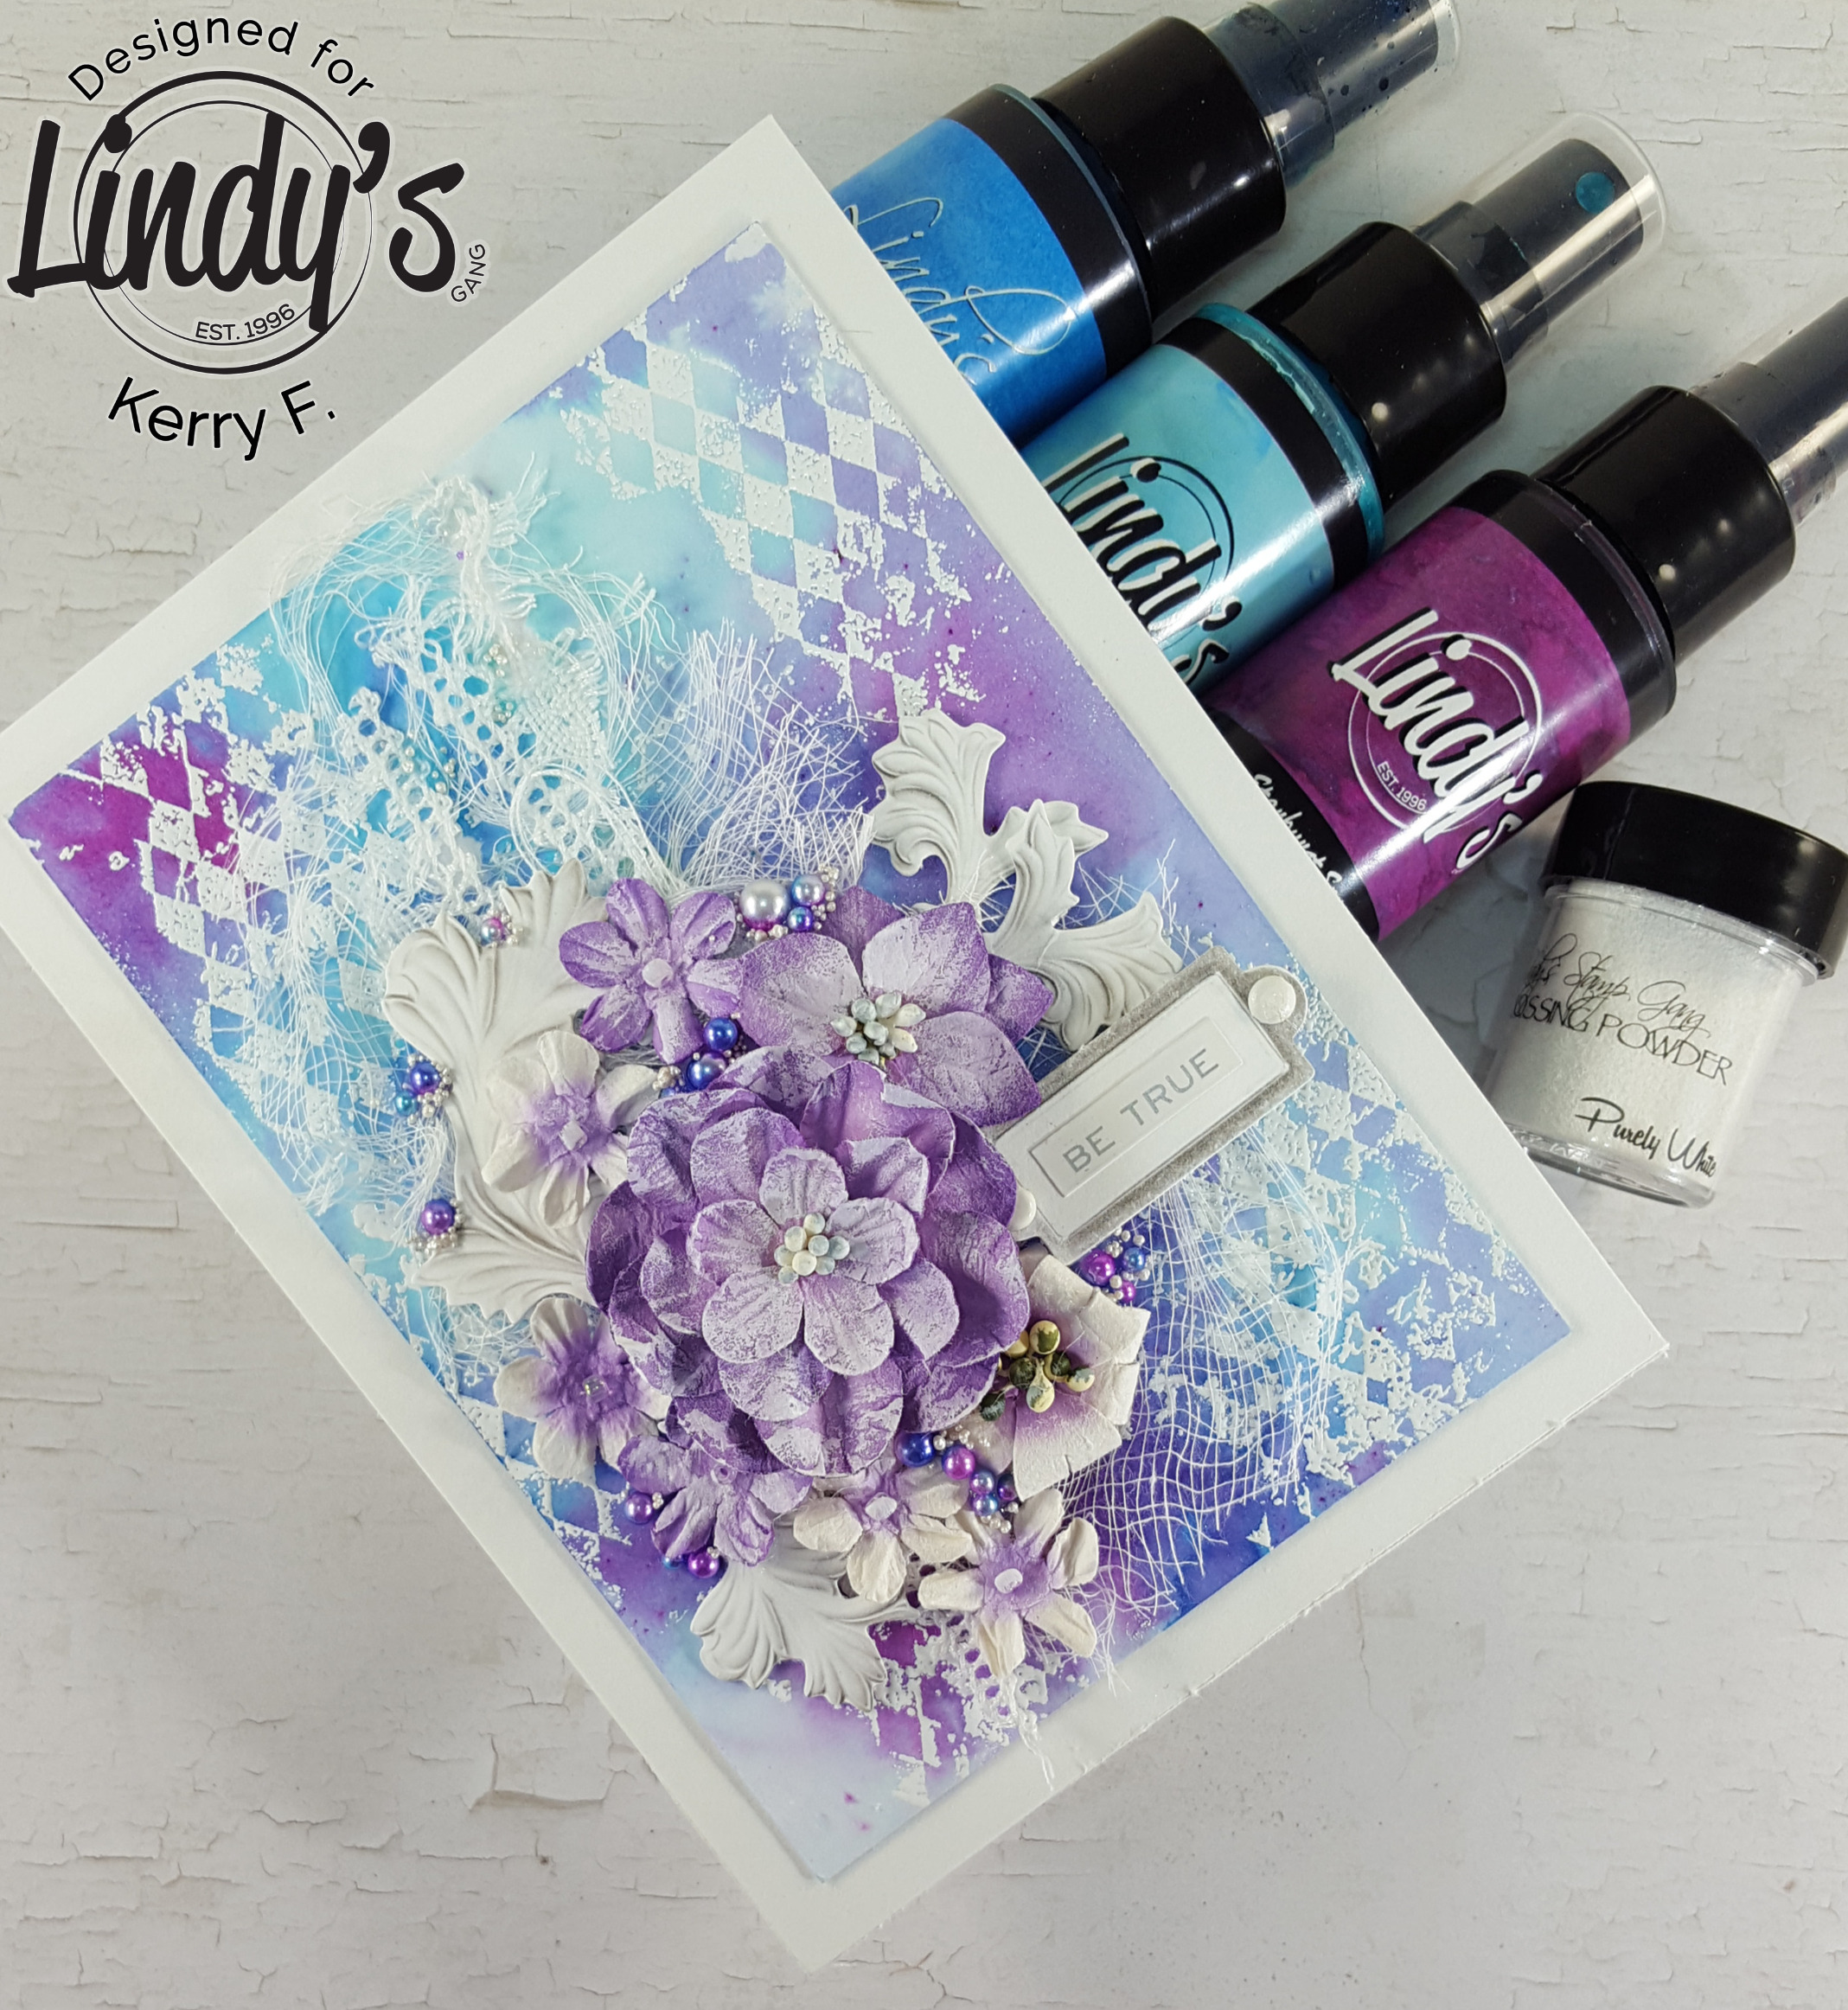
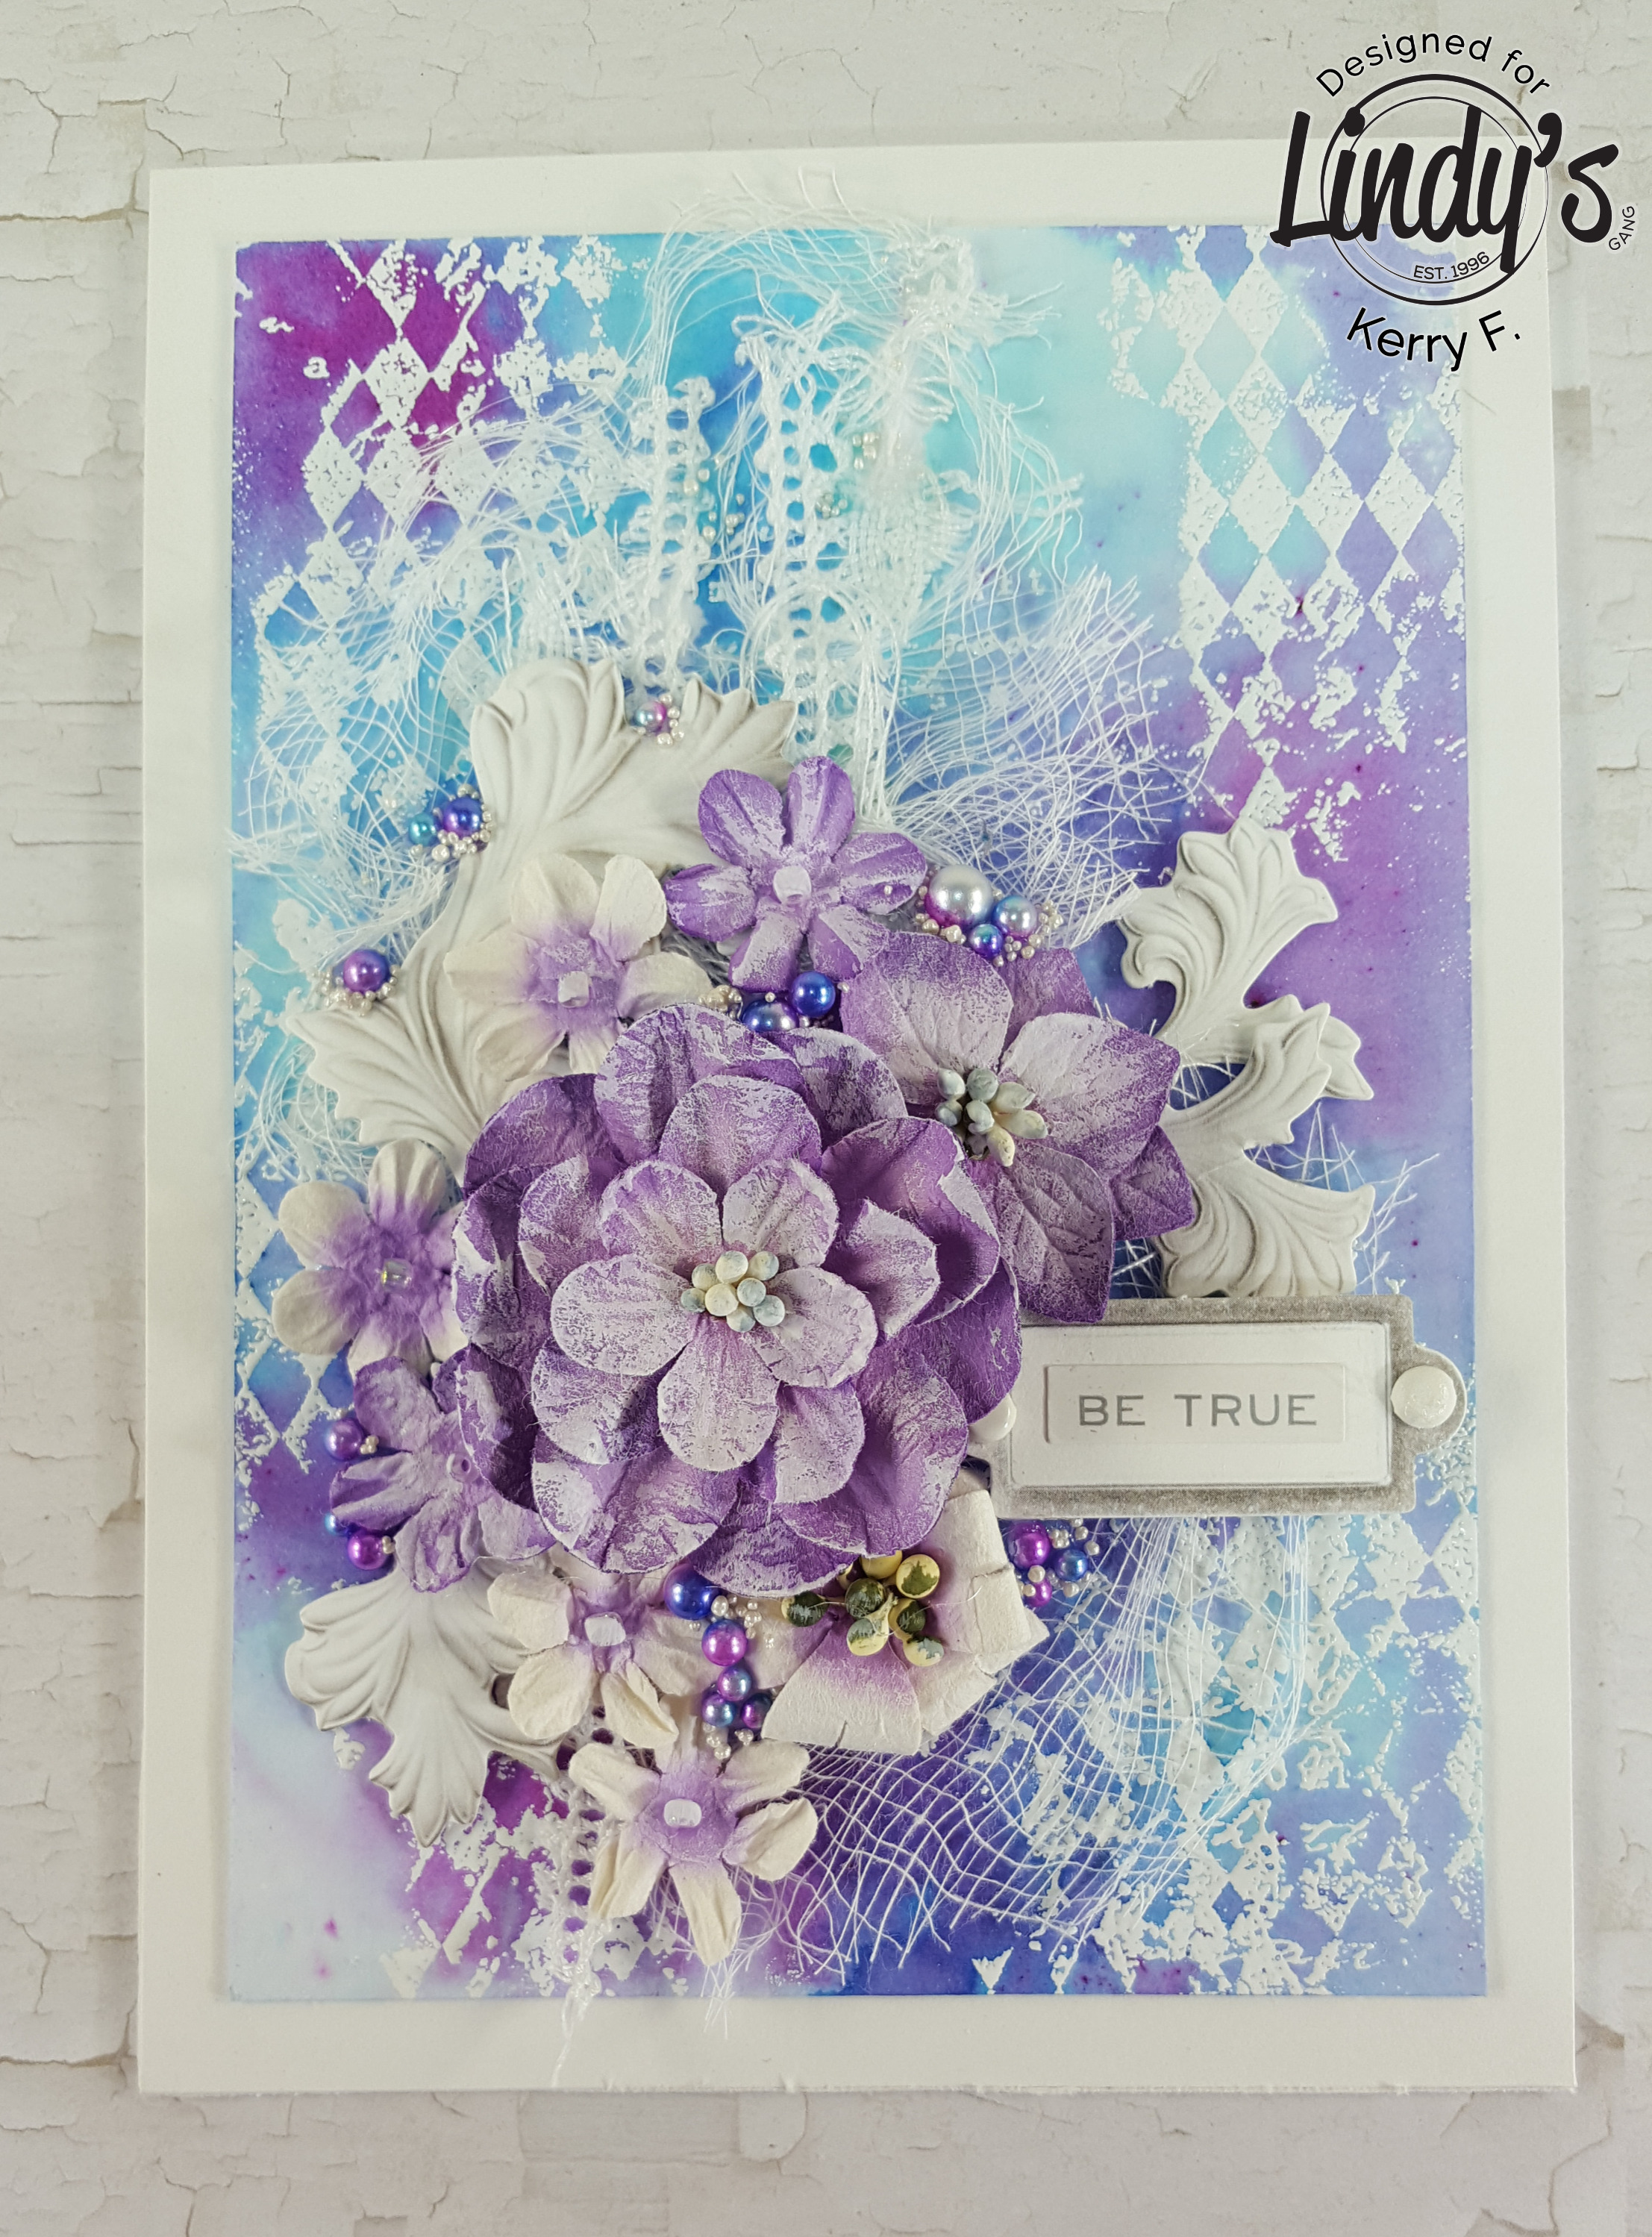
For the cover I have added some washi tape, joint tape, Whichcraft chipboard, a chipboard sentiment and some hearts that I stamped and cut from one of the printed pages and a few splashes of white ink.
I had sooooo much fun making this project, I cant wait to print some more pages and make another one!

Lindy's Products: Magical Shakers, Flat Fabio Sprays
Stencil Girl Products: Border Circles stencil, Circle 9 Stencil.
Other
Products: Gesso, Gelli plate, printer paper, washi tape, joint tape,
Whichcraft chipboard, a chipboard sentiment, Black paint, Archival ink,
stamps, chipboard sheets, binding spine, white ink, glue stick.

GIVEAWAY
One lucky winner will receive both a $25 Gift Certificate to Lindy’s Gang
AND a $25 Gift Certificate to StencilGirl Products!
Enter to win by leaving a comment below.
Then be sure to visit the other blogs in the hop and comment to win.
The more blogs you comment on, the more chances you have to WIN!
One winner will be chosen at random from all blog comments!
(One comment per blog please.)
You have until Tuesday, April 24th at 11:59PM Central Time to leave your comments.
Winner will be announced on
StencilGirl's Facebook page and Lindy’s Gang’s Facebook page on Wednesday, April 25.
Winner will be announced on
StencilGirl's Facebook page and Lindy’s Gang’s Facebook page on Wednesday, April 25.
Blog Hop Order:
April 18
Mary Beth Shaw
Gwen Lafleur
Mary C. Nasser
Debi Adams
Tina Walker
Kate Palmer
Cindy Wille
Natalie May
Pascale Bernard
Anat Weksler
Bertheas Peggy
Elena Martynova
April 19
Belen Sotelo
Cindy Gilstrap
Kiala Givehand
Torrie Gass
Janet Joehlin
Valerie Ouellet
Aga Baraniak
Sivan Amedi
Aleksandra Mihelič
Joanna Marquet
Phoebe Tonosaki
Caroline Parent
April 20
Carol Baxter
Sandee Setliff
Karen Gaunt
Louise Nelson
Sherry Canino
Kerry Fellowes
Yulianna Efremova
Kasia Bogatko-Skoczypiec
Olga Bielska
Olga Ravenskaya
Thanks for dropping by and have a magical day xx