Friday, 9 November 2018

Dream Mini Journal featuring Lindy's Sprays.

Hello Lindy's Tribe! As the end of the year rapidly approaches its time to think about the festive season. If you like to celebrate and share gifts at this time, this is a fabulous way to create some one of a kind inexpensive gifts to give to friends and loved ones. All you need are your favorite Lindy's Sprays or Magicals, some copy paper, some rings to bind your journal (or twine if you don't have rings), punches or dies and stamps (if you have them) and some glue!

18(1)

To begin, choose some color, any colors will work. Today I am using these fabulous colors: Poinciana Red Flame, Summer Lovin' Sun, Shabby Turbine Teal, Azure Sea Asters, Sweet Violet Purple Teal and Pretty In Pink Pink.

1(1)

For this project, I am using a cardboard box as a 'spray booth' I am spraying quite a bit and want to contain my overspray (also I am LAZY, and this way there is no clean up :p ). Pop a piece of copy paper in the box, add a good misting of water, then apply your chosen sprays. If you want to add 2 or more sprays to a page, make sure that they are colors that work well together, if you use colors that are next to each other on the color wheel, you cant go wrong!

2

Mist another piece of copy paper well with water and apply the 2 wet sides of paper together.

3

Let them sit for a few seconds then gently peel the paper apart.

4

The top layer will be a muted version of the bottom sheet and you get to use all the color you have sprayed.

5

Repeat this process using different colors to build a stash of colored pages. Now is the perfect opportunity to experiment with colors to see what combinations you like.


6

Decide what size you would like your pages to be and cut your papers accordingly, I have cut my A4 page in to 3 pieces. Each piece will need to be folded in half to create the front and back of your book pages,

7

I have selected 2 pieces to be my front and back cover and I am adhering a piece of cardstock inside the folded page to make the covers a little more rigid. Also keep aside one of each page to use for embellishing the pages.
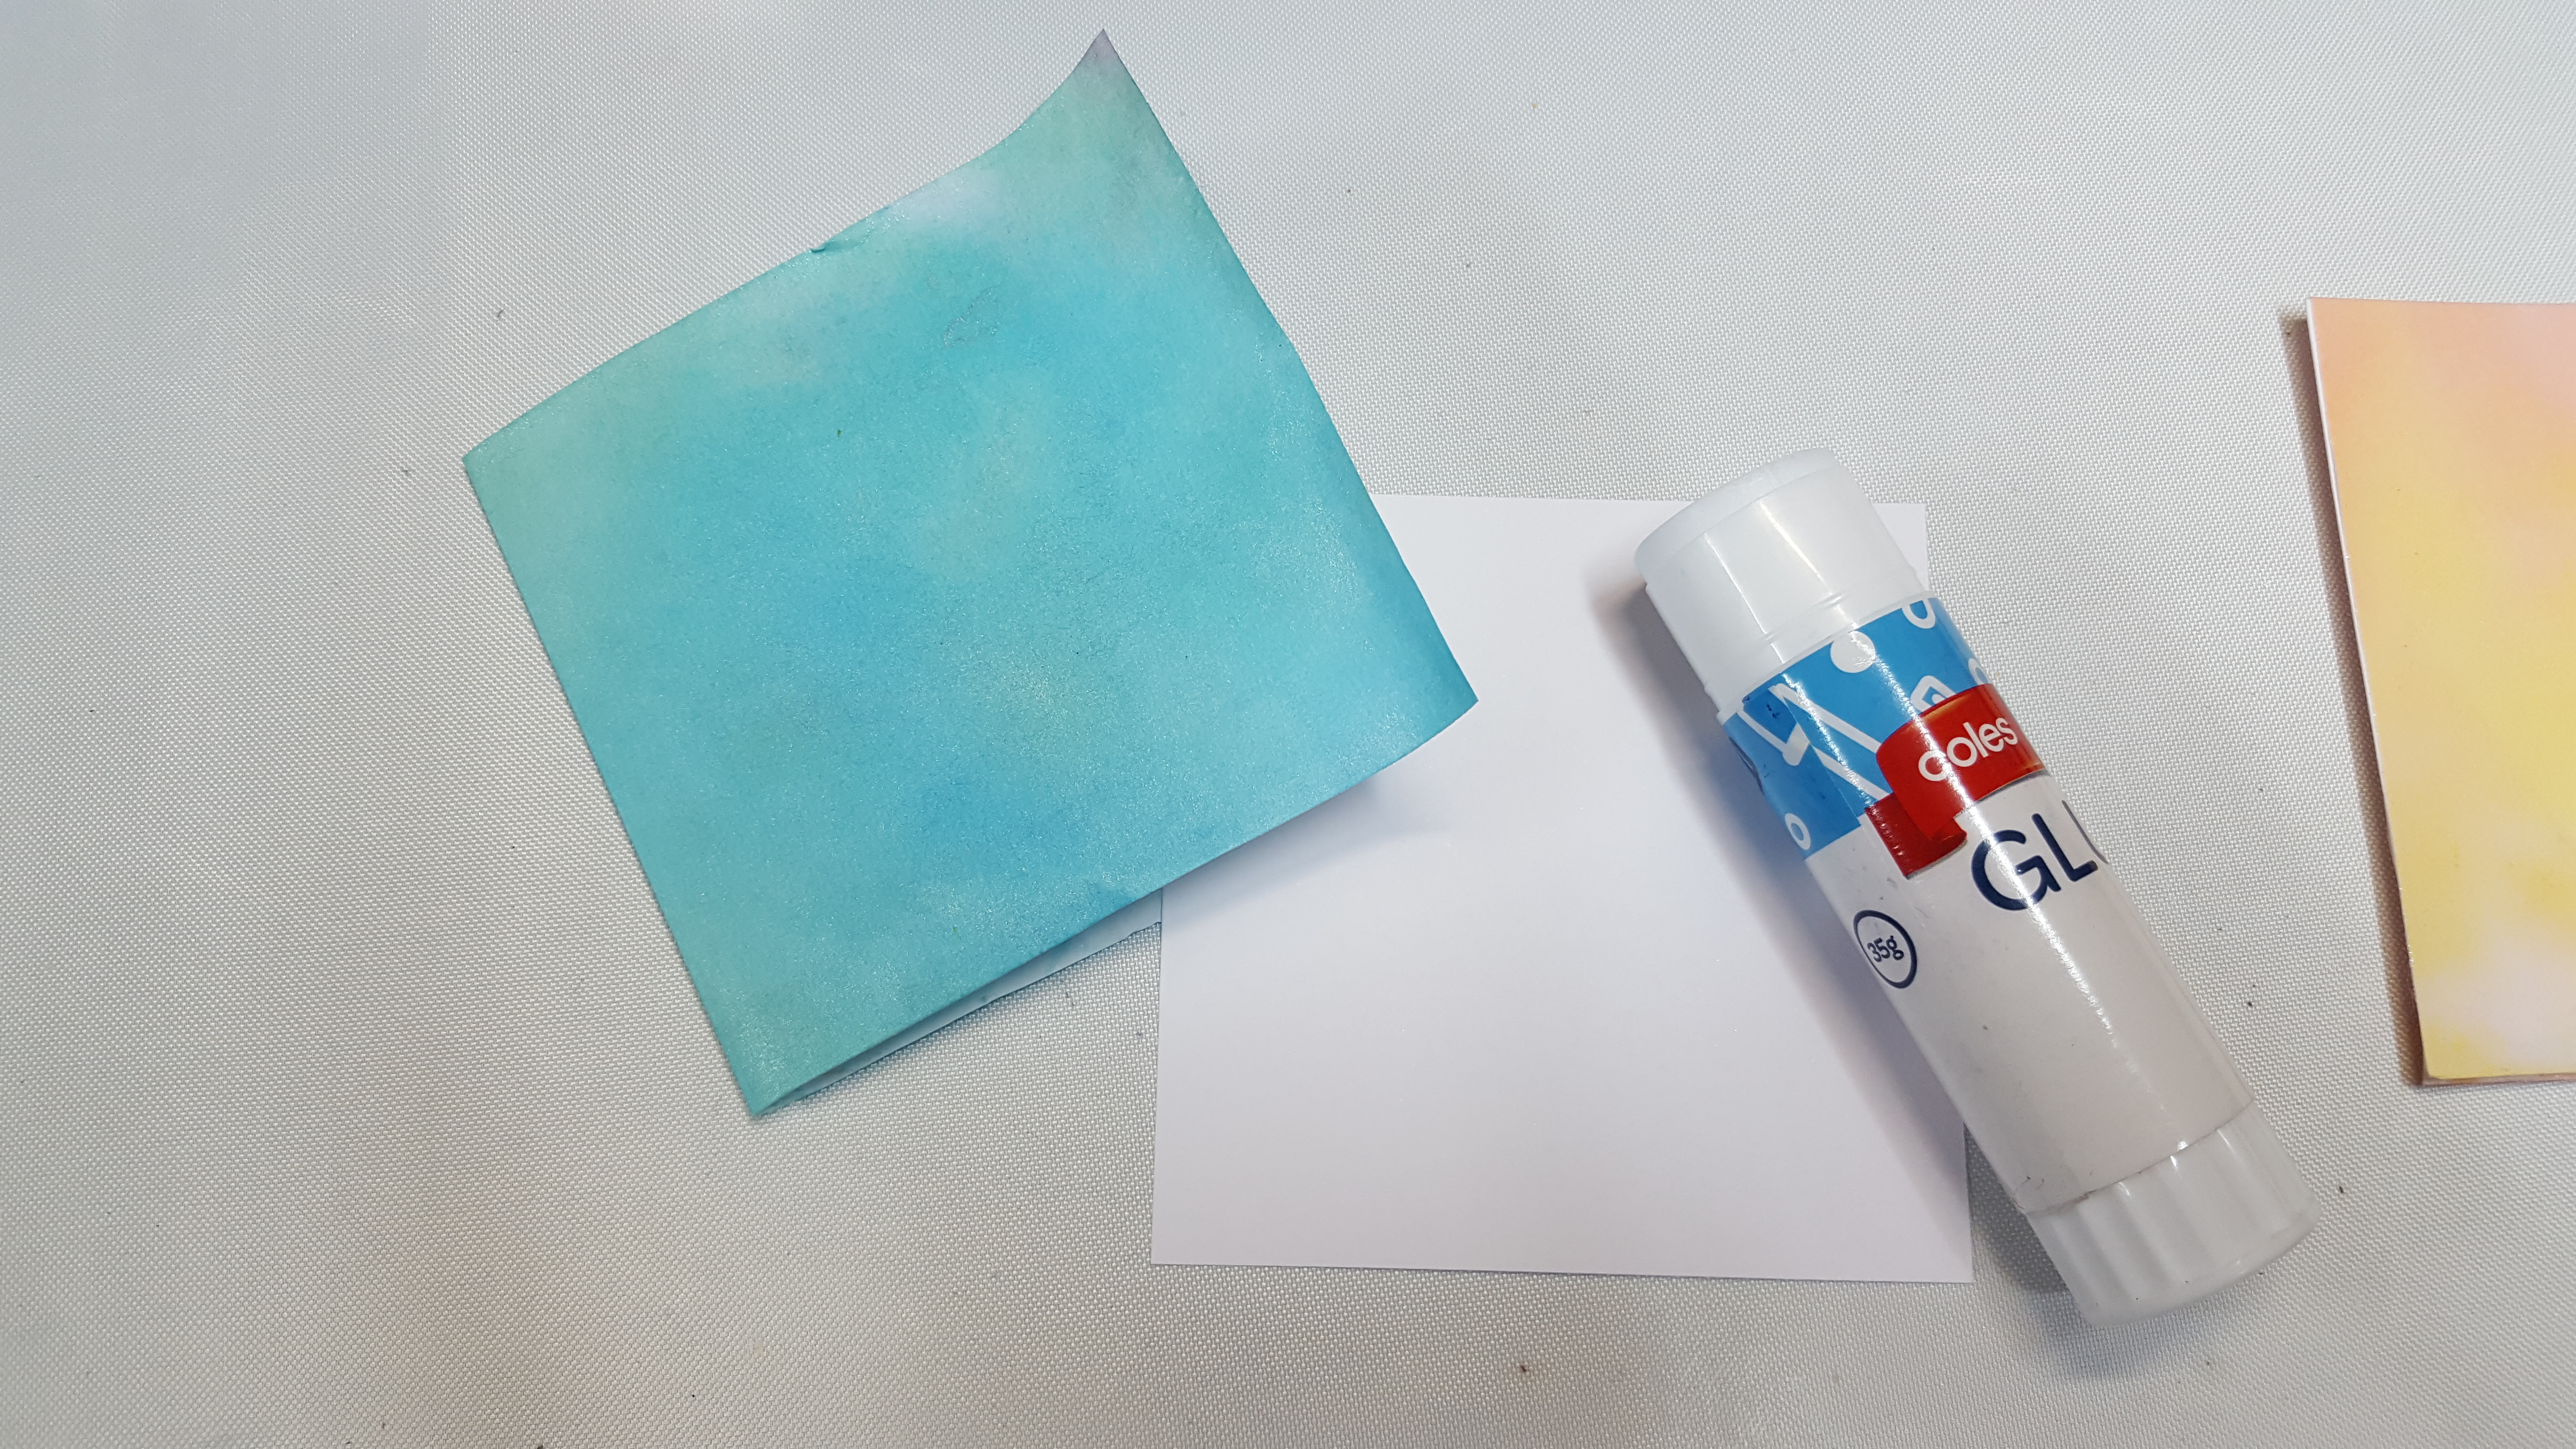
20181023_202819

Then you simply need to glue the inside of each folded page together.

9

Knock all of the pages together and use a bulldog clip to hold them and trim off the uneven edges (you may prefer to keep them uneven for added interest). Keep these strips aside too.

10

Punch some holes for your rings or twine.

11(1)

To embellish your pages you may want to use punches, stamps, dies, doodling, washi tape.... pretty much anything you like. I dragged out the punches and blew off the dust (they haven't been used in a while). I also added a few pages of black cardstock to my  page stash.

12(1)

Here is an example for a simple embellishment, punch the shape from one page, and adhere the punched shape to another page. The black page can bee seen through the punched shape, easy as!!

14

Use the strips and some stamps to add more interest, add washi tape too for something different.

15

Soon you will have a huge stash of pages. you can make smaller books with fewer pages, or chunky books with loads of pages!!

16

To embellish the cover I have used some of the strips from our page edges and a 'punched' butterfly (he was not injured in the making of this book) ...hehe. Some fibres and paper beads added to one of the rings and some chipboard accents finished it all off!

20

Here is a peek inside...

21

The black pages really make the other pages POP.

22

So easy. These little books are also a fab way to use up your 'mop up pages'.

23

I hope you feel inspired to create a mini journal or two :)

18

Lindy's Products: Poinciana Red Flame, Summer Lovin' Sun, Shabby Turbine Teal, Azure Sea Asters, Sweet Violet Purple Teal and Pretty In Pink Pink.
Other Products: Whichcraft Chipboard, stamps, Archival Ink, glue stick, copy paper, cardstock, rings, fibres.

Thanks for dropping by and have a Magical Day xx

Thursday, 11 October 2018

Halloween Artist trading Coins featuring Lindy's Sprays and Whichcraft Chipboard.

Hello Lindy's tribe!  October....are you serious!!!!! WOW, this year is just flying by. Today I am sharing some super quick and cute little Artist Trading Coins. These are lightening fast to make and you can bang out a bunch for a swap in no time! Today we are using the Lindy's starburst sprays, but you can use any sprays or magicals :)

10

I have started by selecting some Whichcraft chipboard Artist Trading Coins and the amazing Halloween starburst sprays in Witch's Potion Purple, Hag's Wart Orange and Freaky Franken Lime. You can also get all of these colors, plus 2 more in the Haunted Halloween set.

1(1)

Spray your chosen pieces liberally to fully cover the chipboard in color. To help the colors pop, color the second layer in black.

2

How awesome is that shimmer!!!! Add some white splashes and a little stamping and sponge some ink onto the edges to add interest.

3

I have chosen some additional Halloween elements and colored them in the same fashion.

4

Now its time to layer up the chipboard pieces.... arent they soooo cute :)

5

To finish off, add a little doodling with a white gel pen and sprinkle a few microbeads in a contrasting color for additional texture. So quick!!!

6

Other Products: Whichcraft Chipboard, archival ink, stamps, white gel pen, microbeads
Thanks for dropping by and have a magical day :)

Thursday, 13 September 2018

Treasure Tags featuring Lindy's and Whichcraft

Ahoy all ye Lindy's lubbers.....Today we be finding the treasure using me tags!! You may want to get your hands on some treasure of your own such as Lindys Moonshadow Mists or Embossing Powder which is what you will need for this project :) I recently shared some tags that I had created. I had so many people ask for a tutorial, so I thought I would share the technique here.

12(1).jpg

To begin, I have taken some Whichcraft chipboard tags and used some texture paste to add texture to the surface, it really doesn't matter what type of paste as most of it will be covered up.

1(1)

Next, I have applied some copper colored paste to the detailed part of the tag in a very thick and textured fashion. If you don't have copper paste, just use any texture paste and paint it with some metallic paint.

3

While the paste is still wet, sprinkle Lindy's embossing powder in Midnight Bronze, Midnight Teal and Midnight copper randomly on top of the wet paste and leave a few areas without any embossing powder. Use the heat tool to dry the paste and activate the Embossing powder. This will bubble and give some great 'rusty' looking texture.

2

Next, paint the rest of the tag with some blue paint, then add a little more copper paste (or paint) around the outside edge of the tag.

10

Now this is where the magic happens, generously spray the entire tag with MoonShadow Mist in Tawny Turquoise and Buccaneer Bay Blue and dry off.

8

Look at all that shimmer...

7

Use black archival ink to darken the edges of the tags.

6

To finish the tags off I have layered some 'treasure map' paper underneath and on top of the tag. Embellish the tags with art stones and glass beads, metal charms and a little mesh ribbon and add some ribbon or fibres to the top of the tag....
ARRRRrrrggg.... we be done!

5

Lindy's Products: Tawny Turquoise and Buccaneer Bay Blue MoonShadow Mists. Embossing powder in Midnight Bronze, Midnight Teal and Midnight copper
Other Products: Whichcraft Chipboard tags, texture paste, paint, ink, art stones, glass beads, metal charm, papers, fibres, ribbon

Thanks for dropping by and have a magical day xx

Thursday, 16 August 2018

Under the Sea - for Lindy's

Hello Lindy's Tribe! Its Kerry with you sharing an 'Under the Sea' inspired tag. For this project I have used a selection of my favorite Lindy's Sprays and Embossing Powders to add both gorgeous color and awesome texture to the project.

10

To start, take some of the gorgeous Lindy's sprays in 'sea' colors, I have chosen Clam Bake Beige, Green with envy Green and TiffanyLou Blue. You will also need some white cardstock.

2

Spray the TiffanyLou Blue over most of the card and use the Clam Bake Beige and Green with envy Green more sparingly toward the bottom and side of the card.

3

Add some gesso and Washi to the background for added texture and dry off.

4

Using Clam Bake Beige and Green with envy Green sprays, color the whichcraft chipboard elements... LOOK at the fabulous shimmer!!!

5

To add some more texture to the chipboard, randomly apply some 3D gel medium to the pieces, sprinkle Lindy's Embossing Powder in Oakleaf Olive, Sunrise Salmon Gold and Morning Glory Azure into the wet gel medium and then dry with the heat tool, the gel medium will bubble and you end up with awesome texture!

6

Spray some lace 'Netting' with water and add the TiffanyLou Blue and Green with envy Green sprays, (the water will allow the colors to be a little softer), and dry off.

7

Add some additional sea themed embellishments and layer all the pieces onto the card, use 3D foam to add dimension to the project.

8

To finish off, add some pearls and art stones, splash the stones with a little of the Clam Bake Beige and Green with envy Green to blend them into the background. I have also added some metallic gilding paste to the raised areas to help bring out the texture.

1(1)

Sigh.... look at all that yummy shimmering texture.....so gorgeous!


9

Lindys Products: Clam Bake Beige spray, Green with envy Green spray and TiffanyLou Blue spray. Oakleaf Olive embossing powder, Sunrise Salmon Gold embossing powder and Morning Glory Azure embossing powder
Other Products: Cardstock, Gesso, Washi tape. Netting, Pearls, Art Stones, Whichcraft Chipboard, Gilding Paste, Fibres, Gel Medium, 3D foam

Thanks for dropping by and have a Magical Day! xx

Thursday, 19 July 2018

Tranquility - A Journal Page for Lindy's

Hello Lovely's. I have a journal page to share with you today. I had such a lovely time just playing in my journal, with no plan or idea what I was going to create, it was so peaceful and enjoyable and this 'tranquil' page is what I ended up with. I used just 3 of the fabulous Lindy's Starburst Sprays to add all this color to my page.

8

To begin, I spritzed some water on my pages. I lightly sprayed the Bling-y Blonde and Pretty in Pink Pink sprays and then added more water and moved the page around to blend the colors a little. I mopped up some of the water with a paper towel and then added a few splashes of each color to intensify the color in some spots and dried off with a heat tool.

1(1)

I added a little random text stamping using black archival ink.2

Next, using a paint brush, I applied some gesso to help soften the background.

3

I selected a couple of washi tapes with similar colors to add to my page, this gave me some additional texture and makes the background more interesting to look at. I added a little more gesso over the tape with a palette knife to give the page a more cohesive look and dried off thoroughly.

4

Using archival ink and some stamps, I have added a border and some circles.


5

I added my embellishments, a gorgeous lotus die cut and some dew drops. Some gesso was applied to the circles to help them pop up from the background. Using the Shabby turbine teal spray a few light splashes were added to the page above the lotus.  I applied some shading to the underside of the lotus with a black stabilo all pencil and then using the Shabby Turbine Teal spray and a paint brush, I painted the 'water' for the lotus to sit on.

6

A 'Whichcraft' chipboard title, some black archival ink around the edges and a few black splatters finished the page off.

7

Lindy's Products: Shabby turbine teal, Bling-y Blonde and Pretty in Pink Pink sprays.
Other Products: Die Cut lotus, Whichcraft chipboard, archival ink, gesso, acrylic dew drops, stabilo all pencil, stamps
Thanks for dropping by and have a magical day! xx