
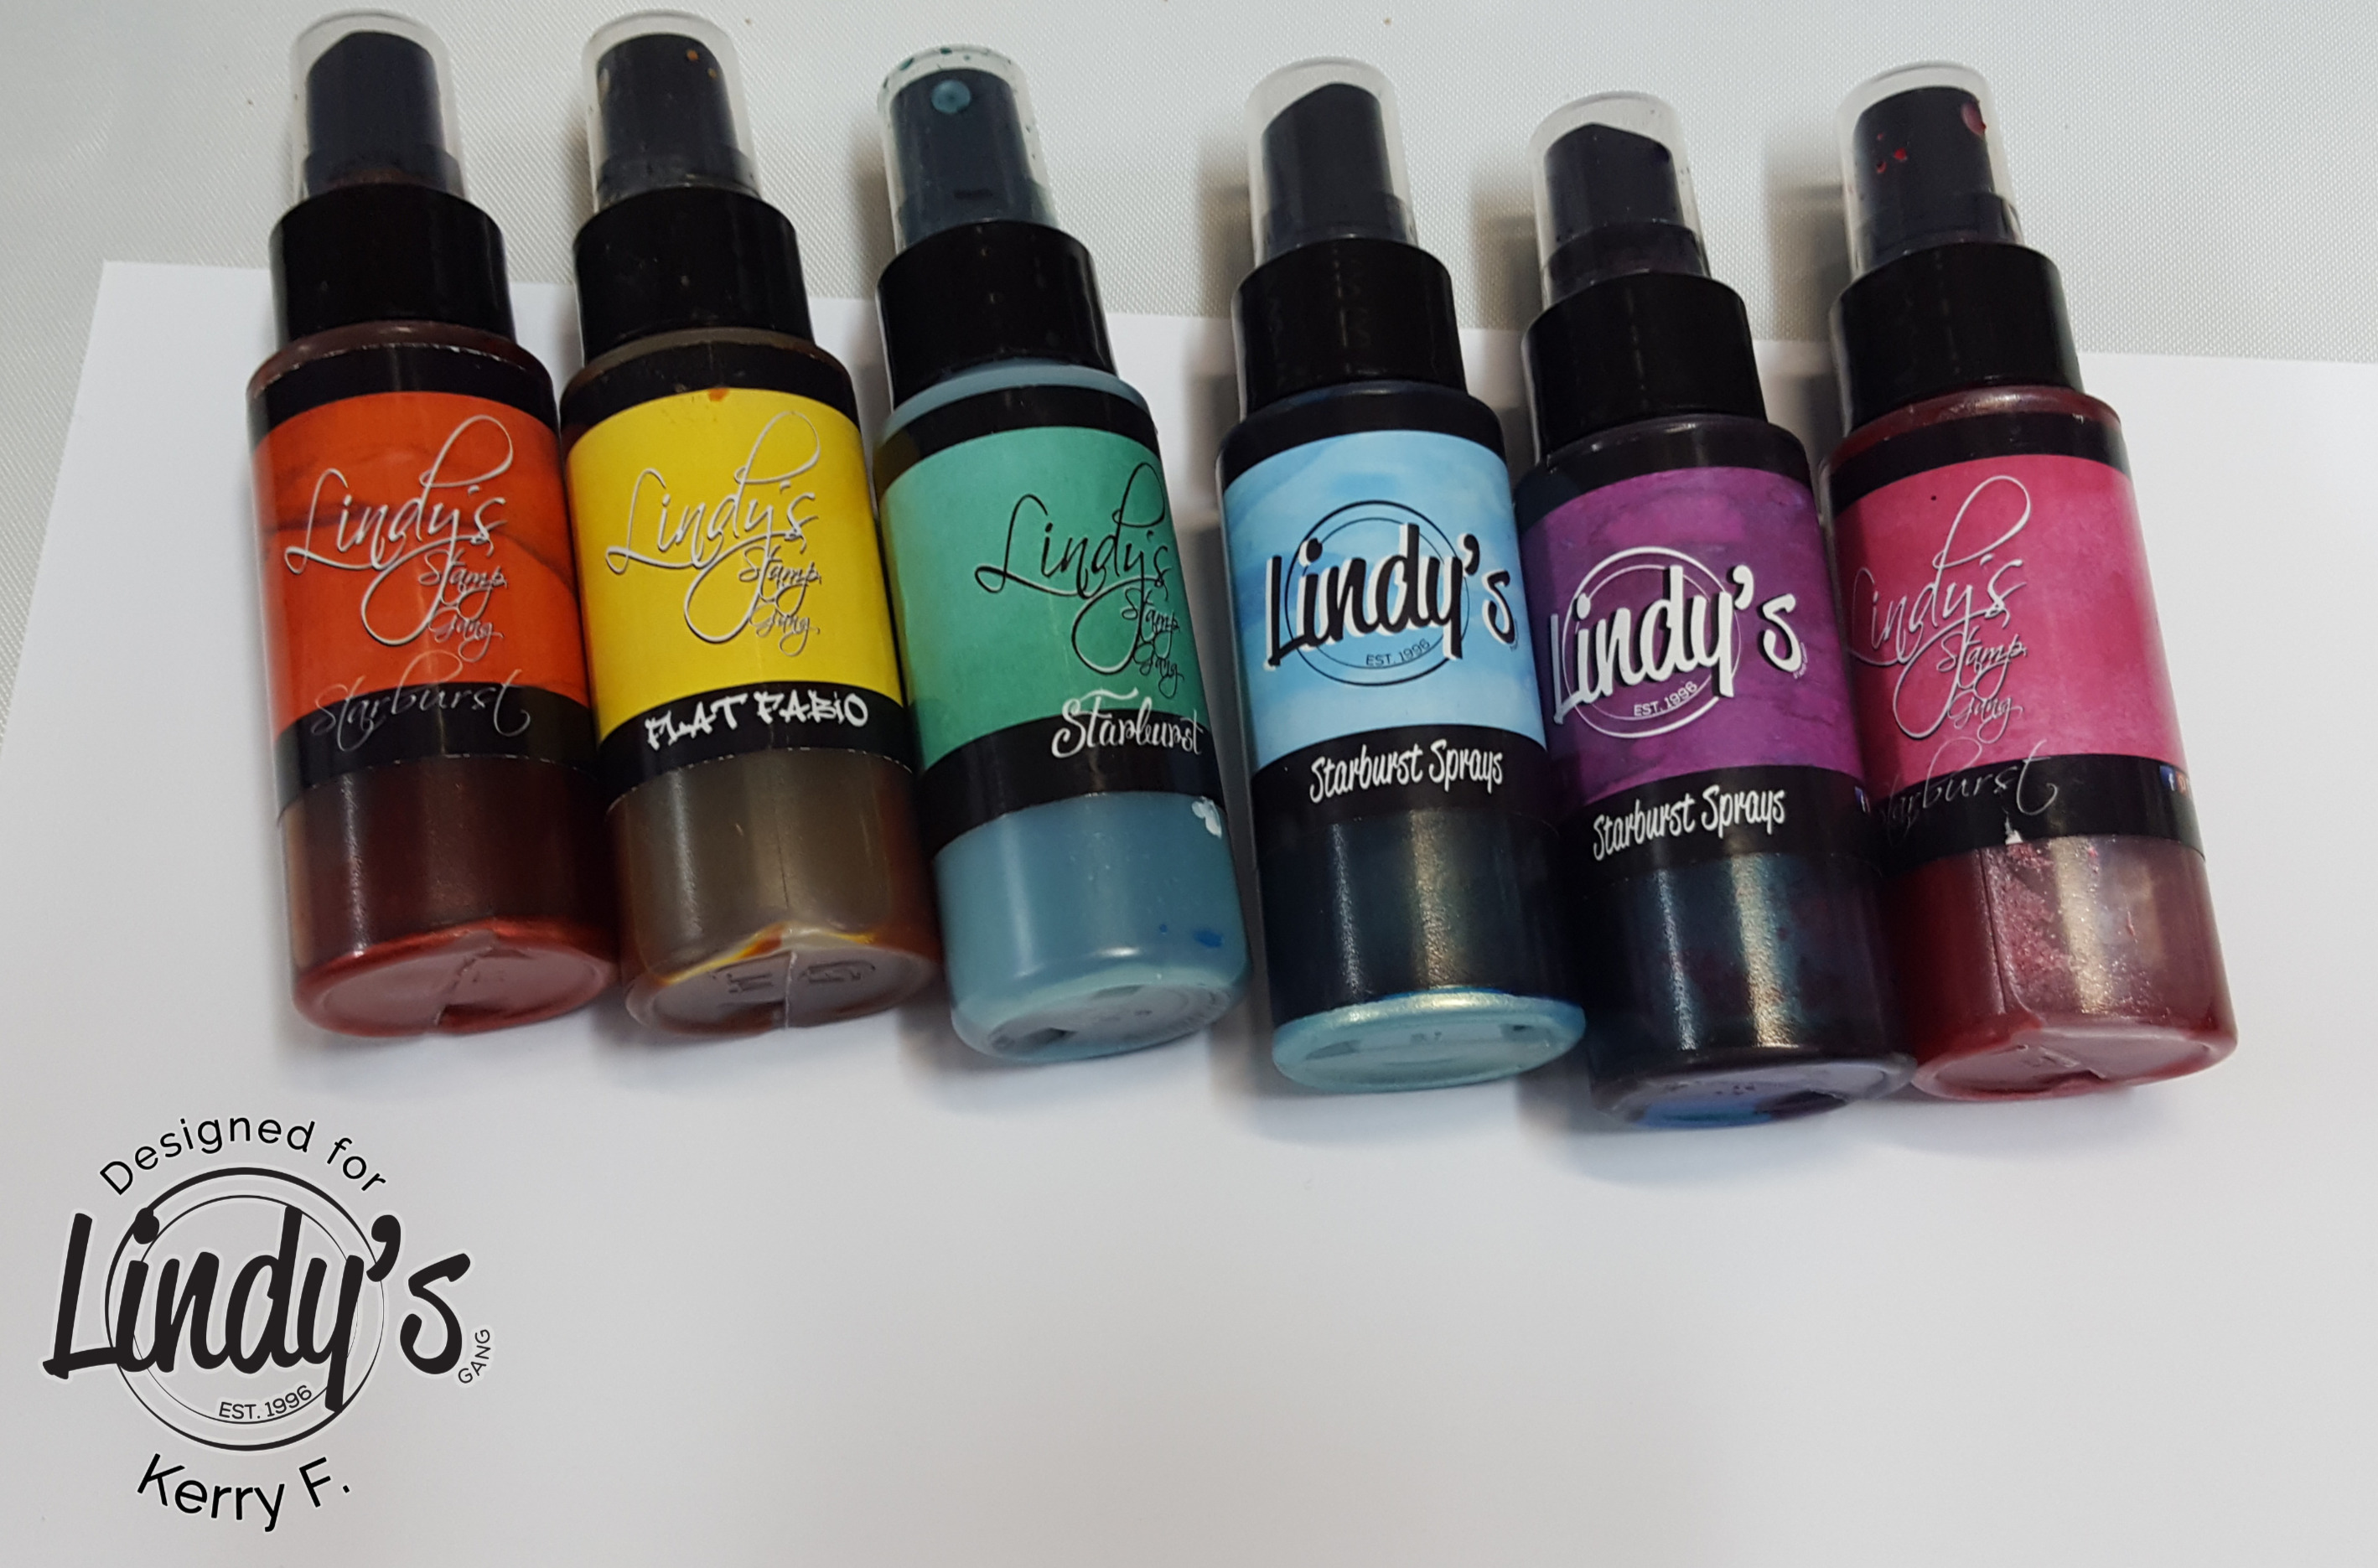
To begin, choose some color, any colors will work. Today I am using these fabulous colors: Poinciana Red Flame, Summer Lovin' Sun, Shabby Turbine Teal, Azure Sea Asters, Sweet Violet Purple Teal and Pretty In Pink Pink.
For this project, I am using a cardboard box as a 'spray booth' I am spraying quite a bit and want to contain my overspray (also I am LAZY, and this way there is no clean up :p ). Pop a piece of copy paper in the box, add a good misting of water, then apply your chosen sprays. If you want to add 2 or more sprays to a page, make sure that they are colors that work well together, if you use colors that are next to each other on the color wheel, you cant go wrong!
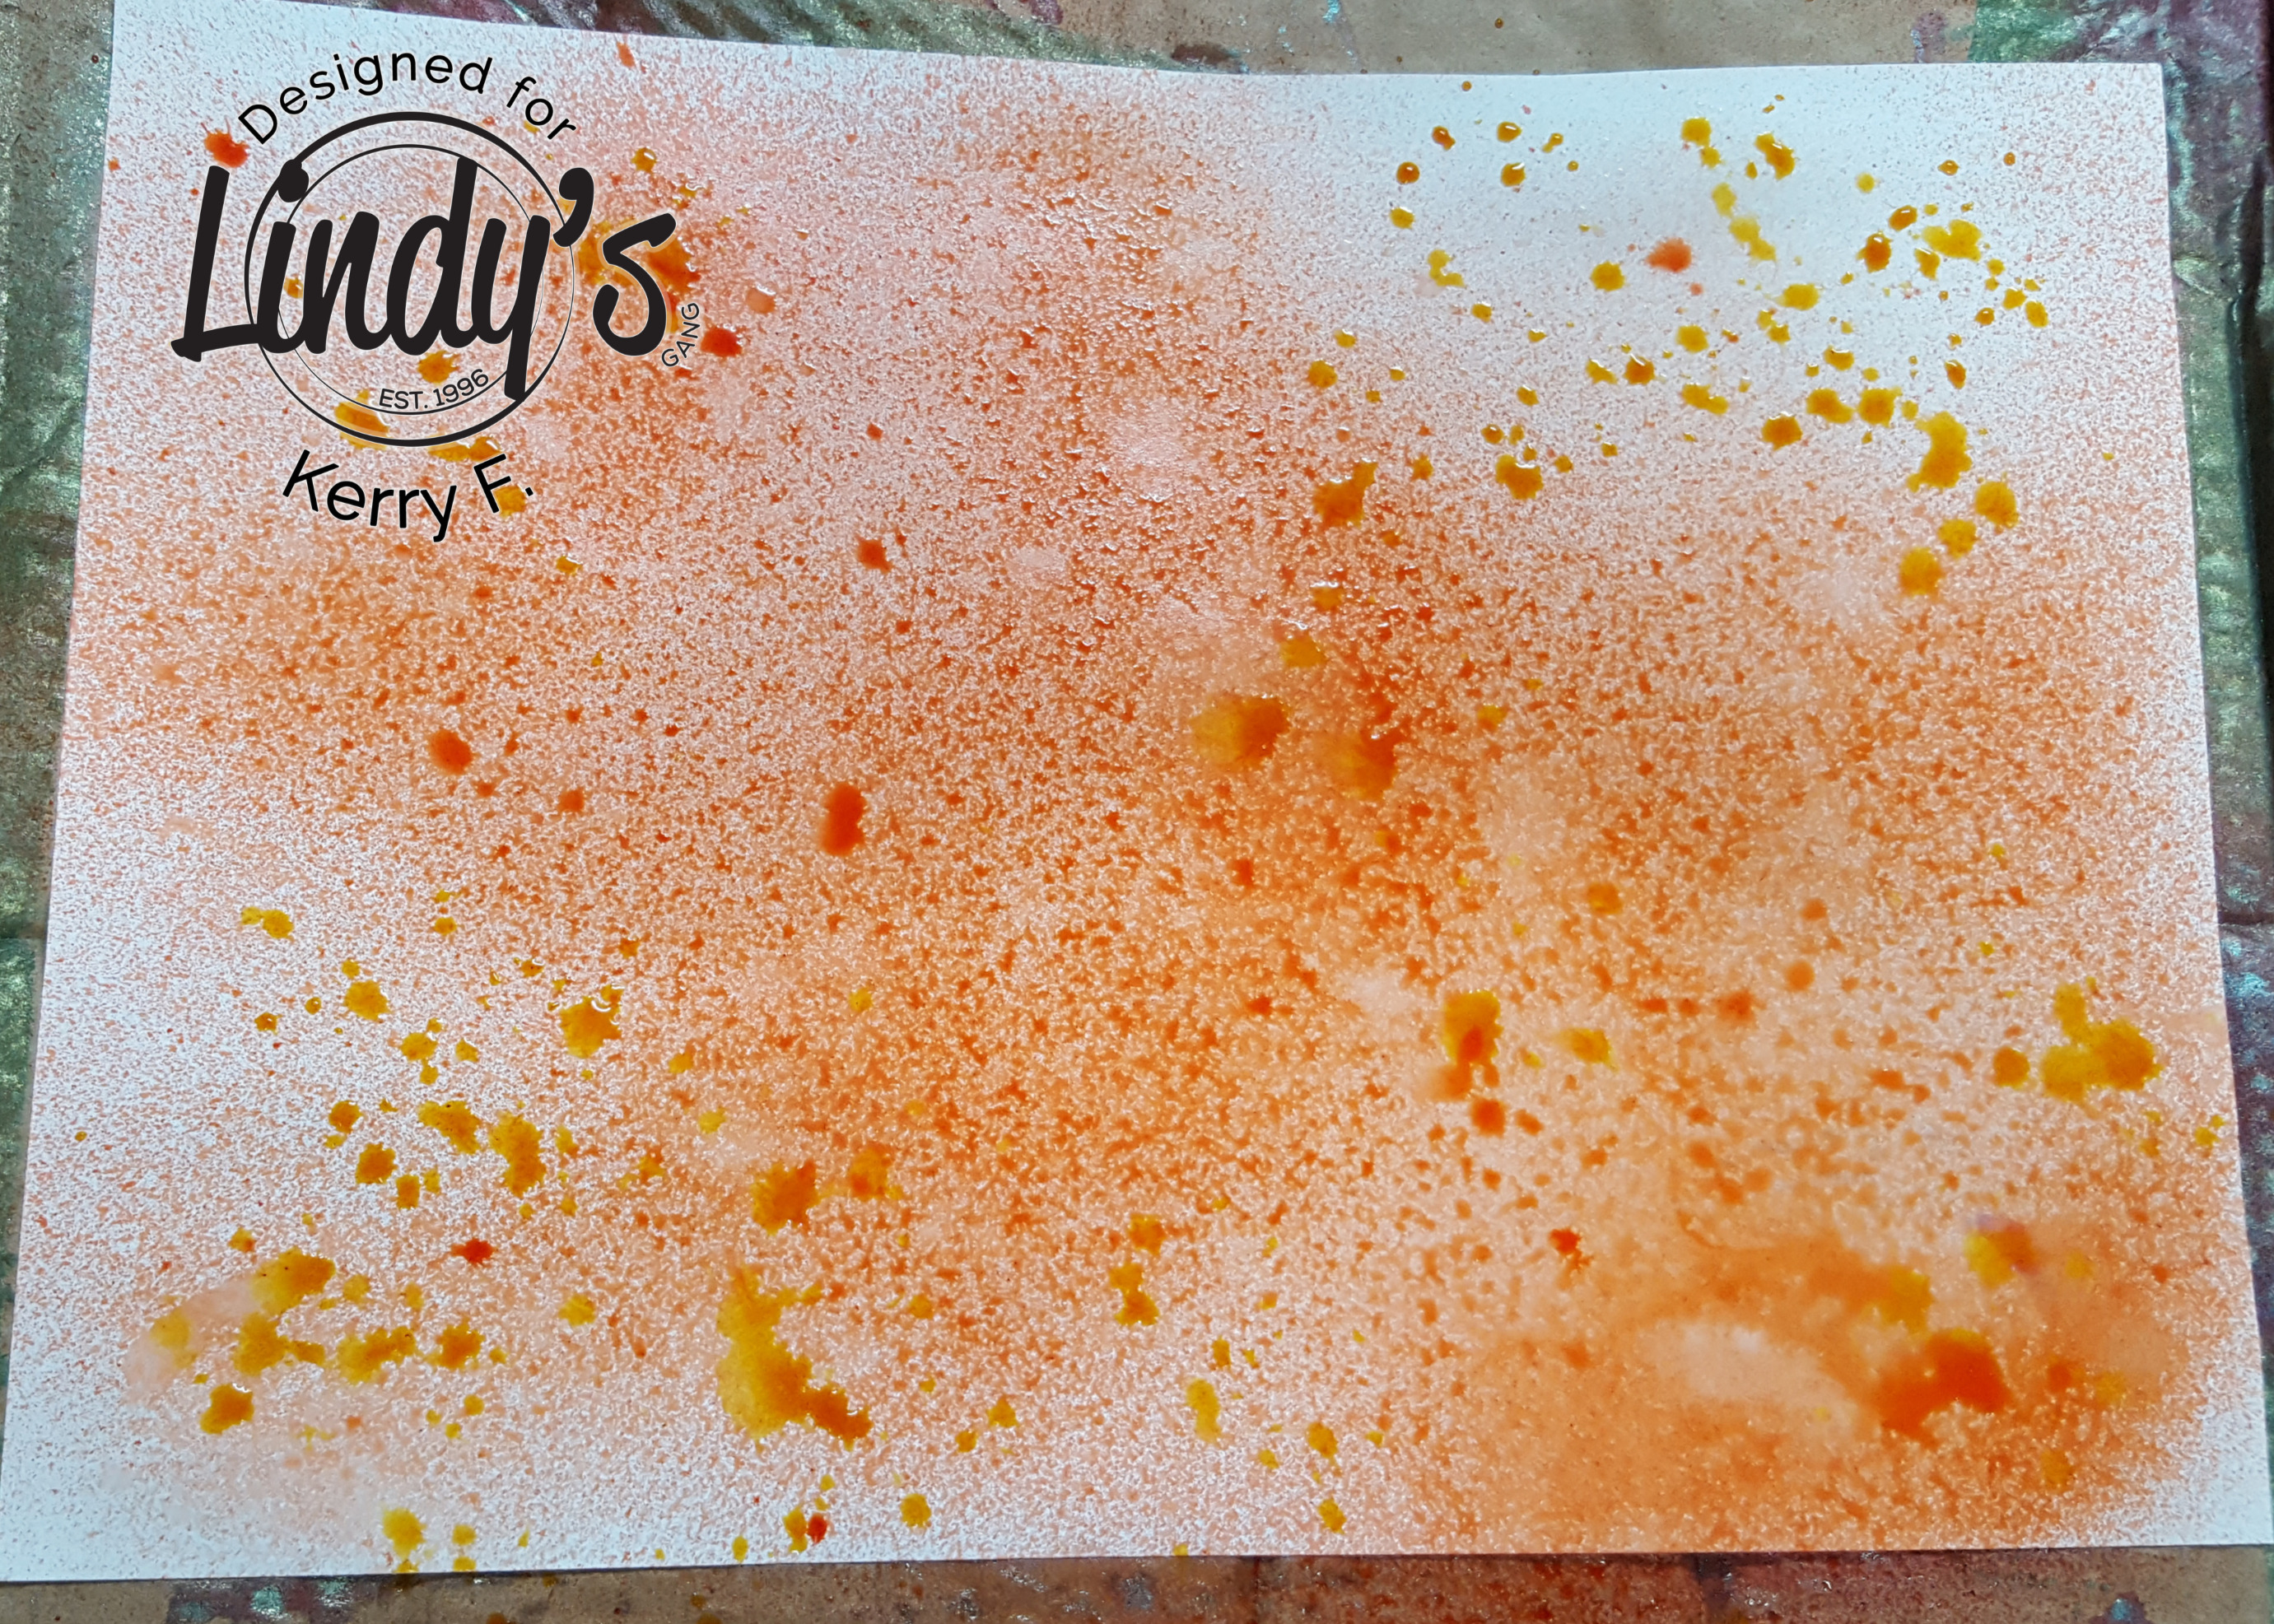
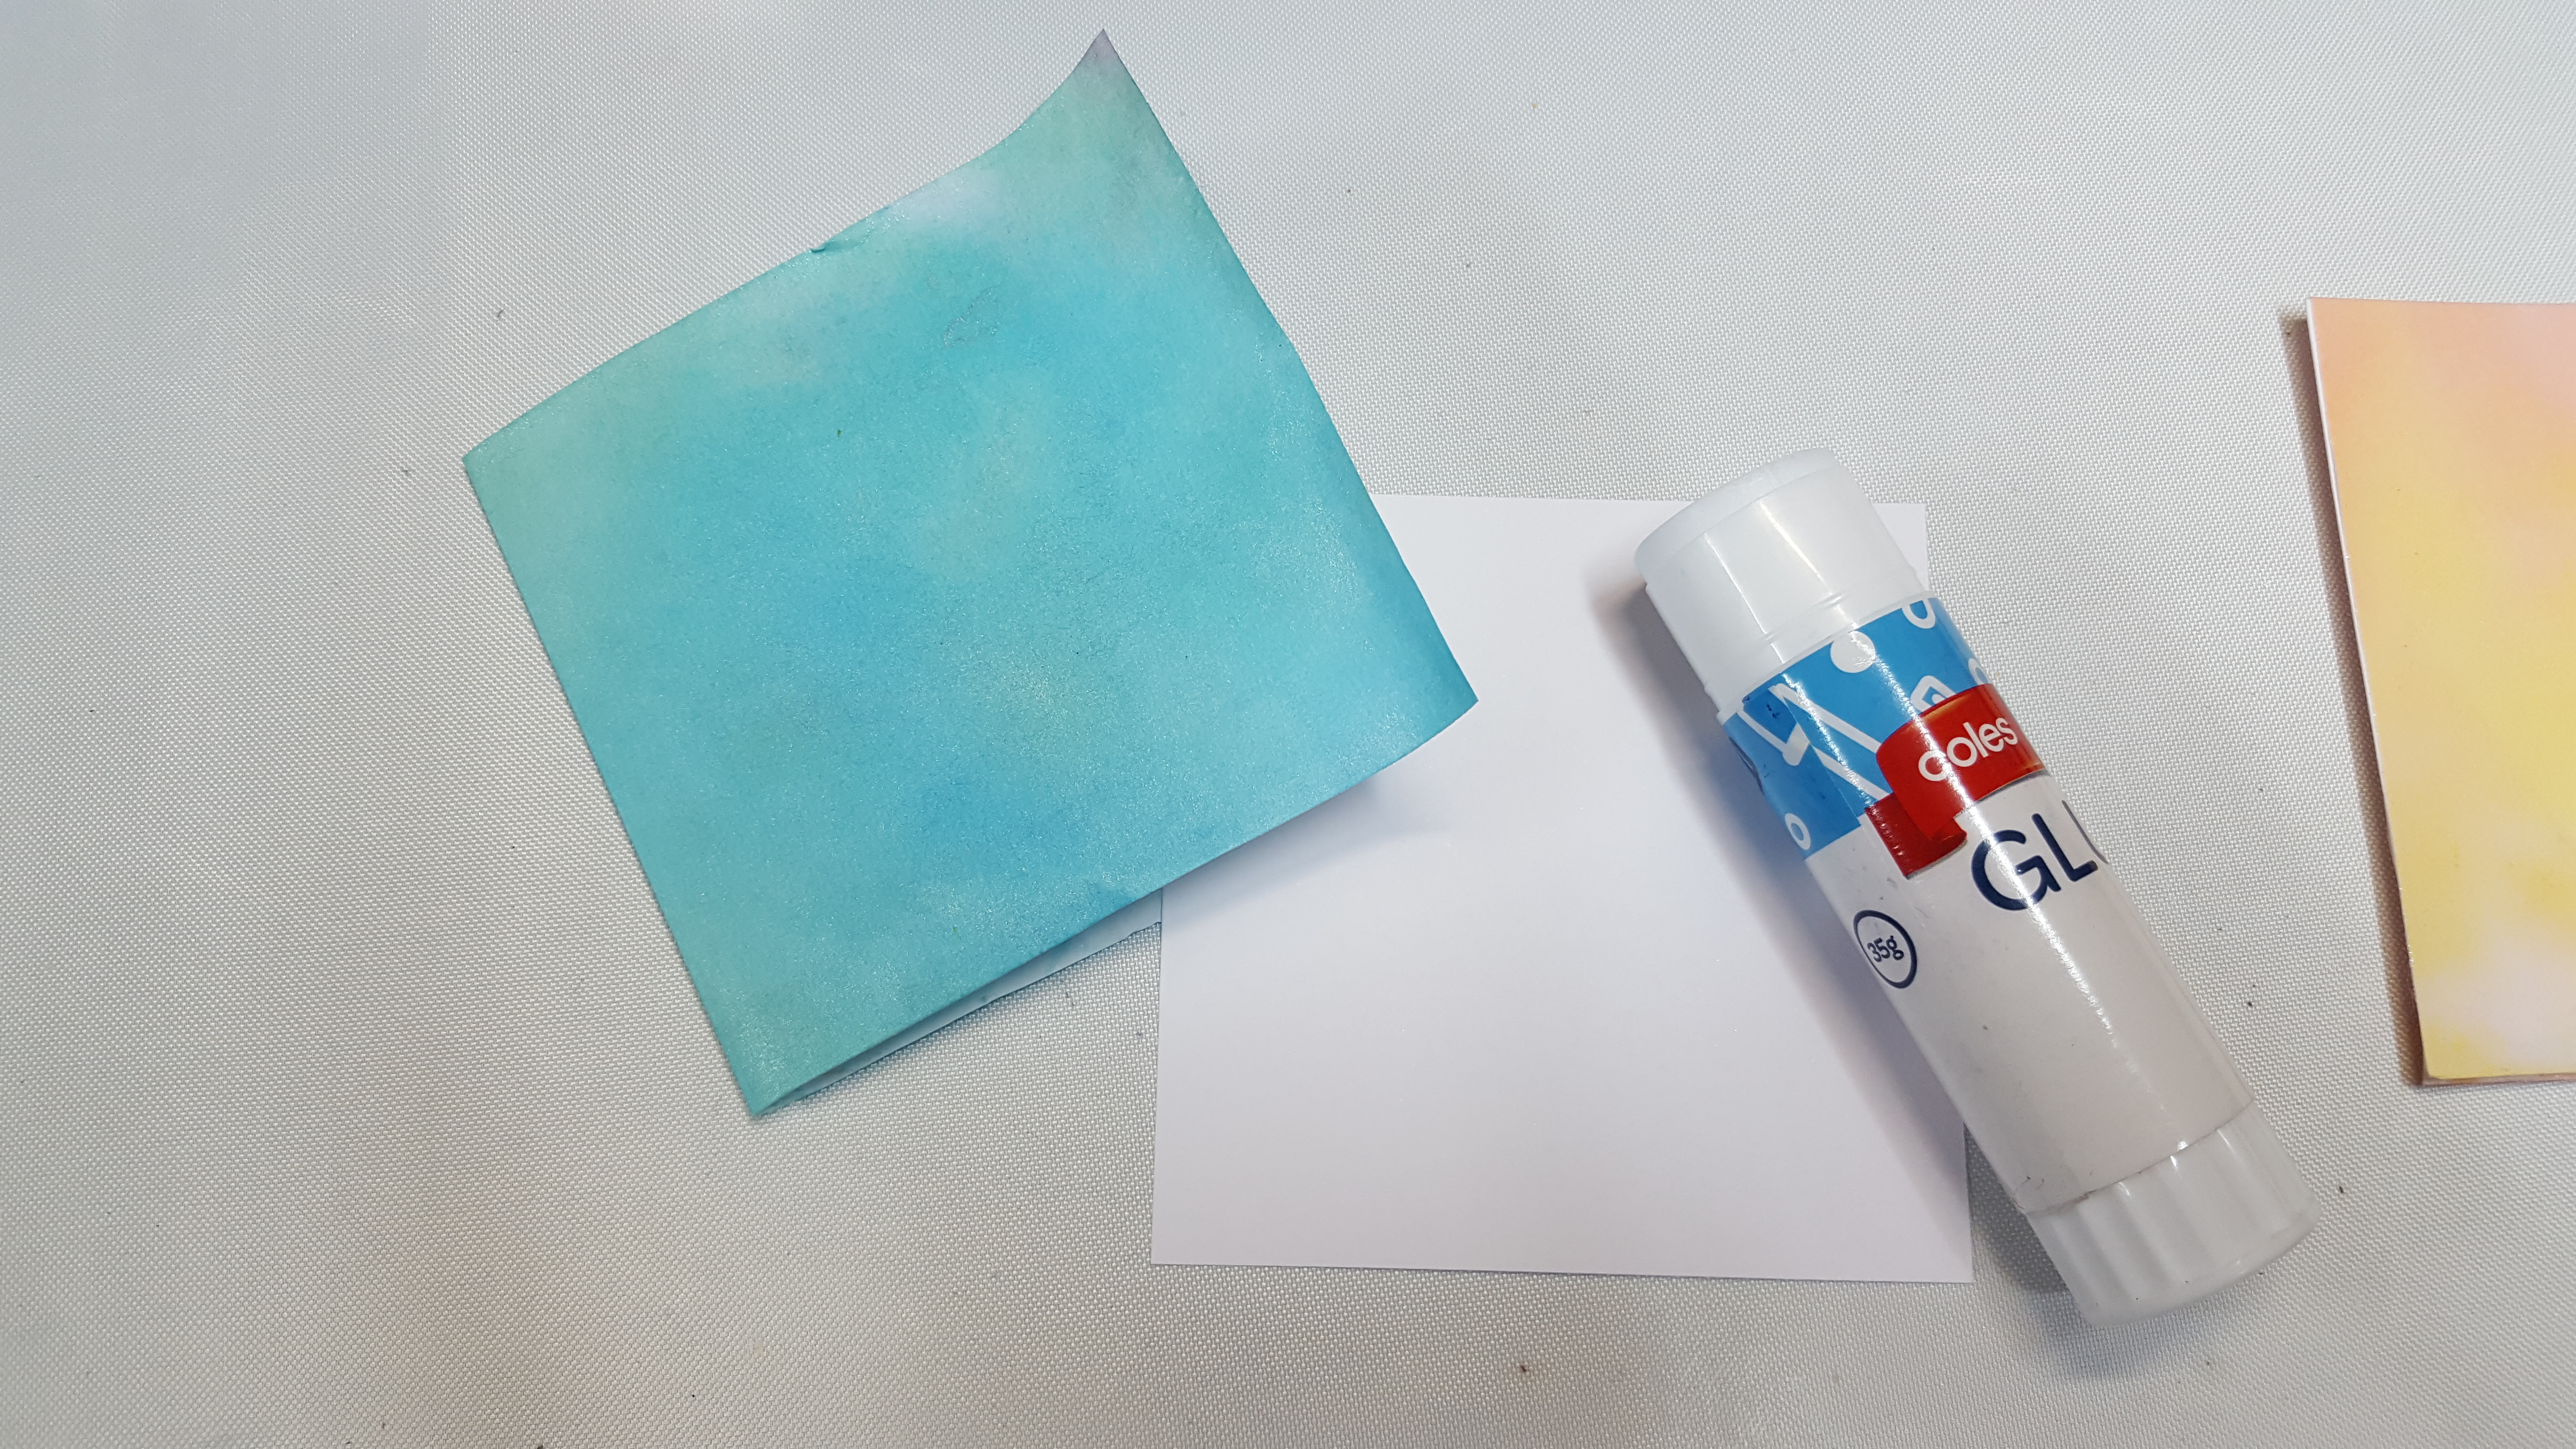
Mist another piece of copy paper well with water and apply the 2 wet sides of paper together.
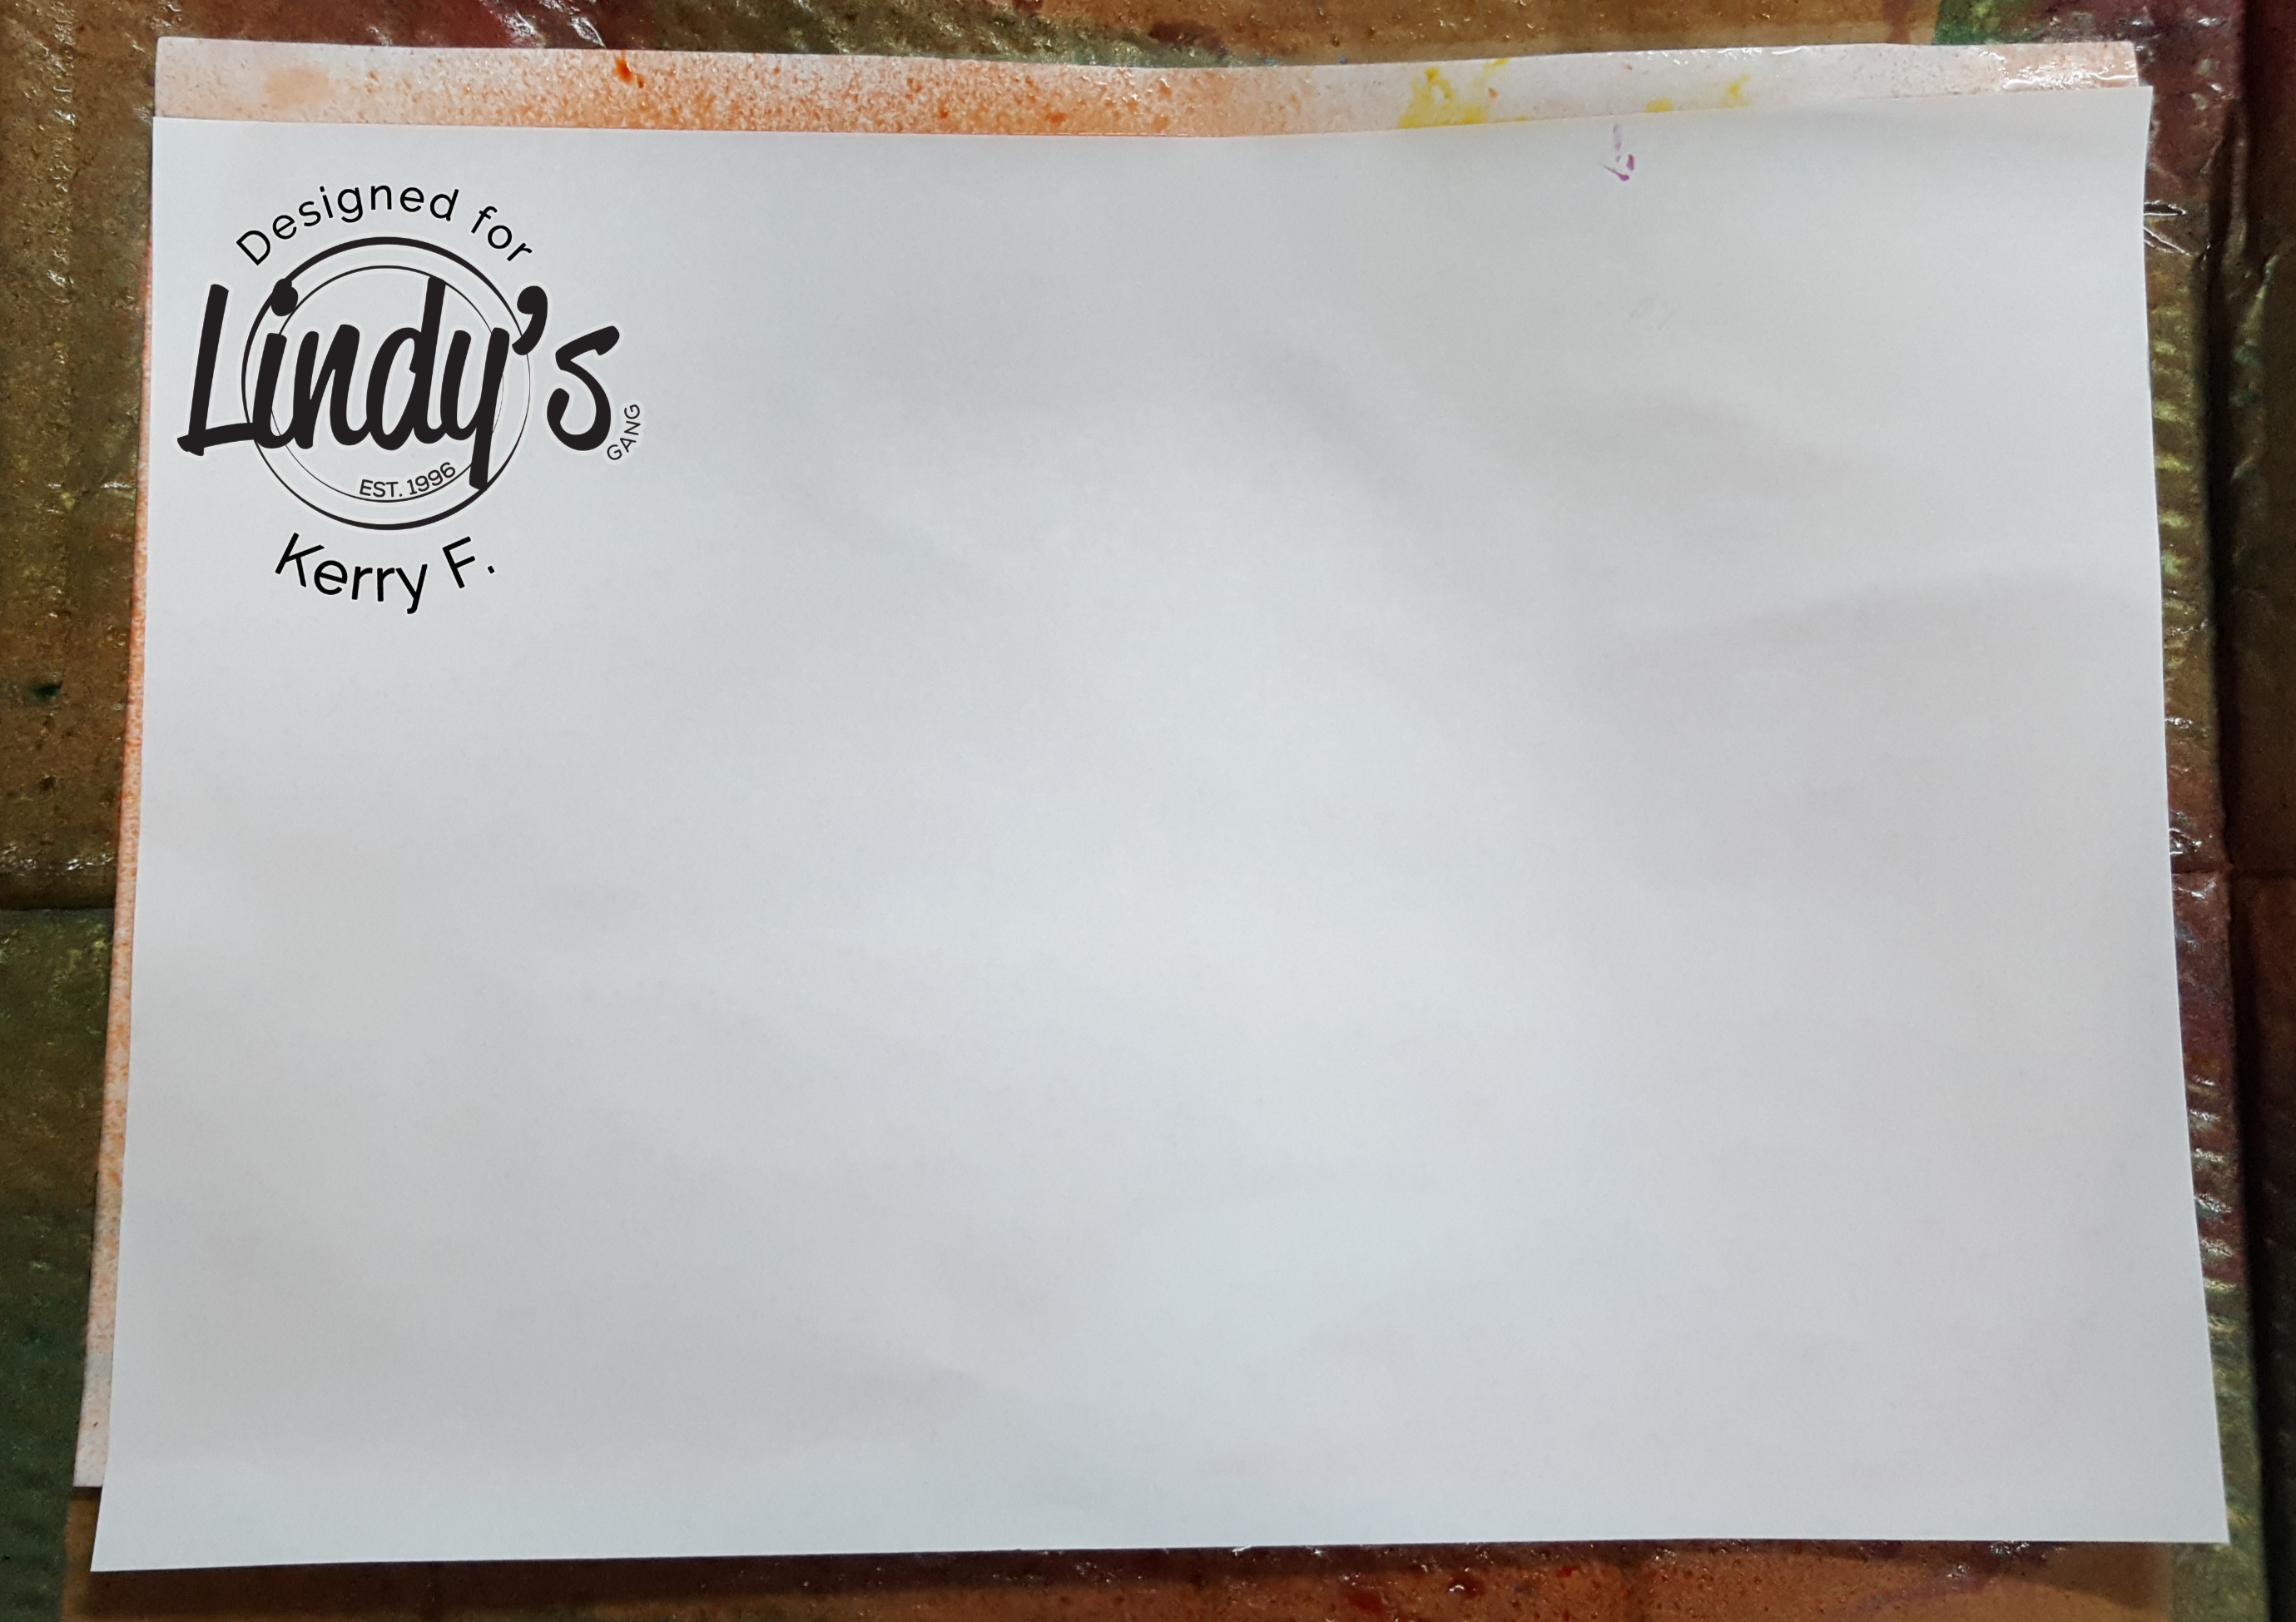
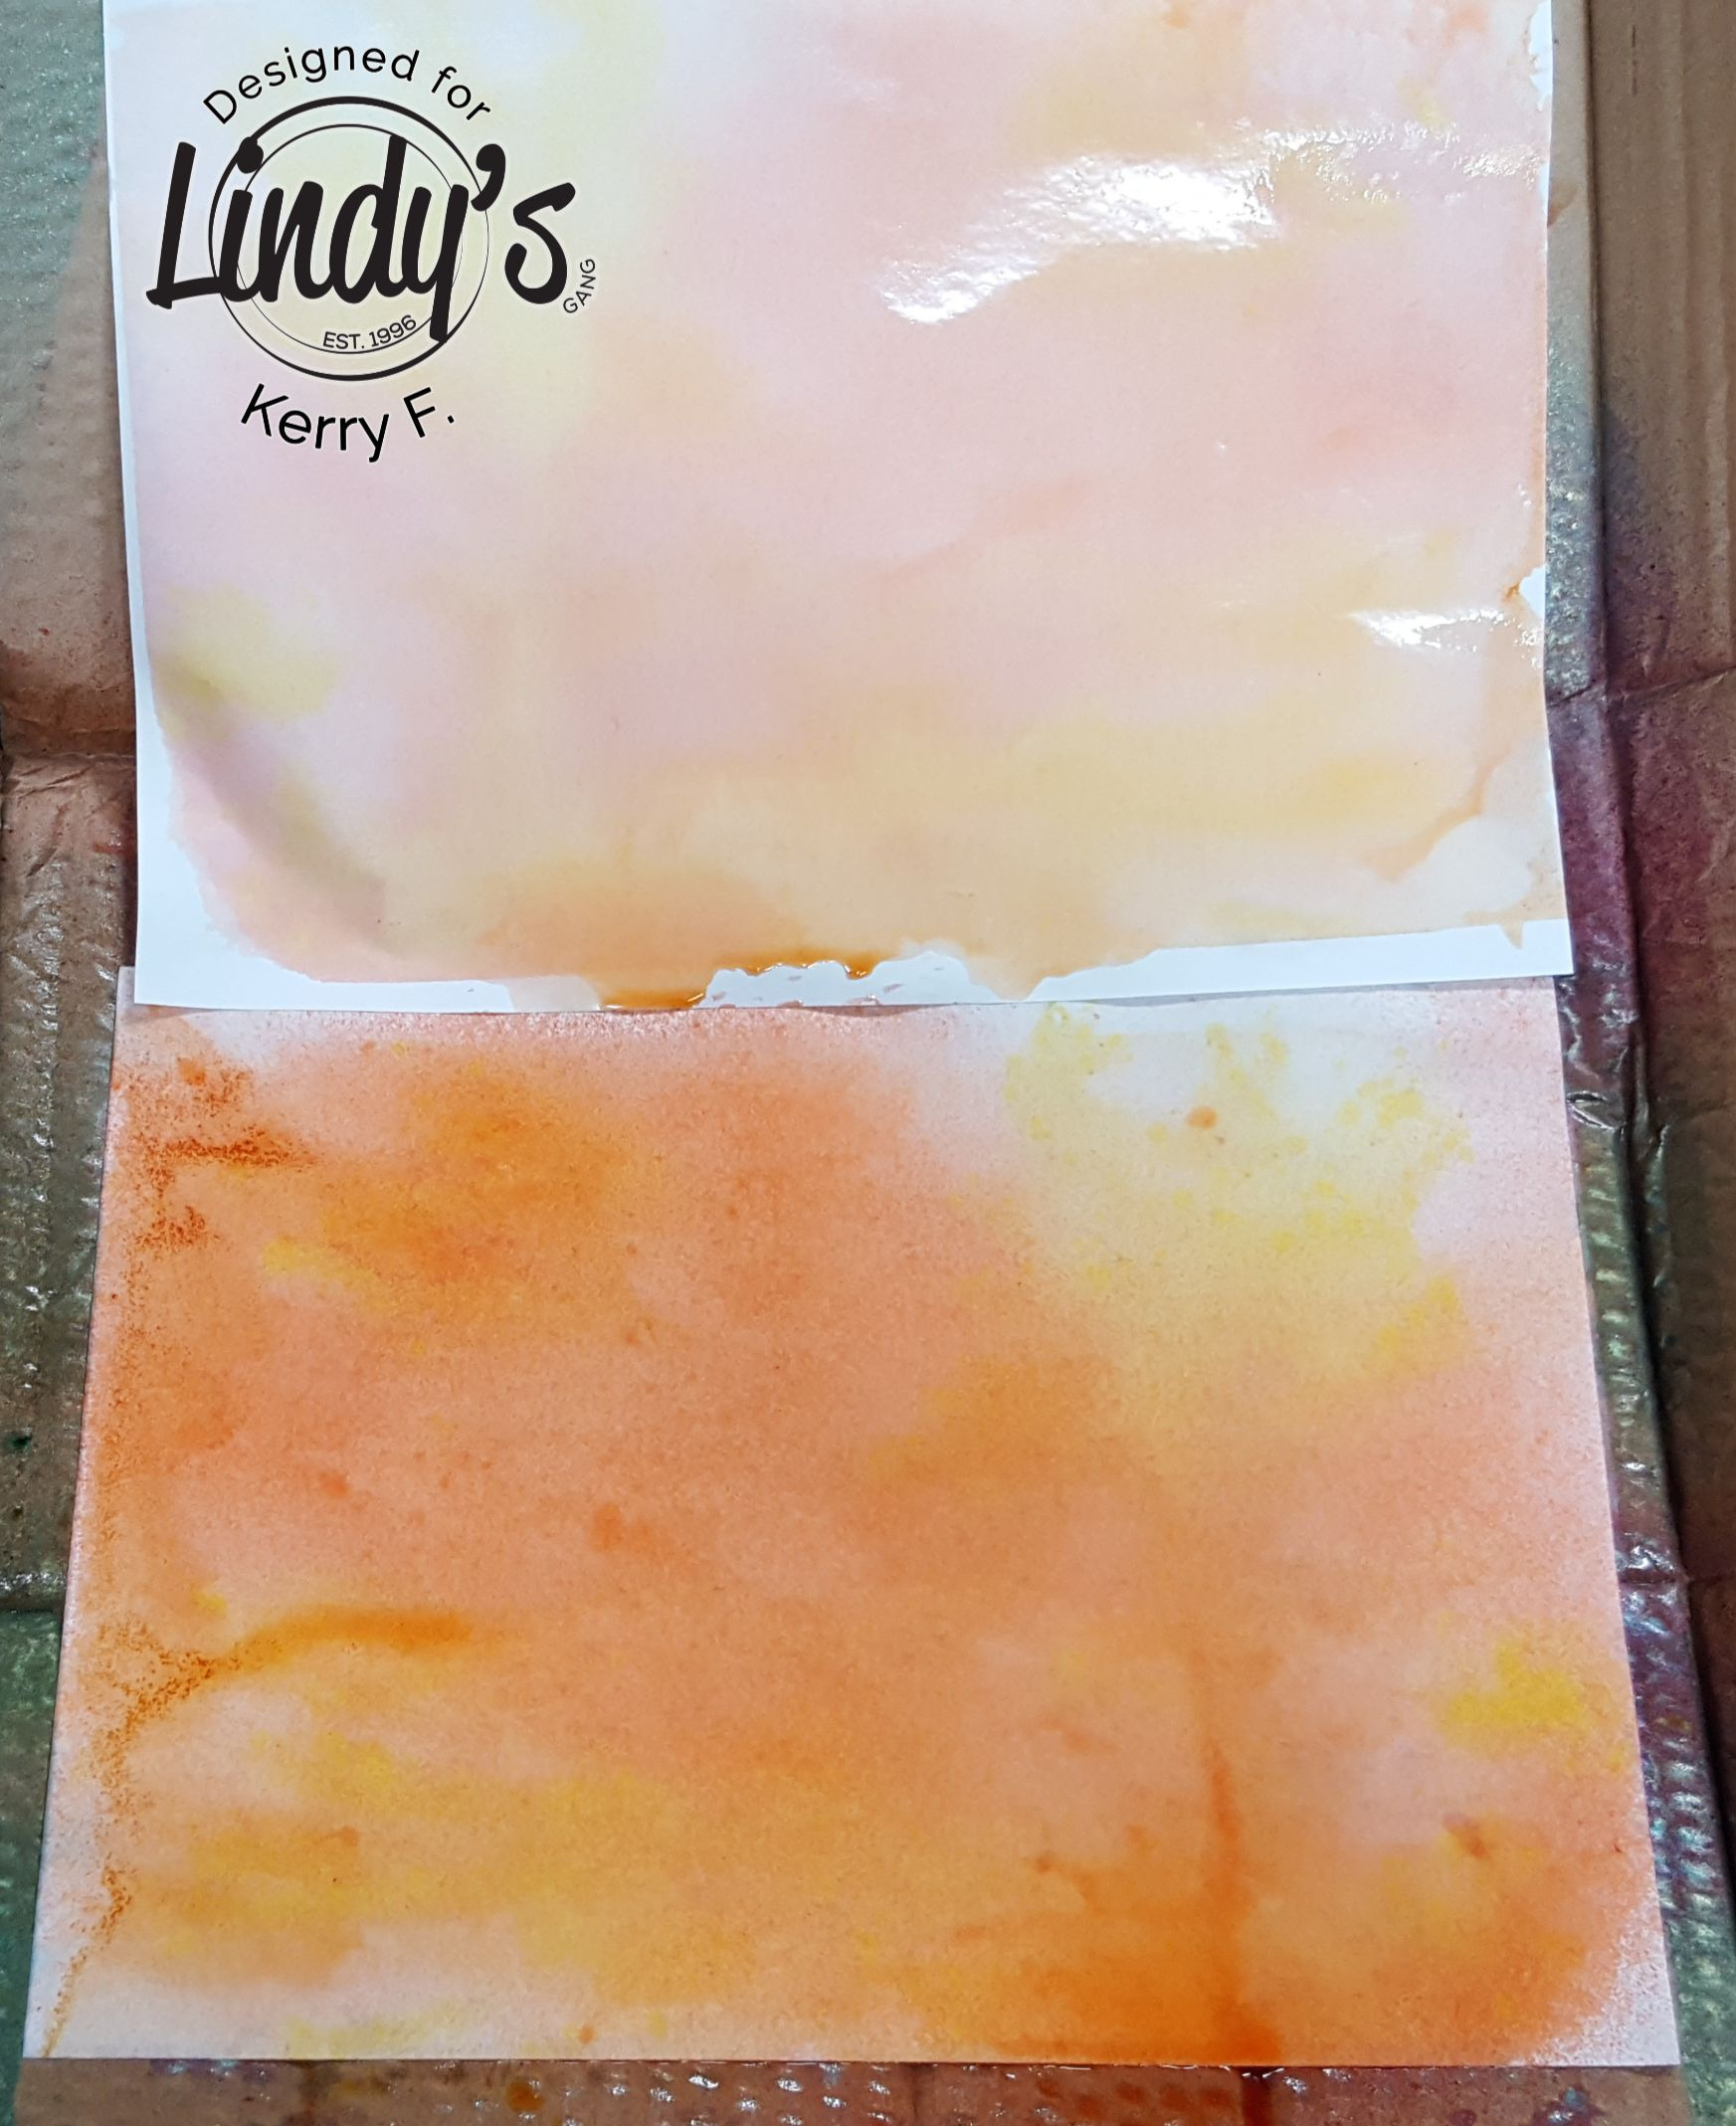
Let them sit for a few seconds then gently peel the paper apart.
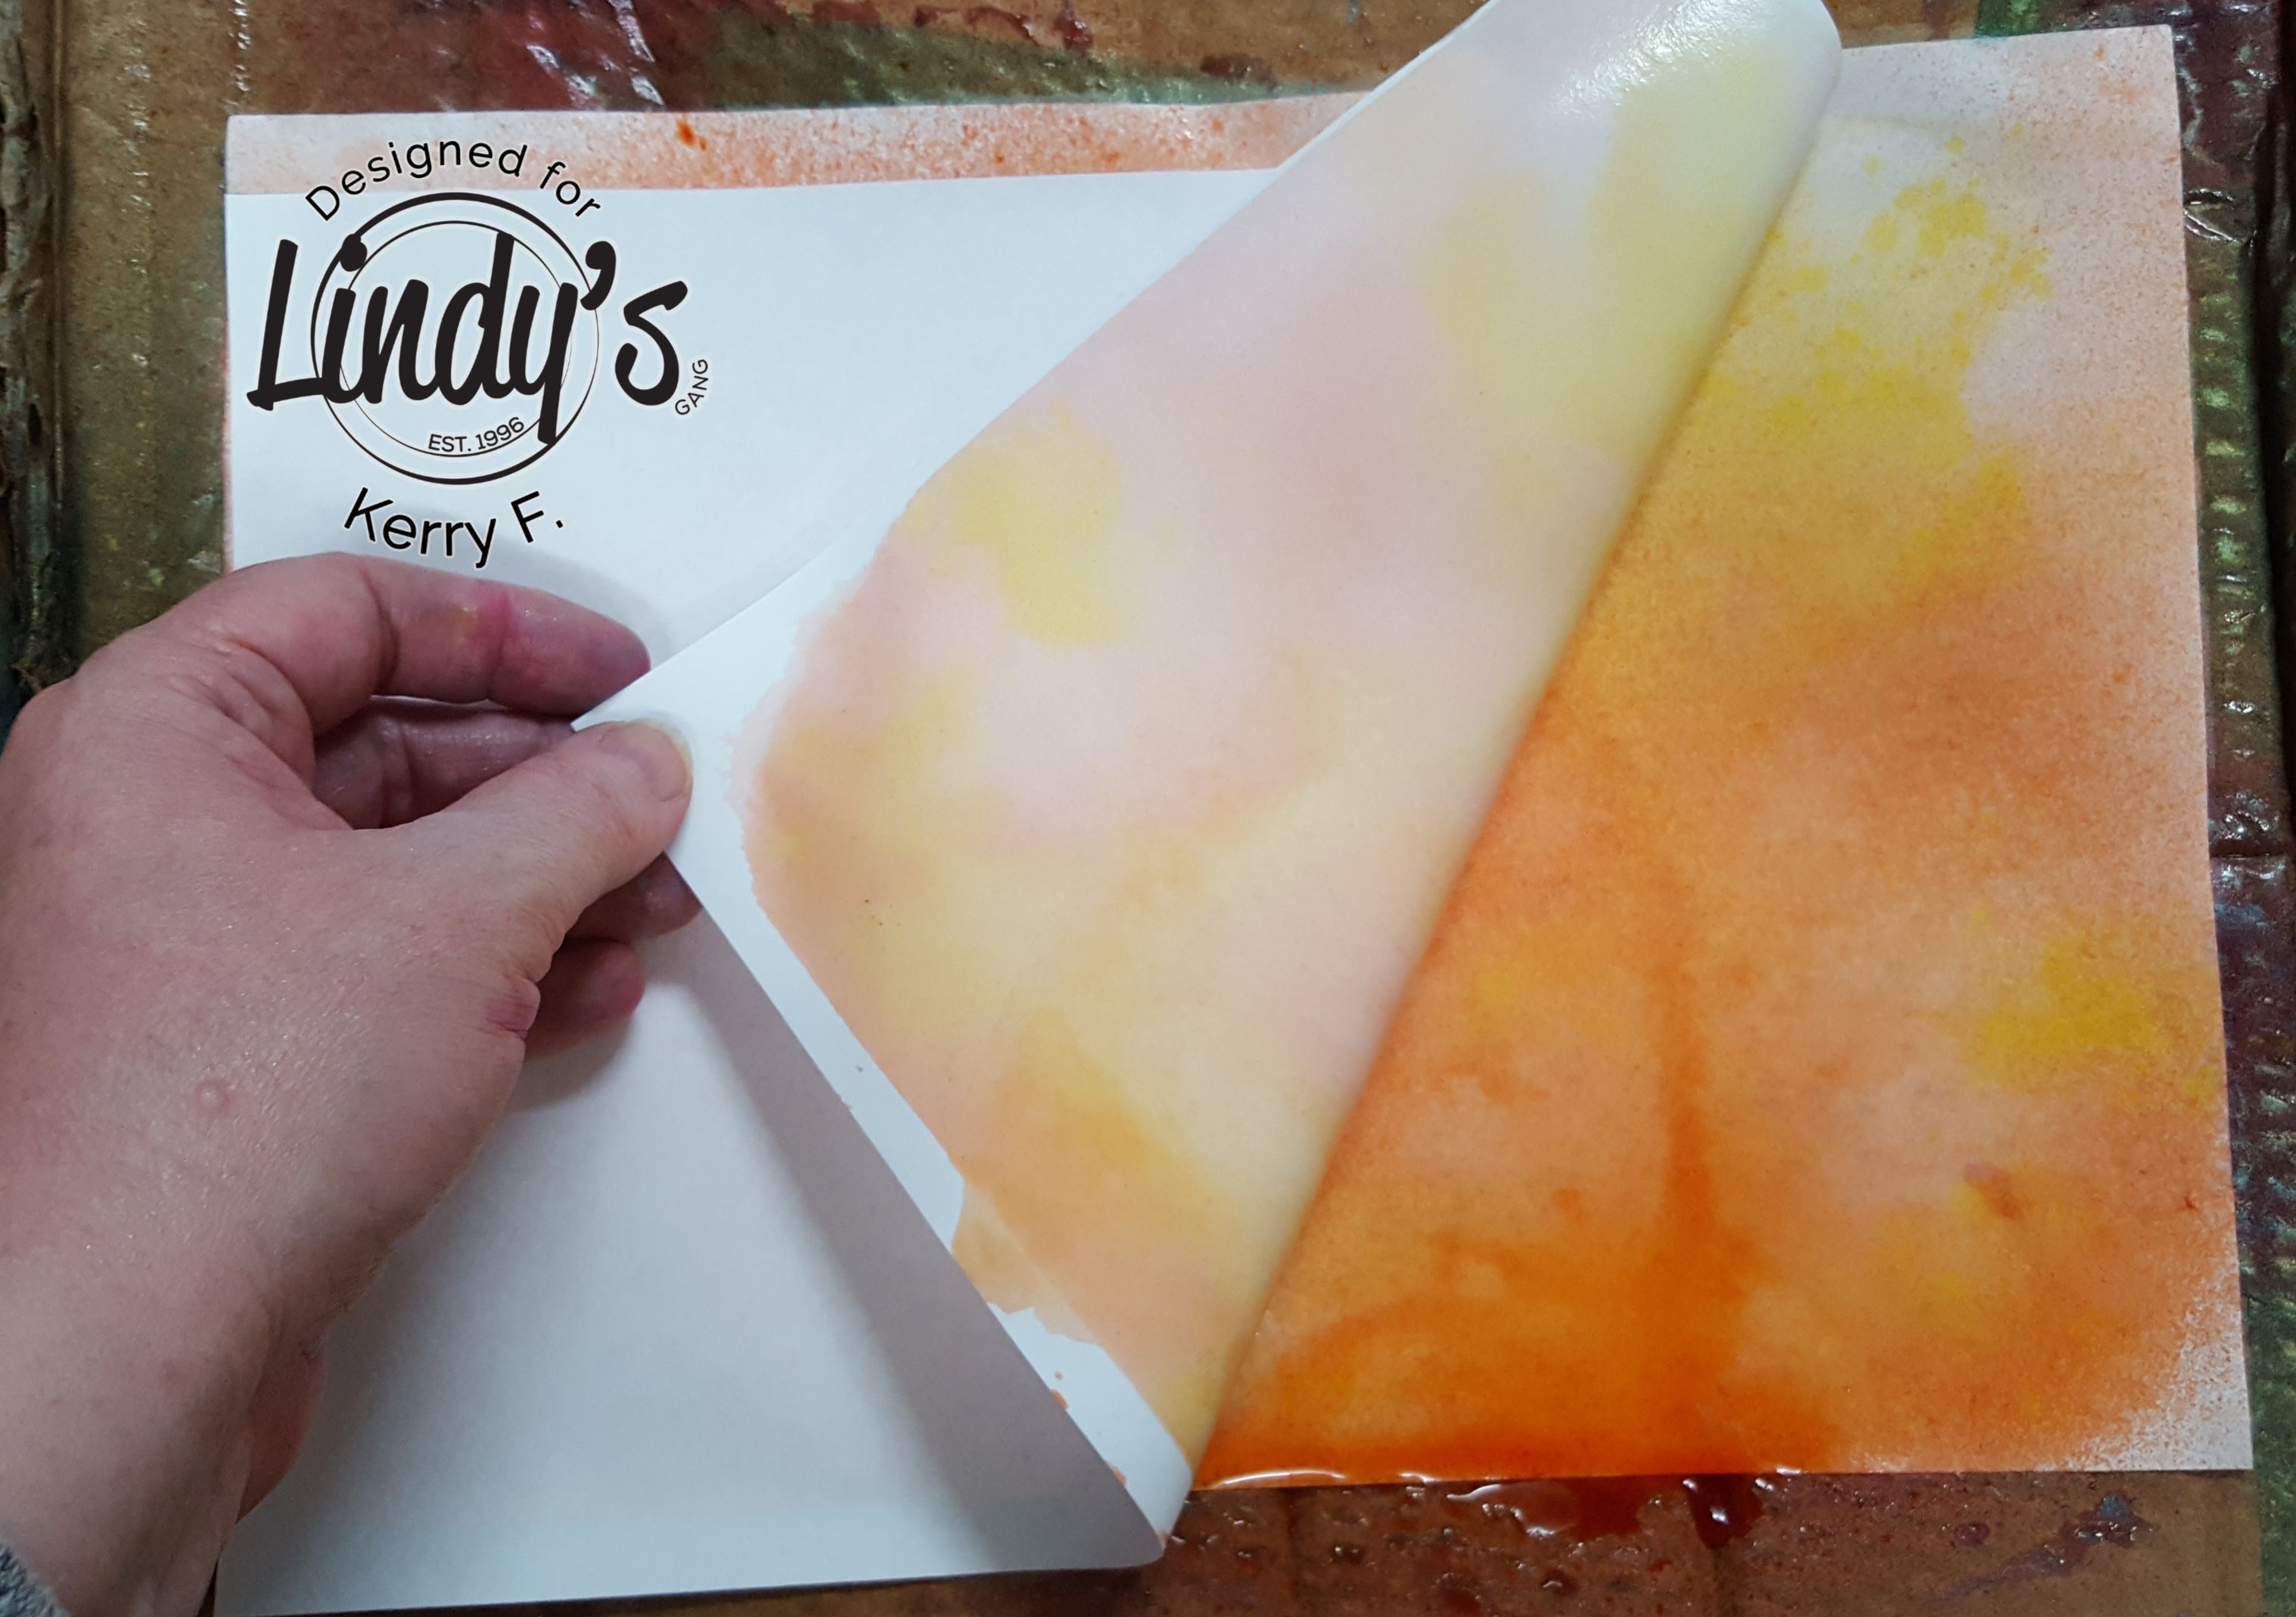
The top layer will be a muted version of the bottom sheet and you get to use all the color you have sprayed.
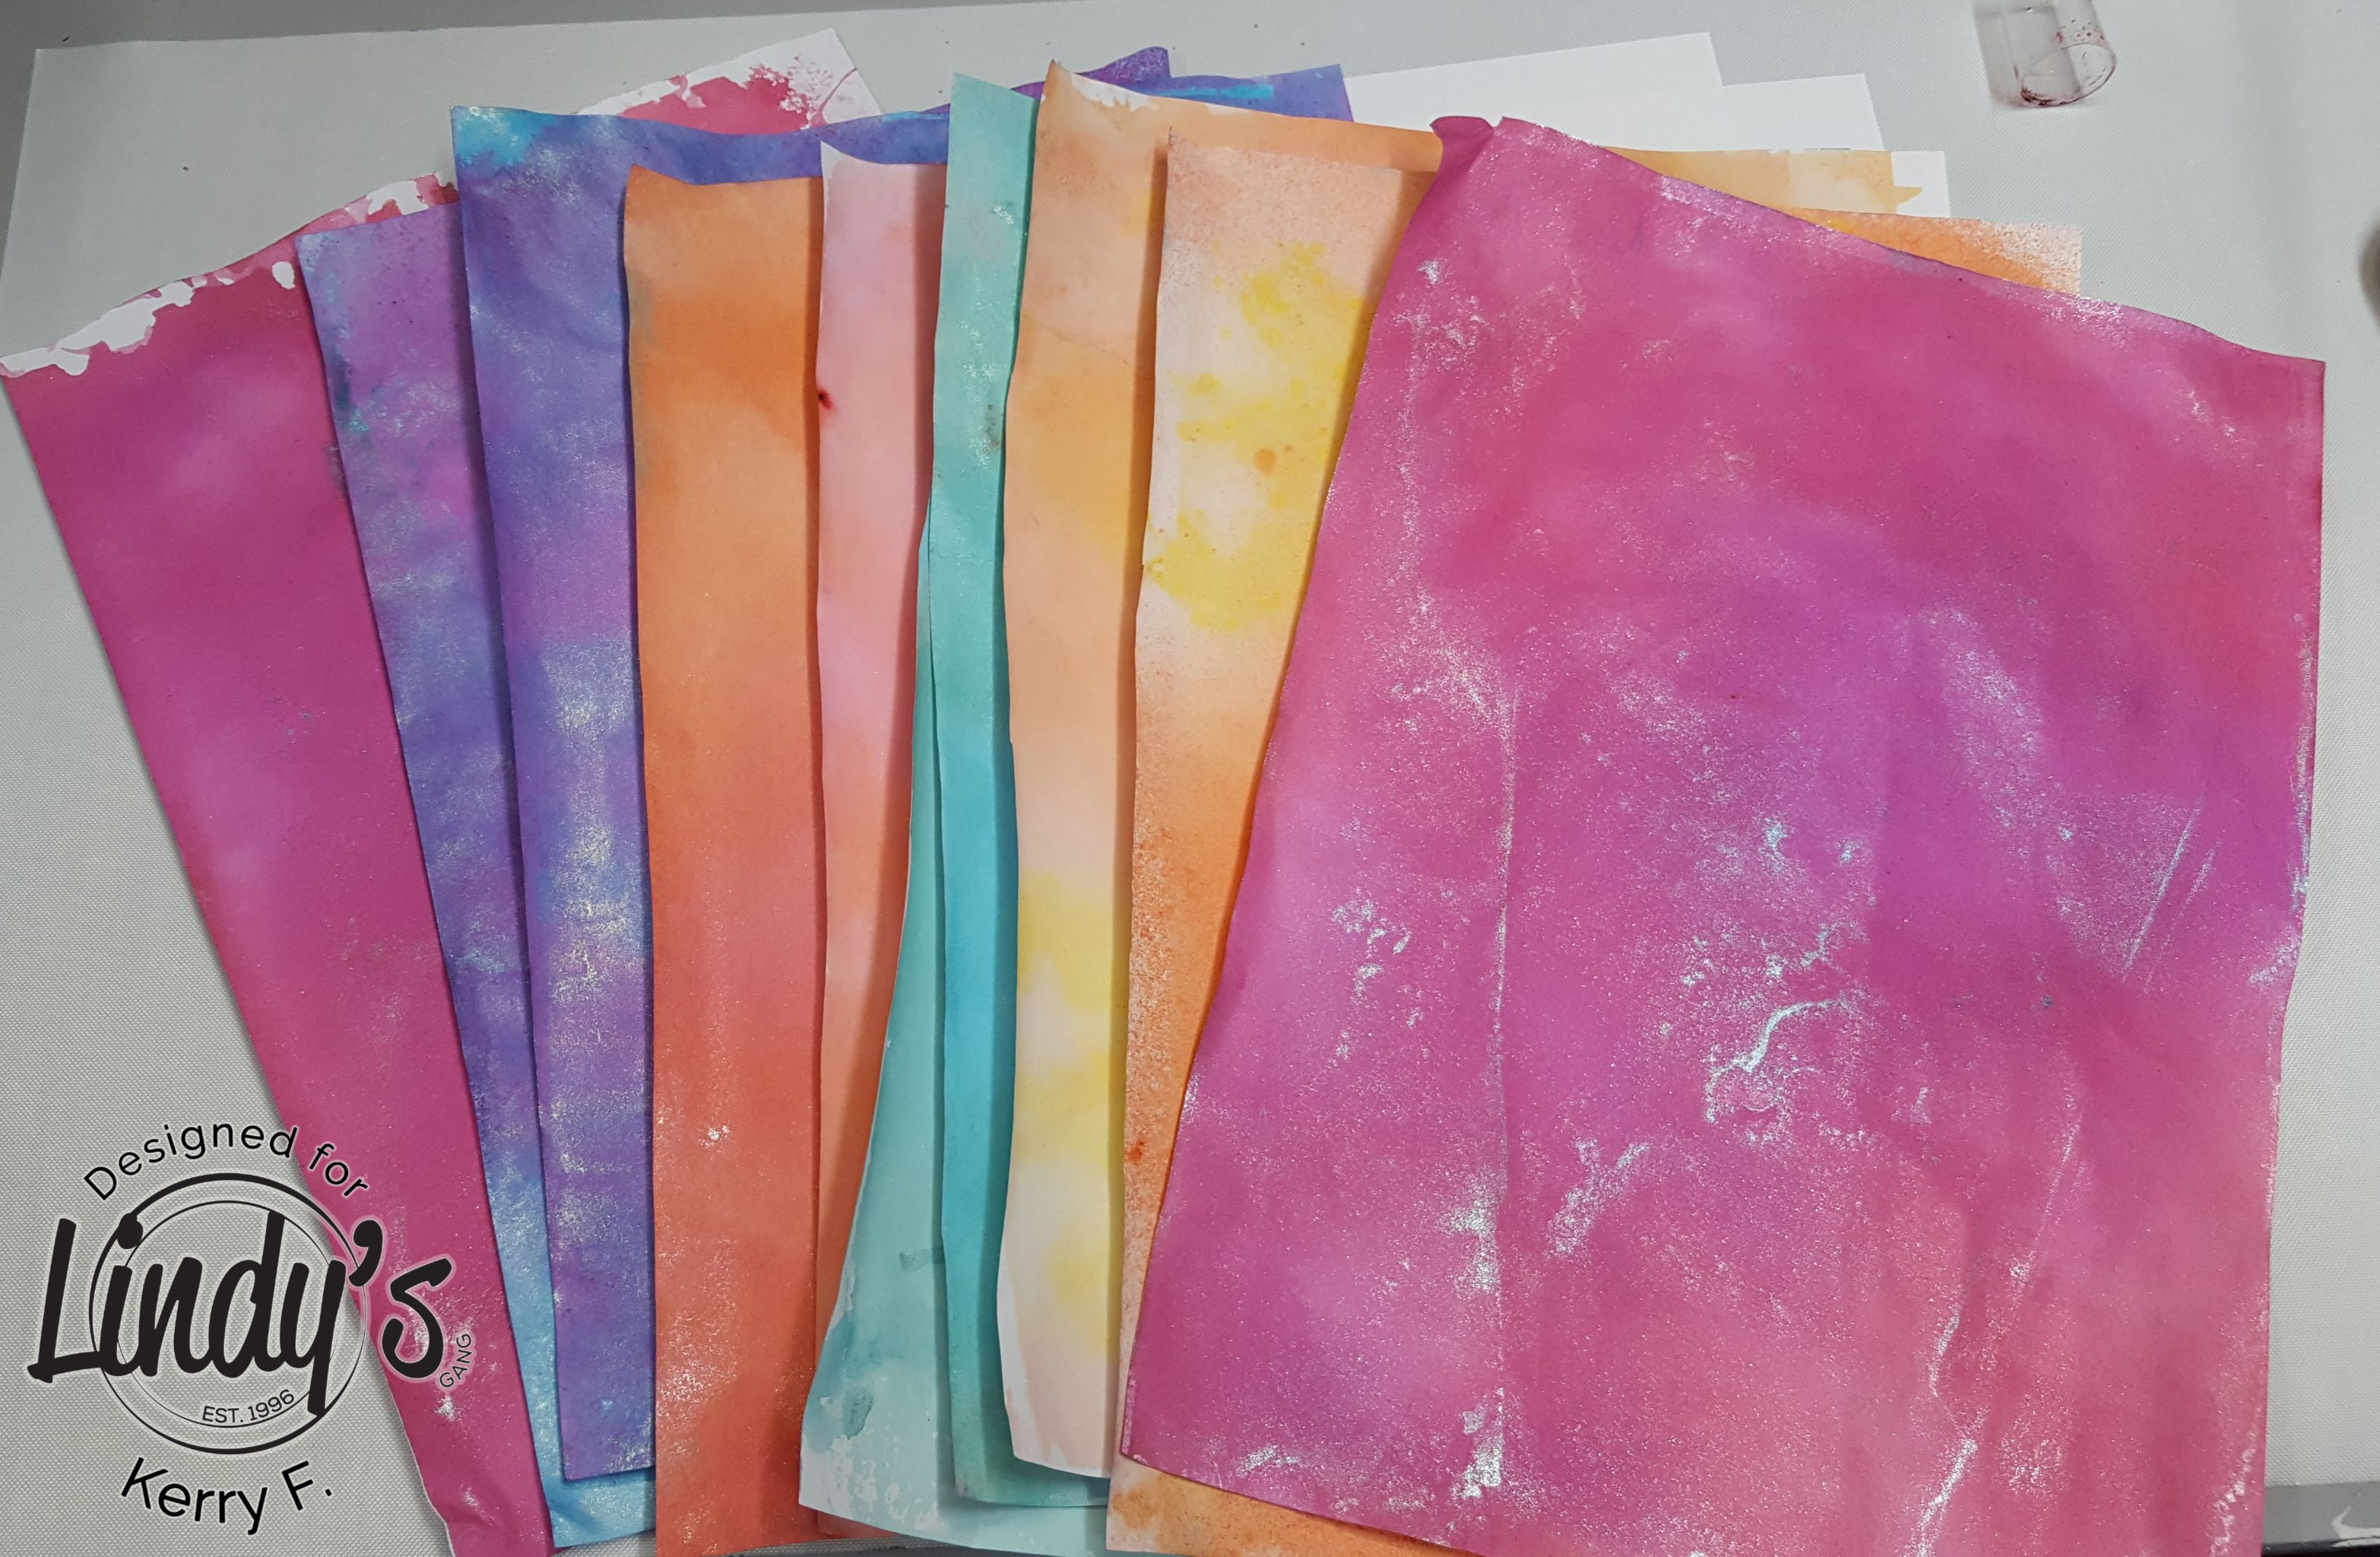
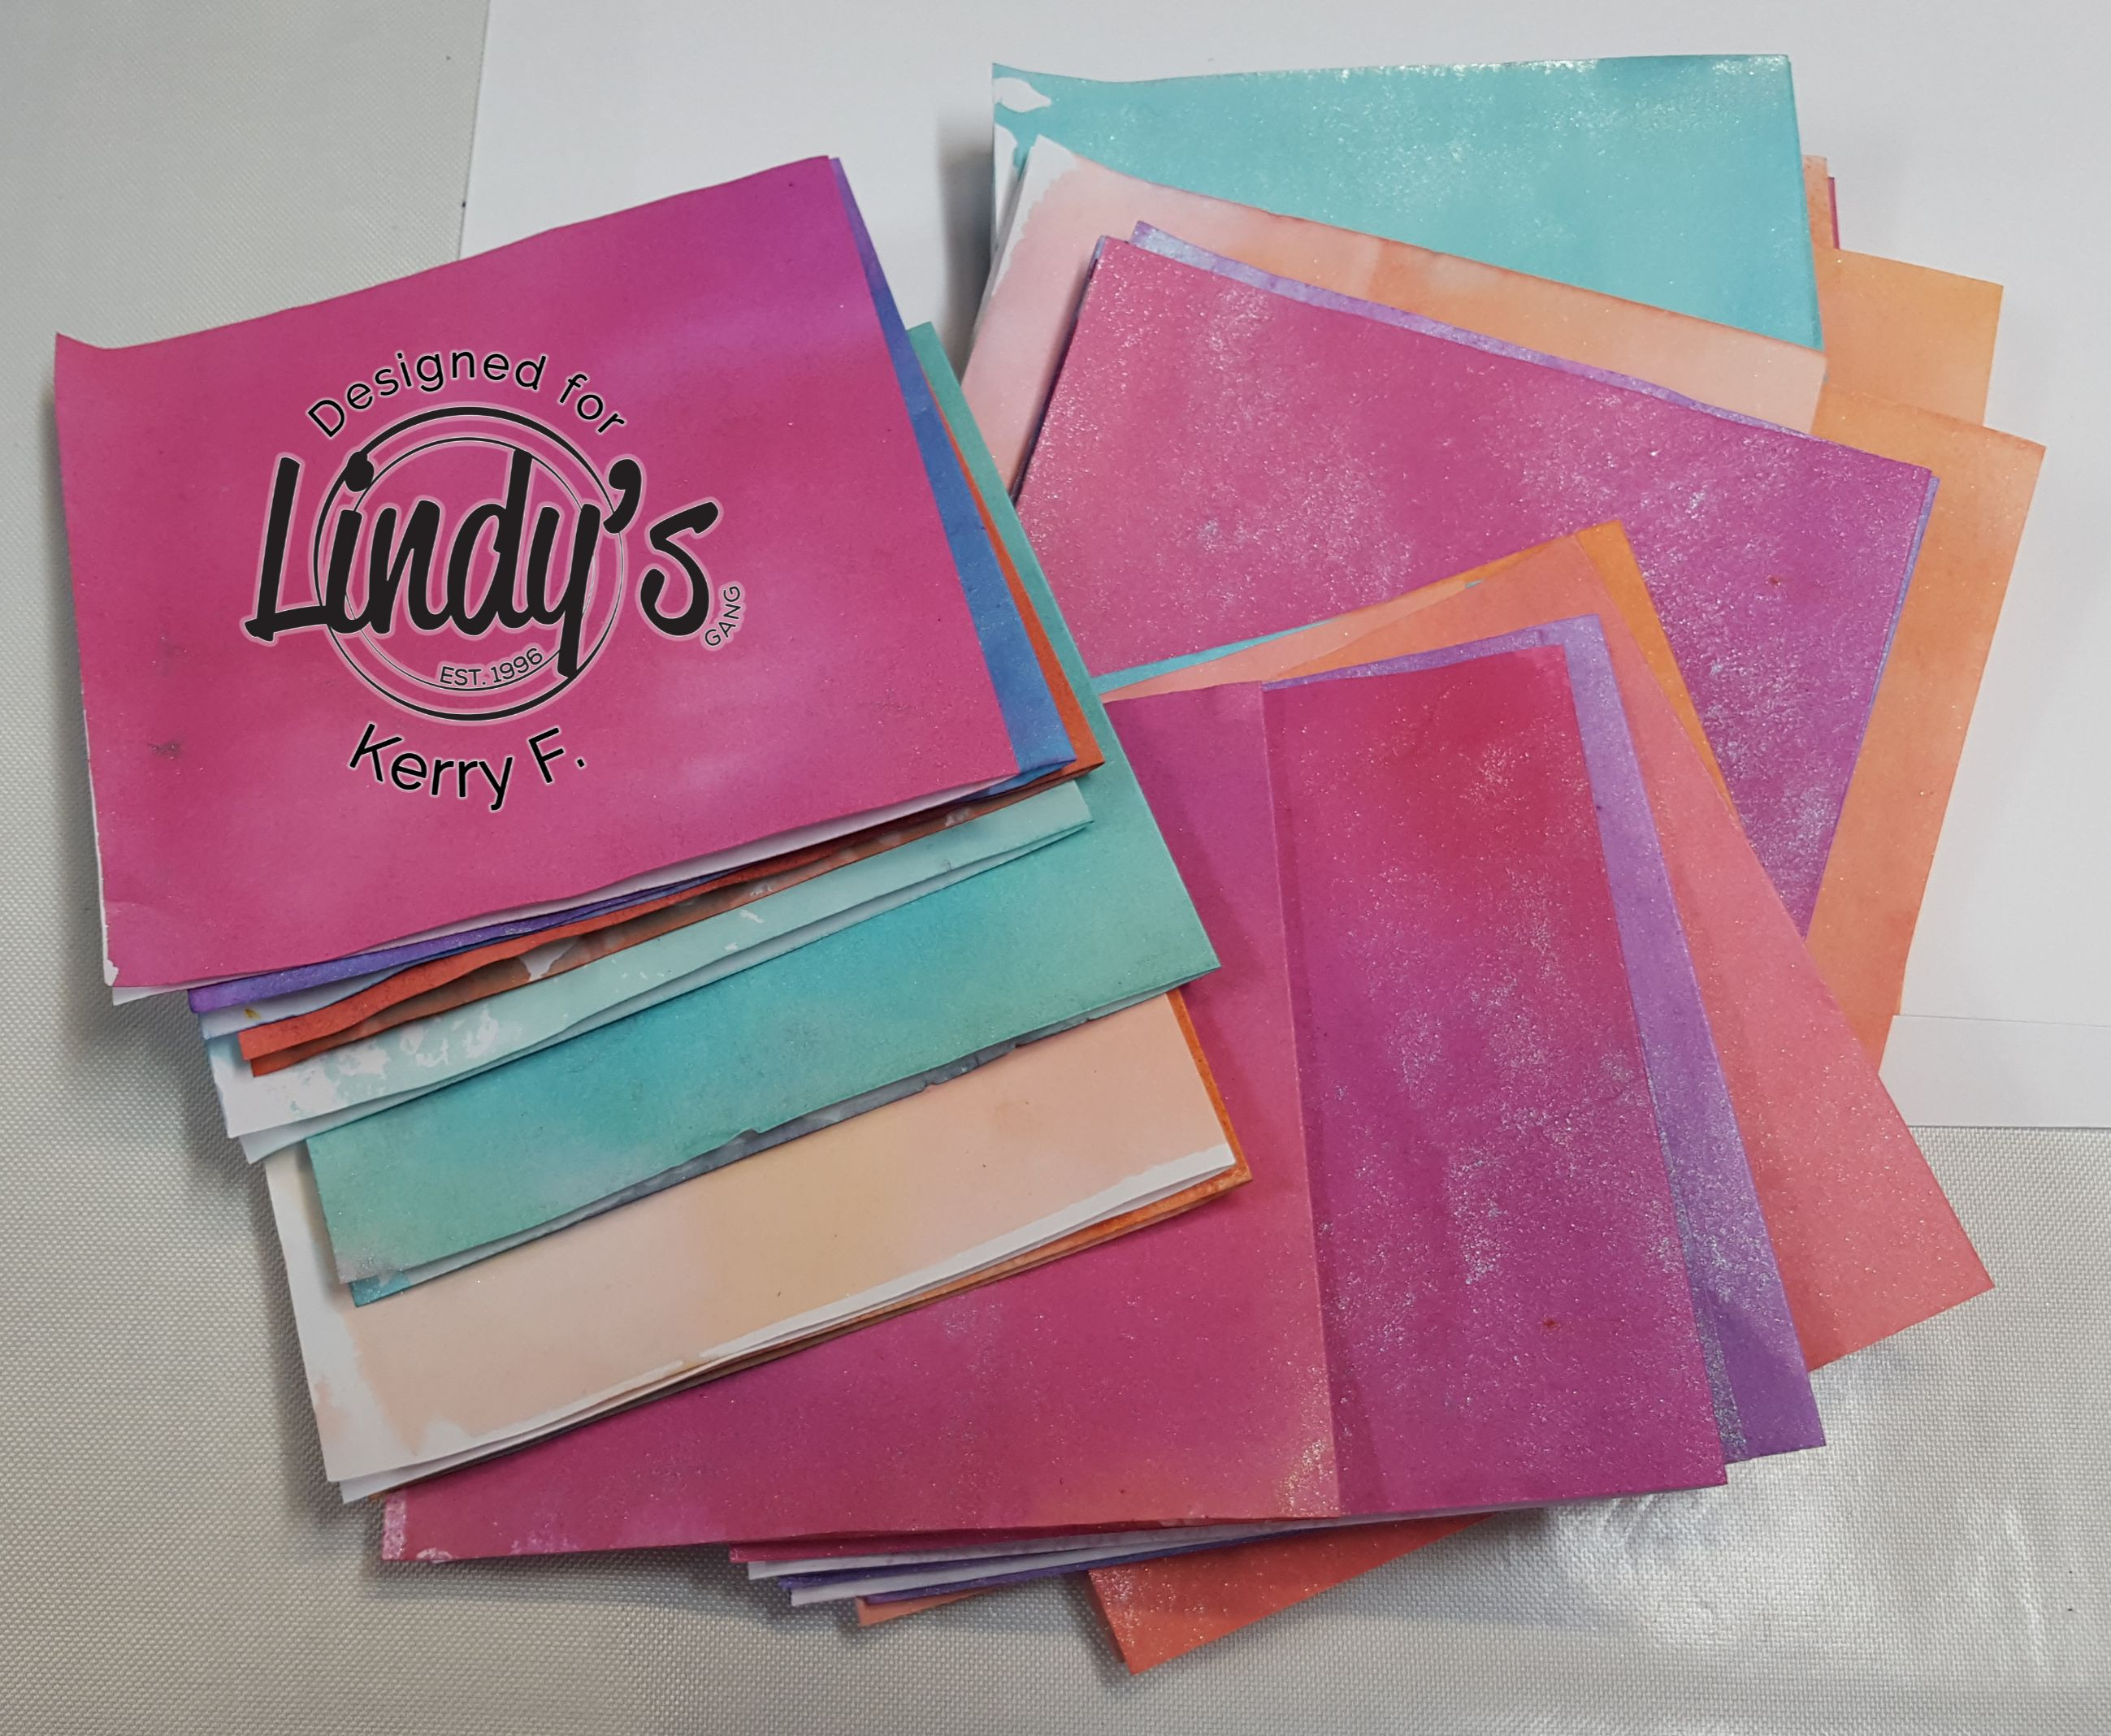
Repeat this process using different colors to build a stash of colored pages. Now is the perfect opportunity to experiment with colors to see what combinations you like.
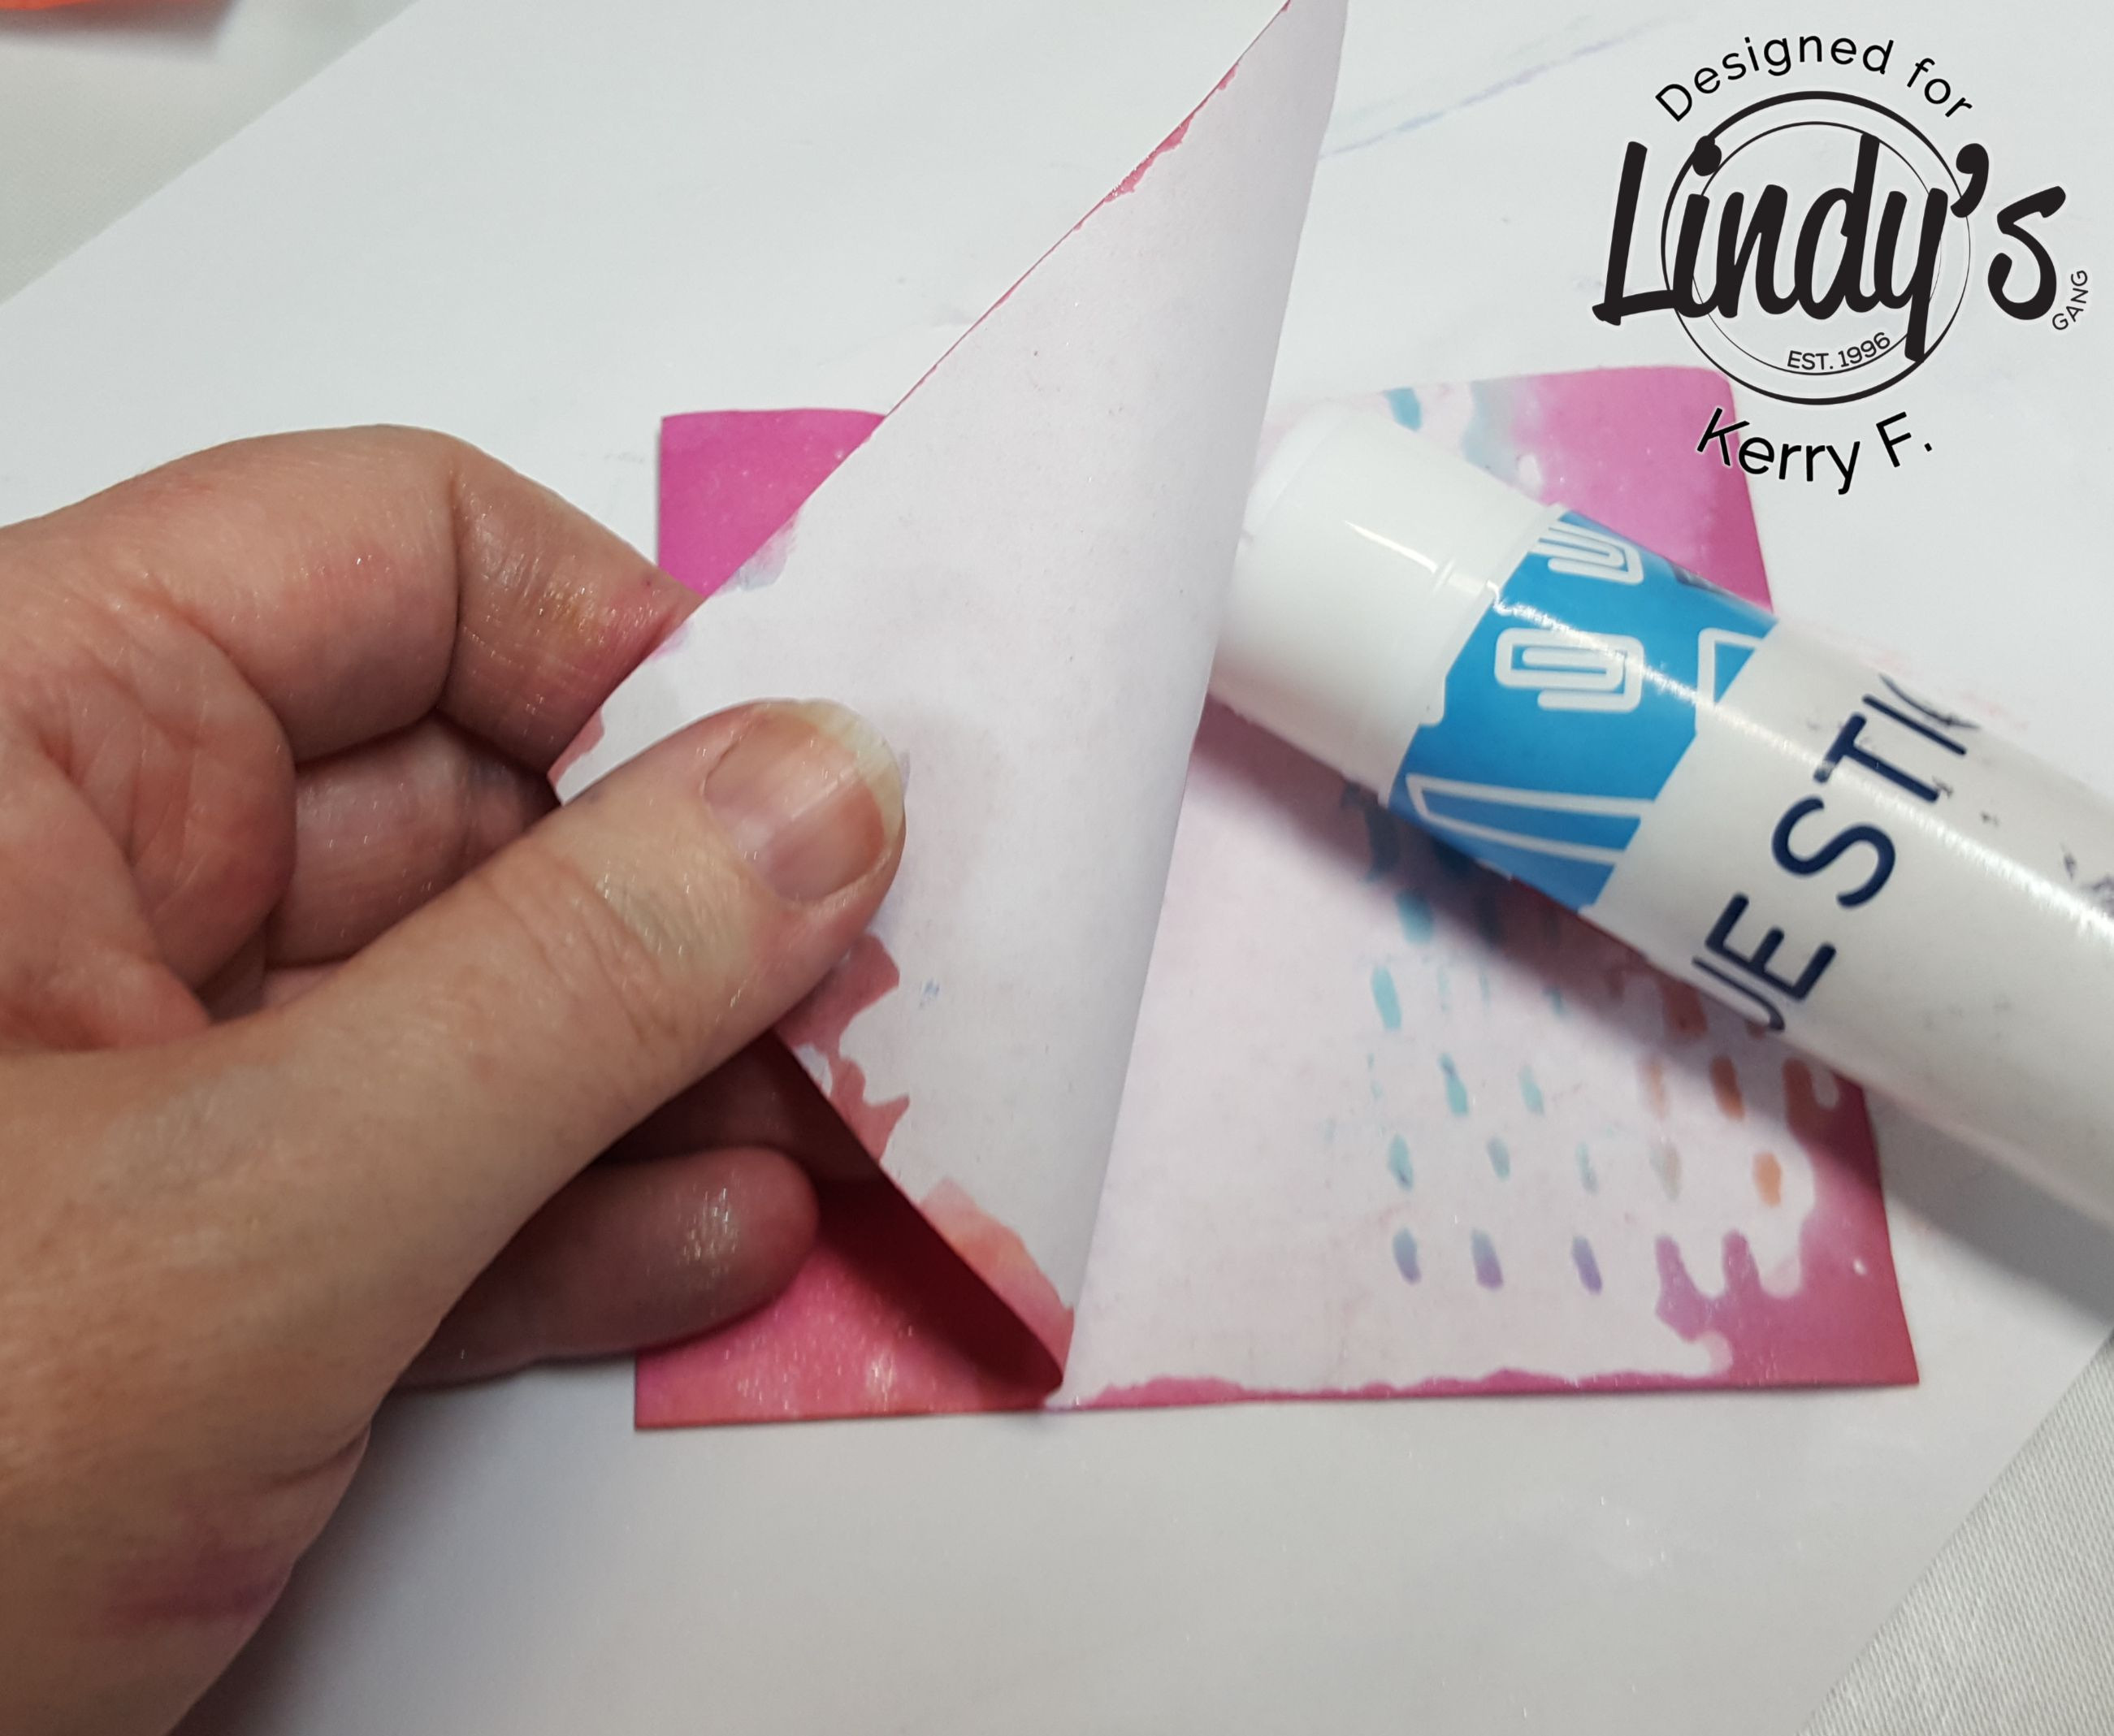
Decide what size you would like your pages to be and cut your papers accordingly, I have cut my A4 page in to 3 pieces. Each piece will need to be folded in half to create the front and back of your book pages,
I have selected 2 pieces to be my front and back cover and I am adhering a piece of cardstock inside the folded page to make the covers a little more rigid. Also keep aside one of each page to use for embellishing the pages.
Then you simply need to glue the inside of each folded page together.
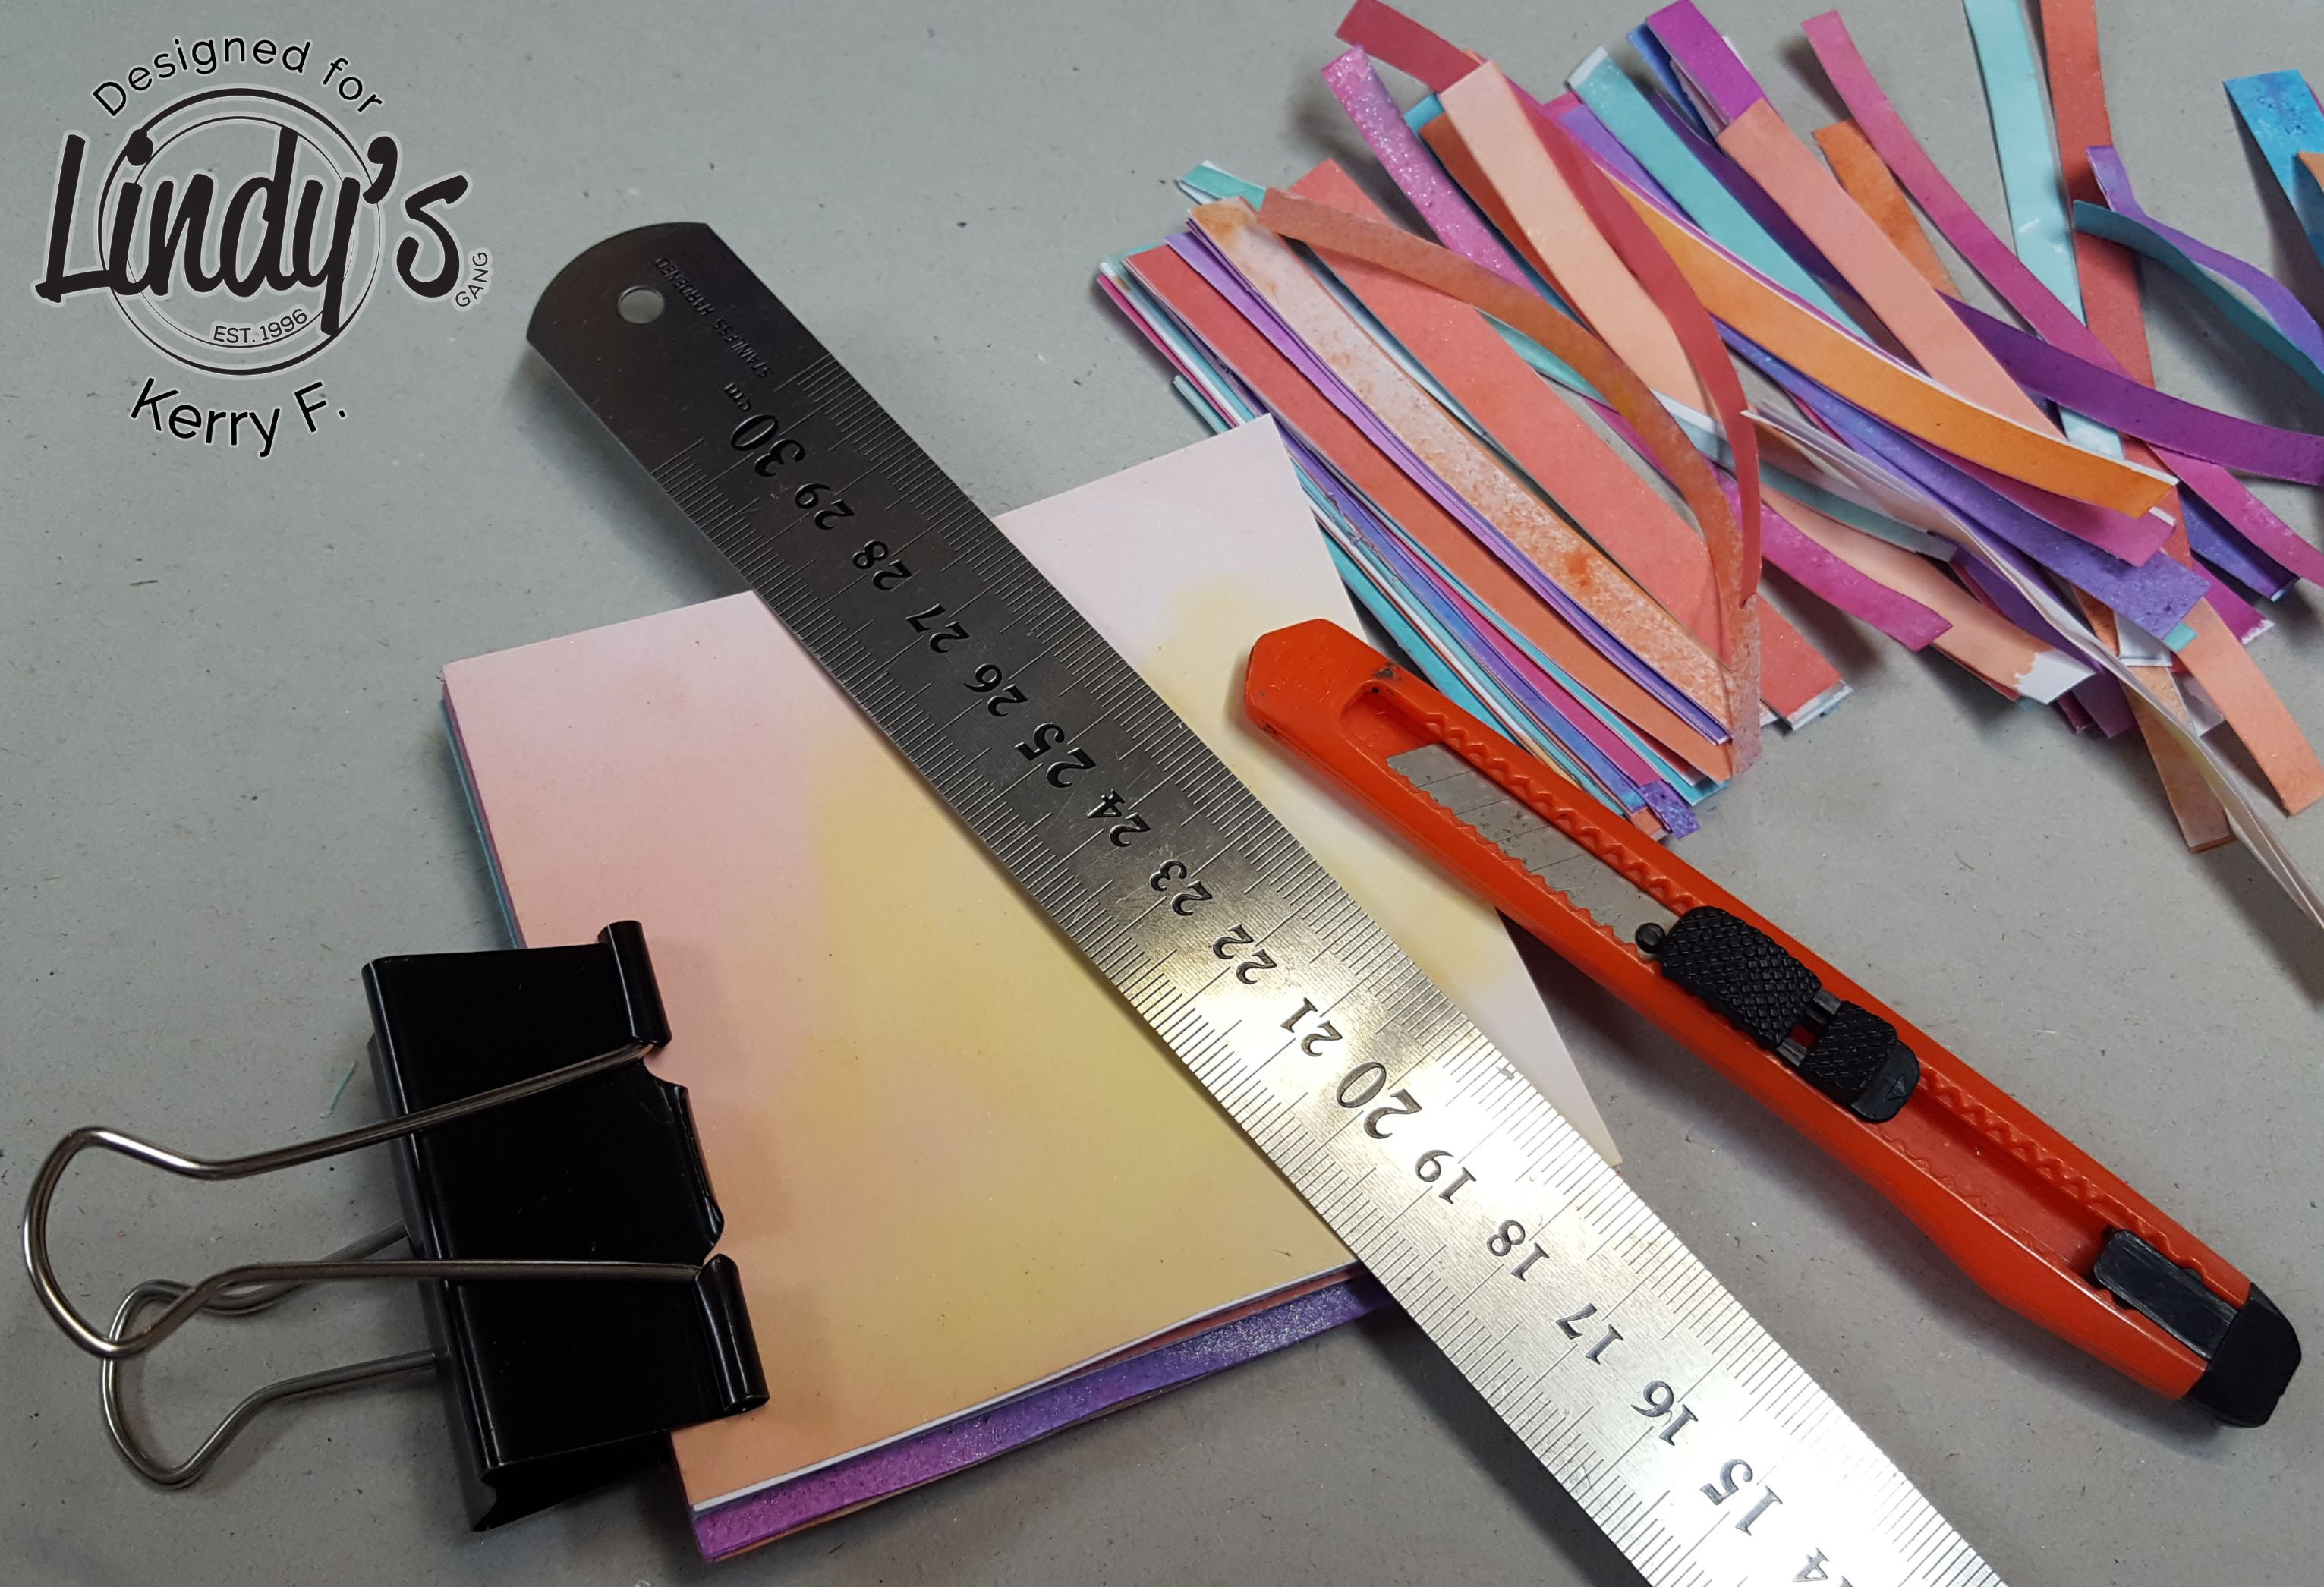
Knock all of the pages together and use a bulldog clip to hold them and trim off the uneven edges (you may prefer to keep them uneven for added interest). Keep these strips aside too.
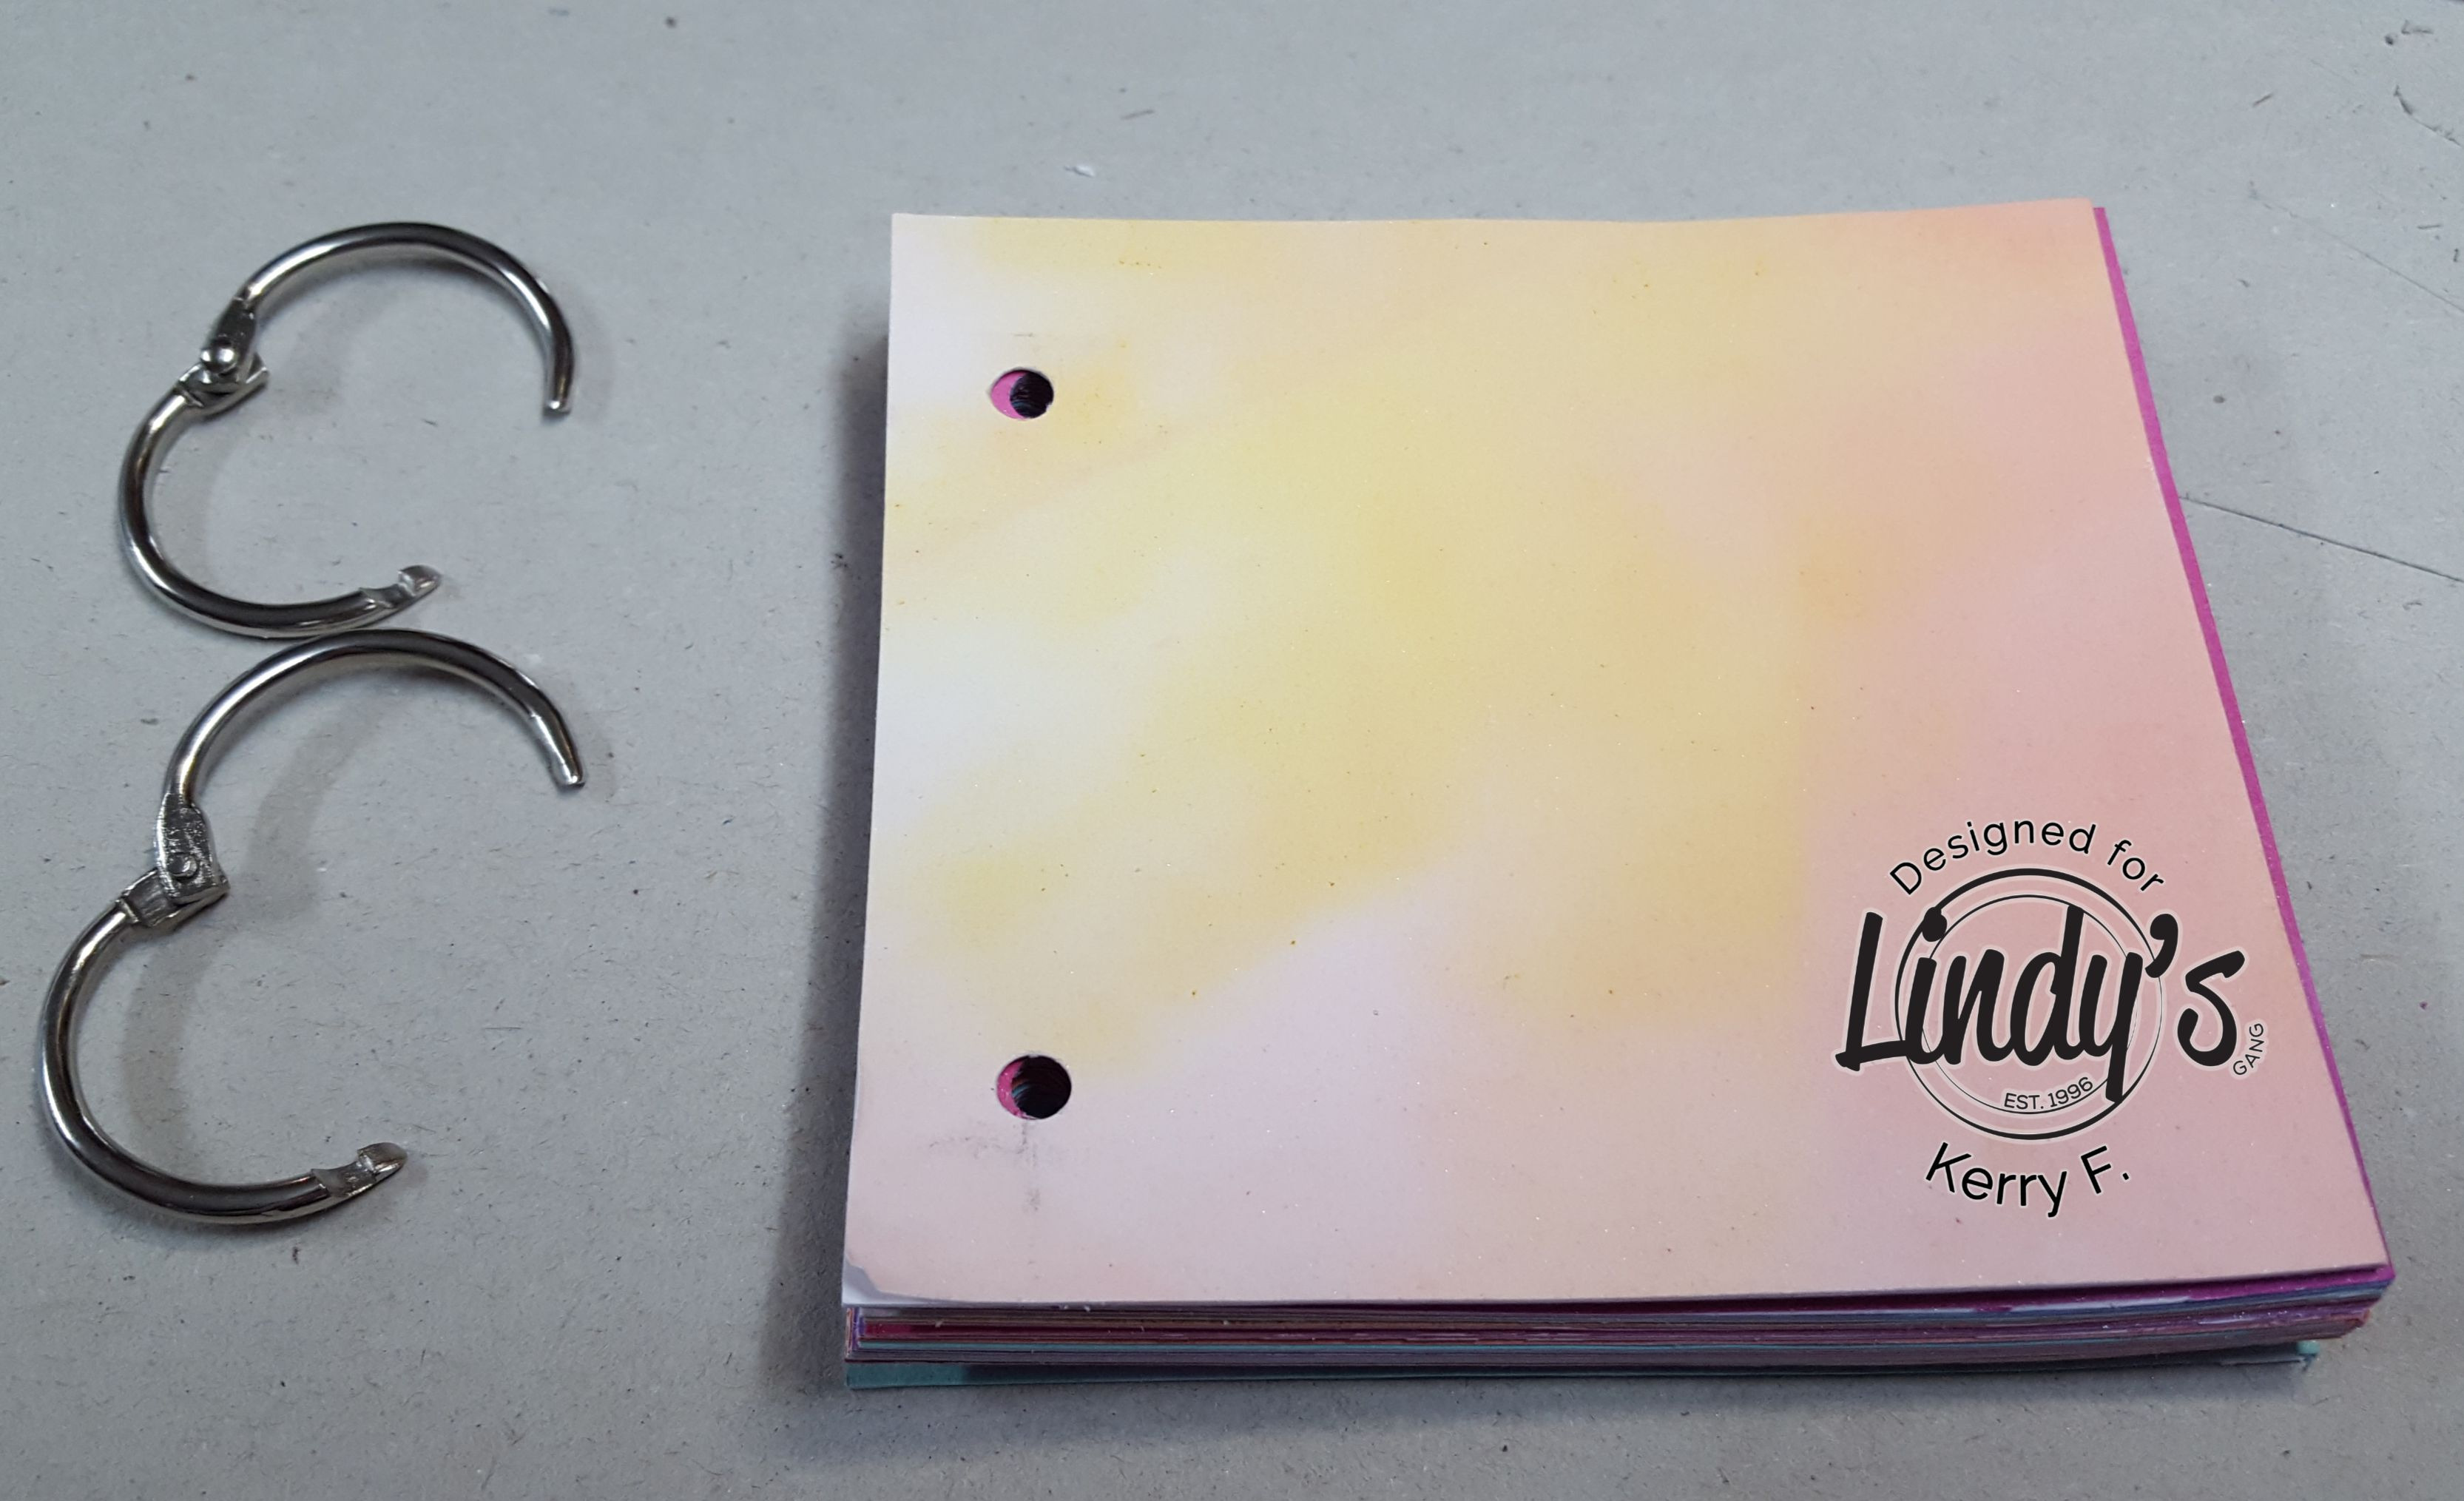
Punch some holes for your rings or twine.
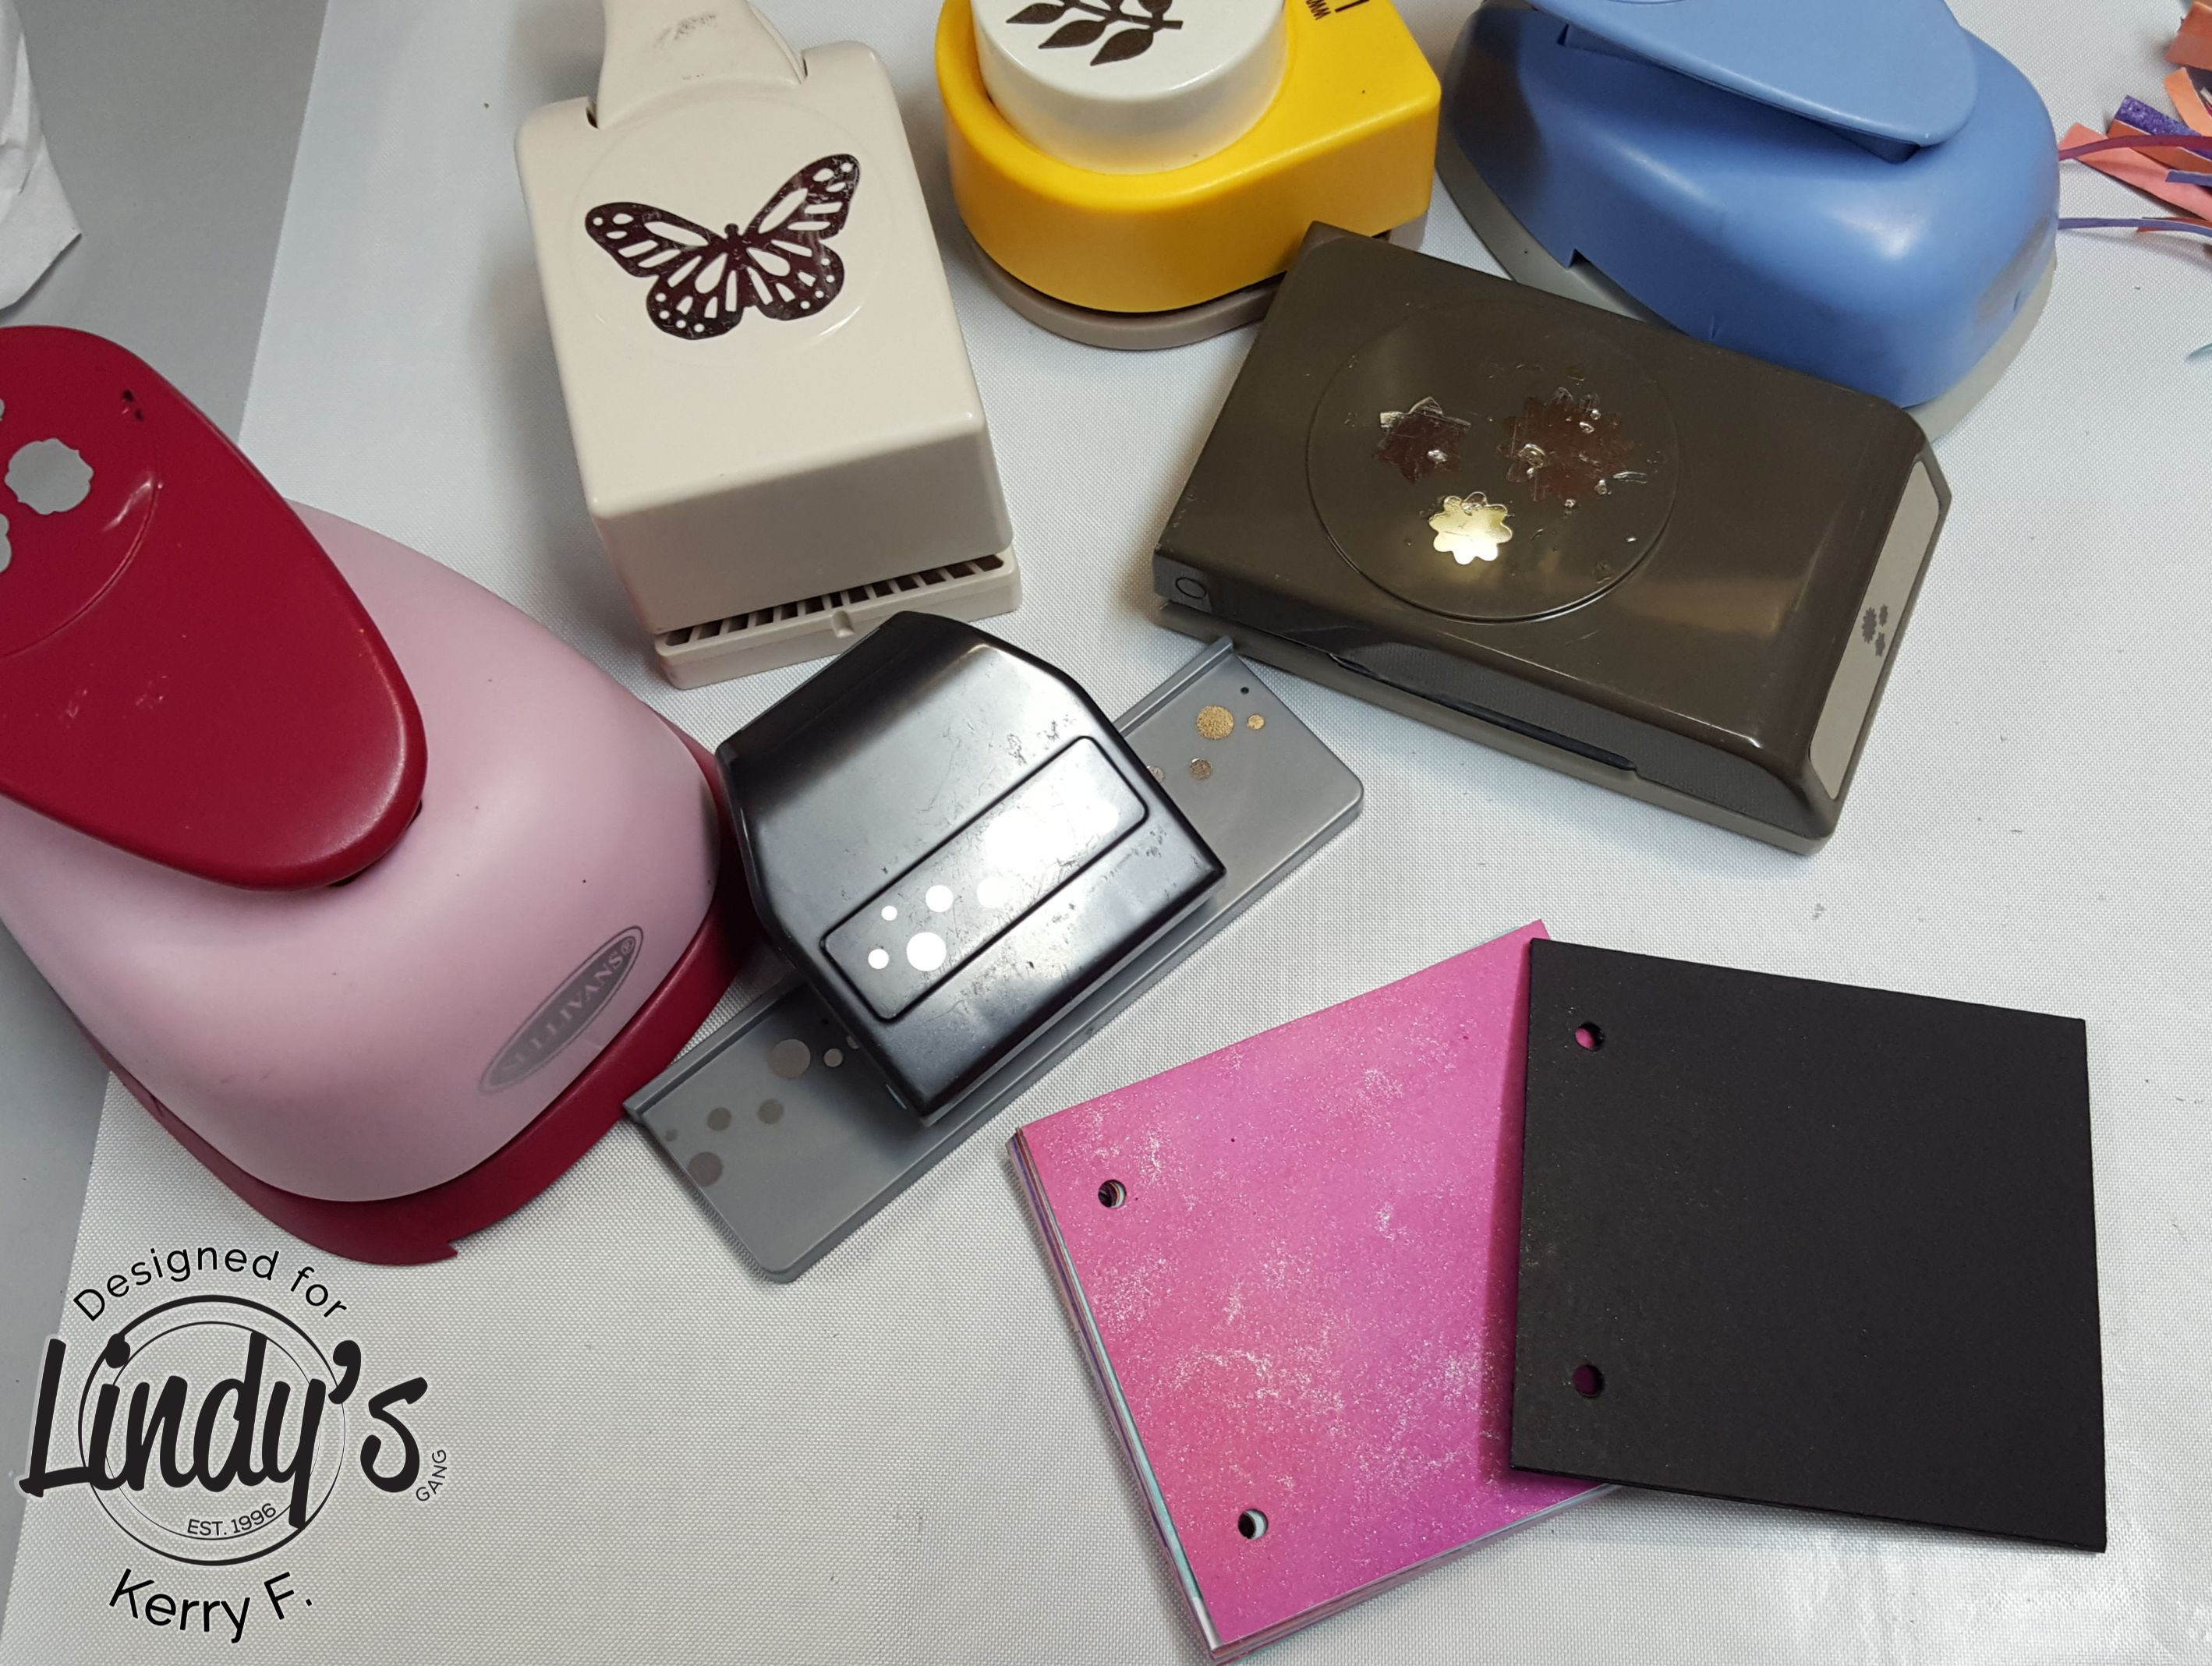
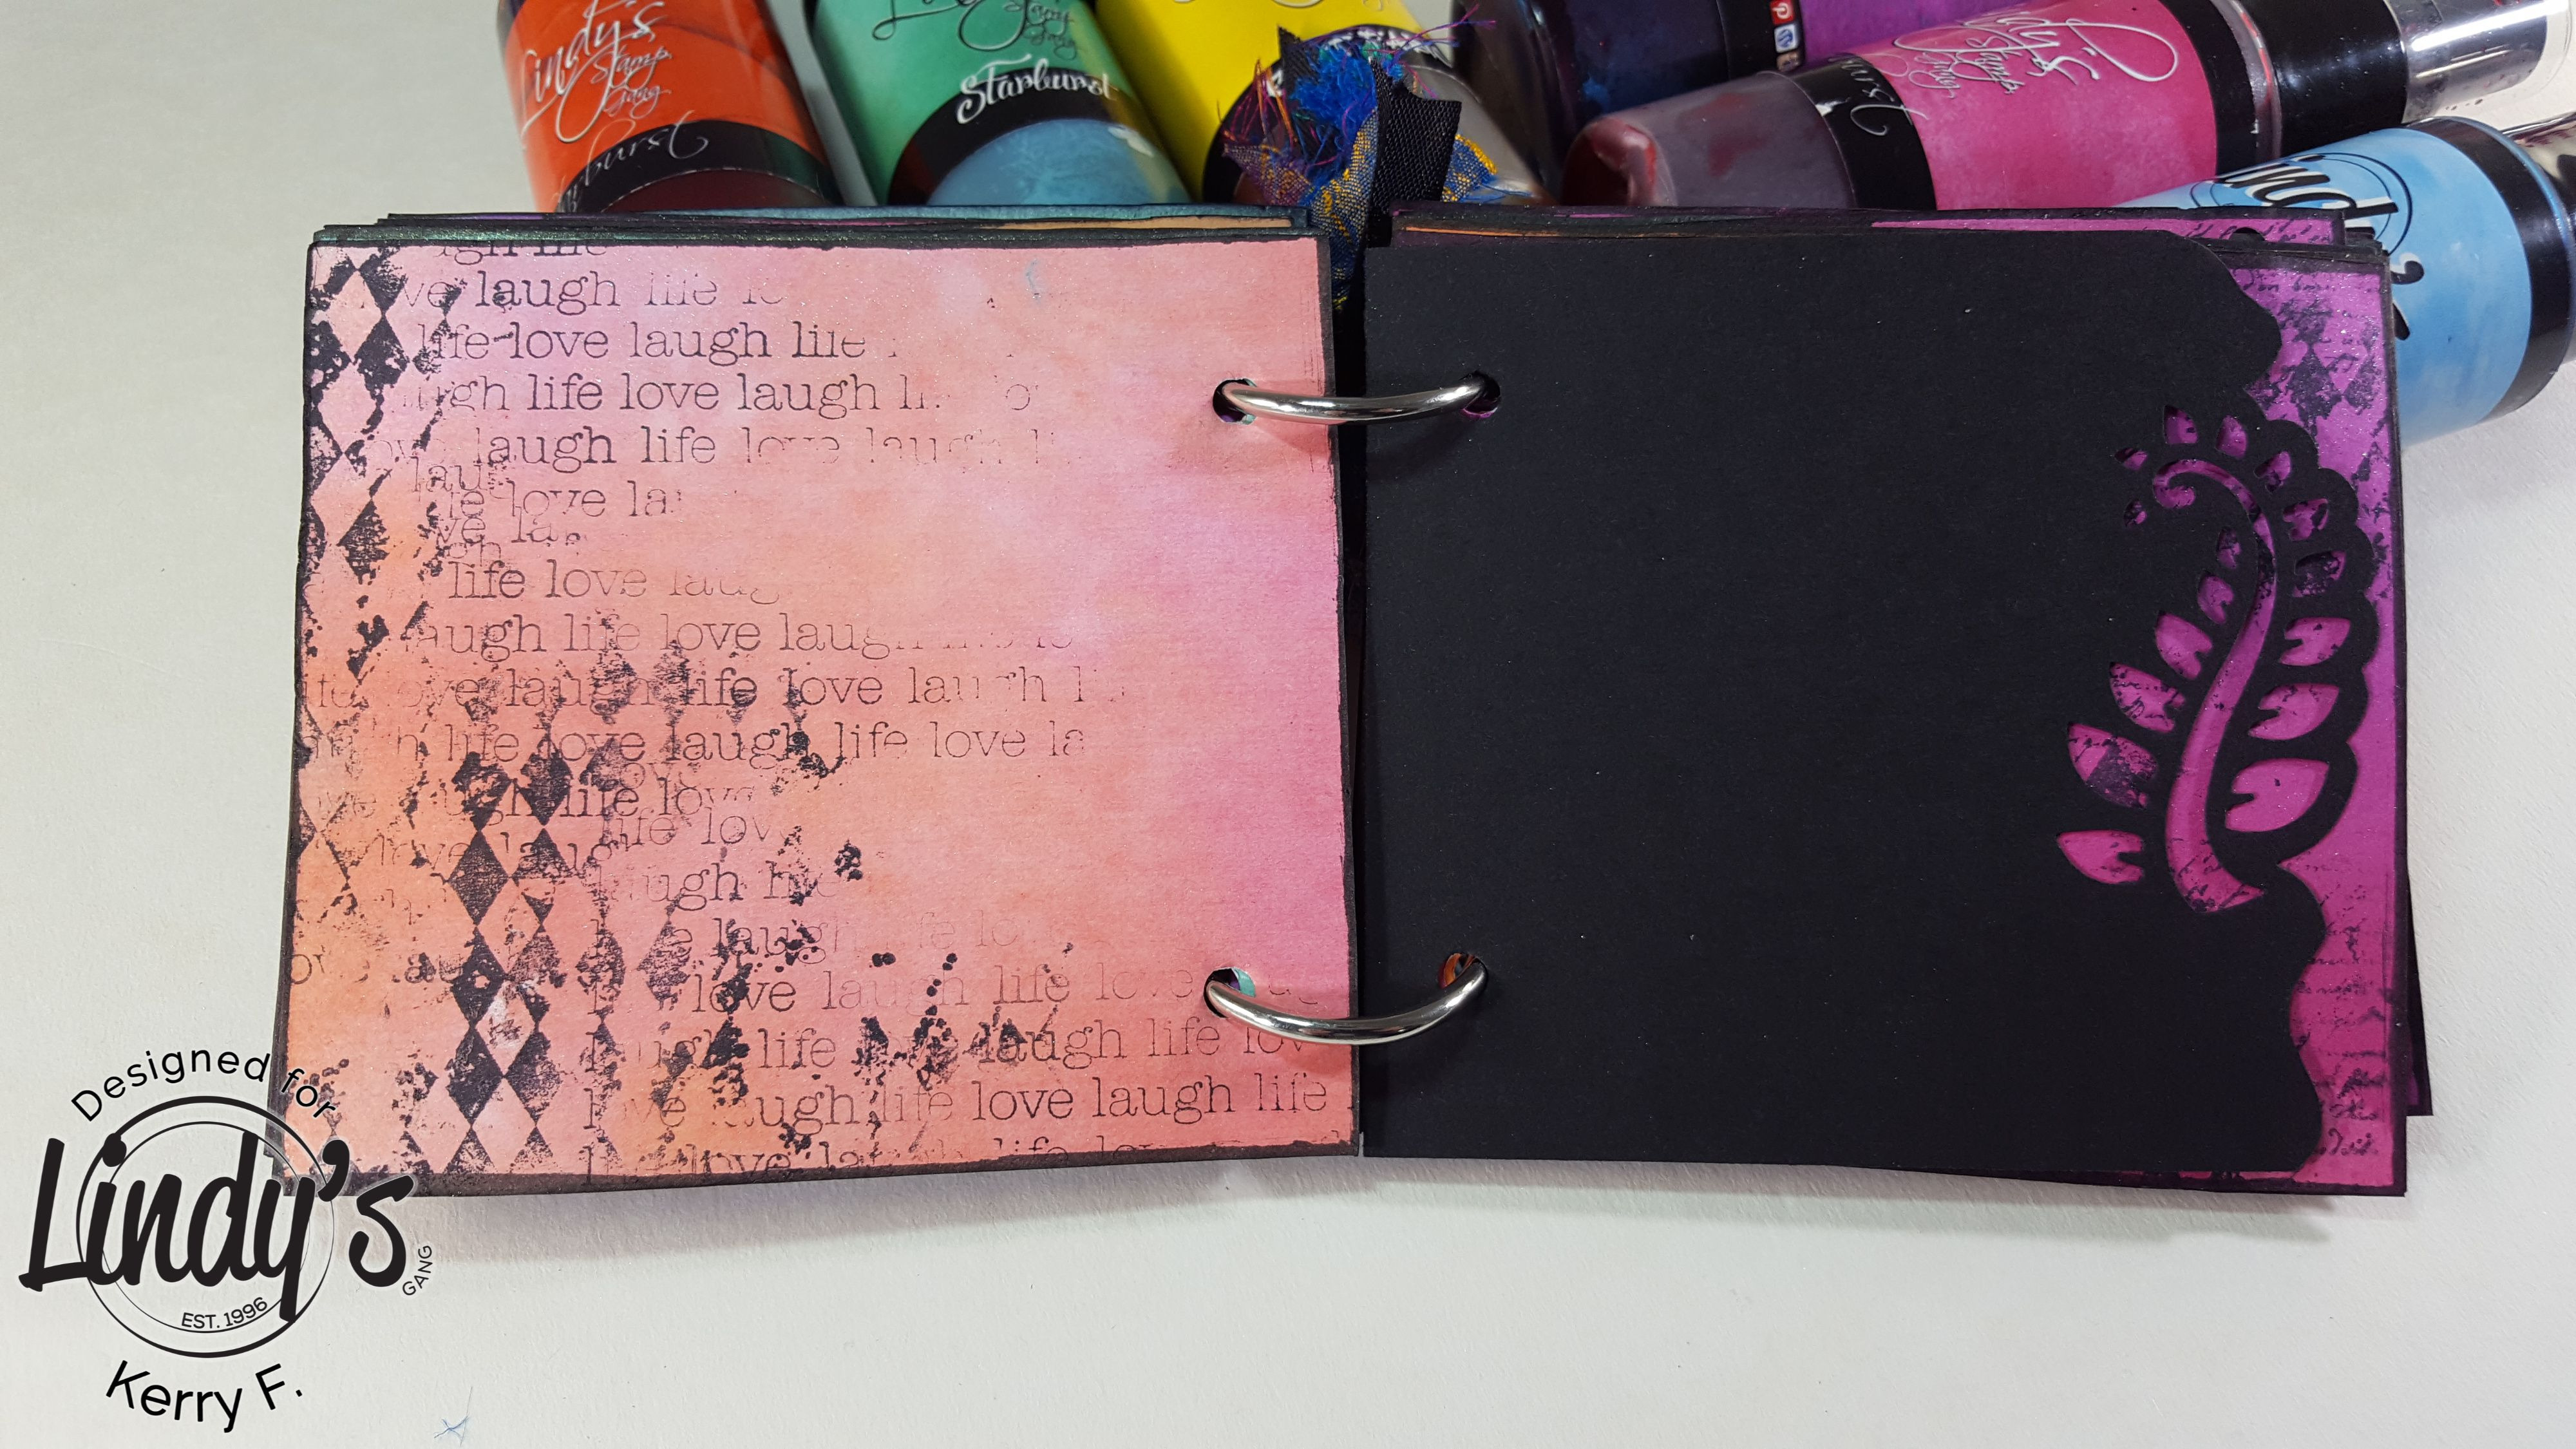
To embellish your pages you may want to use punches, stamps, dies, doodling, washi tape.... pretty much anything you like. I dragged out the punches and blew off the dust (they haven't been used in a while). I also added a few pages of black cardstock to my page stash.
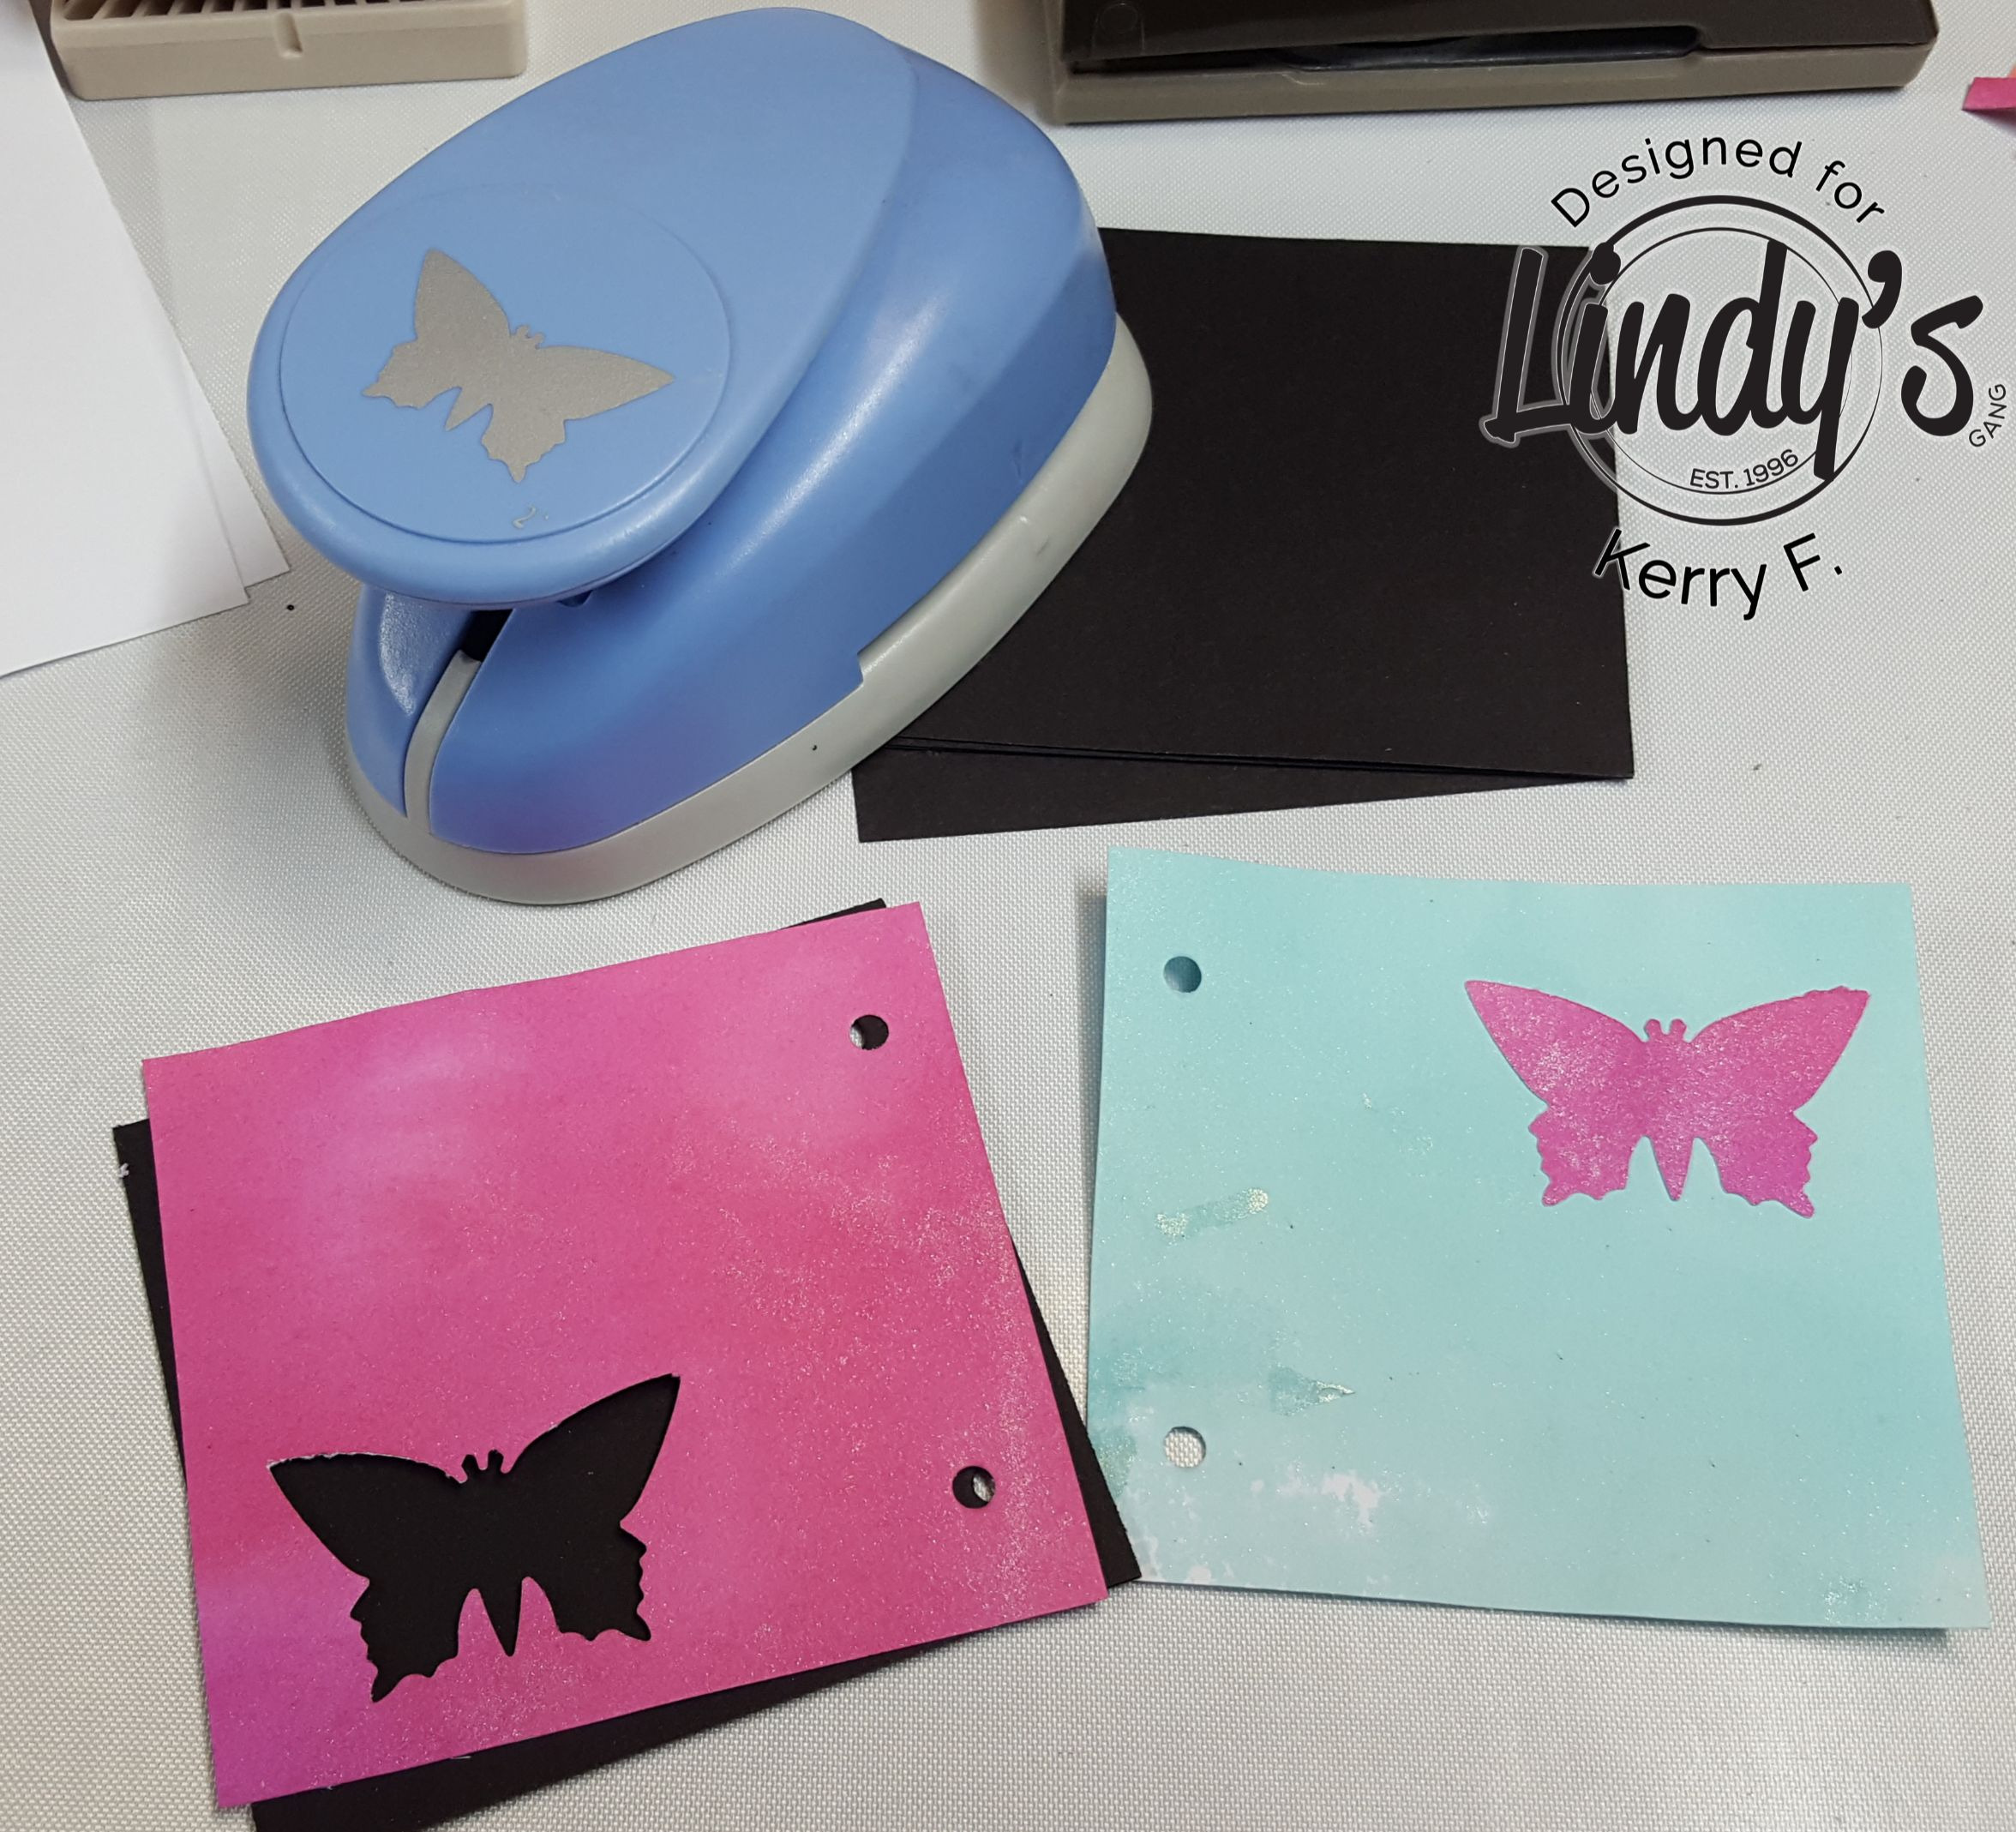
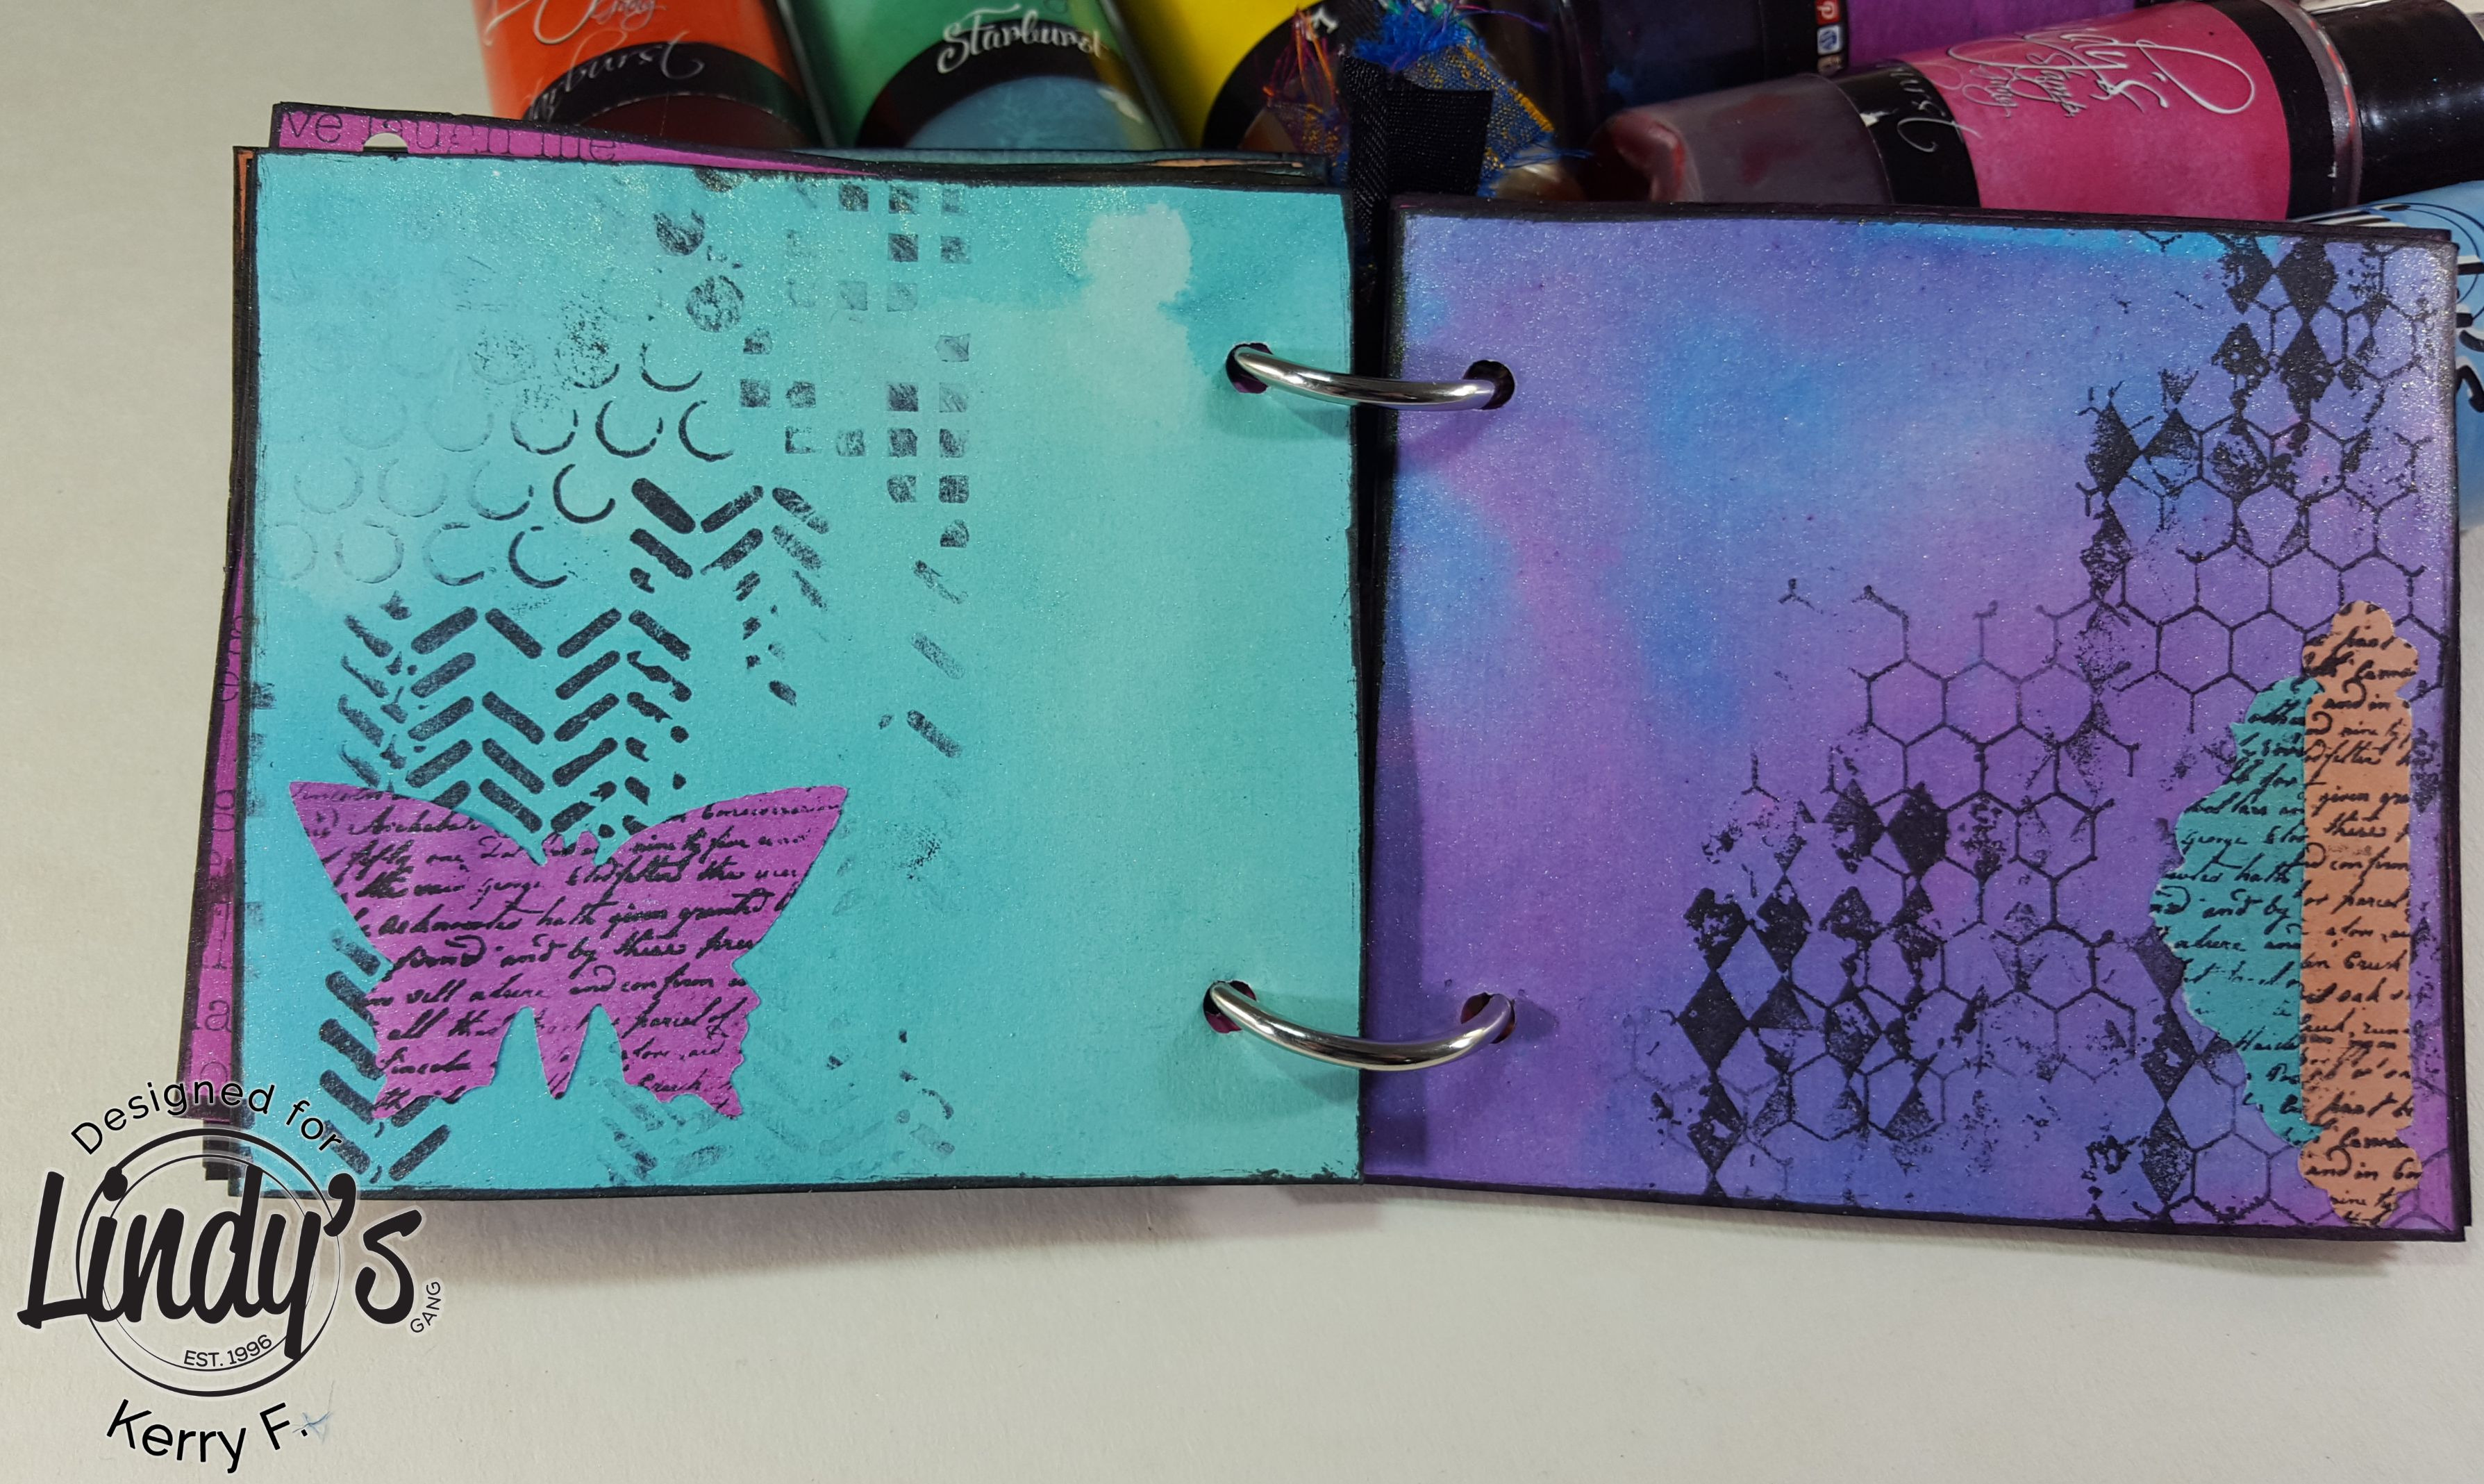
Here is an example for a simple embellishment, punch the shape from one page, and adhere the punched shape to another page. The black page can bee seen through the punched shape, easy as!!
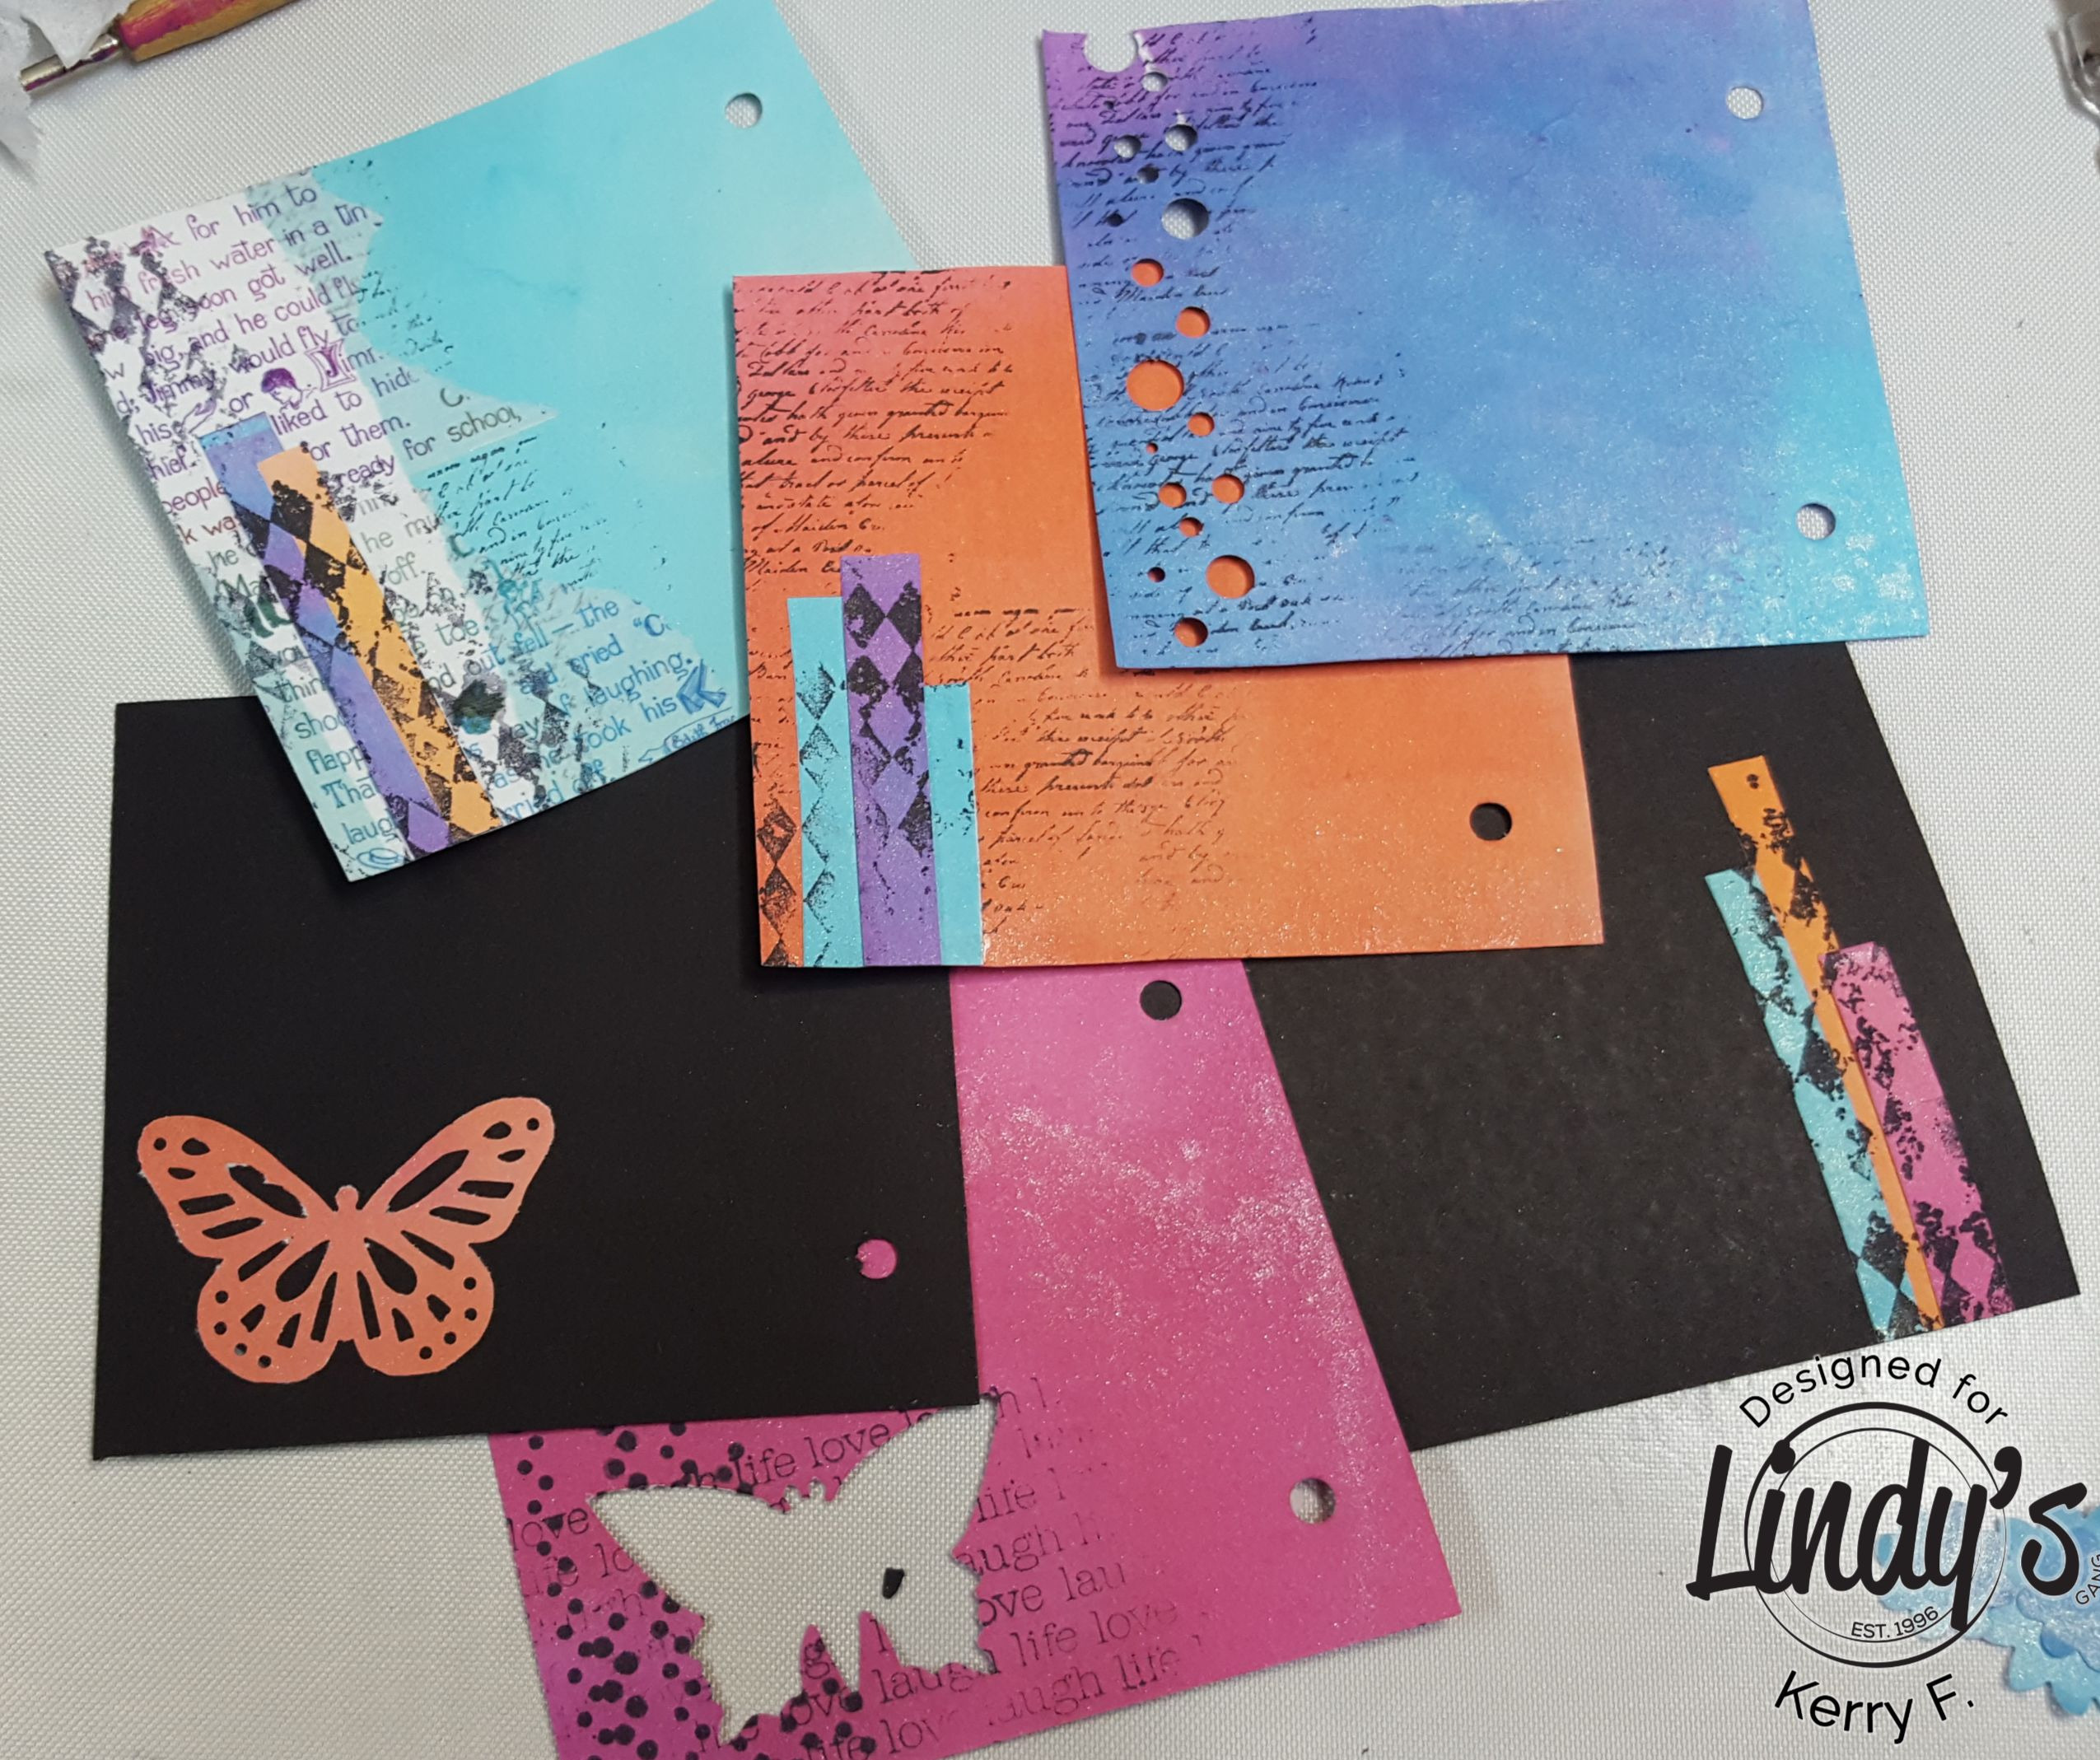
Use the strips and some stamps to add more interest, add washi tape too for something different.
Soon you will have a huge stash of pages. you can make smaller books with fewer pages, or chunky books with loads of pages!!
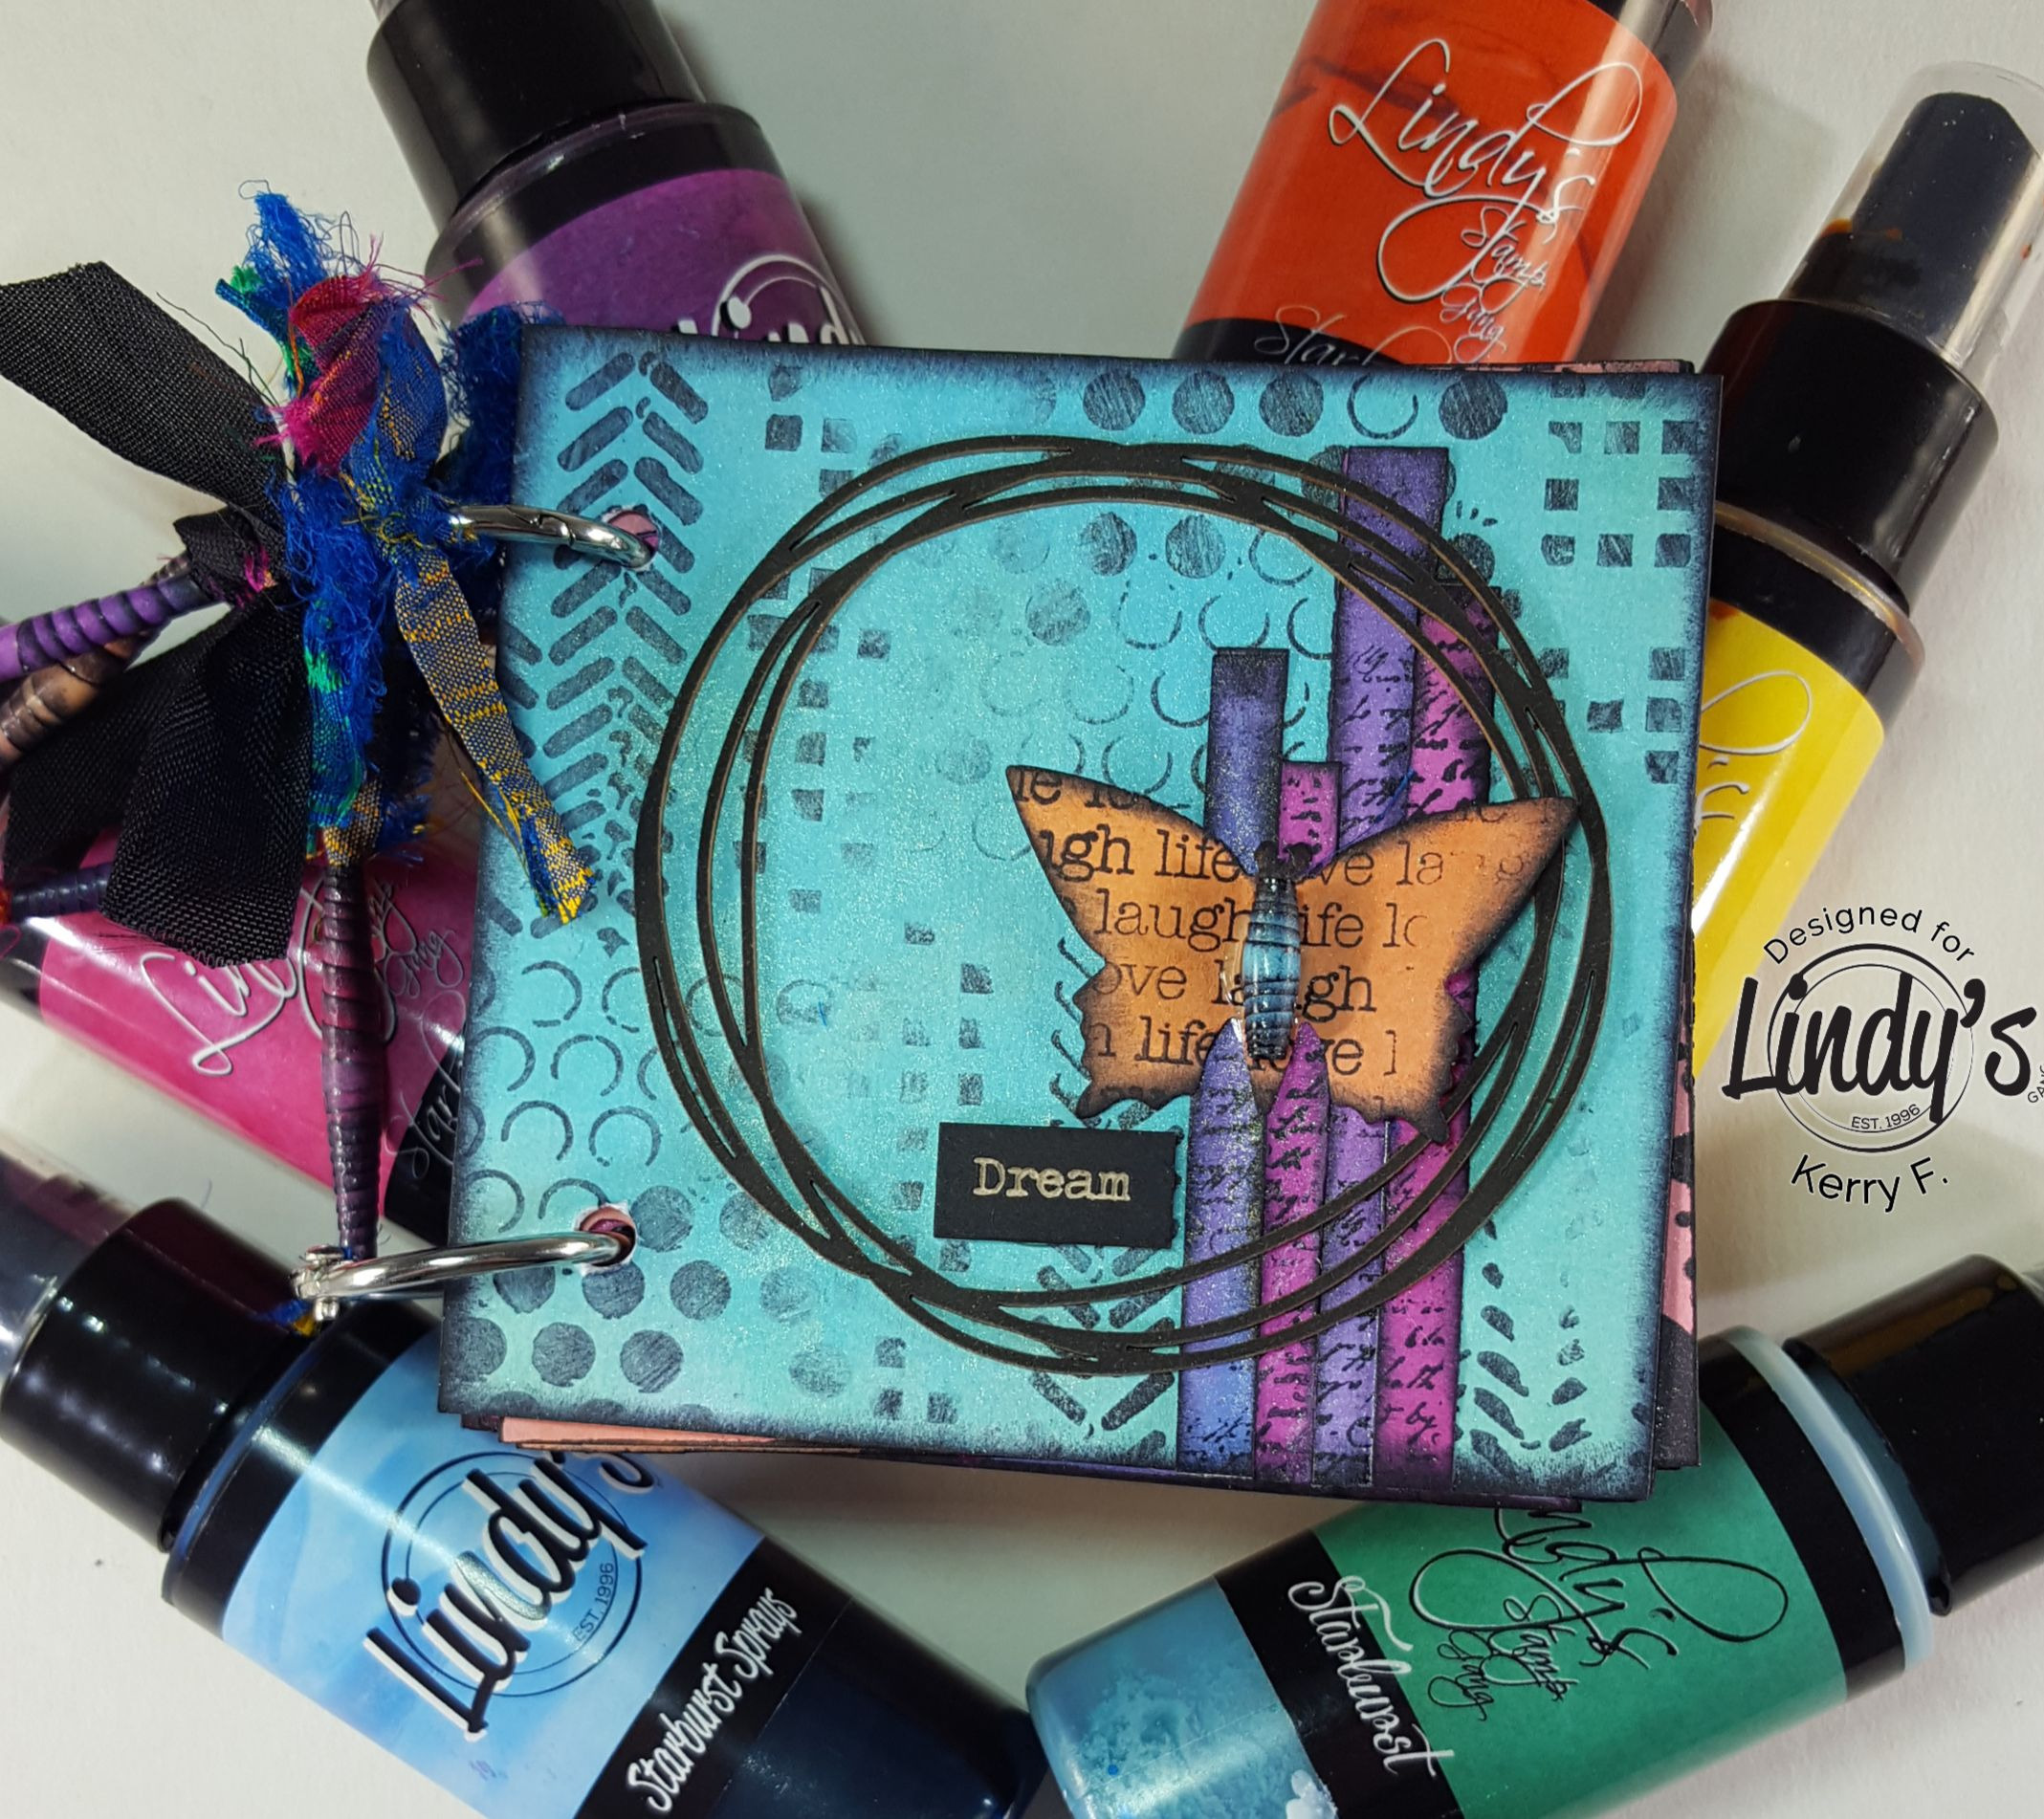
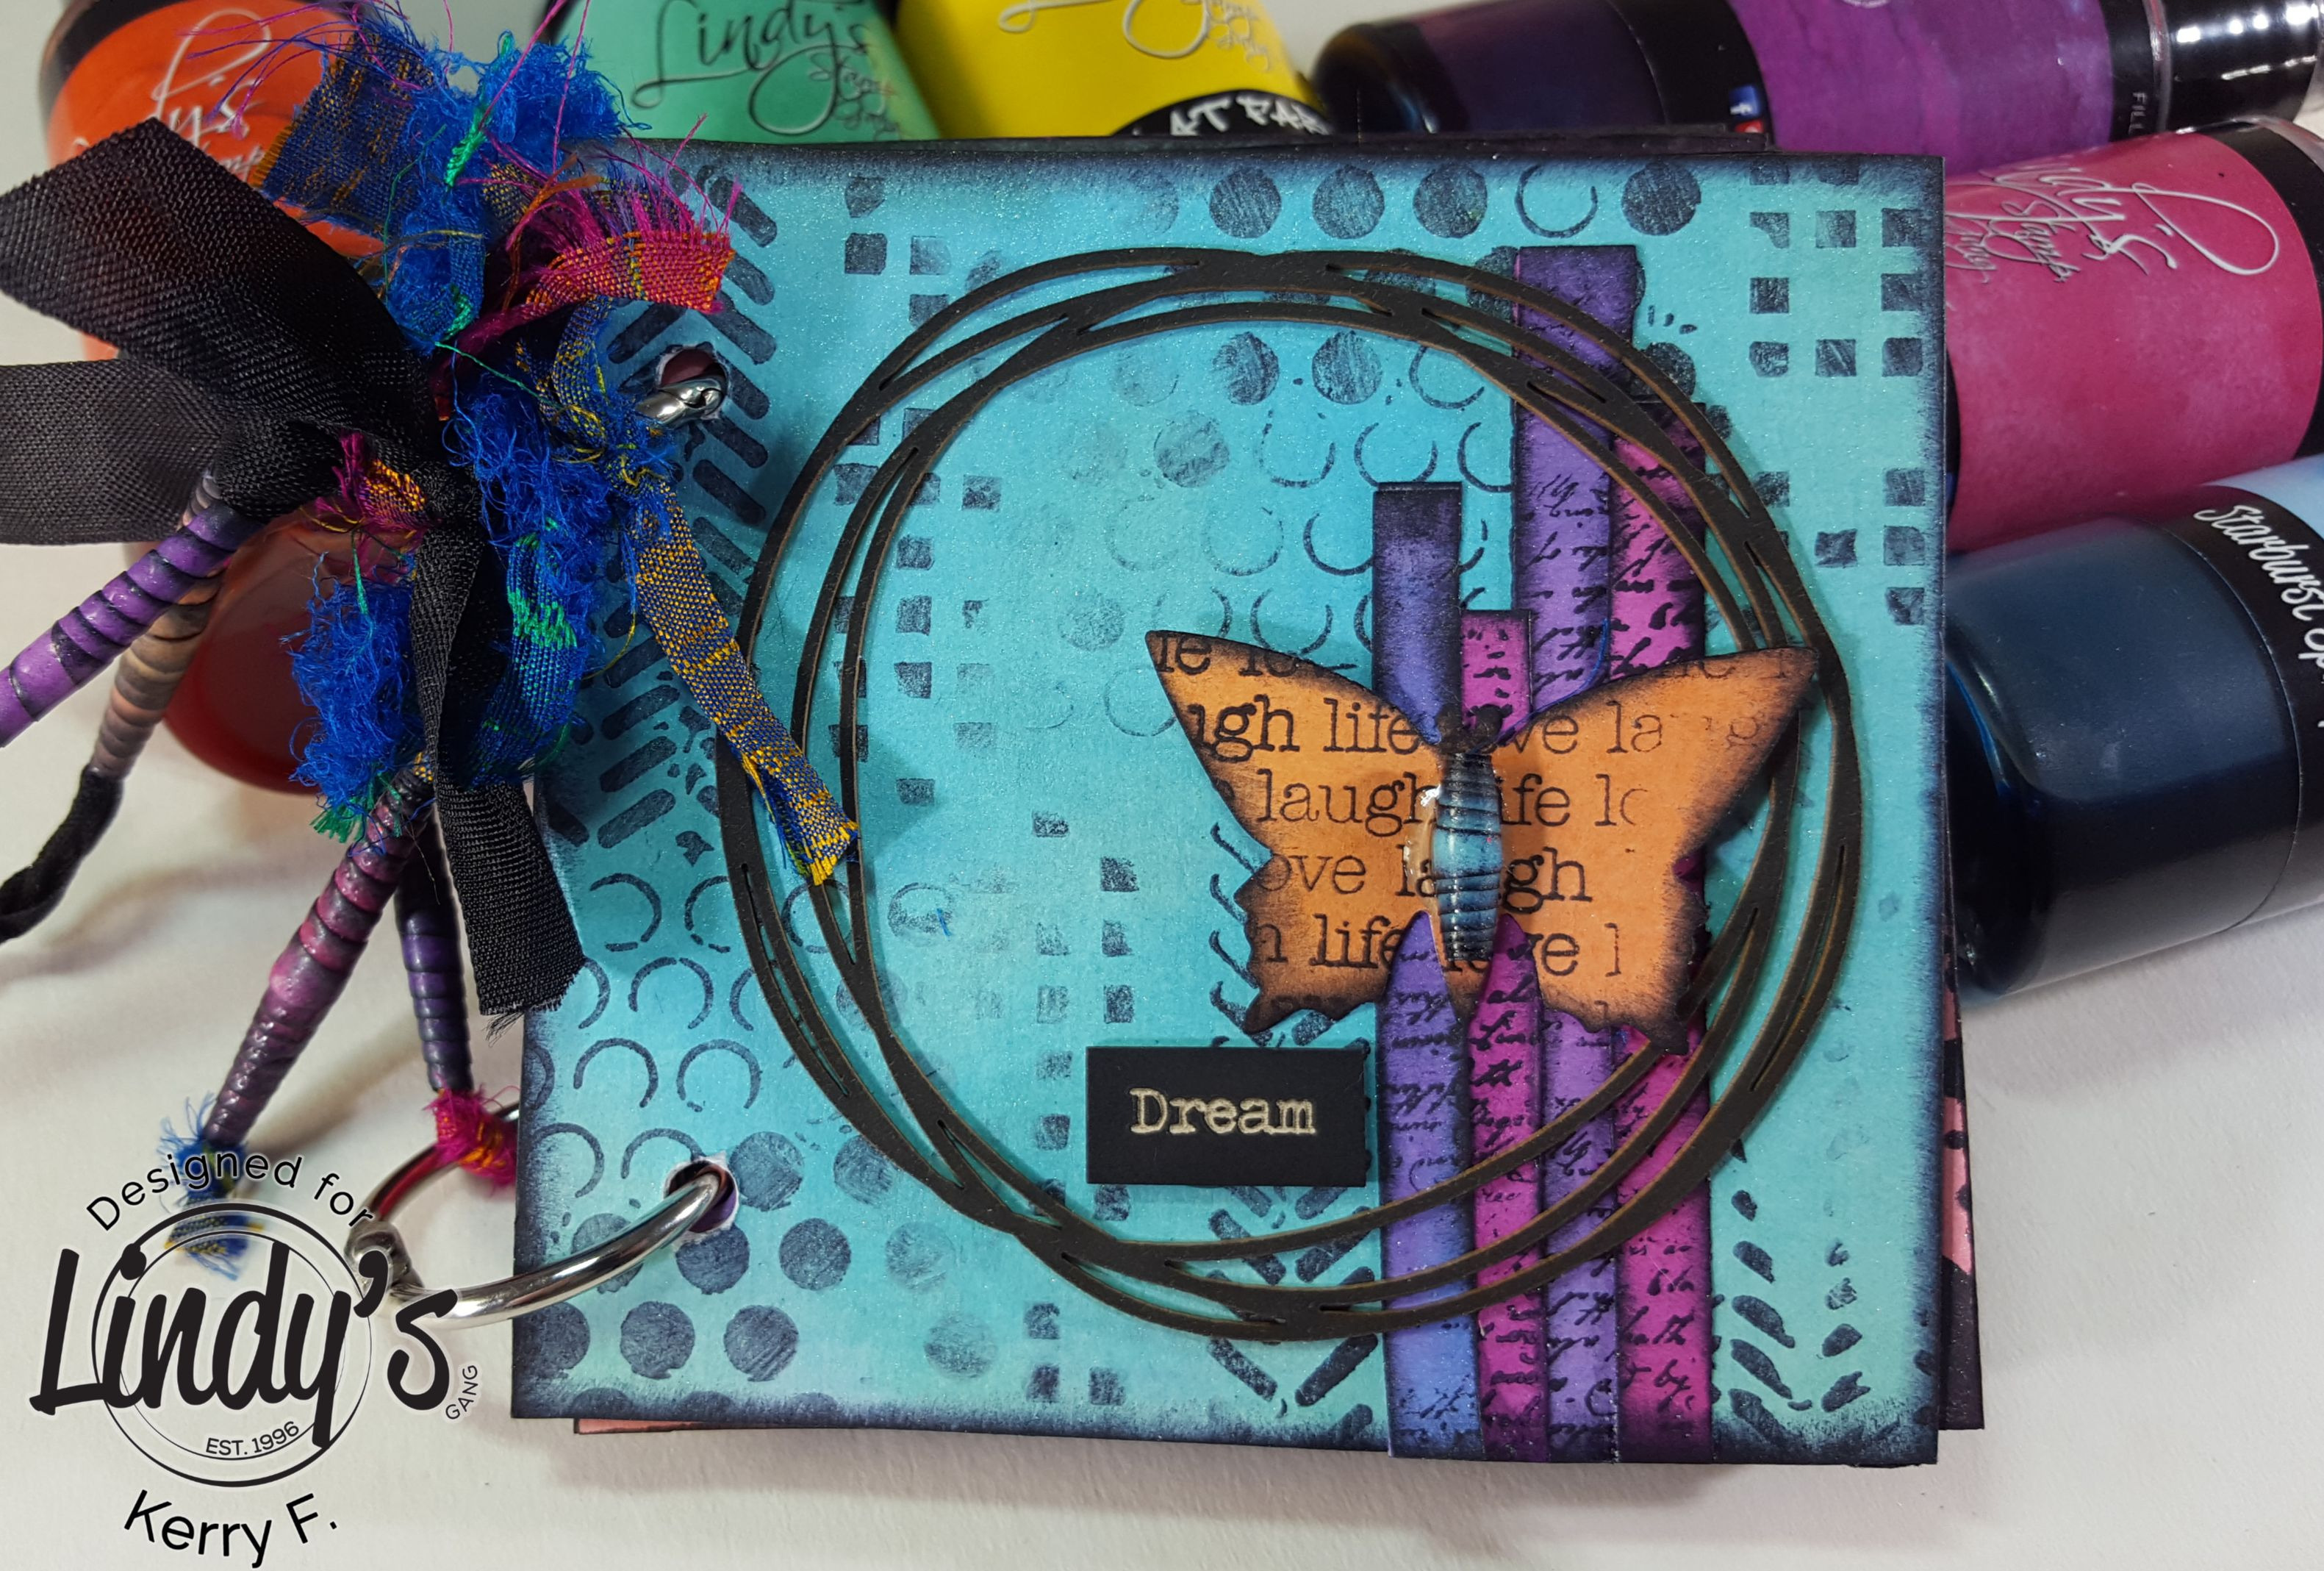
To embellish the cover I have used some of the strips from our page edges and a 'punched' butterfly (he was not injured in the making of this book) ...hehe. Some fibres and paper beads added to one of the rings and some chipboard accents finished it all off!
Here is a peek inside...
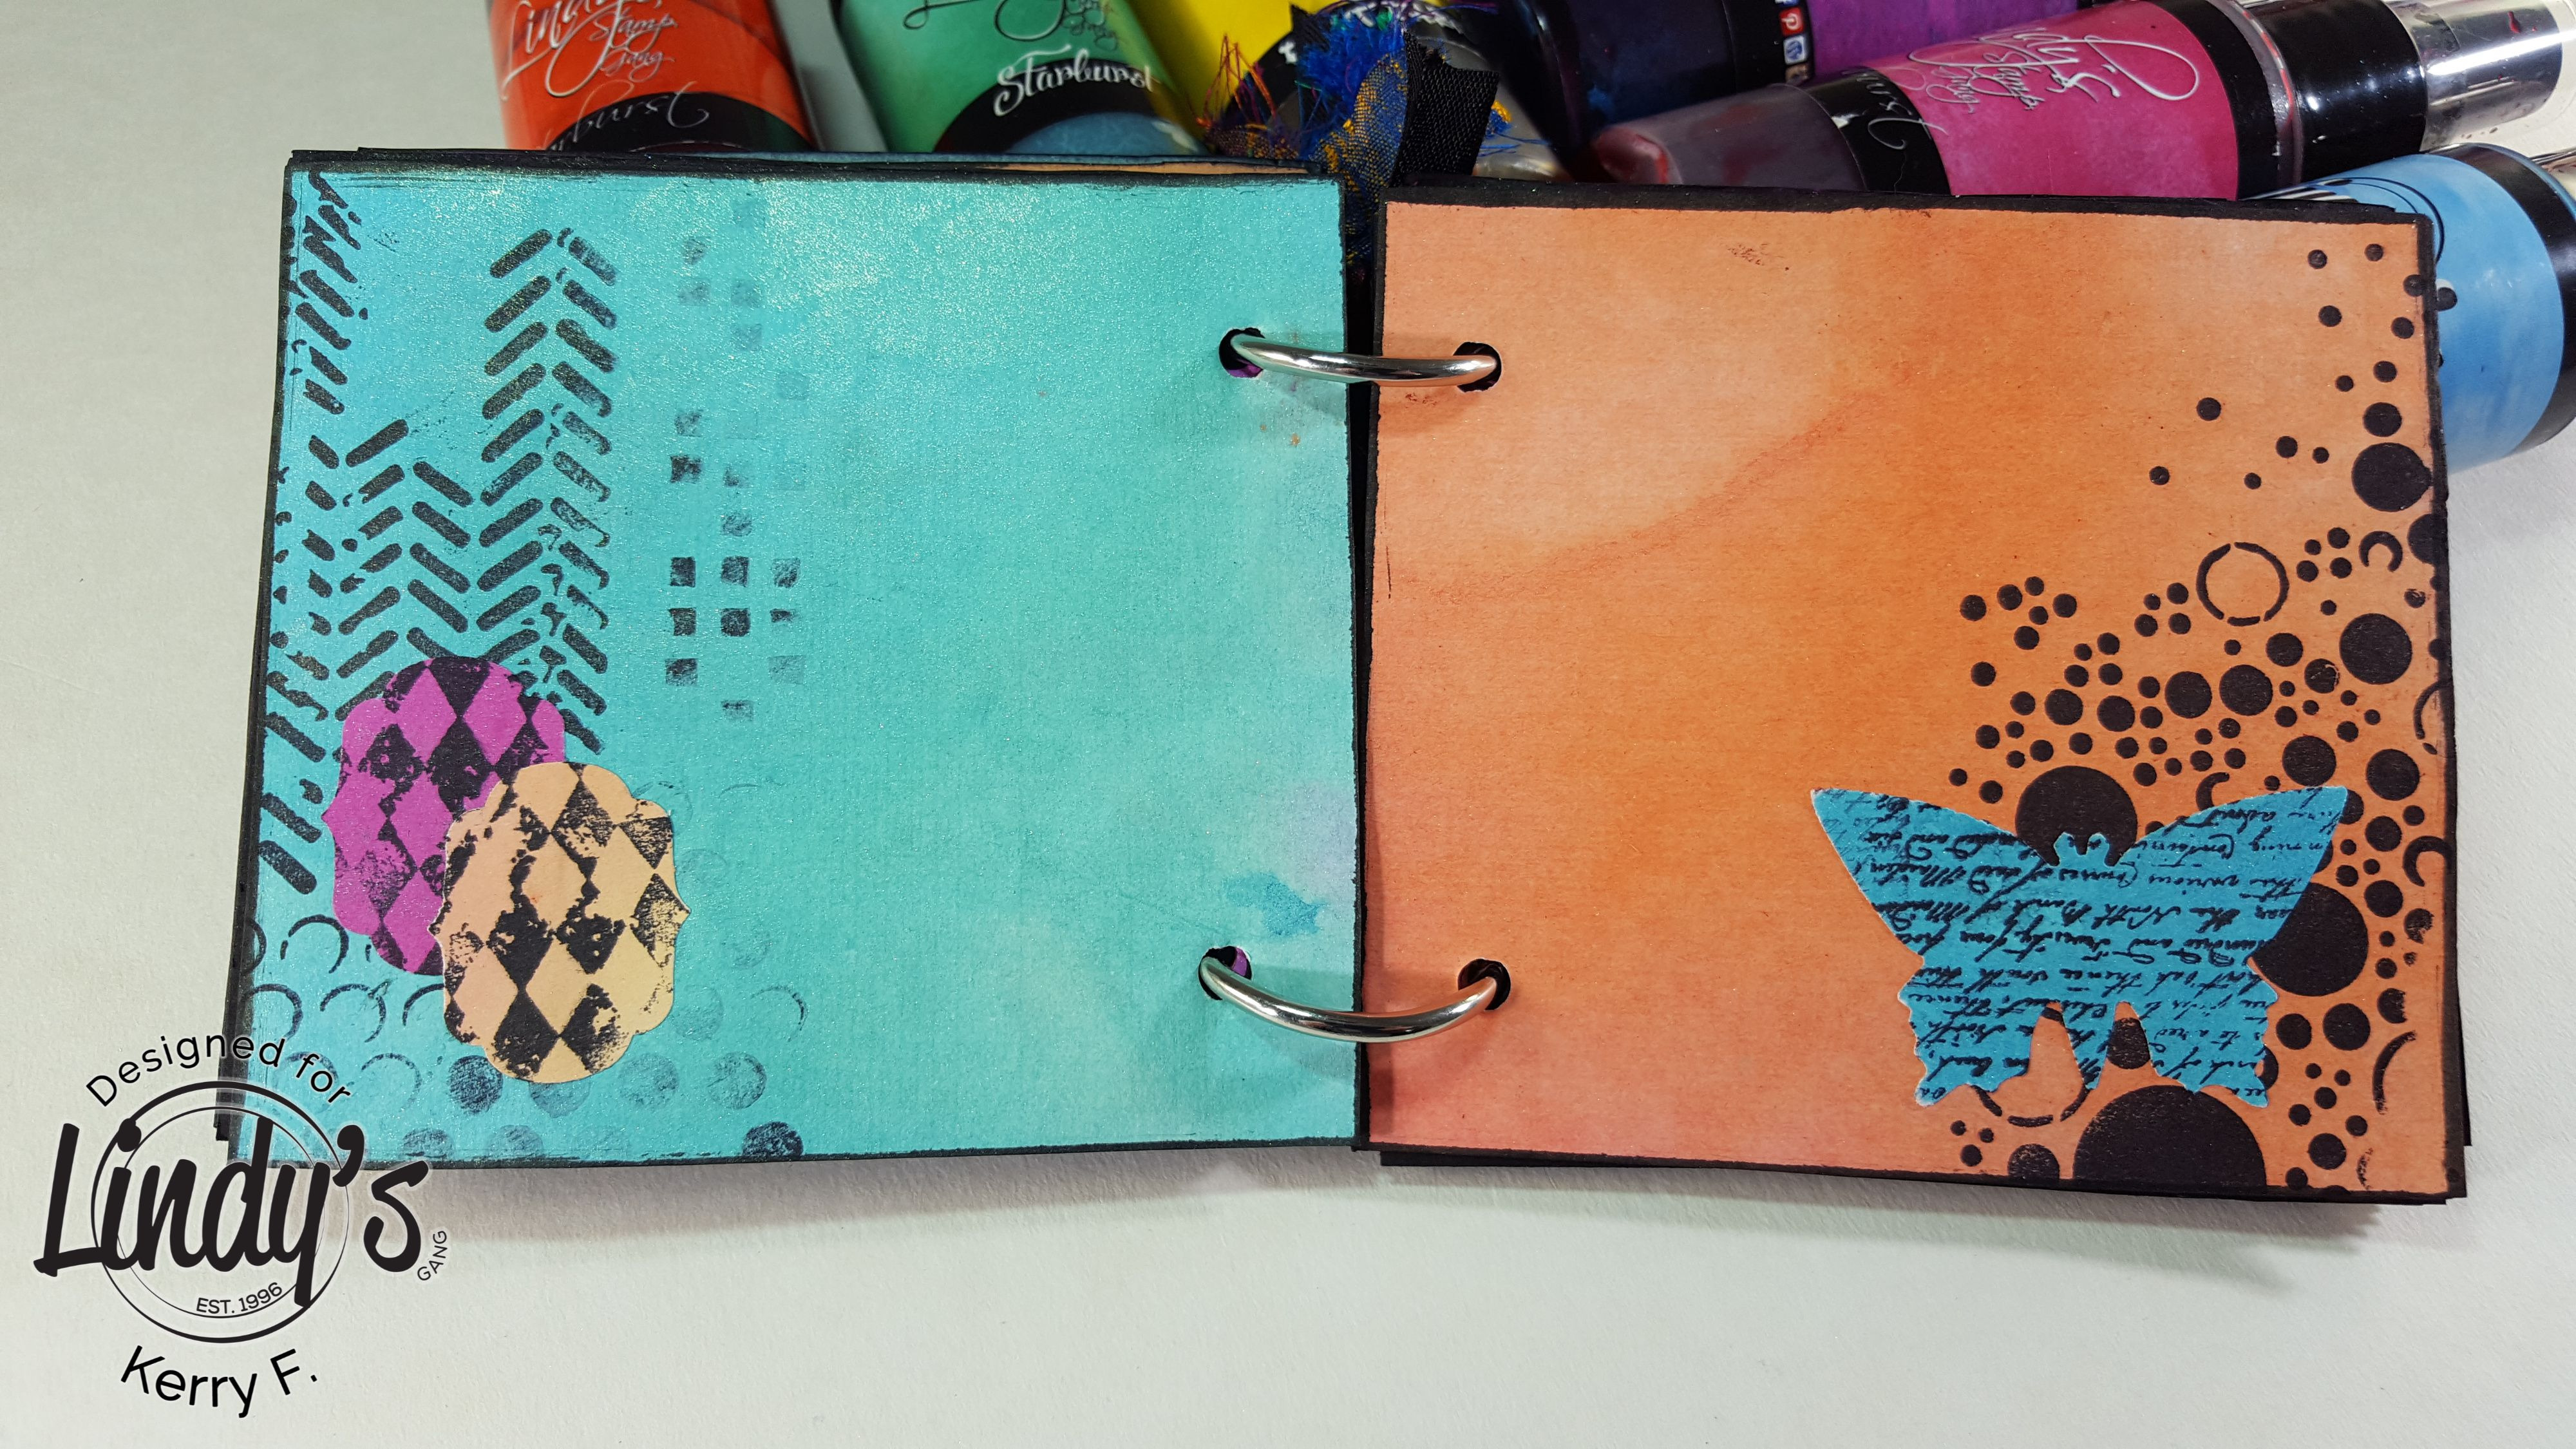
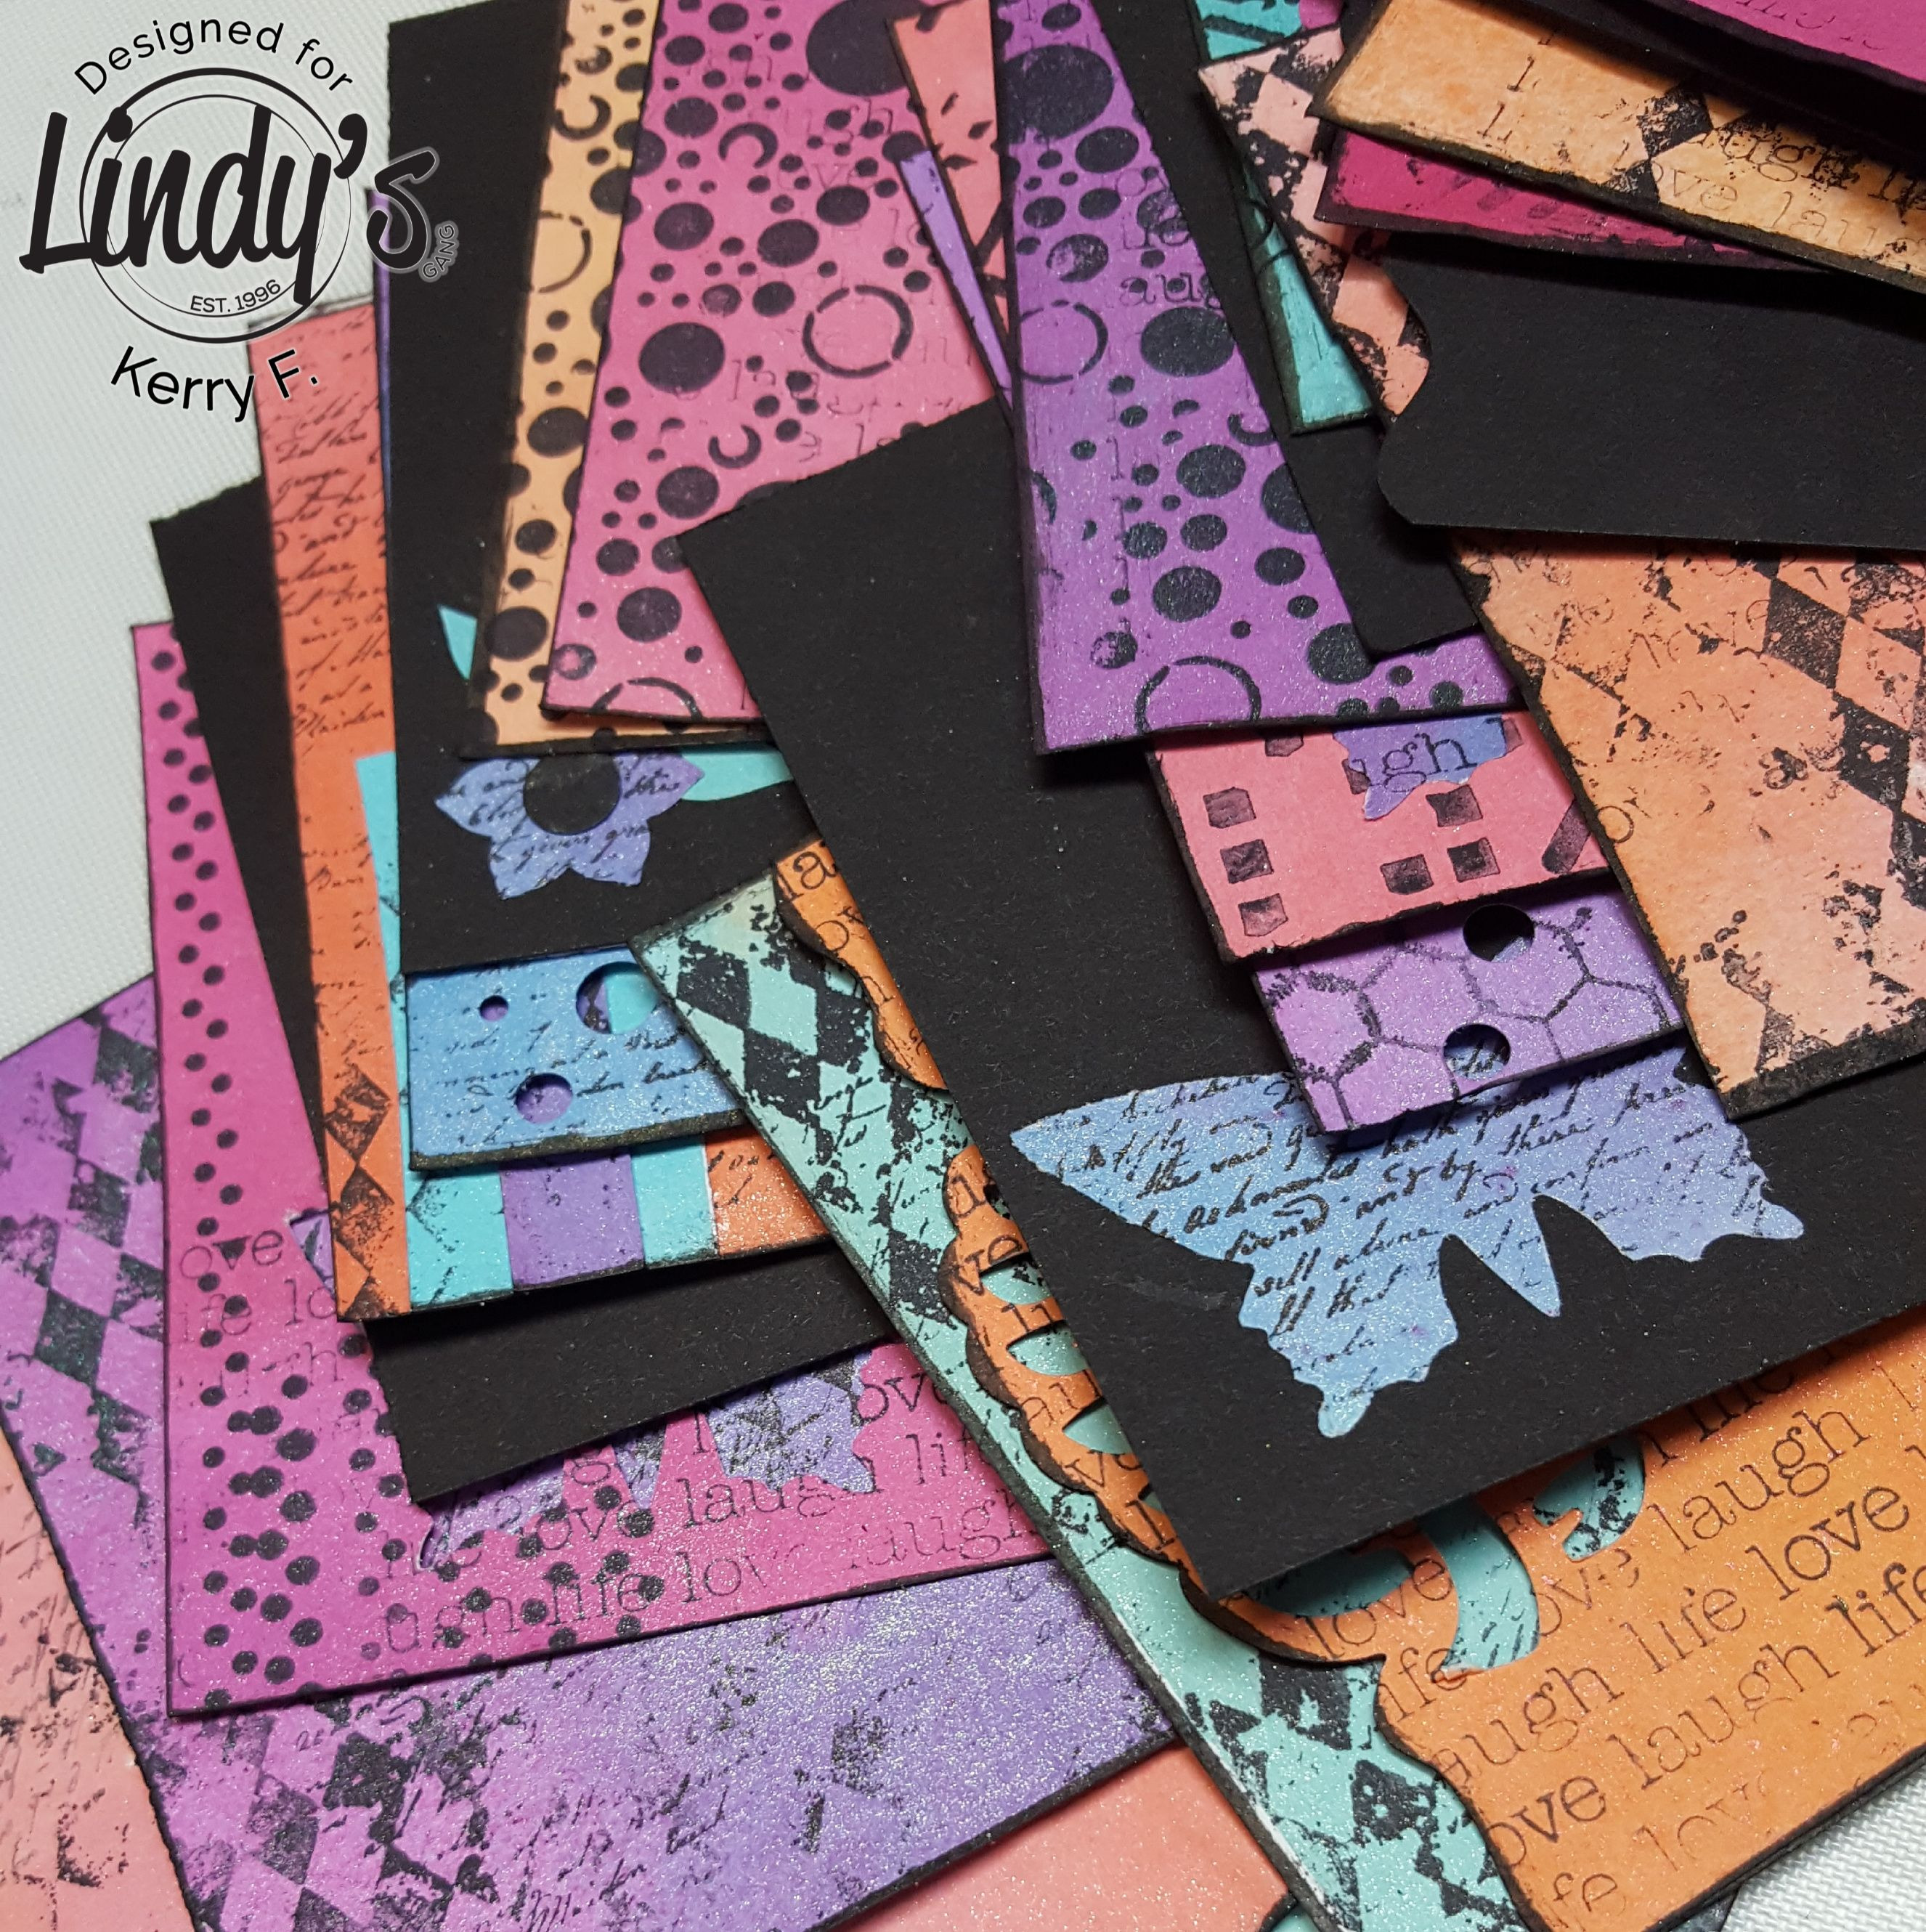
The black pages really make the other pages POP.
So easy. These little books are also a fab way to use up your 'mop up pages'.
I hope you feel inspired to create a mini journal or two :)

Lindy's Products: Poinciana Red Flame, Summer Lovin' Sun, Shabby Turbine Teal, Azure Sea Asters, Sweet Violet Purple Teal and Pretty In Pink Pink.
Other Products: Whichcraft Chipboard, stamps, Archival Ink, glue stick, copy paper, cardstock, rings, fibres.
Thanks for dropping by and have a Magical Day xx
Wow simple but effective love it. A project for my nieces these holidays 🎅
ReplyDelete