
Hello Lindy's fans!! It's Kerry with you today. I have always loved Vintage style and mini books and journals are also on my 'favorites' list, so today's project features both of those things rolled in to one super cute project. If vintage isn't your thing, you can still make this little book in any style you like. Grab some of your favorite Lindy's sprays or magicals, today I am using Cape Coral Cod, Steampunk Sepia and Sandra Dee Sepia and a couple of sheets of standard copy paper, and lets get started.

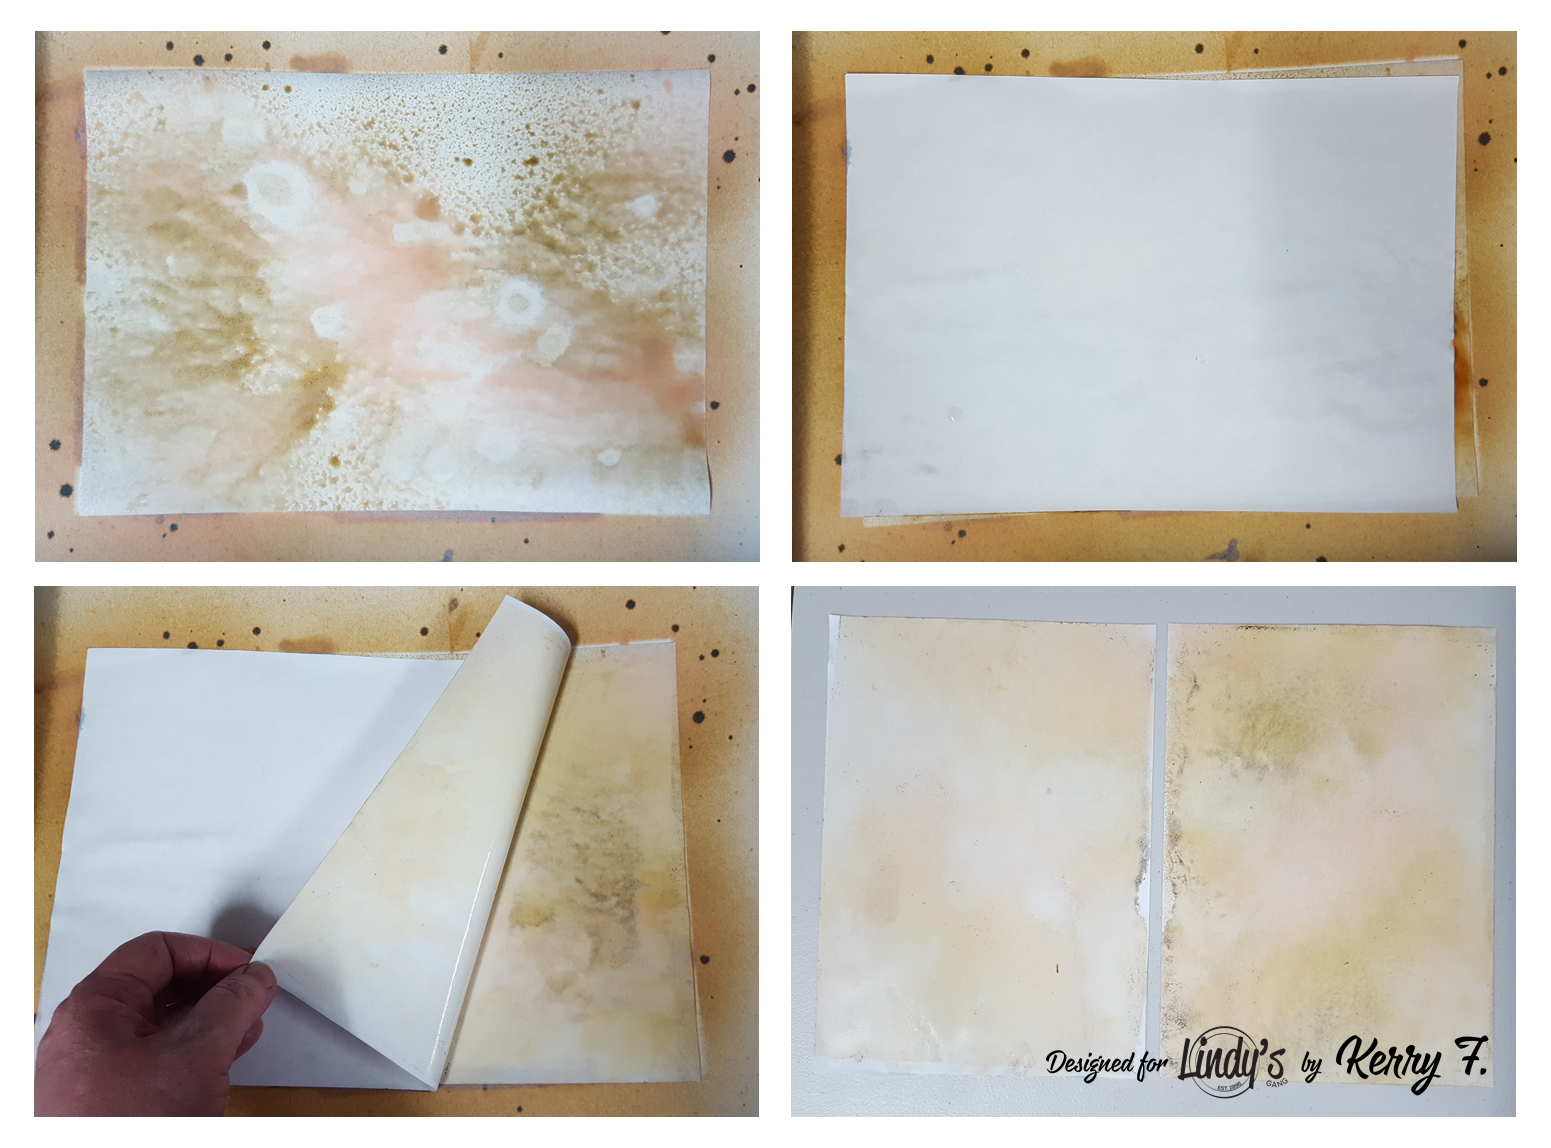
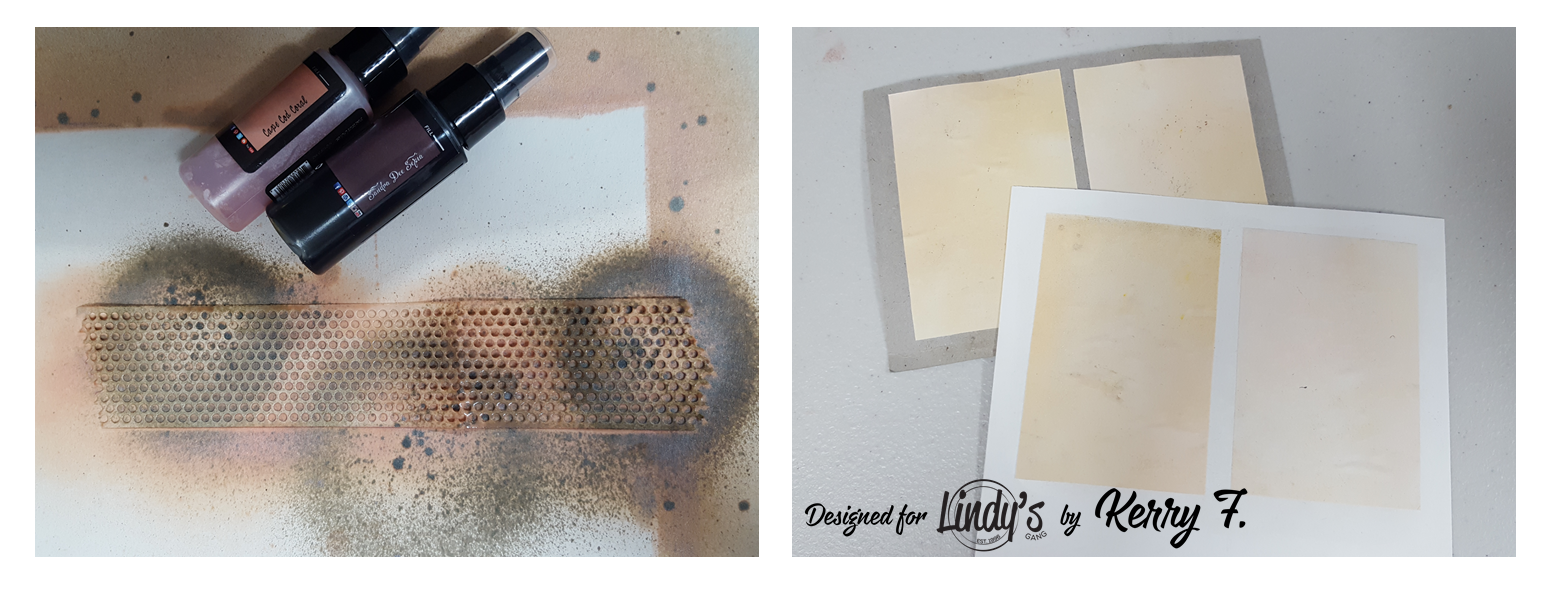
To begin, grab a sheet of regular copy paper, spritz with water and then add your color. I have sprayed Cape Coral Cod and Steampunk Sepia to give me a lovely vintage background. Lay a second sheet of dampened copy paper over the top, let it sit for a moment to transfer some of the gorgeous spray, then gently separate the two pages and dry off. Repeat this method on the back side of the paper, so you have color to both sides of the sheet.
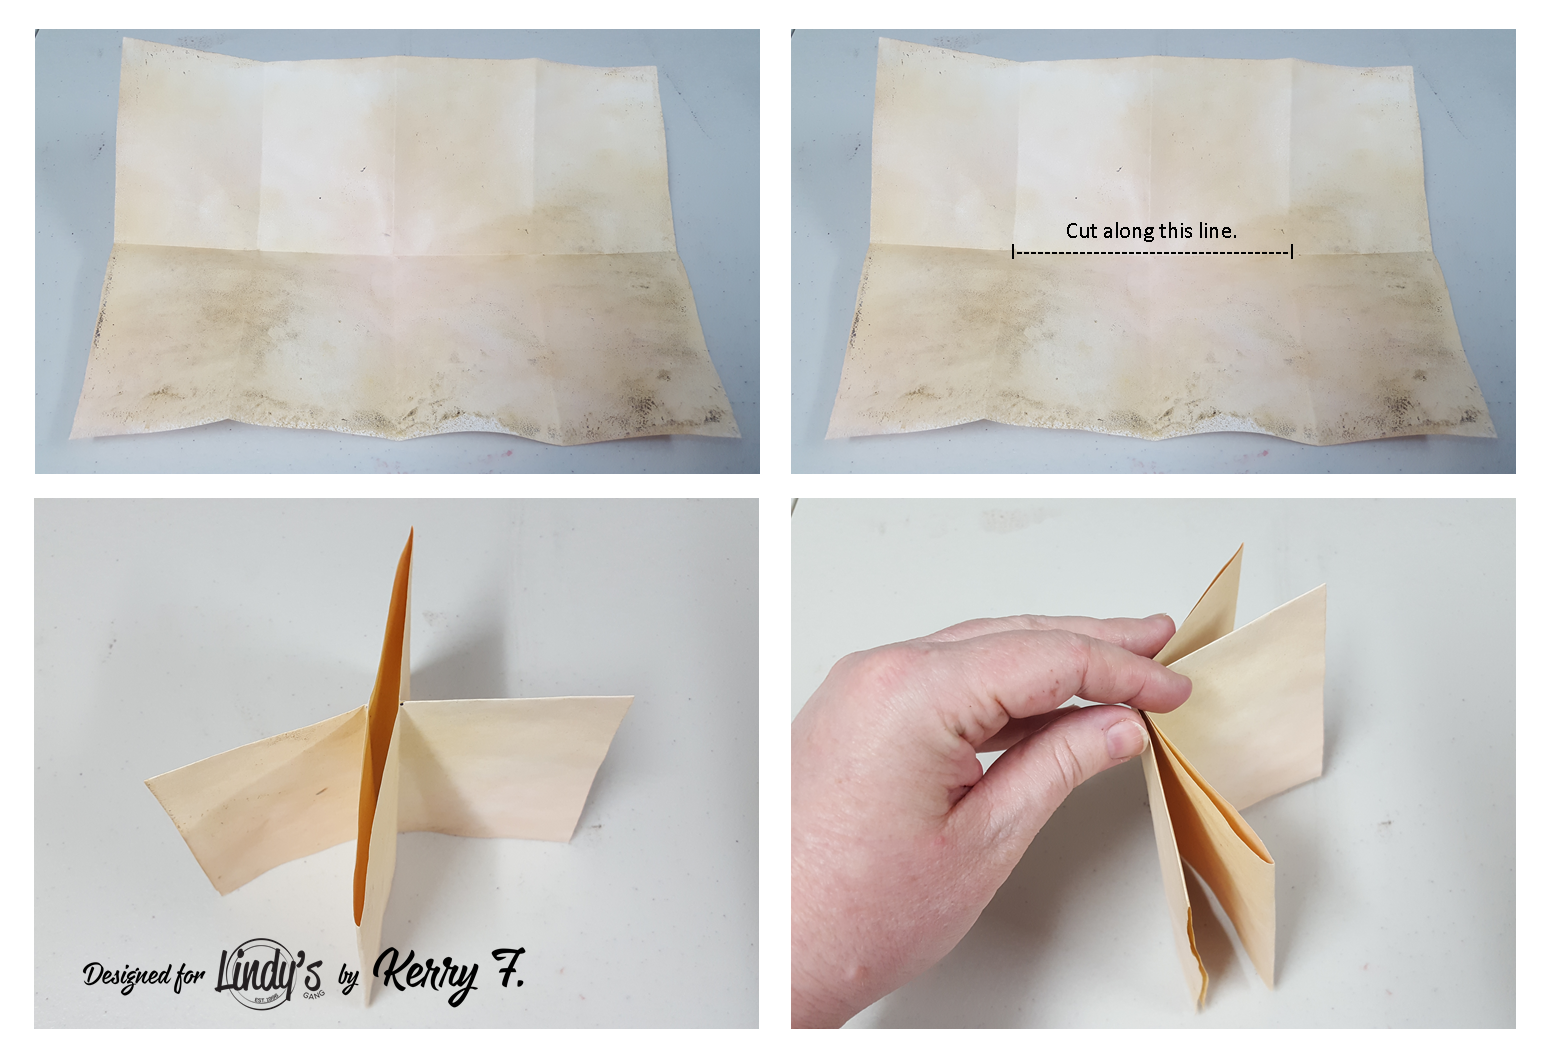
Once you have your sheet colored on both sides and dry, you will need to fold the sheet into 8 even panels as shown below. Then take a craft knife and cut along the crease right in the middle of the page. Fold the page in half again with the cut section facing upward, when you push the ends of the paper toward each other, you should see a cross or 'x' shape. Push all the pages around in the same direction to create a mini book.
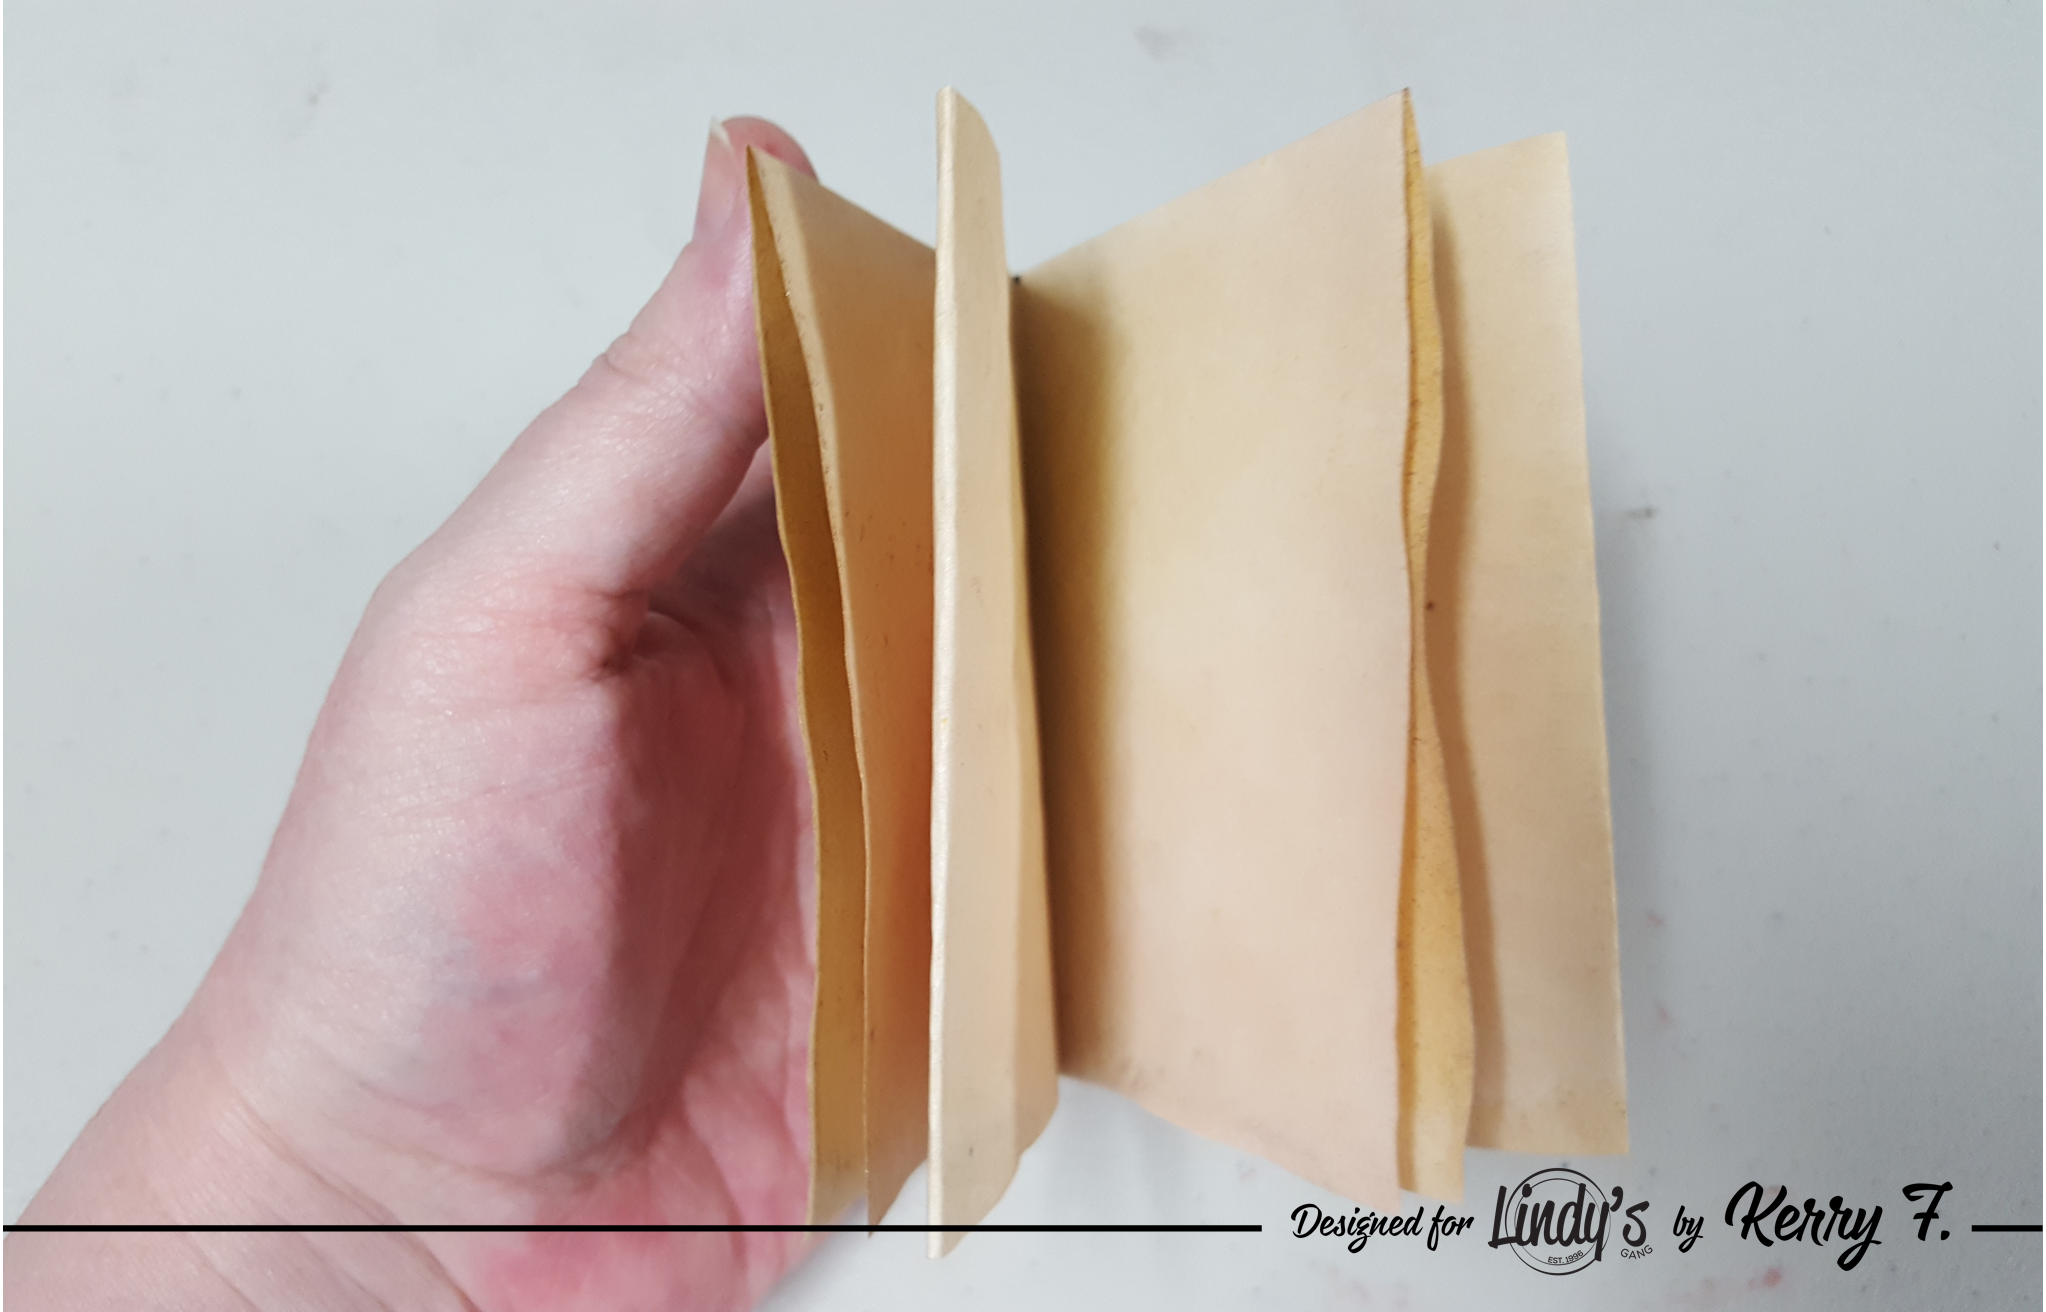
You should end up with something like this...
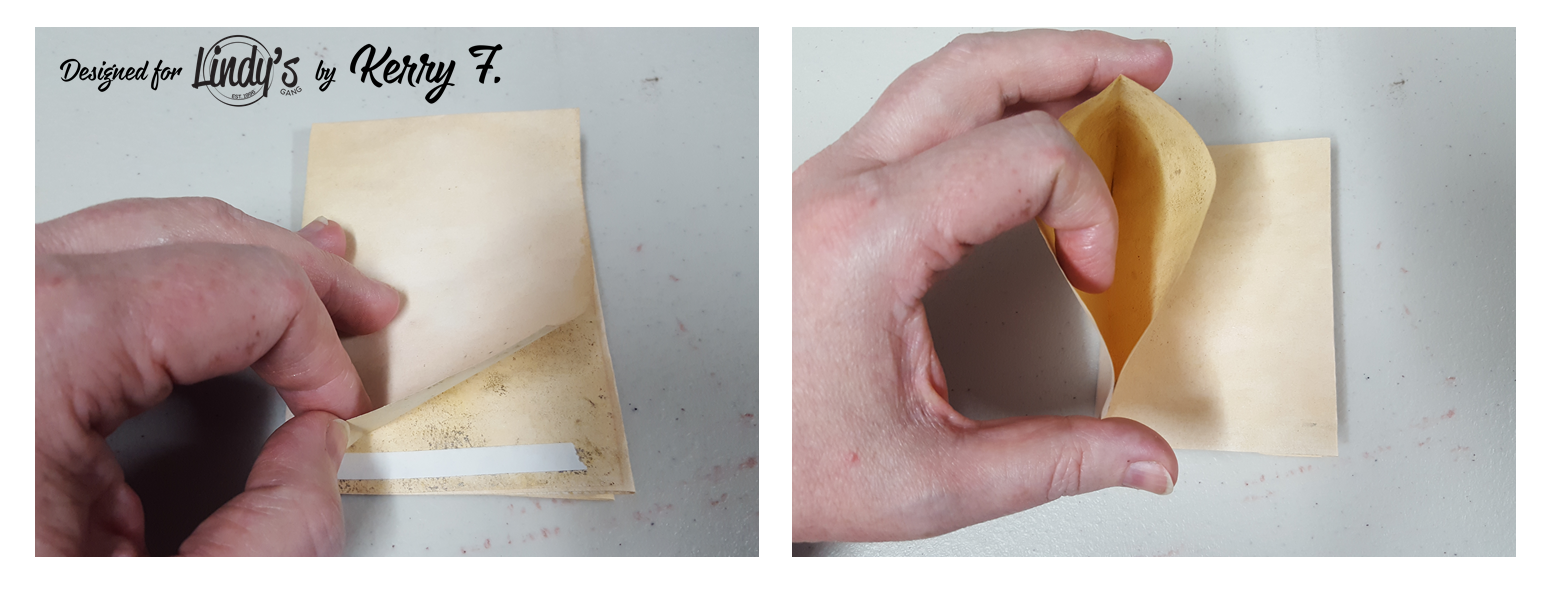
Our book now has four pages, each page is actually made up of two pages, these will make our pockets. Two pages will be open on the sides, they will be our side loading pockets so we need to place a small piece of double sided tape along the bottom edge. The other two pages will be our top loading pockets, so we need to seal the bottom edge in the same fashion. I know it sounds a bit tricky but it will make sense when you see it in your hand....
PHEW all the hard parts are done now.... time for the fun part. Using a stamp add some interest to the background of each of your pages and ink around the edge of each page.

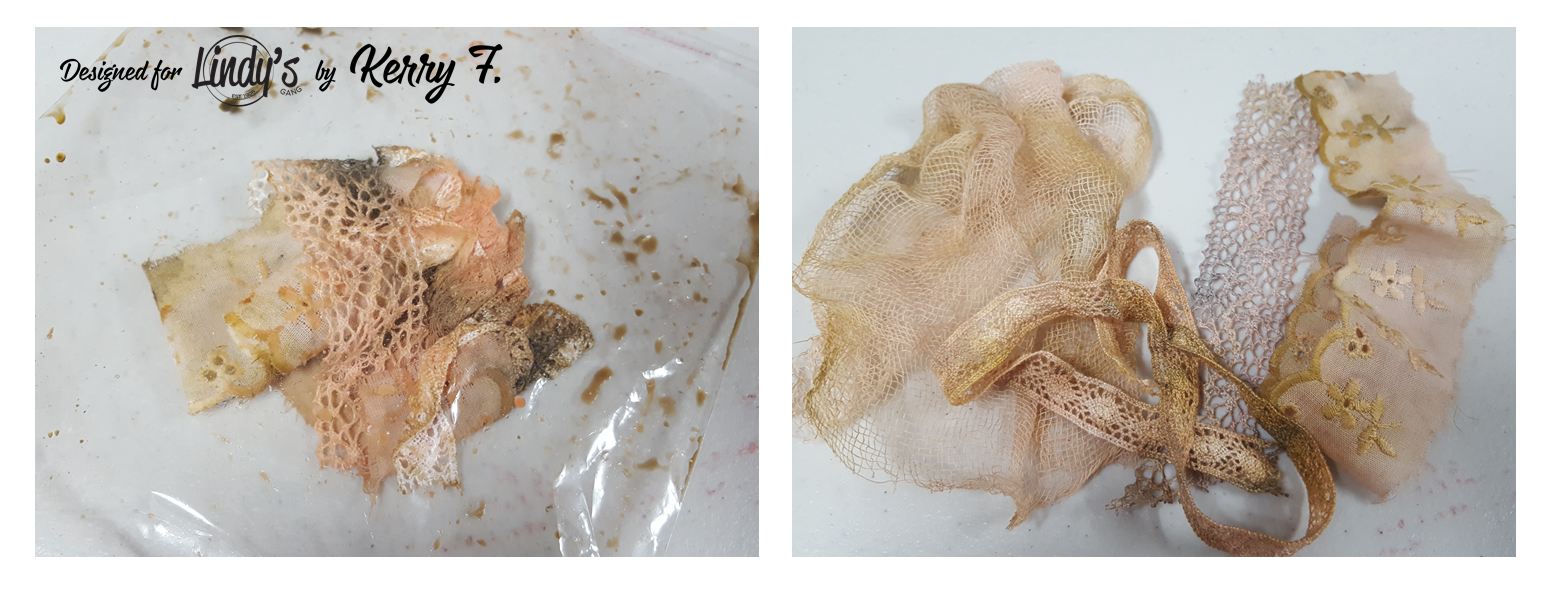
Take some scrappy bits of lace, cheesecloth, ribbon or fabric and pop them in a small cello bag and add a few sprays of the colors you have used in the background. I have also added a small amount of Sandra Dee Sepia spray to give me a little more depth. I love how the different fabrics all take on the color a little differently, such great variation from the same beautiful colors. Dry off your textile pieces and set aside.
For additional texture, I have sprayed some texture tape with Cape Coral Cod and Sandra Dee Sepia. For our inserts, take the second piece of copy paper and trim four pieces. These will need to be a little smaller than each book page to be able to fit into the pocket. I have backed mine on to some left over card and packaging to make them a little more sturdy.
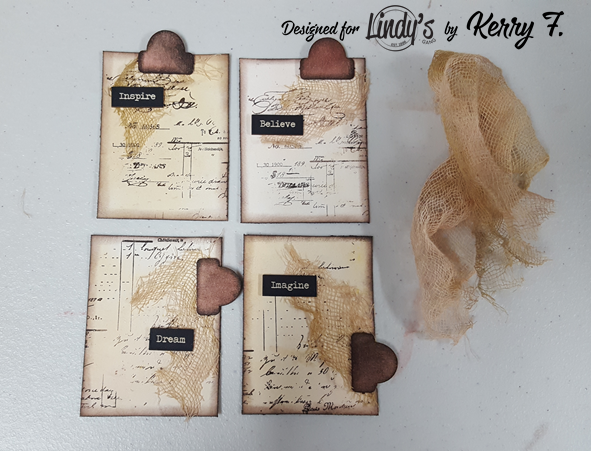
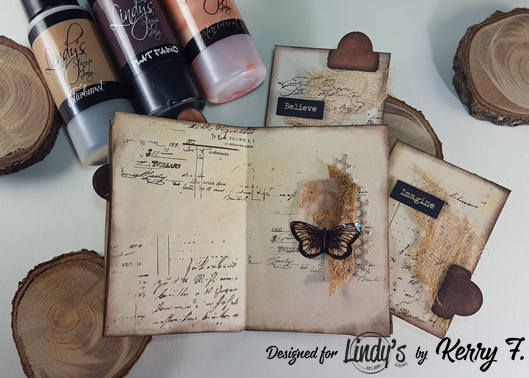
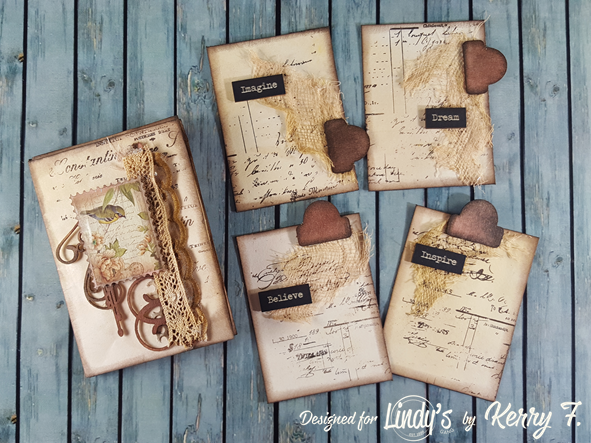
Using the same method from above, apply some background stamping and ink around the edge of each page, pop a small piece of cheesecloth under each tab and a sentiment or another simple element to finish off.
Decorate the front cover by layering some of our colored fabric, add some chipboard or a die cut and a small image for a focal point.
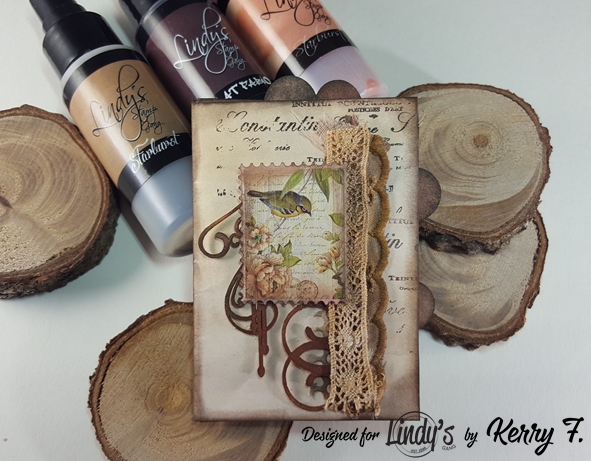
Add a similar cluster on each page to decorate the book.
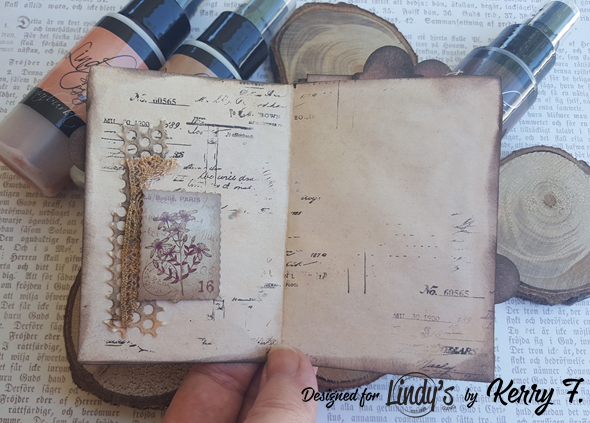
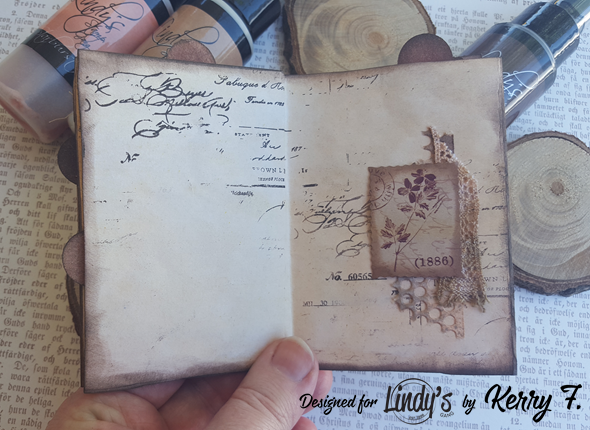
And there we go, such a cute little book, complete with pockets and inserts :)
Lindy’s Products
- Magical Sprays: Cape Coral Cod, Steampunk Sepia and Sandra Dee Sepia
Other Products
- Copy paper, Whichcraft Chipboard, fabric and lace, stamps, archival ink
Thanks for dropping by and have a magical day
Love this, thanks so much for sharing xox
ReplyDeleteThis is Beautiful and has a real geniune Vintage look....💜💚
ReplyDelete