
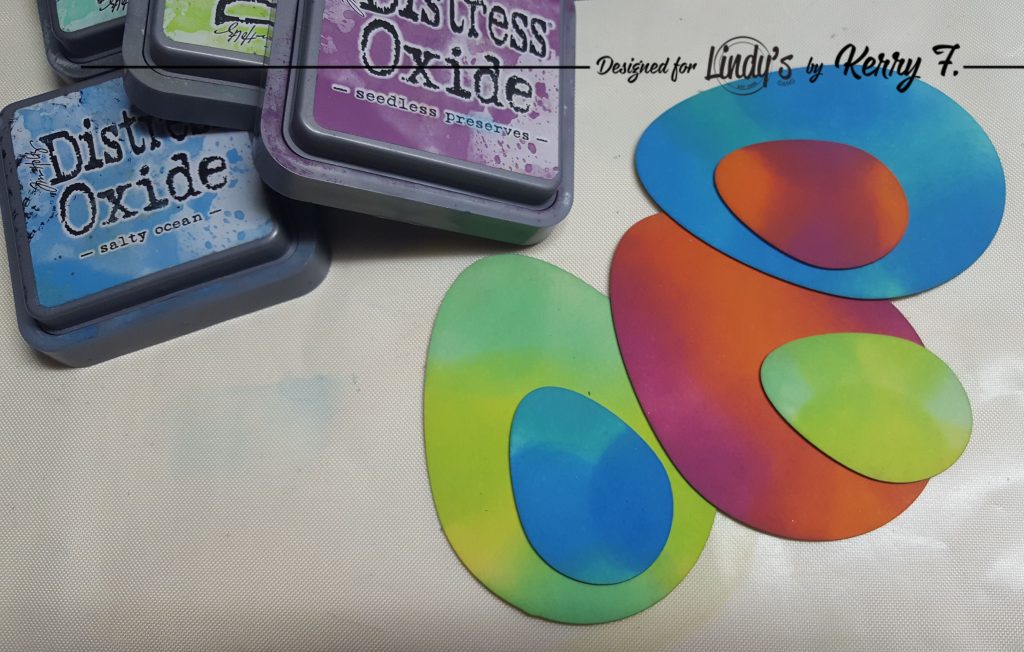
To begin, blend some distress ink onto the back piece of chipboard or cardstock. ( I am using Whichcraft layered chipboard eggs which have a blank back and a detailed front. If you are using your own shapes or dies, cut out a matching back layer to match your detailed layer).
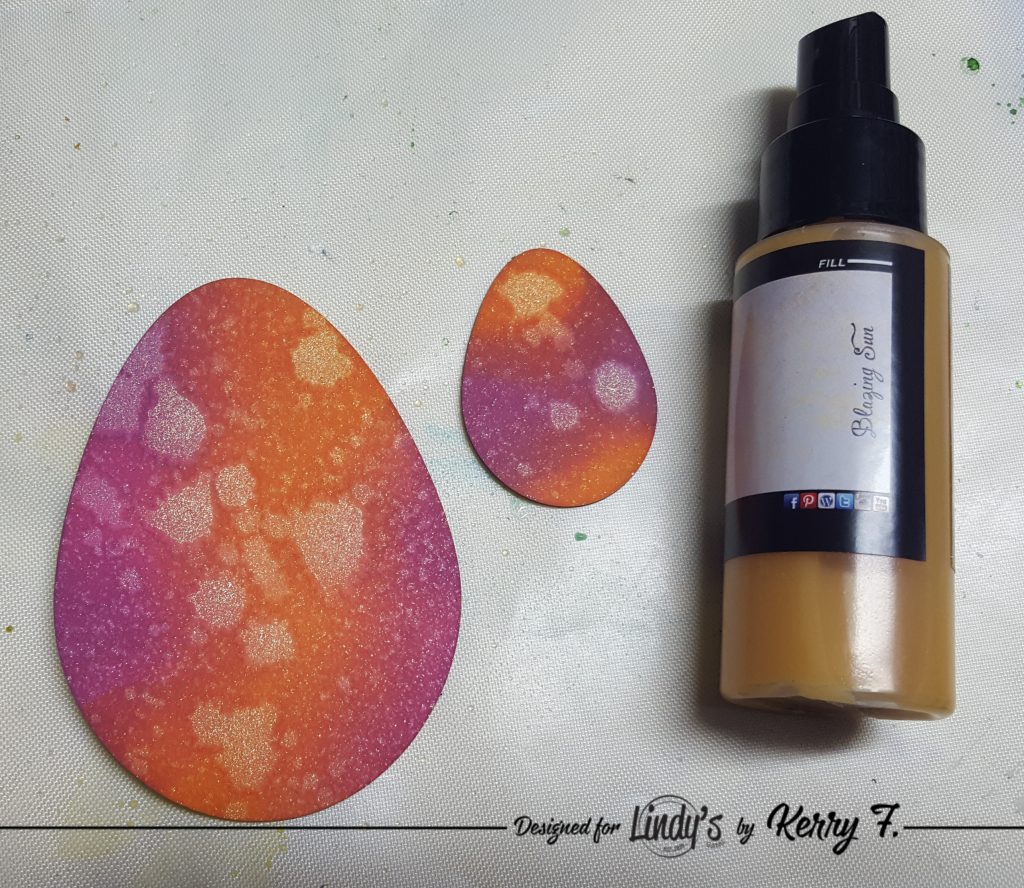
Spritz the Blazing Sun glitz spritz onto the egg to activate the ink and get some gorgeous golden shimmer splashes.
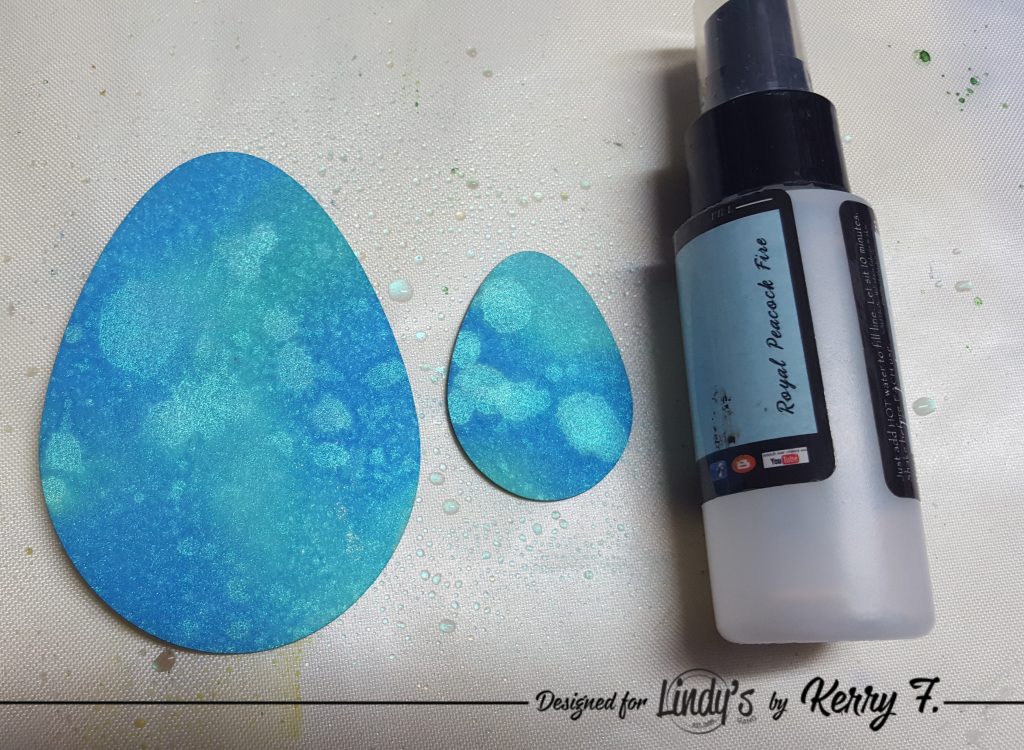
Royal peacock fire glitz spritz has the most amazing green blue shimmer, I think it is my favorite...LOL
Gecko Green has a fabulous green shimmer. Continue to color as many backgrounds as you would like using the same simple method, don't be afraid to experiment and try new color combinations.

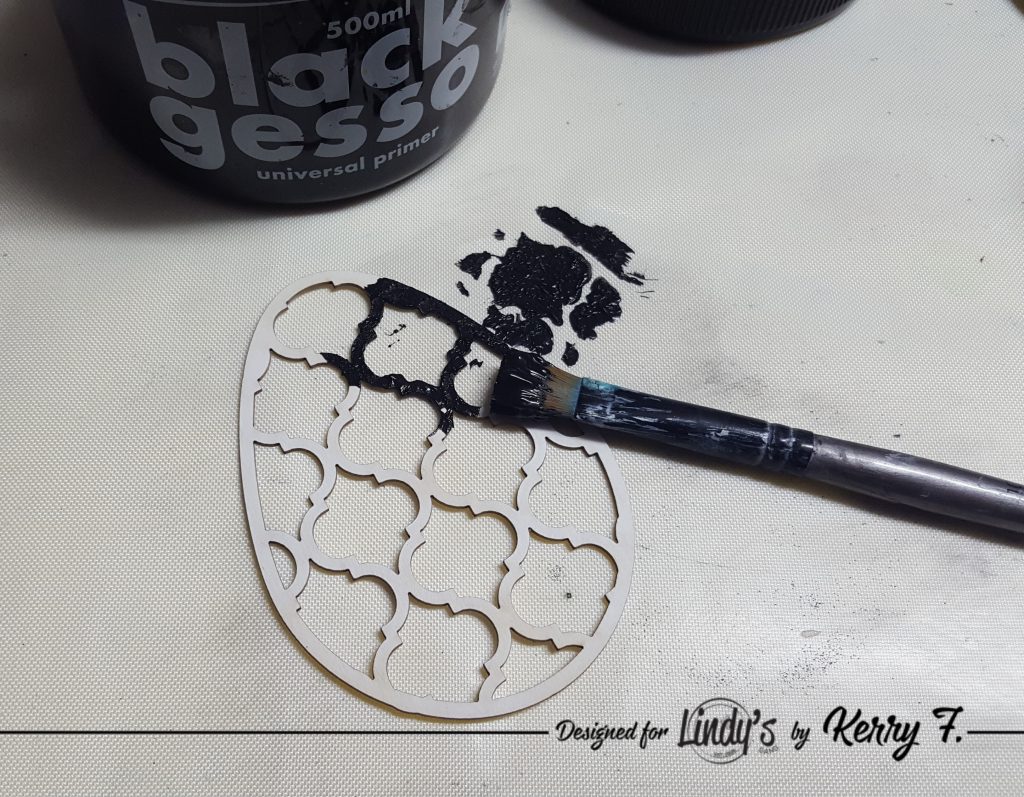
For the top, or detailed layer of the eggs, I have used a couple of different methods. Firstly, take some black gesso and 'pounce' it onto the detail leaving the paint thicker in some places, this will add some texture.
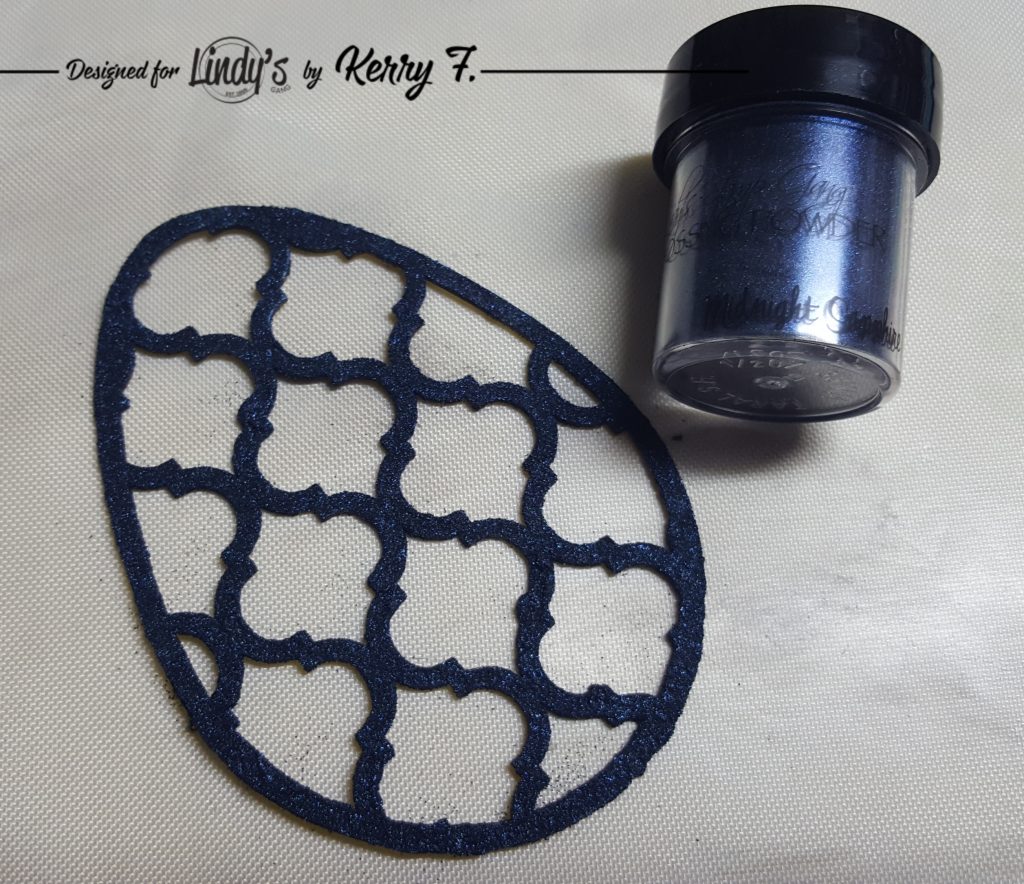
Then, while the gesso is still wet, sprinkle your chosen embossing powder onto the detail. I have chosen Midnight Sapphire embossing powder. Heat set the embossing powder, you will see it bubble up as the gesso dries too.
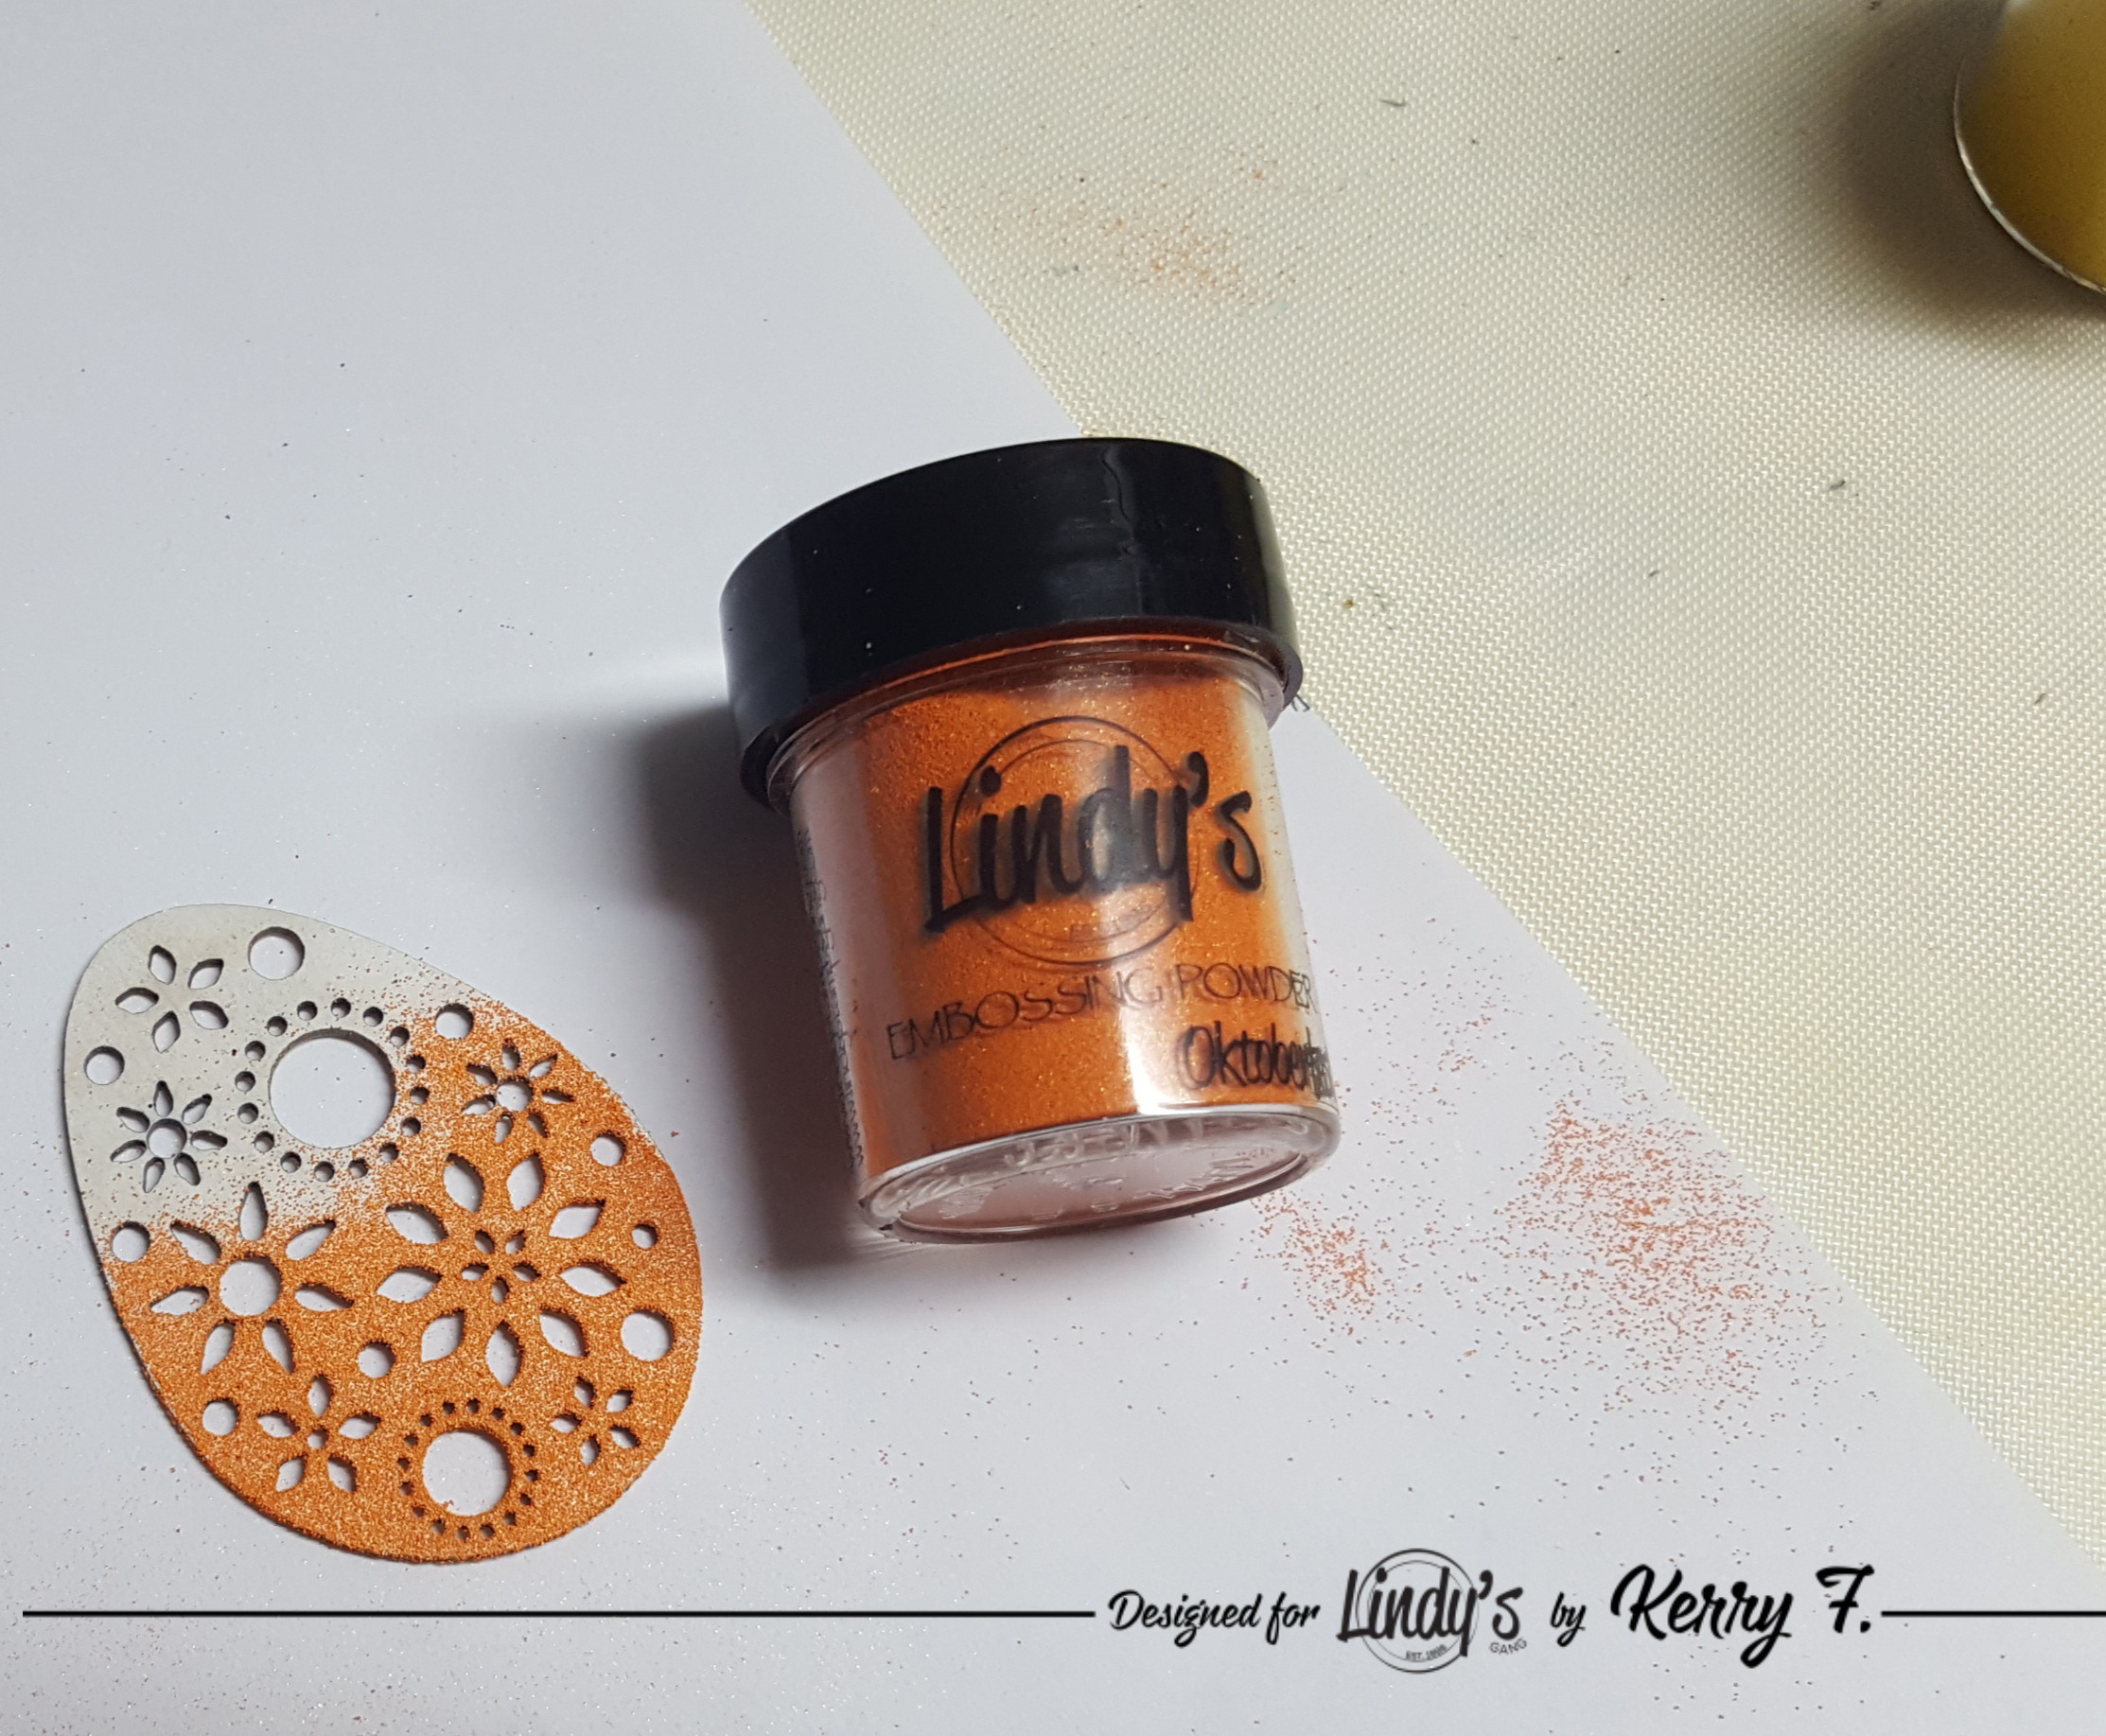
The next method gives a two toned look to our detailed layer. Apply versamark to the detailed layer...

...then carefully sprinkle the embossing powder onto half of the egg, try to make the 'edge' of the embossing powder a little organic looking so you don't have a perfect line where the 2 colors meet. Shake off the excess powder back into the jar and then apply the second color of embossing powder and heat set both colors at the same time.
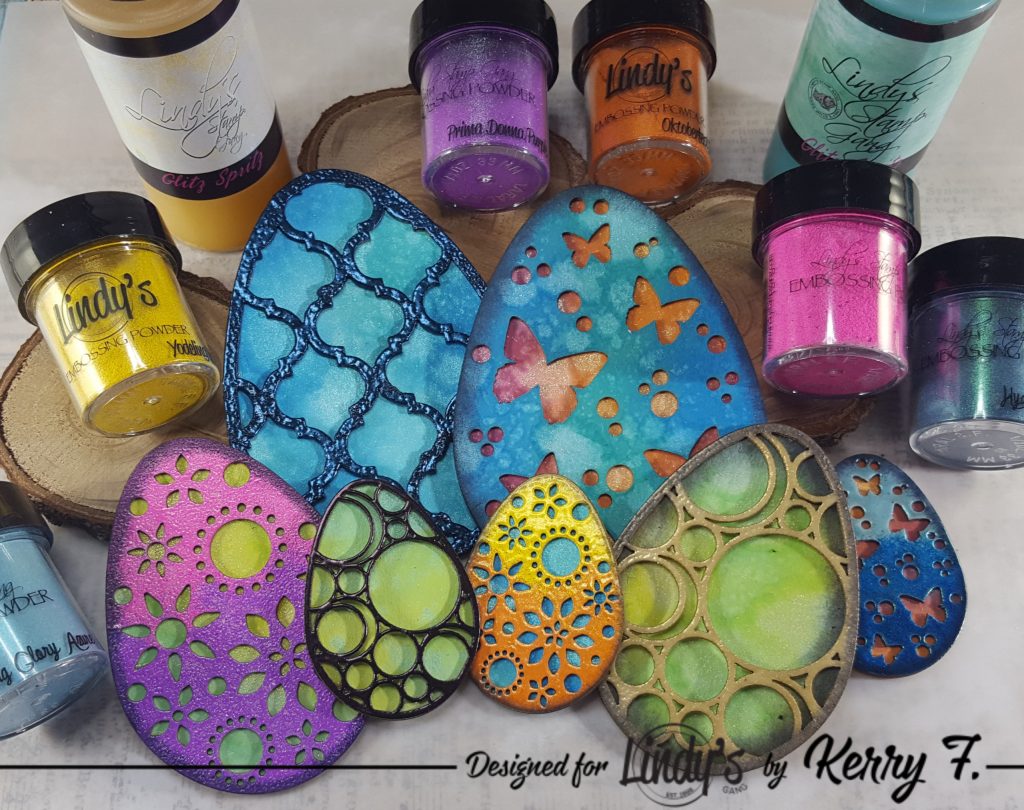
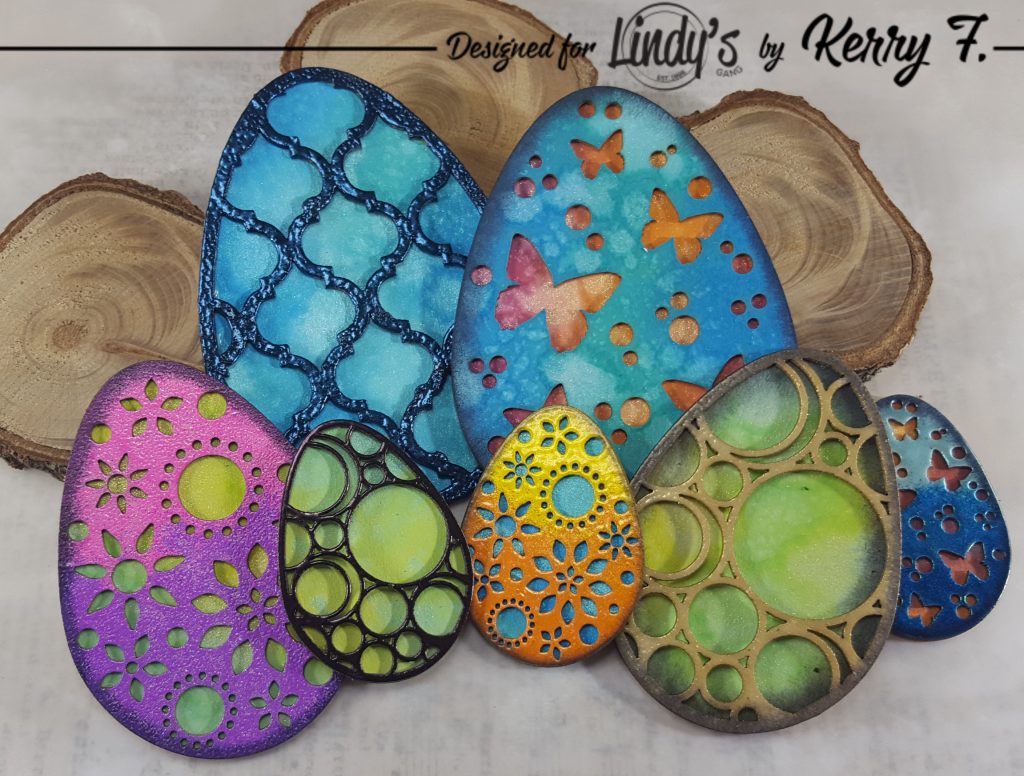
Repeat the above steps until you have all your pieces colored, then simply attach the detailed front's to the backs and volia, cute colorful Easter decorations or embellishments.
Lindy's Products
- Glitz Spritz - Gecko Green Royal peacock fire glitz spritz Blazing Sun glitz spritz
- Embossing Powders -Oktoberfest orange Yodelling yellow Prima donna purple Poppin' pink Midnight ruby King midas gold Midnight Sapphire
- Whichcraft chipboard, versamark ink, distress oxide ink.
No comments:
Post a Comment